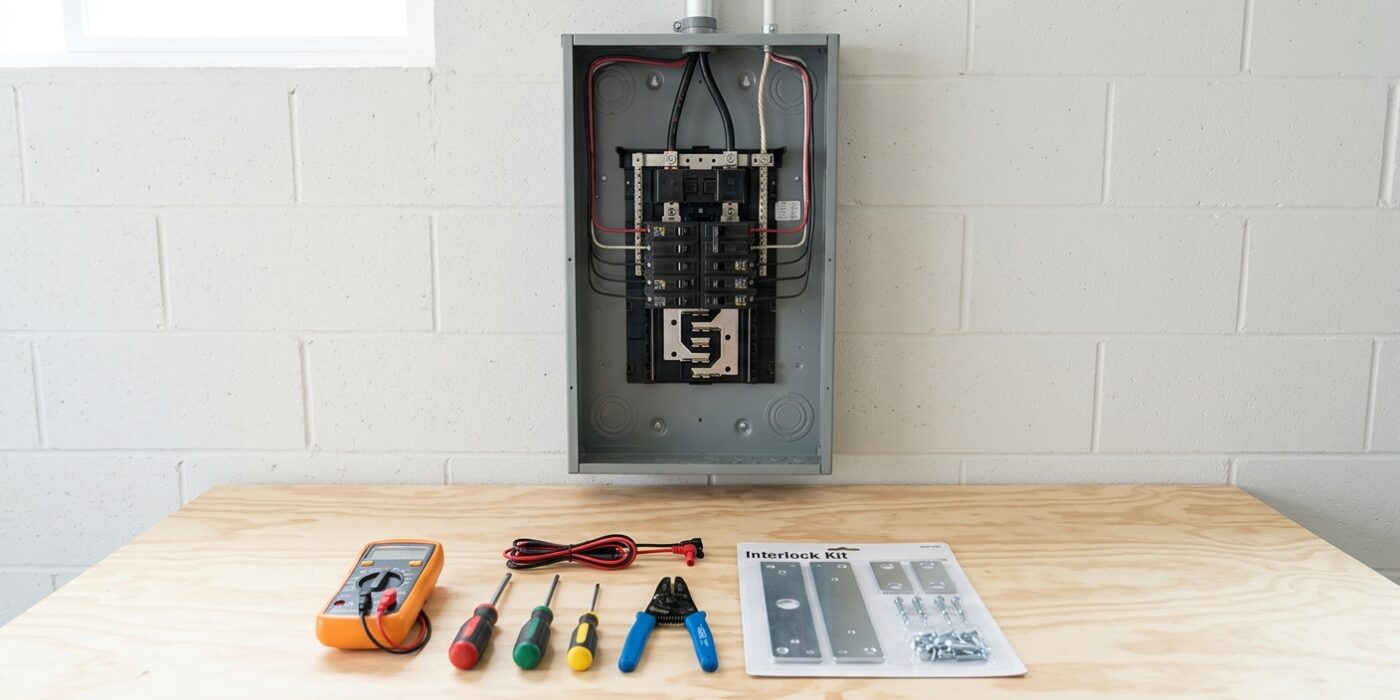
Project Shopping List
A generator transfer switch – specifically a manual interlock kit – allows you to safely connect a portable generator to your home’s electrical panel and power selected circuits during an outage. Without a transfer switch, the only option is extension cords from the generator, which are inconvenient, potentially dangerous, and don’t power hardwired devices like well pumps, HVAC, or built-in appliances. The manual interlock is the most accessible DIY option: it mechanically prevents the main breaker and a generator inlet breaker from both being on simultaneously, which is the safety function needed.
This is an advanced project. Panel work is required, and a permit is mandatory – this protects utility workers who could be injured by backfed power if the transfer switch is wired incorrectly.
What You’ll Need
Tools
- Non-contact voltage tester
- Drill and metal-cutting hole saw (or step bit)
- Screwdrivers
- Wire stripper
- Conduit bender
Materials
- Generator interlock kit – must be specific to your panel brand and model (these are not universal)
- Double-pole circuit breaker for the generator inlet (30A or 50A depending on generator)
- Generator inlet box (outdoor rated, appropriate for your generator’s outlet type)
- 4/3 NM-B or 10/3 NM-B cable (for 30A or 50A circuit to the inlet box)
- Conduit and weatherproof fittings for outdoor inlet box
Step 1: Understand the Manual Interlock System
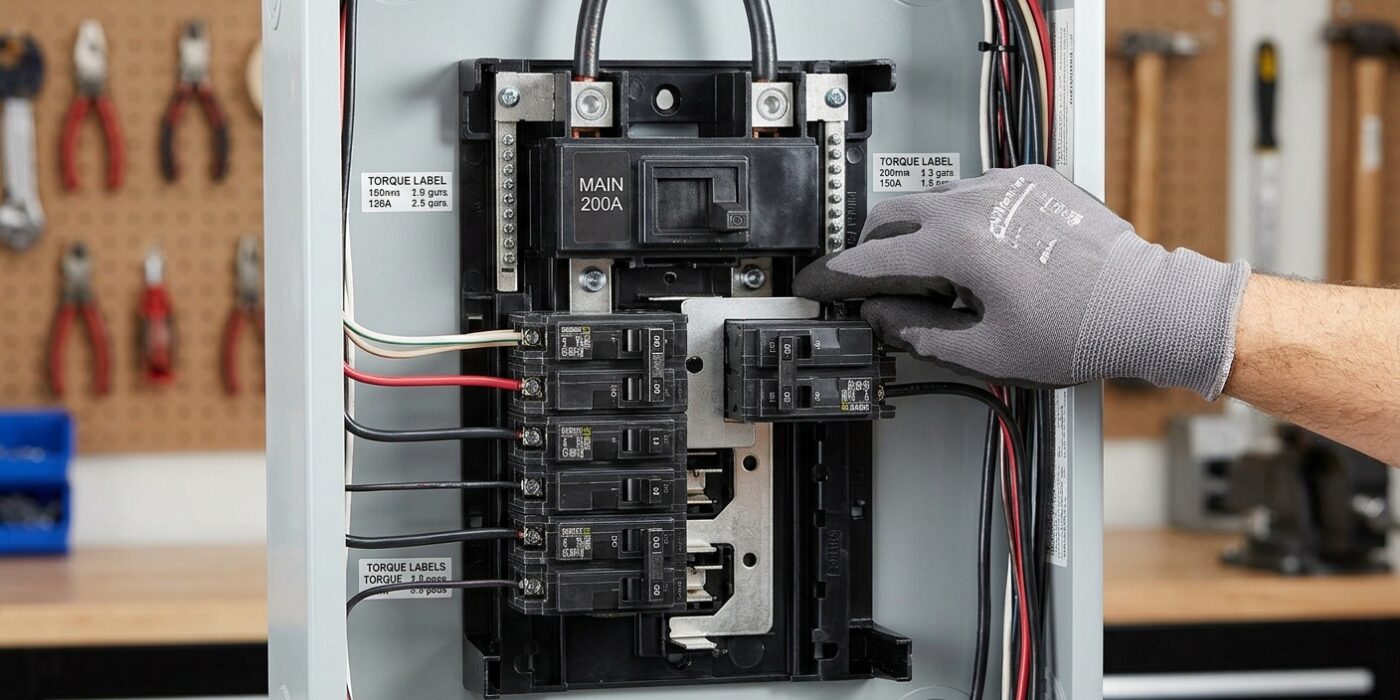
Before you pick up a drill, it is essential to understand why this small metal plate is so important. Your electrical panel is designed to receive power from only one source: the utility company. If you were to plug a generator into your home while the utility power was still connected, you could cause a dangerous “backfeed,” which sends electricity back out to the street, risking the lives of utility workers. The manual interlock acts as a mechanical gatekeeper. It is a sliding bracket that physically prevents you from flipping the utility main breaker and the generator breaker to the “ON” position at the same time.
When you need generator power, you will manually slide the bracket to lock the main utility breaker in the “OFF” position. This allows you to safely toggle the generator breaker “ON.” Think of it as a physical puzzle piece that only fits into one safe configuration at a time.
Beginner Tip: The most common mistake is overtightening the screws that hold the interlock plate in place. The plate must slide back and forth with very little resistance. If you tighten the fasteners too much, the metal can warp or bind, making it difficult to switch power sources during an emergency when you might be feeling rushed.
Pro Tip: Before drilling into your panel cover, use a piece of blue painter’s tape to mark your drill holes. It prevents your drill bit from “walking” or slipping on the smooth metal surface, ensuring your holes are perfectly centered for a smooth, professional installation.
Step 2: Purchase Panel-Specific Interlock
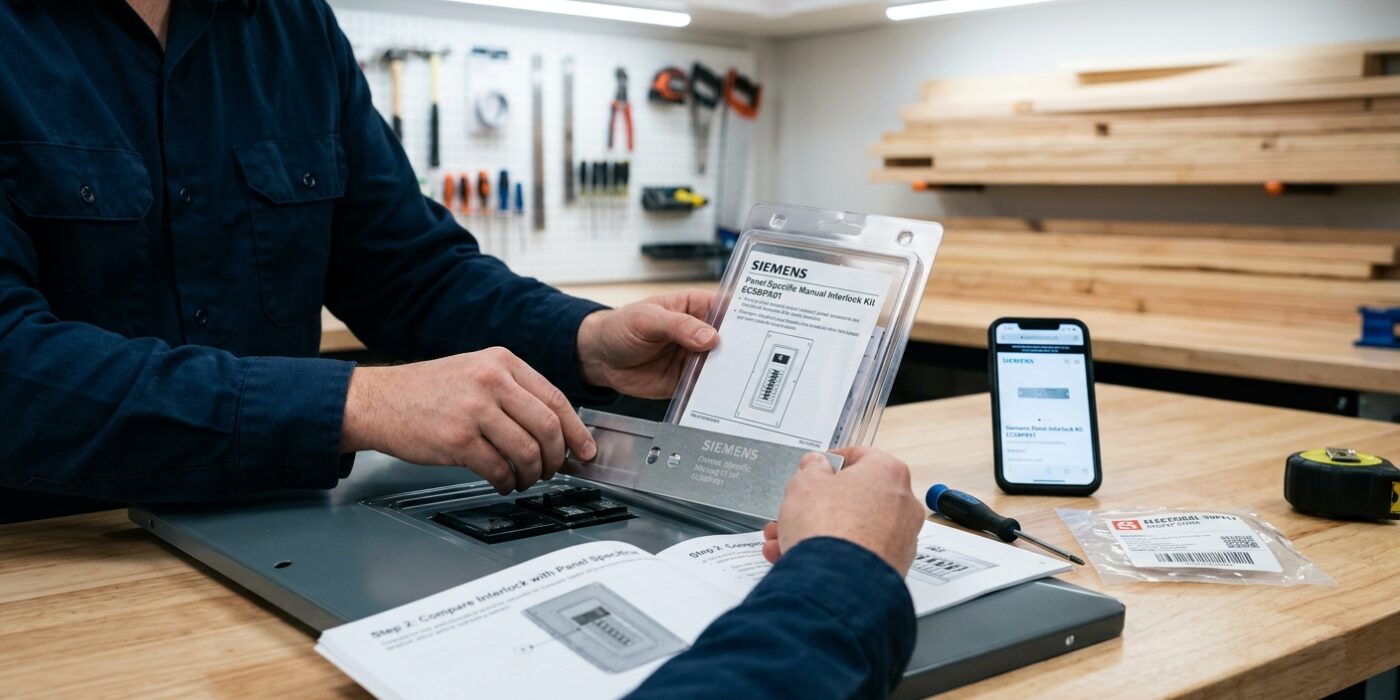
Before you buy anything, you need to identify your electrical panel’s “DNA.” Electrical panels are not one-size-fits-all; a transfer switch kit must perfectly align with the specific busbar layout and breaker positions of your existing equipment. If the kit doesn’t match, the interlock plate won’t slide correctly, which could prevent your breakers from locking out as intended.
Open your panel door and look for a printed label inside, usually on the door or the side wall. You are looking for the brand name (such as Square D, Siemens, Eaton, or Leviton) and a specific series number or model code. Write these down exactly as they appear. Visit the manufacturer’s website or a reputable electrical supply retailer and use their compatibility chart to find a kit engineered specifically for your model. Do not guess – if you are uncertain, contact the manufacturer’s customer support with your model number to confirm before purchasing.
Beginner Tip: The most common mistake is assuming that panels from the same brand are interchangeable. Always verify the specific series or model number, as an interlock designed for a Square D QO panel will not fit a Square D Homeline panel, even though they share a brand name.
Pro Tip: Take a high-resolution photo of the label inside your panel and the interior layout of your breakers. Having these images on your phone makes it incredibly easy to cross-reference compatibility charts or show a clerk at an electrical supply store exactly what you are working with.
Step 3: Install the Generator Inlet Box
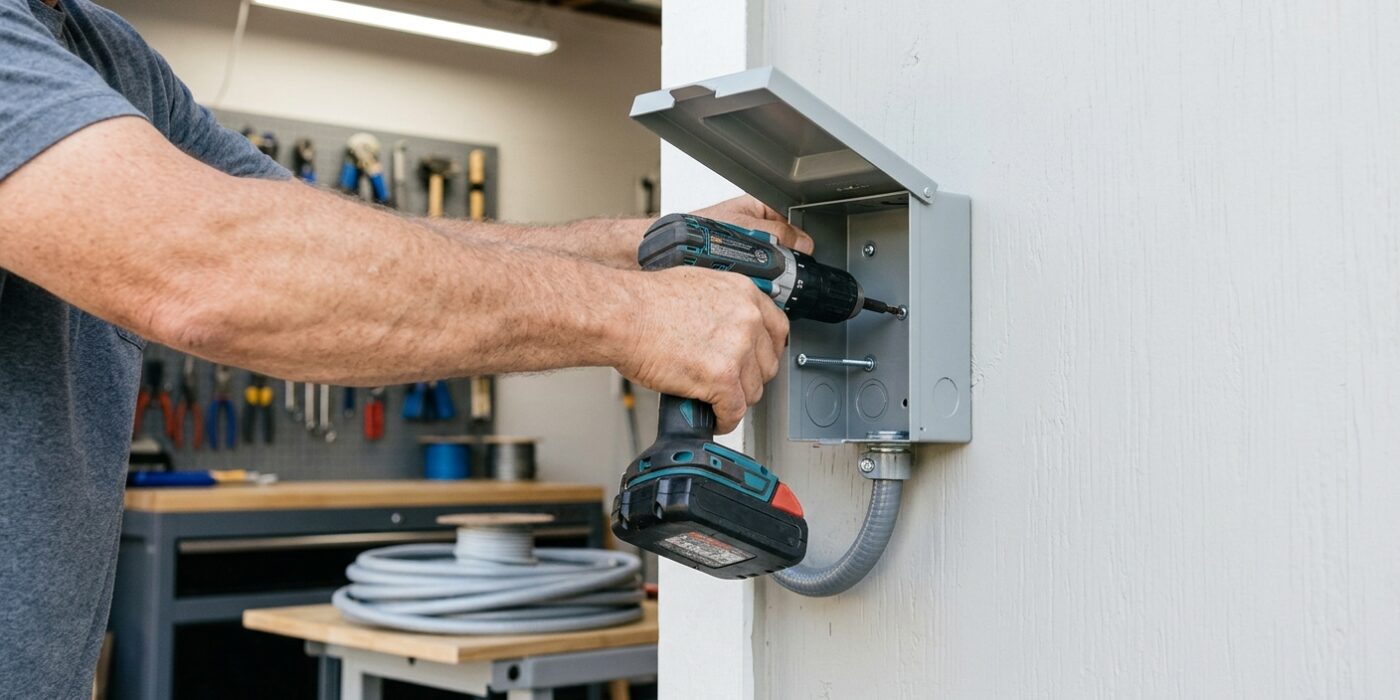
Now it is time to give your generator a place to “plug in” to your home. The generator inlet box acts as a safe, weatherproof bridge between your portable generator and your electrical panel. Because this box houses a male receptacle, it remains safely de-energized until you connect your generator cord, protecting you and any passersby.
First, choose a mounting location on an exterior wall, ideally within a few feet of your main electrical panel to minimize the distance you need to run your electrical conduit. Using a stud finder, ensure you are drilling into solid blocking rather than just siding. Drill a hole through the wall large enough to accommodate your conduit – usually 3/4-inch or 1-inch PVC. Secure the inlet box to the wall using exterior-rated screws and apply a generous bead of silicone caulk around the top and sides (leave the bottom uncaulked to allow any moisture to escape). Once mounted, pull your electrical wire from the panel through the conduit and into the box, leaving about six inches of extra wire inside for easier connections.
Beginner Tip: Avoid the mistake of mounting the box too close to the ground. Ensure it is at least 18 inches above the final grade to prevent water from splashing into the receptacle during heavy rain or snow accumulation.
Pro Tip: To keep your installation looking professional and clean, use a small torpedo level when marking your screw holes. A crooked box is the quickest way to spot an amateur job!
Step 4: Install the Generator Breaker in the Panel
Now that you have your interlock plate installed, it is time to add the “heart” of your backup system: the generator breaker. This specific breaker acts as the gatekeeper for your generator power. It must be installed in the two slots directly across from your main service breaker to ensure the mechanical interlock can physically slide back and forth between them.
To install, align the breaker with the metal mounting rail and the busbar teeth at the back of your panel. Press firmly until you hear a solid “click.” Once seated, connect your generator wires: insert the black wire into the first terminal, the red (or second black) wire into the second, and tighten the screws securely. Connect your white (neutral) wire to the neutral bar and the green or bare (ground) wire to the ground bar. Ensure all connections are tight enough that a gentle tug does not move the wire; loose connections cause dangerous heat buildup.
Beginner Tip: Before you even touch the panel, use a flashlight to double-check that you have identified the correct slots. It is a common mistake to install the generator breaker in the wrong position, which makes it impossible for the interlock bracket to slide properly, forcing you to remove and reinstall the entire breaker.
Pro Tip: When tightening the terminal screws, give the wire a slight “wiggle” as you tighten. This helps the wire seat fully into the terminal clamp, ensuring a better electrical connection and preventing the screw from feeling tight while the wire remains loose underneath.
Step 5: Mount the Interlock
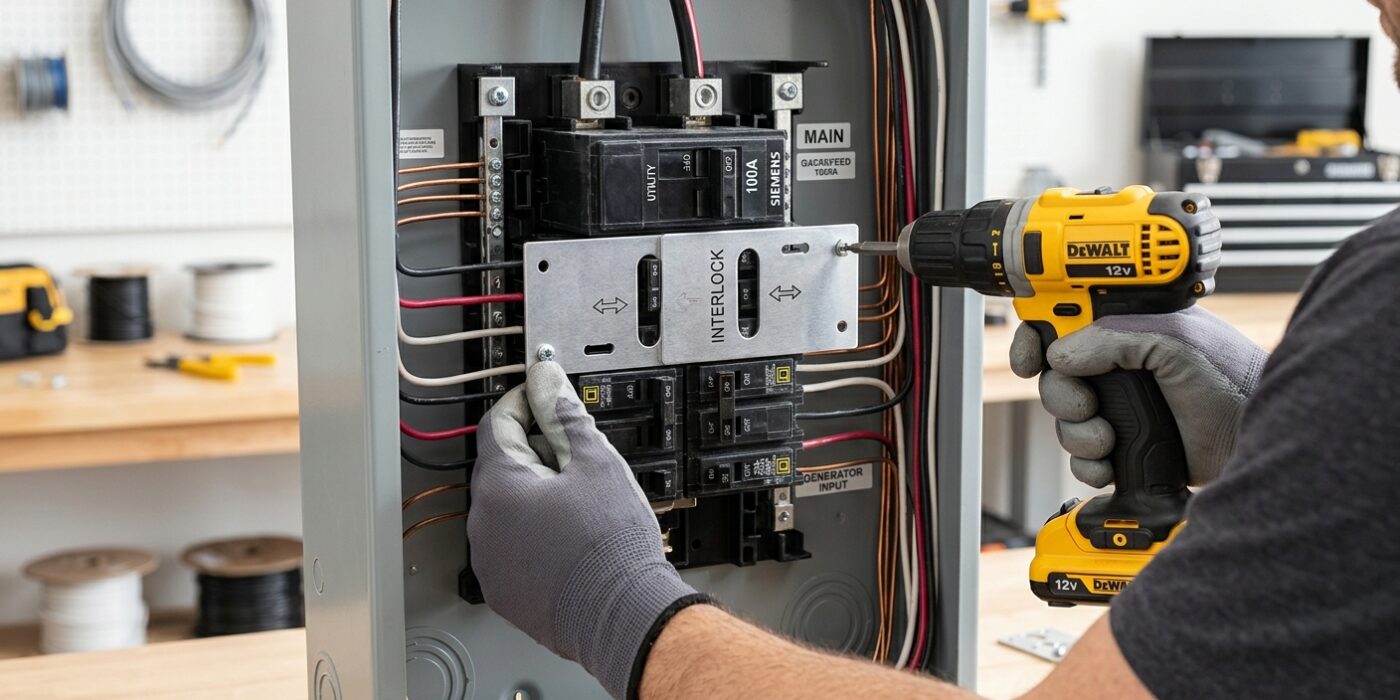
Now that your generator breaker is installed, it is time to install the safety interlock bracket. This device acts as a physical gatekeeper: it ensures that the main utility breaker and the generator breaker can never both be in the “on” position at the same time, which prevents dangerous electricity back-feed into the utility lines.
Place the metal interlock plate over the breakers on your panel cover, ensuring it slides freely. You will likely need to hold the plate in place while you mark the drill holes with a fine-tip permanent marker. Before drilling, double-check that the interlock successfully blocks both breakers from being on simultaneously; even a millimeter of misalignment can prevent the mechanism from sliding. If your kit requires drilling holes into the steel cover, use a sharp, new metal-cutting drill bit and apply light, steady pressure to prevent the bit from slipping and scratching the finish.
Beginner Tip: The most common mistake is over-tightening the screws. If you tighten them too much, the plate will pinch against the panel cover and become stuck. Tighten the screws until they are snug, then back them off a quarter-turn so the interlock glides smoothly with a satisfying click.
Pro Tip: Use a small piece of painter’s tape to hold the interlock plate in the perfect position while you mark your holes. This keeps the bracket from shifting while you work, ensuring your measurements remain precise and your final installation looks professional.
Step 6: Connect the Generator Inlet Box
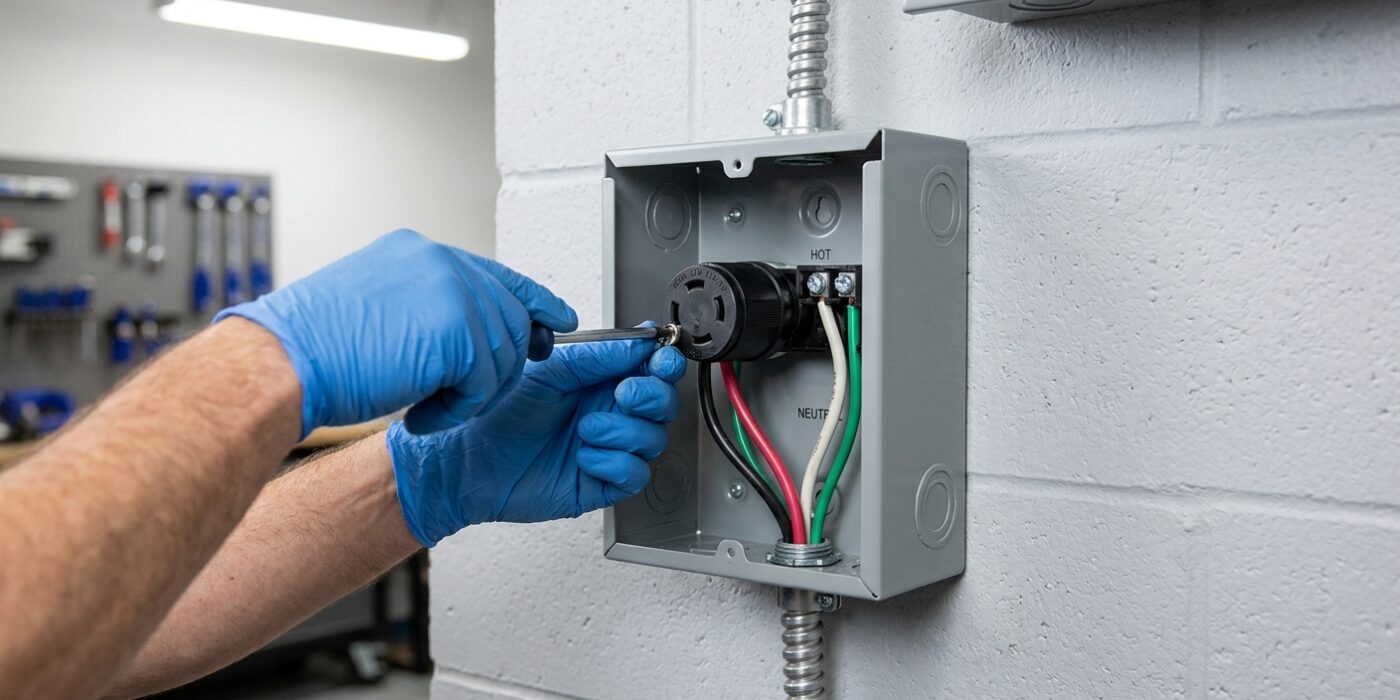
Now that your wiring is routed, it is time to connect the generator inlet box. This box acts as the bridge between your portable generator and your home’s electrical system. Inside the inlet box, you will find color-coded terminals: gold or brass screws are for your two hot wires, the silver screw is for your white neutral wire, and the green screw is reserved for your bare copper ground wire. Strip exactly 5/8 of an inch of insulation from each wire end using your wire strippers. Insert each wire fully into its matching terminal until no bare copper is visible, then tighten the screws firmly – give each wire a gentle tug to ensure it is locked securely in place. Once connected, mount the box to your exterior wall and use a generous bead of silicone-based weatherproof sealant around the edges to keep moisture from seeping into your wall cavity.
Beginner Tip: A common mistake is failing to fully seat the wire under the pressure plate of the terminal. If the wire is only resting on the edge, it can wiggle loose over time due to vibrations, causing a dangerous connection. Always look into the side of the terminal to confirm the metal conductor is completely under the screw plate before tightening.
Pro Tip: When stripping your wires, use the marked holes on your wire stripper tool that correspond to the gauge of your cable (usually 10 or 12 AWG). This prevents you from nicking the copper strands, which keeps the wire strong and ensures a perfect, low-resistance electrical connection every time.
Step 7: Inspection and Operating Procedure
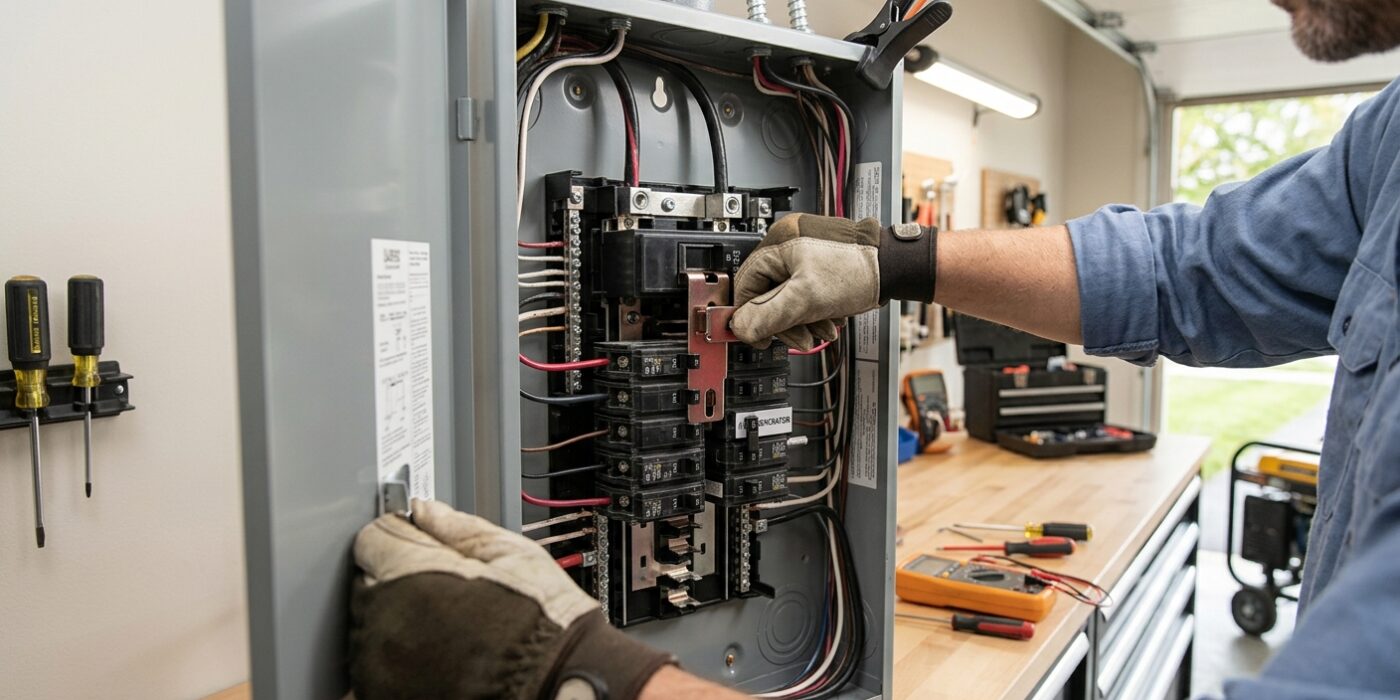
Now that your installation is complete, it is time to ensure everything is safe and functional. First, contact your local building department to schedule your permit inspection. The inspector will verify that your interlock kit is installed correctly and, most importantly, that it mechanically prevents the utility main breaker and the generator breaker from being in the ON position at the same time. Never skip this step; it is the final safety check to protect both you and the utility line workers.
Once you pass, practice your outage procedure in daylight so you aren’t fumbling in the dark. To power your home: (1) Turn the main breaker OFF. (2) Slide the interlock plate to open the generator breaker slot. (3) Turn the generator breaker ON. (4) Start your generator outside, let it stabilize for a minute, and then plug the cord into your inlet box. (5) Flip on only the specific branch breakers you need, starting with your refrigerator and sump pump. When utility power returns, perform these steps in reverse order.
Beginner Tip: A common mistake is trying to power every device in the house at once. Most portable generators will stall or trip their breakers if you exceed their wattage capacity. Use your pre-written list inside the panel to manage your power budget, and keep an eye on your generator’s output gauge to avoid an overload.
Pro Tip: Keep a dedicated flashlight and a pair of heavy-duty work gloves right next to your electrical panel. Having your generator cord, a set of instructions, and a light source stored together in one “emergency kit” makes the transition during an actual power outage much smoother and less stressful.