Project Shopping List
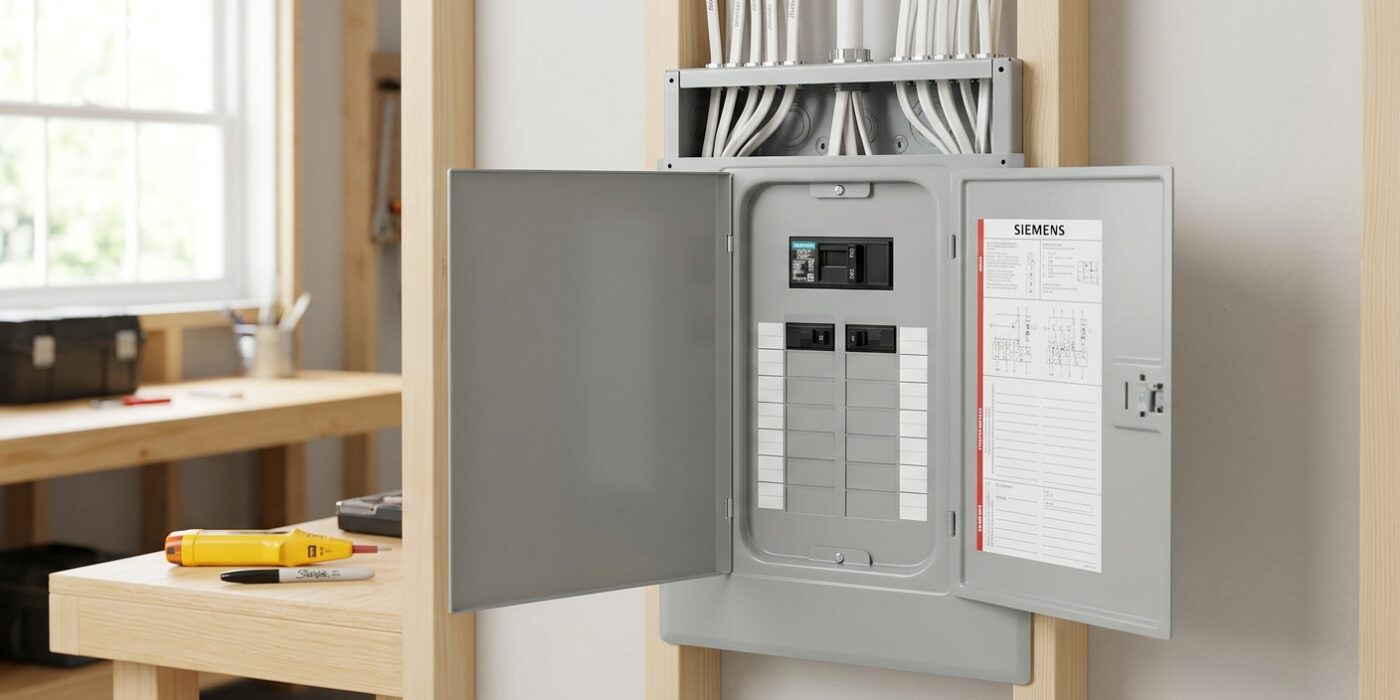
Knowing which breaker controls which circuit in your home is essential for electrical work, emergency shutoffs, and understanding your home’s electrical capacity. Most panels in older homes have outdated, incomplete, or simply wrong labels – the circuit that says “kitchen” may actually control the basement hallway, and the circuit labeled “bedroom 2” may power three different rooms. A systematic 1–2 hour labeling process gives you a complete, accurate panel map that pays dividends every time you do electrical work or respond to an emergency.
This guide gives you the systematic process for testing every circuit and creating a permanent, accurate panel directory.
What You’ll Need
Tools
- Non-contact voltage tester
- Outlet tester (plugs into outlets and shows wiring status)
- Plug-in lamp or radio (as a visual/audible indicator)
- Flashlight
Materials
- Paper and pencil (for working notes)
- Panel circuit directory (a printed card that fits inside the panel door)
- Label maker or clear handwriting
Step 1: Get a Helper

Mapping your home’s electrical circuits is a two-person job, so call a friend or family member to help. This project involves turning breakers off and on while identifying which lights and outlets lose power, which is nearly impossible to do by yourself without walking back and forth dozens of times. One person will stay at the electrical panel to manage the switches, while the other walks through the house to test every light switch and outlet. You will need to communicate constantly, so keep your phones on speaker mode or use walkie-talkies to stay in sync. Being clear and patient with each other is the key to finishing this task quickly and safely.
Beginner Tip: The most common mistake is assuming that all the outlets in one room are on the same circuit. You will often find that a single room has two or even three different circuits powering it, so test every single outlet and light switch individually rather than assuming the whole room is off.
Alternative Method: If you cannot find a partner, you can use a circuit breaker finder tool, which is available at any hardware store. You plug the transmitter into an outlet, and then wave the receiver wand over the breakers in the panel. When it beeps, you have found the correct circuit without needing a second person to walk the house.
Pro Tip: Before you start, draw a quick, rough floor plan of your home on a piece of paper. As your partner identifies which lights go out, jot the breaker number directly onto that floor plan. This visual map is much easier to read than a messy list of notes when you eventually label your panel.
Step 2: Identify All Loads in the House
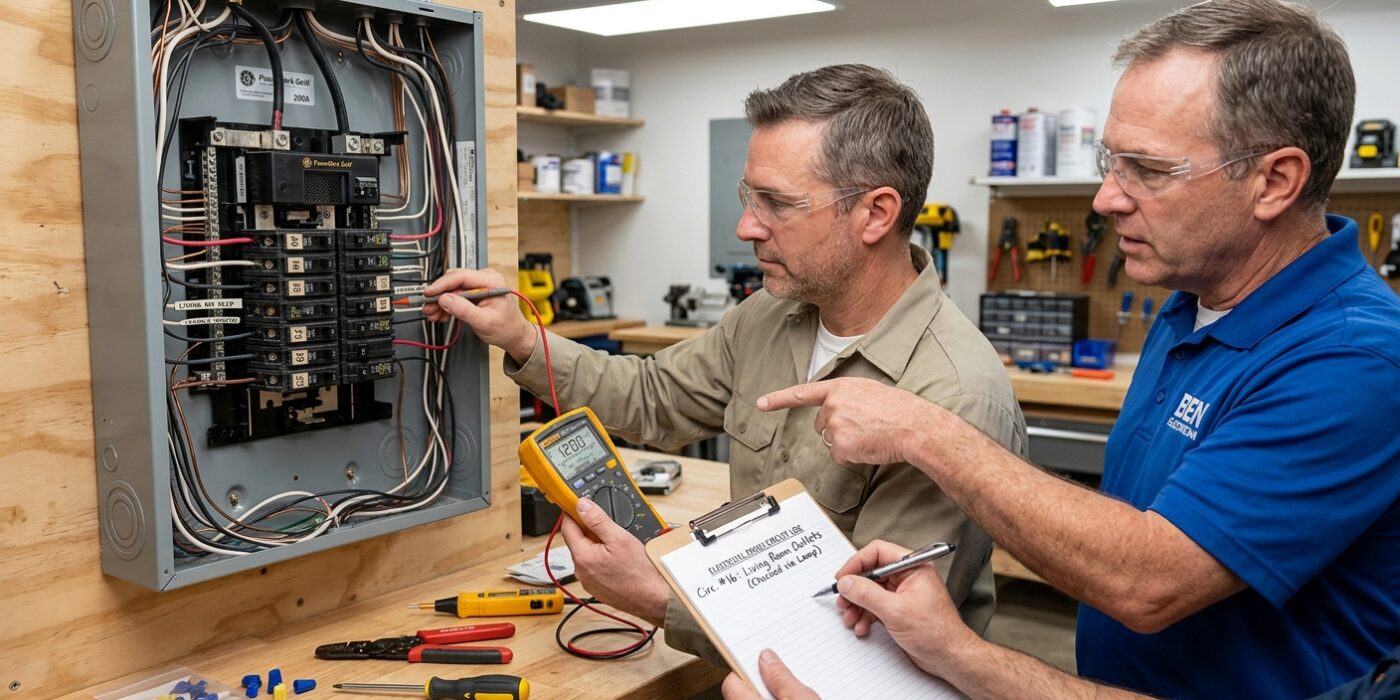
Before you approach your electrical panel, you need a clear map of your home’s electrical layout. Think of this as a scavenger hunt: you are building a master inventory of every power-consuming device in your home. Start with a notepad and walk through each room systematically. Document every wall outlet, ceiling light, light switch, and hardwired appliance – such as your refrigerator, dishwasher, HVAC system, water heater, and oven.
Why go to this effort? Most modern homes have dedicated circuits for major appliances, which are usually easy to spot because they control only one thing. However, your general-purpose outlets and lights are often bundled together on shared circuits. Having a room-by-room checklist ensures you don’t miss a hidden outlet behind a heavy piece of furniture or an exterior porch light. This inventory is your roadmap for the next step, where you will systematically flip breakers to see exactly which lights and devices lose power.
Beginner Tip: A common mistake is forgetting to check low-profile areas. Don’t overlook outlets tucked behind couches, inside garage cupboards, or hidden on exterior walls. If it has a plug or a switch, write it down.
Pro Tip: Use a simple, inexpensive non-contact voltage tester pen to confirm power. Instead of guessing if an outlet works, hold the tip of the pen near the outlet or switch. If it glows or beeps, the circuit is live. This makes confirming your list significantly faster than plugging and unplugging a lamp in every room.
Step 3: Document the Dedicated Appliance Circuits First
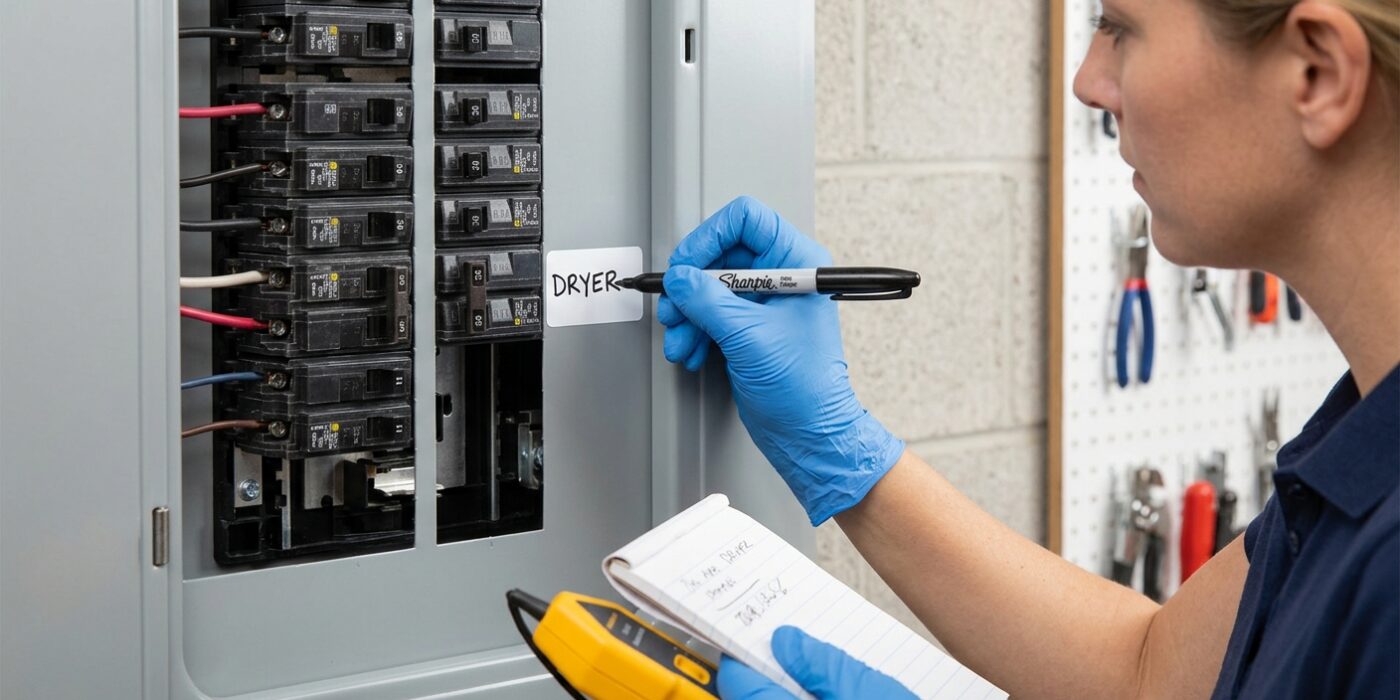
Before diving into the smaller household circuits, start by identifying the heavy lifters. These are controlled by double-pole breakers, which appear as two switches physically linked together by a metal bar. Because these supply 240V of power, they are almost always dedicated solely to one large appliance, such as your electric dryer, stove, HVAC unit, or water heater. Understanding these first is vital because they are the most powerful circuits in your home and serve as easy landmarks on your panel map.
To begin, look for these linked breakers, which often have higher numbers like 30A, 40A, or 50A printed on the switch. With a partner’s help, turn one of these off, then walk through the house to see which appliance has lost power. Once confirmed, write the appliance name clearly on your directory. Repeat this process until all the double-pole breakers are identified.
Beginner Tip: Avoid the common mistake of assuming a pre-existing label is 100% correct. Previous homeowners often replaced appliances or moved breakers without updating the list. Treat old labels as guesses, not facts, and verify every single one yourself to avoid confusion later.
Pro Tip: Use a piece of painter’s tape to temporarily label the breaker directly inside the panel door as you go. This prevents you from losing your place if you get interrupted, and it makes the final step of typing up or writing out your official directory much faster and more accurate.
Step 4: Map the 120V Branch Circuits Systematically
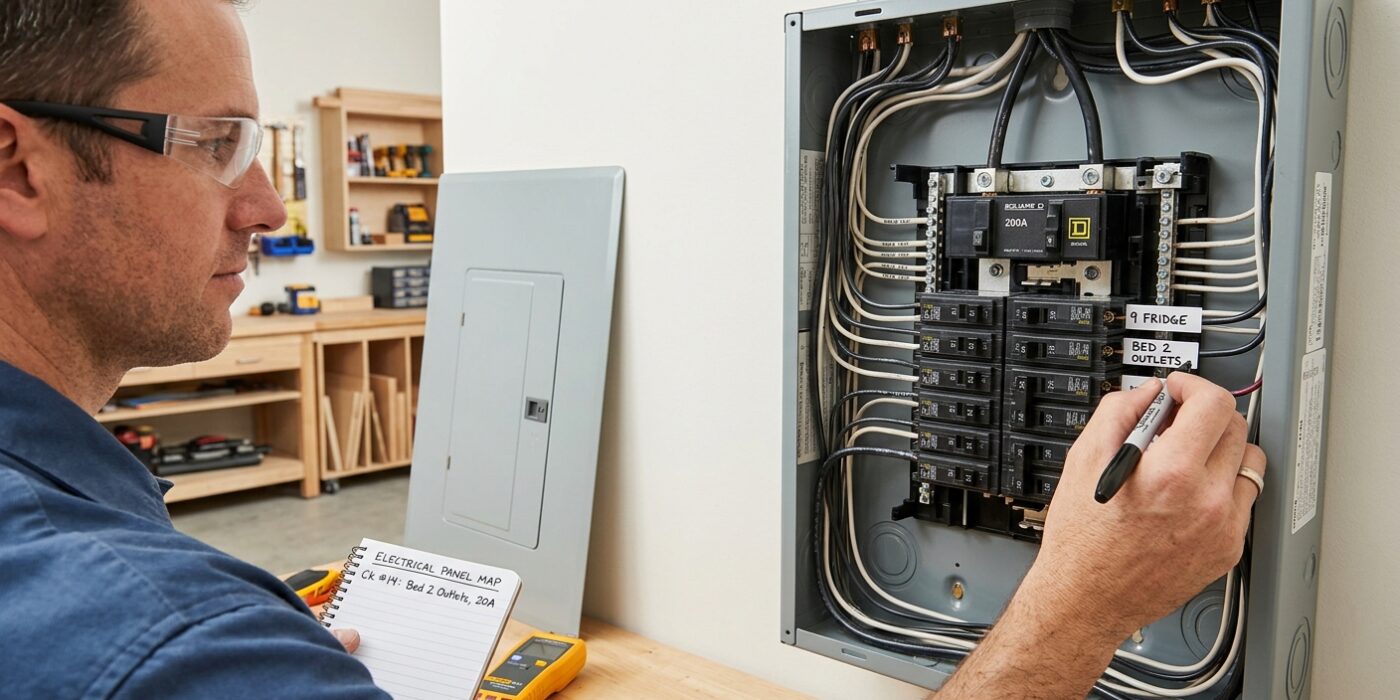
Now it is time to map your circuits. Start at the top-left breaker (labeled “1”) and flip it to the “OFF” position. With a helper stationed throughout the house, have them plug the outlet tester into every receptacle and flip every light switch. If the tester lights go dark or the lightbulb doesn’t glow, you have found a circuit controlled by that breaker. Document these locations clearly on your notepad before flipping the breaker back “ON.” Repeat this methodical process for every single switch in the panel, moving column by column. This systematic approach ensures that nothing is missed, preventing the frustration of guessing which mystery outlet belongs to which breaker later on.
Beginner Tip: A common mistake is assuming every room is on its own circuit. In many older homes, a single 15-amp breaker might power outlets across two different bedrooms or a hallway. Do not rush the process; check every wall outlet in every room before moving to the next breaker to avoid incomplete labels.
Alternative Method: If you do not have a plug-in tester, use a simple lamp. Plug it into an outlet and walk from room to room, testing each one until the light goes out. While slightly slower than using a specialized tester, it is a perfectly effective way to identify your circuits without buying extra gear.
Pro Tip: Use a piece of masking tape to temporarily label each outlet and light switch with the corresponding breaker number as you go. Once you finish the entire panel, you can create a permanent, professional-looking legend for the inside of your panel door.
Step 5: Note GFCI-Protected Circuits
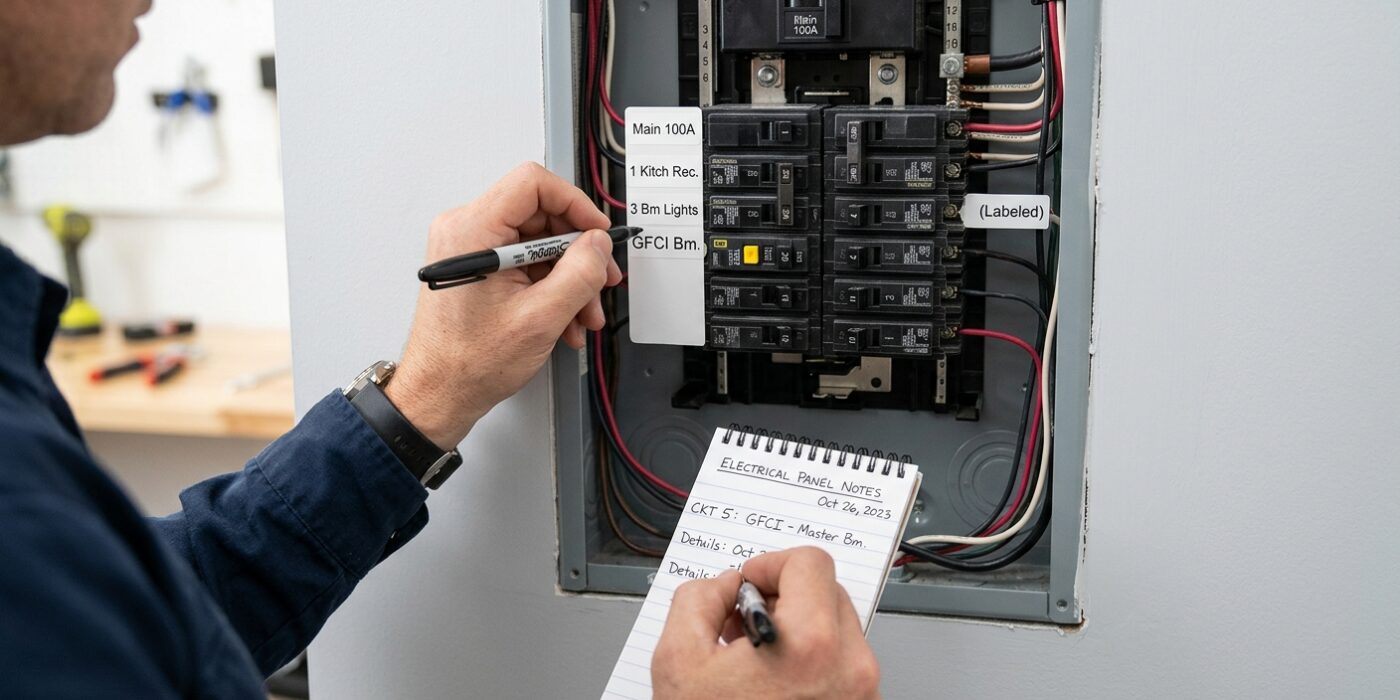
Identifying which outlets are protected by a Ground Fault Circuit Interrupter (GFCI) is a vital safety step. A GFCI outlet is easily recognizable by the two small “Test” and “Reset” buttons on its face. These units are designed to monitor electrical current and shut off power instantly if they detect a ground fault, protecting you from shock. Often, one GFCI outlet is wired to protect several standard outlets “downstream” from it. If your standard outlet stops working, the culprit is often a tripped GFCI located in a different room or wall.
To map these, press the “Test” button on a GFCI outlet to cut the power. Walk through your home with a small lamp or a plug-in circuit tester to see which other outlets have lost power. On your electrical panel label or your master list, write down these relationships clearly. For example, mark a bedroom outlet as “GFCI-protected by Bathroom 1.” This saves you from hunting for a tripped breaker when you really just need to press a reset button.
Beginner Tip: Avoid the mistake of assuming a GFCI only protects the room it is in. It is very common for a single bathroom or garage GFCI to control power for outlets in hallways or adjacent rooms. Test every outlet in your home, even those far from the GFCI, to be sure.
Pro Tip: Keep a piece of masking tape and a permanent marker in your pocket while you walk the house. Label the faceplate of the downstream outlets with the location of the master GFCI, such as “Reset at Kitchen GFCI.” Future you will thank you during the next power interruption.
Step 6: Create the Permanent Panel Directory
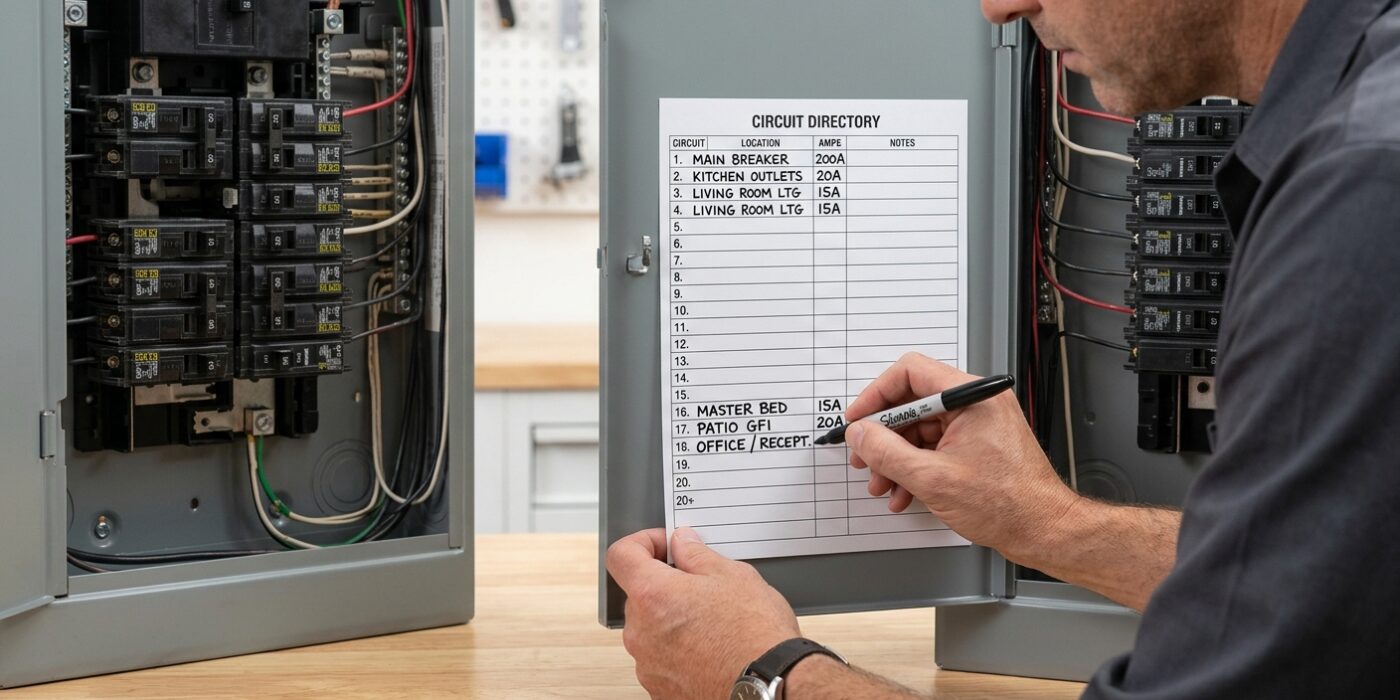
Now that you have your list of notes, it is time to turn those messy scraps into a permanent directory. This document is your home’s electrical map; clear labels turn a stressful, dark emergency into a simple flip of a switch. Organize your descriptions by breaker number, using consistent, descriptive phrasing. Instead of writing “Kitchen,” write “Kitchen: Fridge + 2 Counter Outlets.” If a breaker controls outlets in different rooms, list both so you aren’t left guessing later. Once you have typed or neatly written your list, laminate the page or cover it in clear packing tape to prevent it from fading or yellowing. Secure it firmly inside the panel door, replacing any old, illegible stickers so the next person – or your future self – has a perfectly clear reference.
Beginner Tip: Avoid using pencil or non-permanent markers for your final directory. Electrical panels are often in basements or garages where moisture and temperature changes can cause pencil to smudge or fade over time. Always use a permanent ink pen or a printed label so your hard work remains readable for years to come.
Pro Tip: Keep a digital copy of your final directory saved as a photo in your phone’s “Home” or “Favorites” album. If the power goes out at night, you won’t have to squint at the small text inside the panel door; you can simply pull up the image on your phone screen to see exactly which breaker to flip.