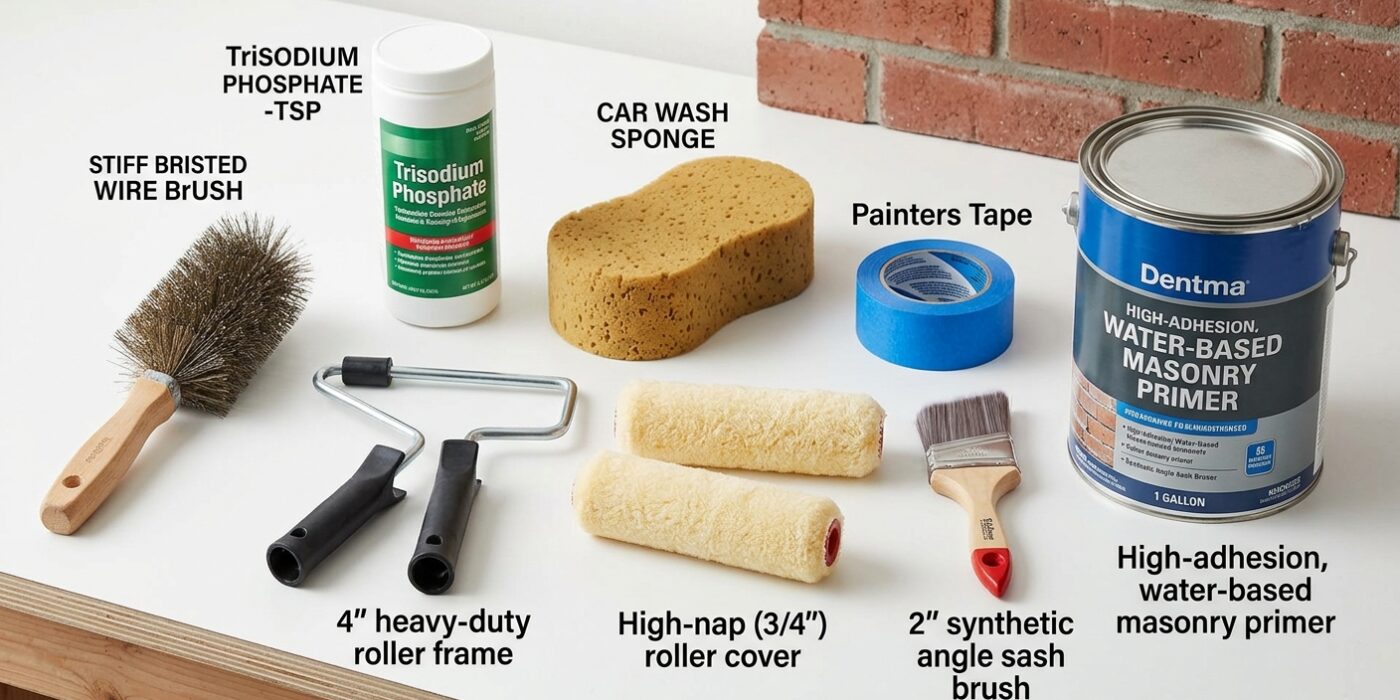
Project Shopping List
Painting brick – a fireplace surround, an exterior wall, or a chimney – is a commitment that cannot be undone without significant effort (brick is nearly impossible to strip cleanly once painted). Do it for the right reasons (moisture-damaged exterior brick, uniformity in a fireplace remodel, dated interior brick), with the right preparation, and it can look excellent and last decades. Do it casually, and you’ll regret it within a year.
This guide covers both interior brick (fireplace) and exterior brick painting, which have different product and prep requirements. The process applies equally to painted concrete block walls.
What You’ll Need
Tools
- Wire brush (for cleaning mortar joints)
- Pressure washer (for exterior brick) or stiff scrub brush
- Masonry brush (thick nap for brick texture)
- Thick-nap roller (3/4 inch for exterior brick, 1/2 inch for interior)
- Drop cloths
- Painter’s tape and plastic sheeting (for fireplace)
Materials
- Masonry primer (Zinsser Masonry Primer or Sherwin-Williams Loxon Conditioner for exterior)
- Masonry paint or elastomeric paint (for exterior)
- Fireplace-rated high-temperature paint (for fireplace surround areas that get hot)
- Muriatic acid (optional, for severe efflorescence/mineral deposits)
- TSP substitute or brick cleaner
Step 1: Assess Whether You Should Paint
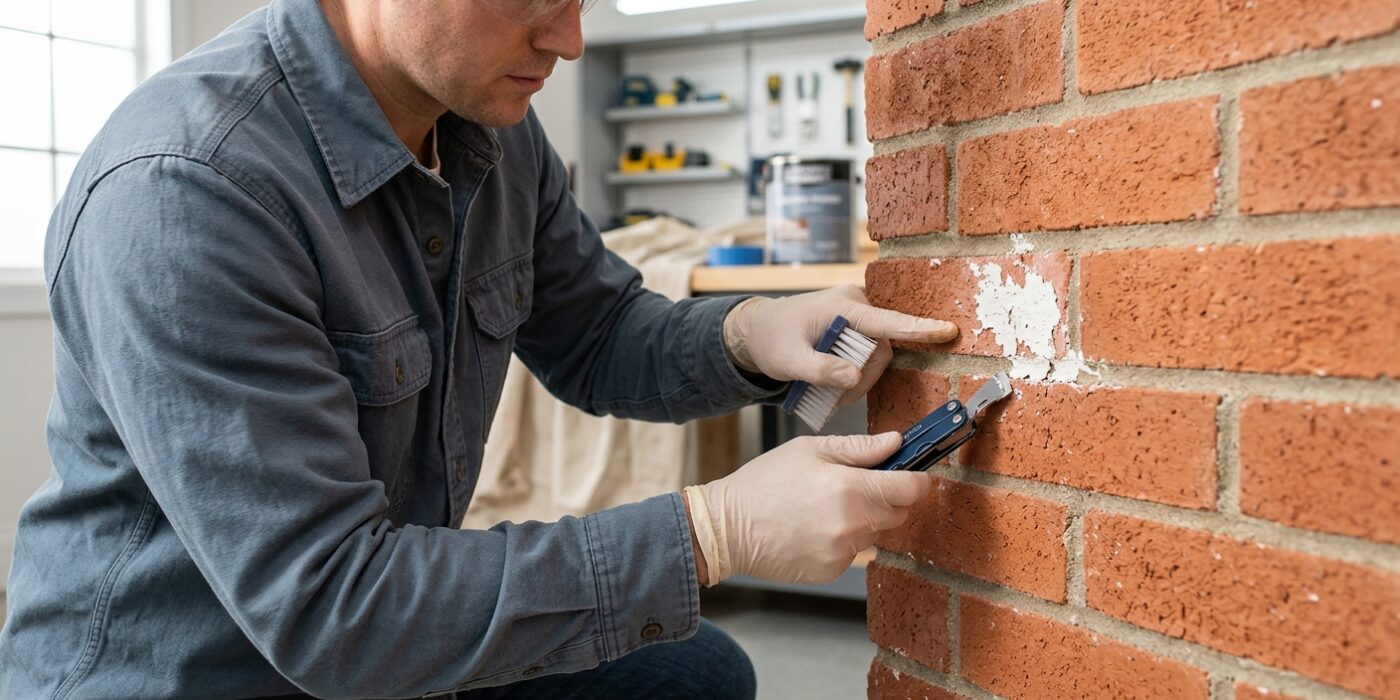
Before you dive in, it is crucial to determine if painting is the right choice for your specific brick. Brick is a porous, natural material that loves to “breathe,” meaning it naturally absorbs and releases moisture. For an interior fireplace, you are safe to paint away, as internal humidity is rarely an issue. However, exterior brick is a different story.
If you paint exterior brick with standard latex paint, you create a waterproof plastic film that traps moisture inside the wall. In cold climates, that trapped water can freeze and expand, causing the face of your brick to crack or pop off – a process called spalling. To avoid this, you must use a specialized, vapor-permeable masonry paint or a high-quality elastomeric coating that allows moisture to escape while blocking rain. If you live in a region with harsh winters, always verify your paint label specifically mentions “breathable” or “vapor-permeable” properties.
Beginner Tip: Never paint over damaged or crumbling brick. Paint is not a filler and will not hold together loose mortar or deteriorating masonry. If you see cracks wider than a nickel or soft, sandy-feeling mortar, you should consult a masonry repair professional before picking up a brush.
Alternative Method: If you love the natural look of brick but want a different color, consider using a masonry stain rather than paint. Staining penetrates the pores of the brick rather than forming a barrier on top, which maintains the brick’s natural ability to breathe and requires almost no maintenance over time.
Pro Tip: Perform a simple splash test before you start. Pour a cup of water onto several bricks in different areas of the wall. If the water soaks in quickly, the brick is porous and ready for paint; if it beads up on the surface, your brick may have been previously sealed, and it will require a deep cleaning or specialty primer to ensure your new paint sticks.
Step 2: Clean All Surfaces
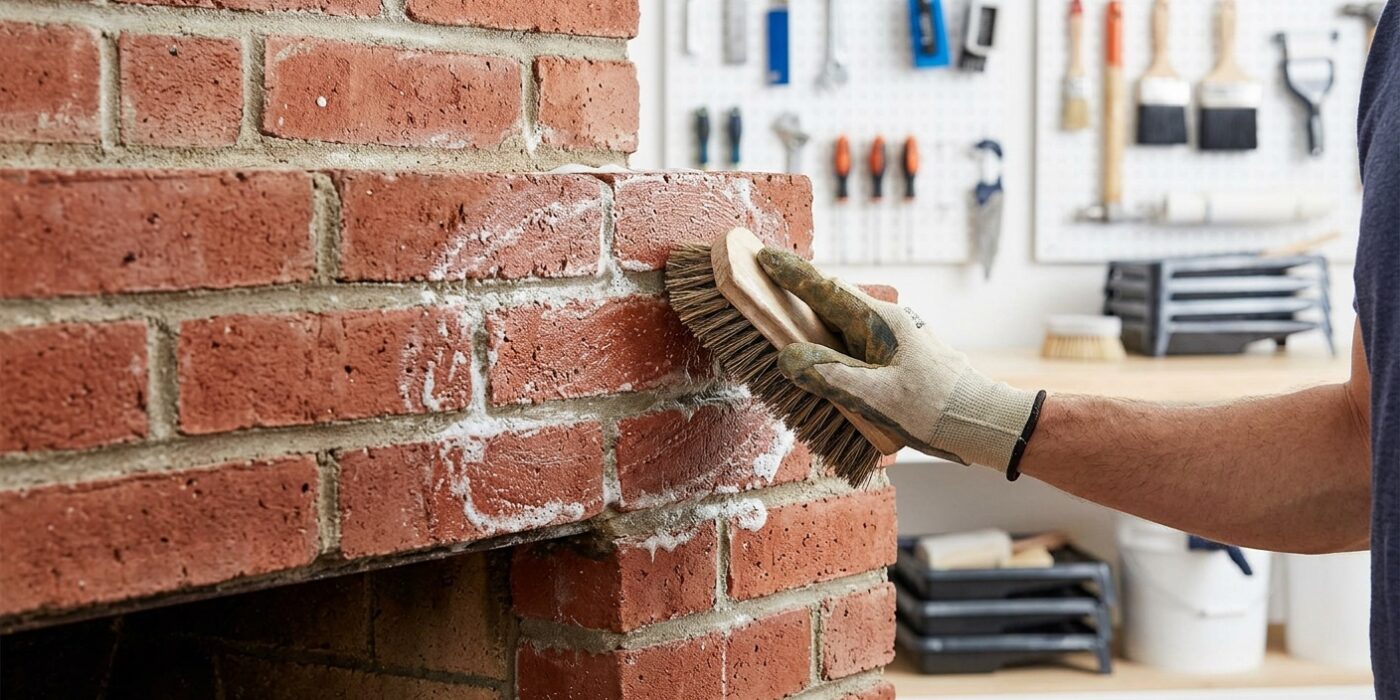
Before you even think about picking up a paintbrush, you must ensure your brick is perfectly clean. Paint cannot stick to dust, soot, or loose mortar; if you skip this step, your beautiful new finish will peel off within months.
For exterior brick, use a pressure washer set between 1500 and 2000 PSI. Keep the nozzle about 12 inches away from the wall, moving in smooth, overlapping strokes to blast away moss and dirt. If you see white, chalky mineral deposits, known as efflorescence, mix a solution of 1 part muriatic acid to 9 parts water. Wear heavy-duty chemical-resistant gloves and safety goggles, apply the mix carefully, then rinse thoroughly. For interior fireplaces, use a stiff-bristled scrub brush and a TSP (trisodium phosphate) substitute. Focus on scrubbing deep into the mortar joints to remove stubborn soot and debris. Once finished, you must let the brick dry completely for at least 48 hours before applying primer.
Beginner Tip: Avoid the temptation to paint while the brick is still damp. Even if it feels dry to the touch, moisture trapped deep in the porous brick will cause your paint to bubble and fail. When in doubt, wait an extra day.
Pro Tip: To ensure you haven’t missed any loose bits, run a dry, stiff paintbrush over the joints after the surface has dried. This acts like a broom for your brick, clearing out lingering dust and tiny, crumbling mortar particles that would otherwise get stuck in your fresh coat of paint.
Step 3: Repair Damaged Mortar Joints
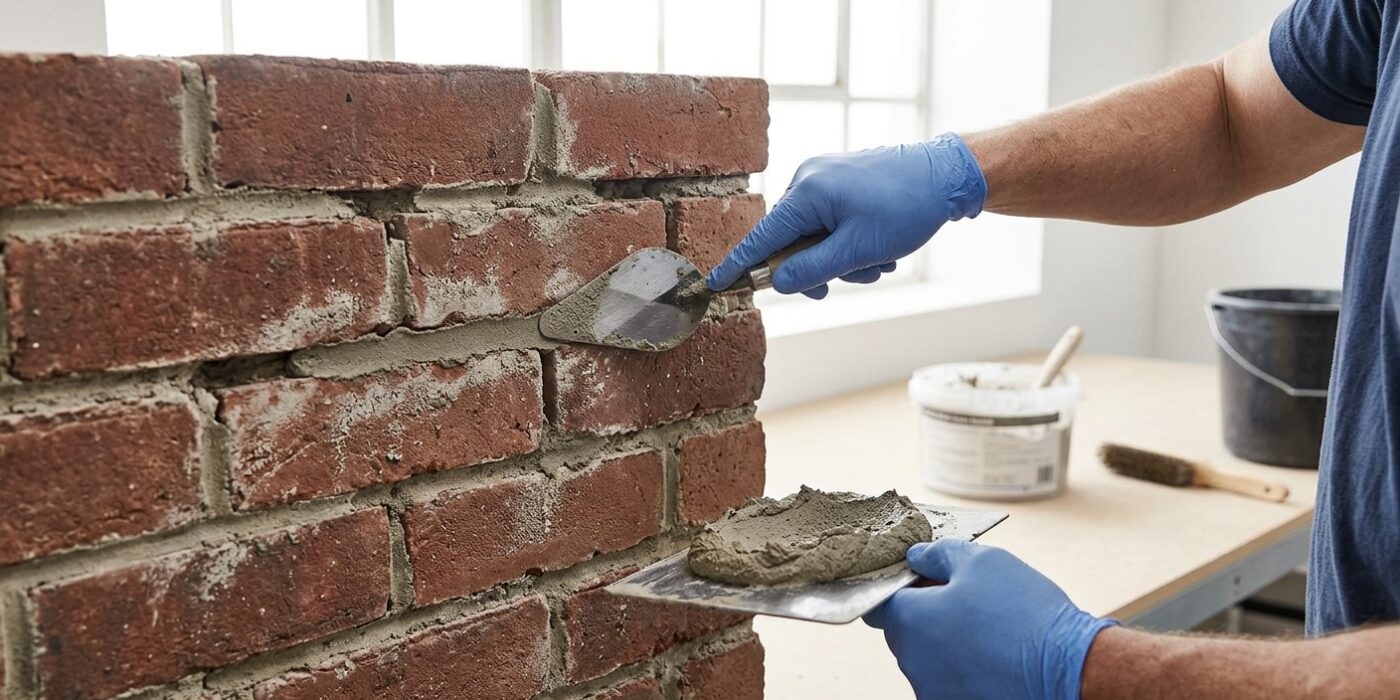
Before you add color, you must ensure your wall is structurally sound. Over time, the mortar between your bricks can crumble, leaving gaps that trap moisture. To fix this, use a hammer and cold chisel to gently chip away any loose, cracked, or falling-out mortar until you reach solid material. Aim to create a depth of at least 1/2 inch into the joint. Once the gap is clean, scoop your pre-mixed tuck-pointing mortar onto a flat board or hawk. Use a narrow tuck-pointing trowel or a stiff putty knife to press the fresh mortar firmly into the space. Don’t just smear it on the surface; you want to pack it deep to create a strong bond. Smooth the surface with your trowel to match the shape of the surrounding joints and let it cure for 48 to 72 hours before moving on to priming.
Beginner Tip: Avoid overfilling the joints. It is much harder to sand down hardened mortar than it is to add a little more if you come up short. Keep the surface of the new mortar slightly recessed or flush with the brick faces to keep that clean, professional look.
Pro Tip: To keep your brick face clean, hold a piece of scrap wood or a small board directly under the joint you are working on. This acts as a catch-all for any falling mortar, saving you from a messy cleanup later.
Step 4: Prime the Brick
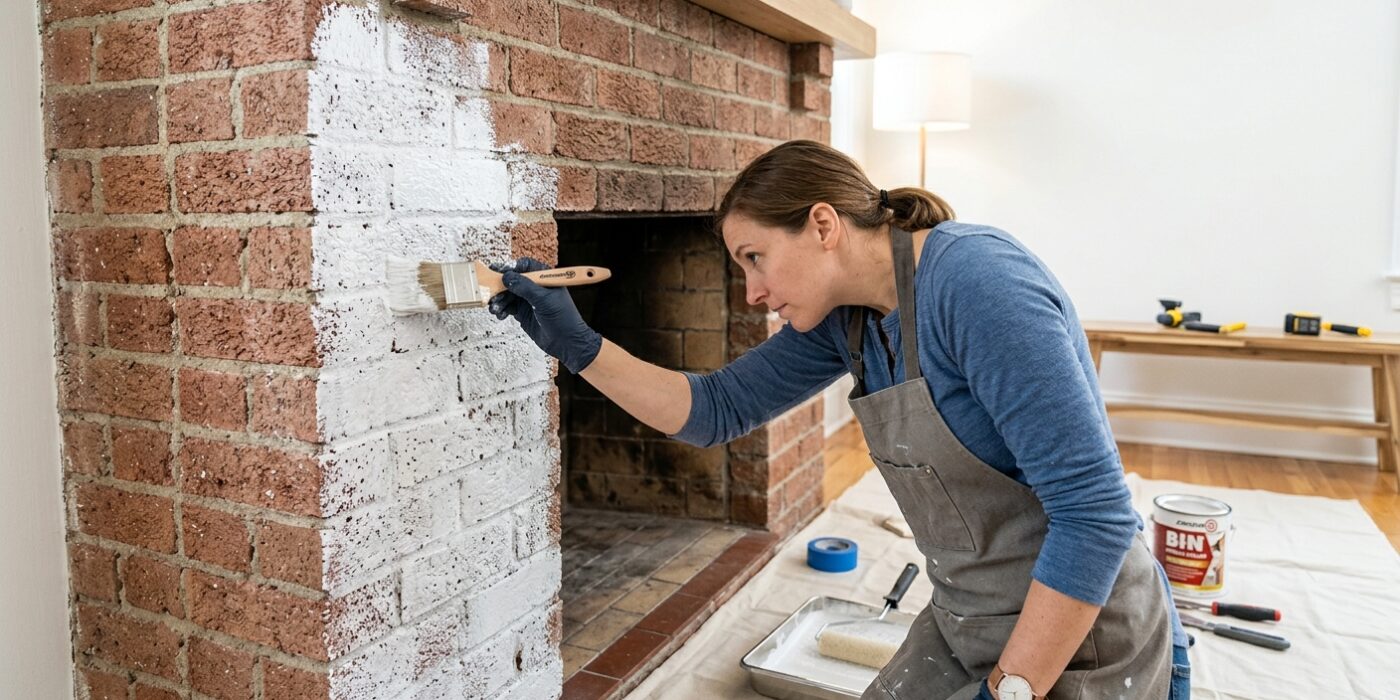
Think of your primer as the foundation of a house; without it, your paint won’t stay put. Brick is incredibly porous, acting like a giant sponge that will soak up expensive paint and leave you with a patchy, uneven finish. Masonry primer seals these pores, creating a uniform, sticky surface for your paint to grab onto.
To start, pour your masonry primer into a paint tray. Load your thick-nap roller – look for one labeled for “rough surfaces” – and apply it using a “W” or “M” pattern to ensure even distribution. Focus on applying firm pressure so the long fibers of the roller push the primer into the deep crevices of the mortar joints. Once the brick face is covered, use a masonry brush to dab or “stipple” into any stubborn holes or textures the roller missed. For exterior projects, use a masonry conditioner or block filler, which is thicker and specifically designed to level out the irregular, rough surface of exterior brick.
Beginner Tip: Don’t try to get 100% full opacity with your primer. It is perfectly normal for the primer to look a bit streaky or translucent; its primary job is sealing, not changing the color. If you try to apply the primer too thickly to hide the brick color, it will likely drip and create unsightly runs that are very difficult to sand down later.
Pro Tip: Before you begin, lightly mist the brick surface with a spray bottle of water if it is extremely dusty or dry. This prevents the brick from “flashing” – a process where the surface sucks the moisture out of the primer too quickly – allowing it to cure more evenly and adhere much stronger.
Step 5: Apply the Finish Coat
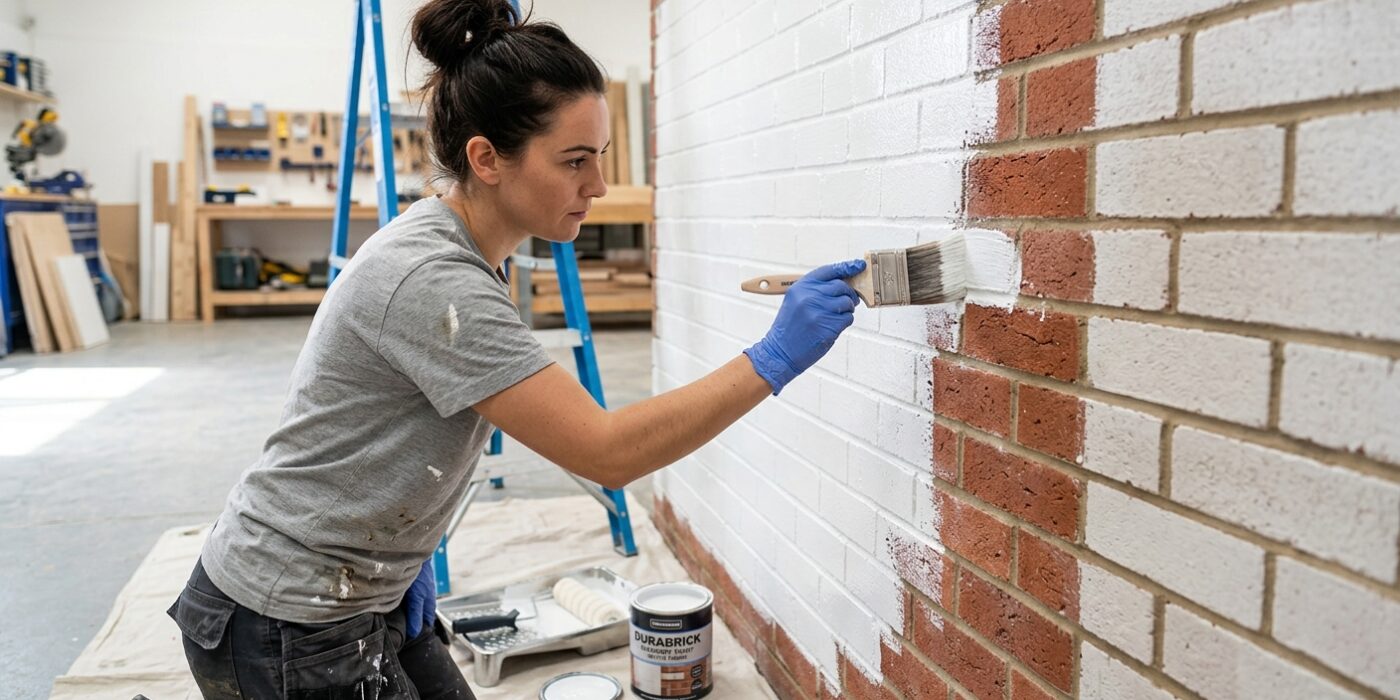
Now that your primer is dry, it is time for the fun part: the finish coat. The goal here is complete, uniform coverage without creating drips. For interior fireplace surrounds, use a thick-nap roller (at least 3/4-inch nap). The long fibers are essential because they reach deep into the uneven texture of the brick and the recessed mortar joints that a standard wall roller would miss. Apply the paint in a “W” pattern, then fill in the gaps to ensure even distribution. If paint pools in the mortar valleys, use a dry paintbrush to gently “tip off” the excess; this prevents unsightly, thick globs from drying in the cracks.
Beginner Tip: Avoid the temptation to press hard on your roller to “squeeze” paint into the bricks. Pushing too hard creates messy spatters and uneven ridges. Instead, let the thick nap of the roller do the heavy lifting – keep your pressure light and let the paint transfer naturally to the surface.
Alternative Method: If your brick is extremely porous or has very deep crevices that a roller just cannot reach, you can use a large, stiff-bristled masonry brush instead of a roller. Simply dip the brush and use a dabbing, stippling motion to push the paint into every nook and cranny. It takes longer, but it ensures a solid, professional-looking coat on even the roughest surfaces.
Pro Tip: Before you start your second coat, check your work under bright lighting. If you see tiny unpainted pinholes in the texture, don’t just roll over them; use your brush to stipple a small amount of paint directly into those spots to ensure total coverage.
Step 6: Cut-In Details and Final Coat
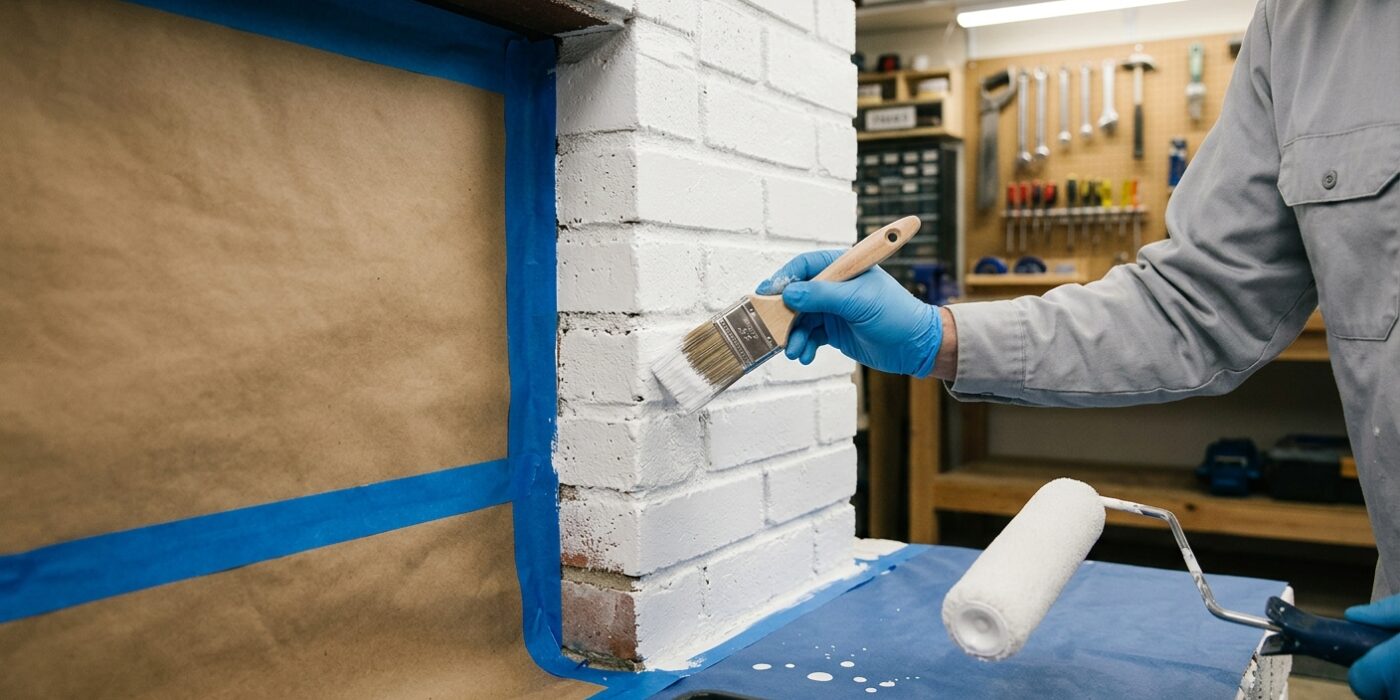
Now that your main surfaces are covered, it is time to handle the delicate work. Using a 2.5-inch angled sash brush, “cut in” the paint where the brick meets the ceiling, floor, and adjacent walls. Hold the brush like a pencil, using the angled tip to draw a clean, straight line along the edge. Because brick is textured, don’t just drag the brush; dab the paint into the deep mortar recesses to ensure full coverage. If you leave these gaps white or exposed, the finished look will appear unfinished and messy.
Beginner Tip: A common mistake is leaving painter’s tape on until the paint is bone-dry. If the paint creates a solid “bridge” over the tape onto the wall, pulling it off can tear away chunks of your fresh paint job. Instead, gently peel the tape away at a 45-degree angle while the final coat is still slightly tacky to ensure a razor-sharp, professional-looking line.
Alternative Method: If you find maneuvering a brush difficult, use a small, dense foam craft sponge to “stipple” the paint into deep mortar joints. Simply dip the corner of the sponge into a small amount of paint and press it firmly into the crevices. This method is incredibly forgiving and often results in a more uniform finish than using a brush alone.
Pro Tip: Before you clean your brushes, step back about ten feet and look at your wall under different lighting. Shadows often hide missed spots in the mortar. Shine a flashlight at an angle against the brick to highlight any areas that look thin or patchy.