Project Shopping List
Peeling paint on walls and ceilings is a symptom, not just a surface problem. Paint peels because something caused adhesion failure – moisture infiltration, incompatible paint layers, painting over a contaminated surface, or painting in wrong conditions. Simply scraping and repainting without addressing the underlying cause produces a repeat failure within months.
What You’ll Need
Tools
- Putty knife and paint scraper
- Random orbital sander
- 80-grit and 120-grit sandpaper
- Paintbrush and roller
- Flashlight for inspecting for moisture
Materials
- Stain-blocking primer (Zinsser BIN or oil-based)
- Joint compound or spackling
- Matching paint
- Paint conditioner (Floetrol for latex)
Step 1: Find the Cause Before Touching the Peeling Paint
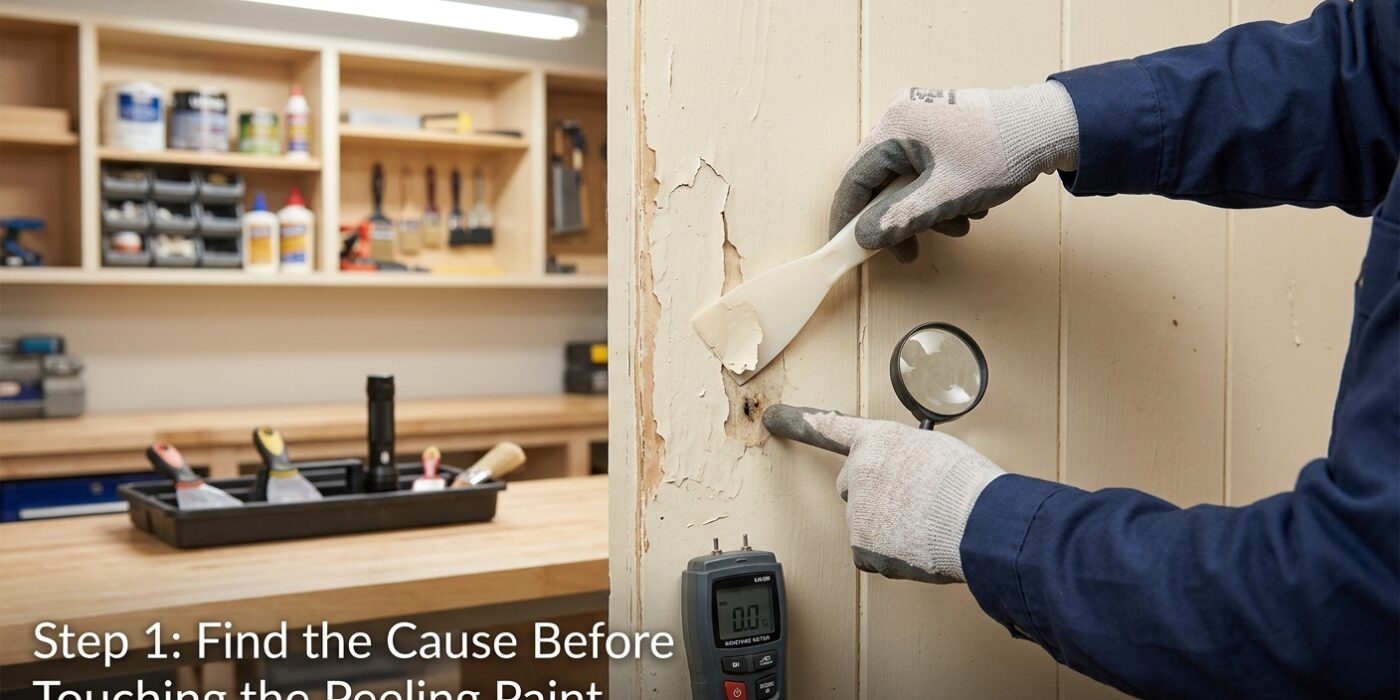
Before you pick up a scraper, it is vital to understand that peeling paint is rarely just a cosmetic issue; it is a symptom of a deeper problem. If you simply paint over the area without fixing the source, the new coat will bubble and peel within months. To investigate, grab a flashlight and hold it against the wall or ceiling at a sharp angle – about 10 to 20 degrees. This is called “raking light,” and it casts long shadows that reveal the true texture and extent of the damage.
Look for patterns: peeling near windows or exterior corners often points to water intrusion, while flaking in humid areas like bathrooms or kitchens suggests poor ventilation. If the peeling appears in random, crusty patches, your wall likely has layers of old paint that aren’t bonding together. Identifying this now saves you from repeating the entire project next season.
Beginner Tip: Avoid the urge to start sanding immediately. If moisture is the culprit, sanding will only spread damp drywall dust into the air and hide the warning signs you need to see. Always finish your inspection and address the moisture or ventilation issue before creating any dust.
Pro Tip: If you are struggling to tell if a wall is damp, use a simple non-contact moisture meter from your local hardware store. These inexpensive tools take the guesswork out of the process, giving you a digital reading that confirms whether you have an active leak behind the surface.
Step 2: Fix Moisture Problems First
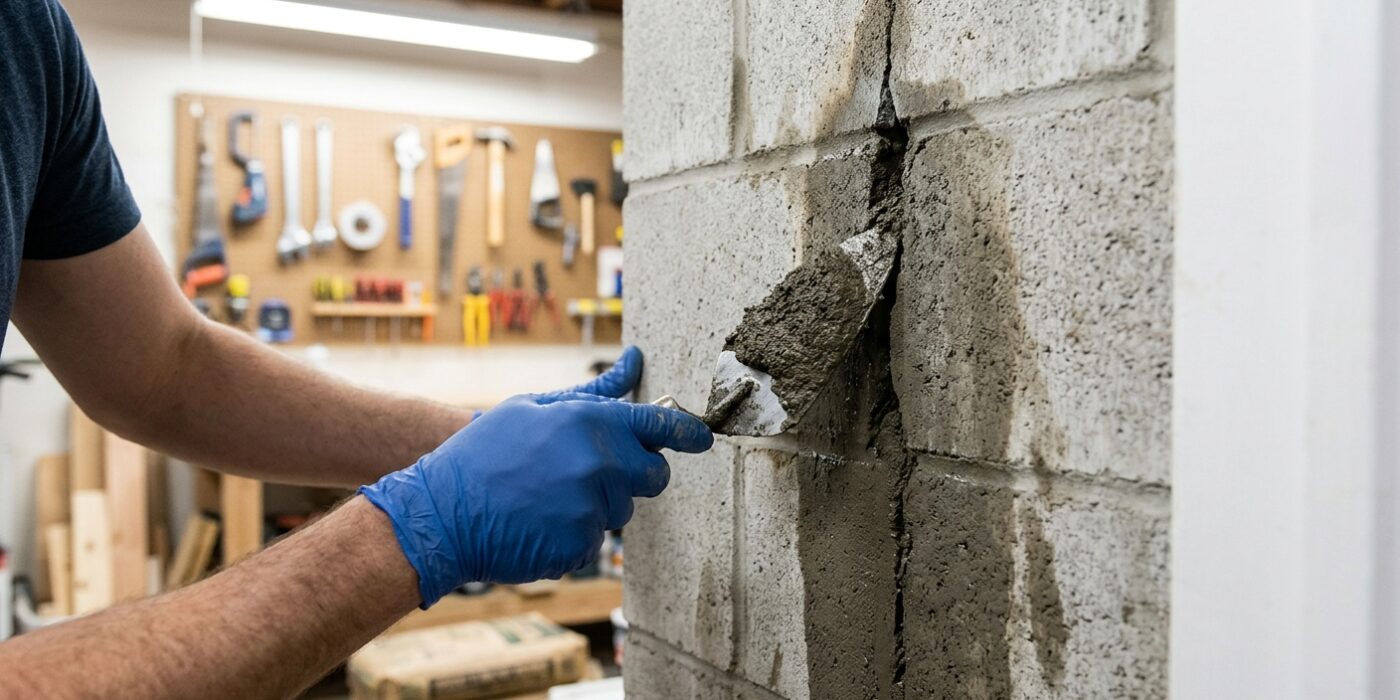
Before you even think about picking up a paintbrush, we need to address the moisture issue. Think of this as the foundation of your project; if you paint over a wet or damp surface, the moisture will push the paint right back off, forcing you to start over within a year. First, identify the culprit. Check ceilings for signs of roof leaks or plumbing issues, and examine walls for failed window caulk or poor ventilation. If you spot a leak, fix it or call a professional immediately. Once the source is resolved, you must be patient. Use a moisture meter, which you can find at any hardware store, to ensure the wall’s moisture content is below 15 percent. If you do not have a meter, leave the area to air dry for at least two full weeks. Proper drying is non-negotiable for a lasting finish.
Beginner Tip: A common mistake is assuming that because a surface feels dry to the touch, it is dry enough to paint. Surface-level dryness is deceiving; moisture often lingers deep within the drywall or plaster. Always wait the full two weeks or use a meter to be absolutely certain the interior material is dry.
Pro Tip: To speed up the drying process without damaging your walls, set up a simple box fan about three feet away, angled at a 45-degree direction toward the affected area. This improves air circulation significantly, which helps pull moisture out of the material much faster than still air ever could.