Project Shopping List
Peeling paint on walls and ceilings is a symptom, not just a surface problem. Paint peels because something caused adhesion failure – moisture infiltration, incompatible paint layers, painting over a contaminated surface, or painting in wrong conditions. Simply scraping and repainting without addressing the underlying cause produces a repeat failure within months.
What You’ll Need
Tools
- Putty knife and paint scraper
- Random orbital sander
- 80-grit and 120-grit sandpaper
- Paintbrush and roller
- Flashlight for inspecting for moisture
Materials
- Stain-blocking primer (Zinsser BIN or oil-based)
- Joint compound or spackling
- Matching paint
- Paint conditioner (Floetrol for latex)
Step 1: Find the Cause Before Touching the Peeling Paint
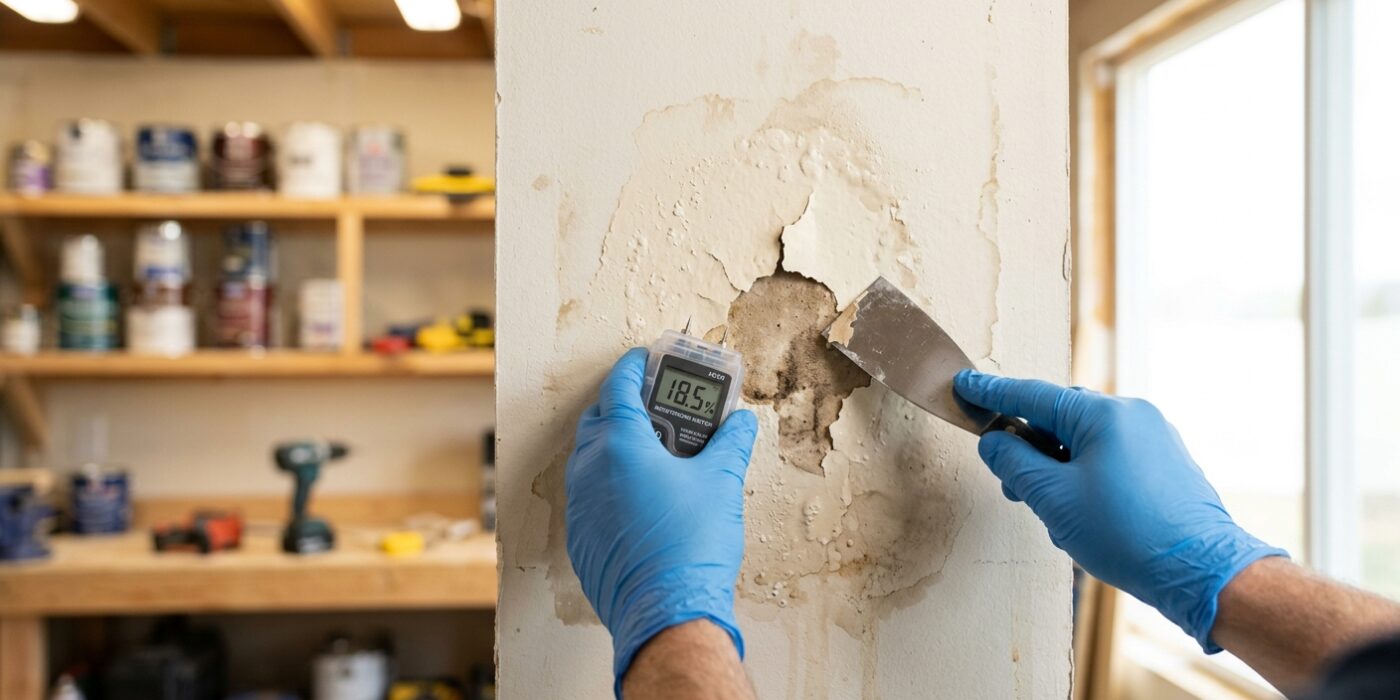
Before you grab a scraper or sandpaper, take a moment to play detective. The secret to a long-lasting repair is ensuring the problem doesn’t return, so we need to identify why the paint is failing in the first place. Grab a flashlight and hold it against the wall or ceiling at a sharp, 15-degree angle – this is called “raking light.” By skimming the beam across the surface, the shadows will reveal hidden cracks, texture changes, or underlying dampness that you would miss with standard overhead lighting.
Look for patterns: if the peeling is clustered near windows or exterior walls, you likely have a moisture leak that needs sealing. In kitchens or bathrooms, it is usually a ventilation issue causing humidity to trap against the wall. If the flakes are random and scattered on an older surface, it is often a sign of incompatible paint layers from a previous project. Fixing the root cause – like running your exhaust fan longer or patching a small exterior gap – is the most important step in your renovation journey.
Beginner Tip: Avoid the urge to start sanding or scraping immediately. If you paint over a moisture problem, the new paint will simply bubble or peel off again within a few months, forcing you to repeat all your hard work.
Pro Tip: If you suspect moisture, try pressing a piece of plastic wrap against the peeling area with painter’s tape. If condensation forms behind the plastic after 24 hours, you have an active moisture issue that must be resolved before you proceed to the cosmetic repairs.
Step 2: Fix Moisture Problems First
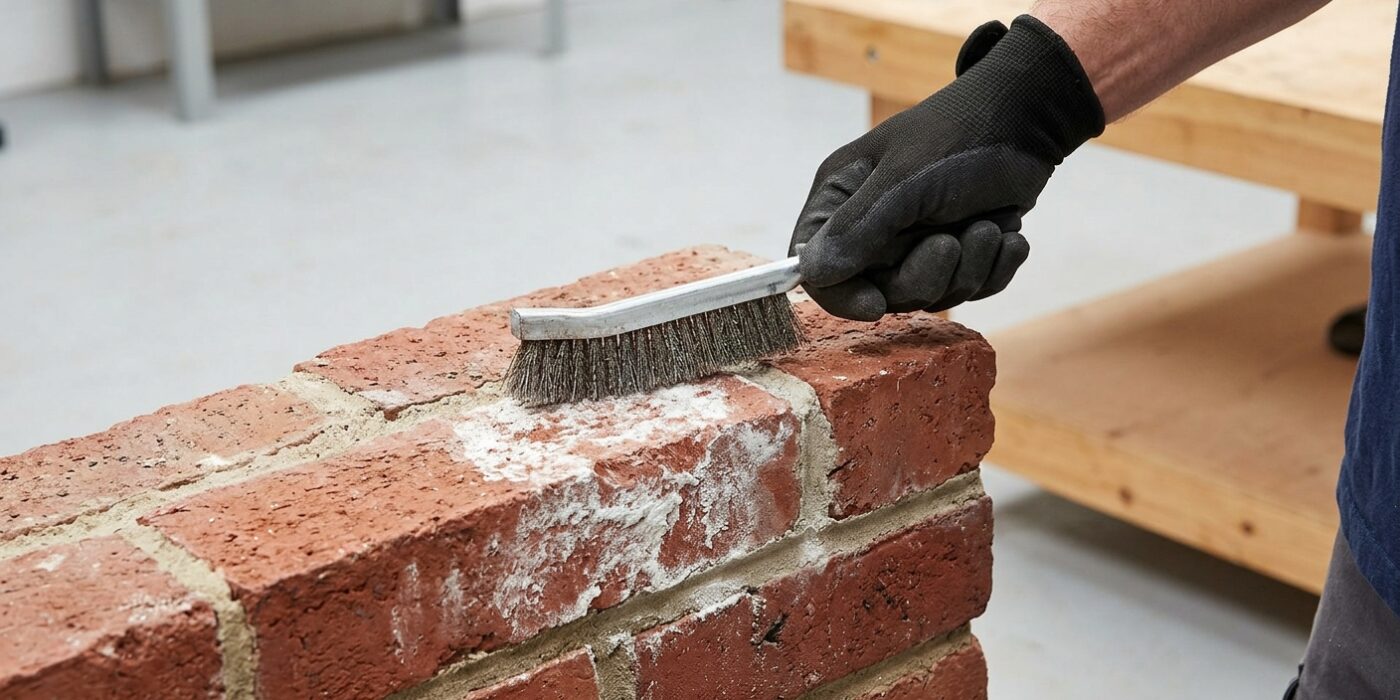
Before you even think about picking up a paintbrush, you must address the root cause of your peeling paint. Think of this like putting a bandage on a cut without cleaning it first; if you paint over a moisture problem, the trapped water will push the new paint off within a year, wasting your hard work. First, inspect the area carefully. If you see dark spots or feel dampness, investigate the space behind or above the surface.
For ceilings, check for roof leaks, plumbing drips, or bathroom steam. On walls, look for gaps in window caulking or signs of condensation. If the area is wet, you must stop the water entry point – whether that means calling a plumber or simply reapplying exterior caulk. Once the leak is stopped, patience is your best tool. You need to let the surface dry completely. This takes at least one to two weeks, as walls often hold deep moisture that isn’t visible on the surface. If you paint while the substrate is still damp, the moisture will be trapped behind the paint film, leading to immediate blistering.
Beginner Tip: Avoid the mistake of rushing the drying process with a space heater placed too close to the wall. This can cause the existing paint to crack further or even pose a fire hazard. Simply rely on good ventilation, like a box fan set to low, to keep air circulating naturally.
Pro Tip: Use a moisture meter, which is an inexpensive handheld tool found at most hardware stores. Press the two metal prongs against the drywall; it will give you a digital reading, taking the guesswork out of whether the surface is truly dry enough to paint.
Step 3: Scrape All Loose Paint
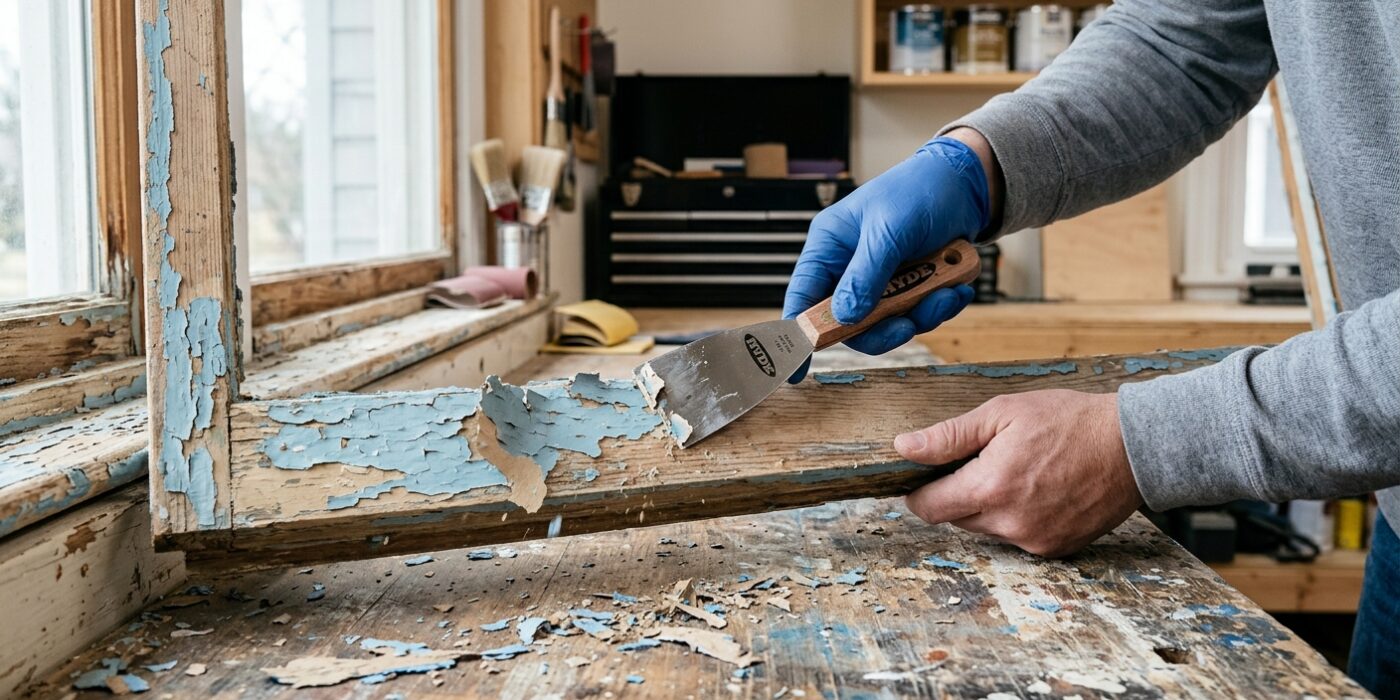
Now it is time to remove the old, failing paint to create a smooth, clean surface for your new finish. Take your stiff putty knife or paint scraper and hold it at roughly a 30-to-45-degree angle against the surface. Use firm, steady pressure to push the blade under any paint that is bubbling, cracking, or flaking. If the paint lifts easily, it is not bonded well and must be removed entirely; otherwise, your new paint will simply peel off along with the old layer. Work systematically across the area, moving in one direction, and continue scraping three to four inches past the visibly damaged section to ensure you have reached “healthy,” solid paint.
Beginner Tip: A common mistake is using too much vertical force, which can gouge or dig into the wood or drywall underneath. Keep your wrist steady and focus on the horizontal sliding motion. If you feel like you need to use excessive strength to pry the paint up, stop; you are likely hitting a stable layer that does not need to be removed.
Pro Tip: Before you begin, lightly sand the area with a piece of medium-grit sandpaper. This helps break the seal of the paint edges, making it much easier for your scraper to slide underneath and lift the loose sections without causing jagged, uneven tears in the surrounding surface.
Step 4: Sand the Edges and Surface
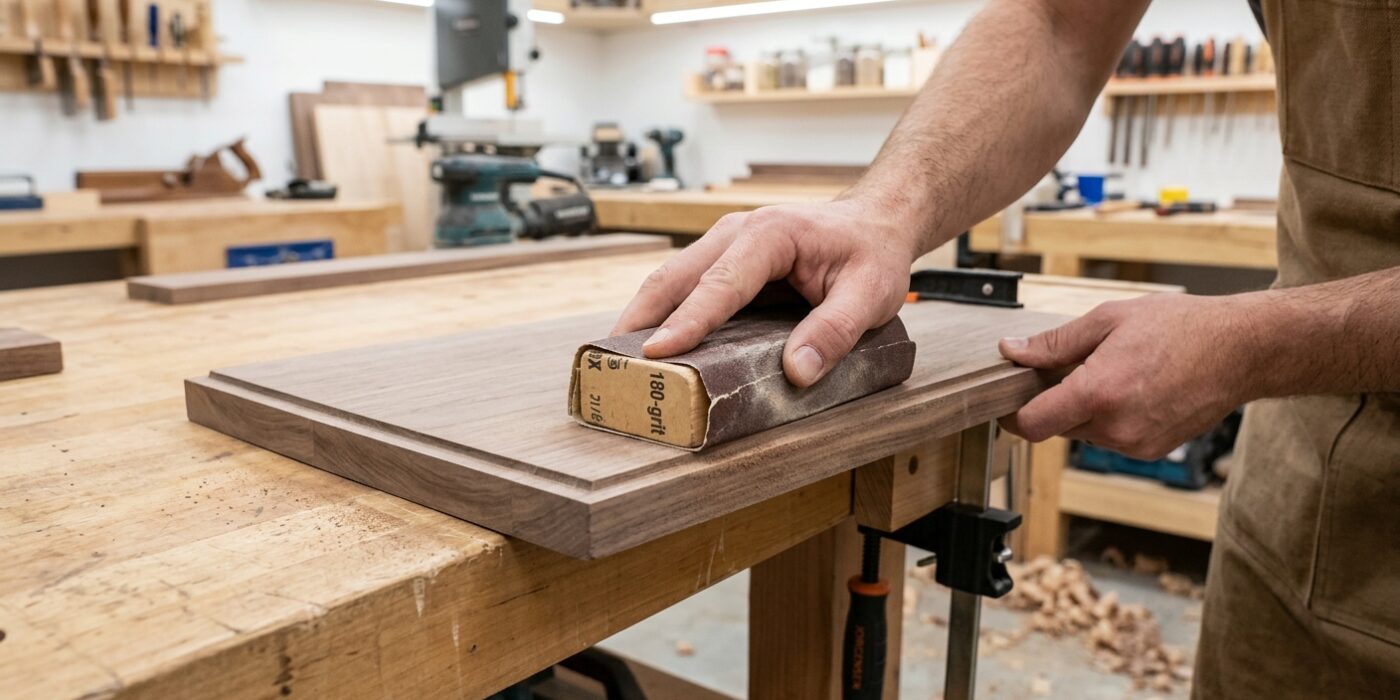
Now that you have scraped away the loose paint, you will notice a sharp, raised ridge where the old paint meets the bare material. We need to smooth this out so the new paint job looks professional and seamless. Start by taking a piece of 80-grit sandpaper and wrapping it around a small sanding block. Gently sand the ridge in a circular motion, keeping the block flat against the surface. Your goal is to “feather” the edge, meaning you are slowly tapering the thickness of the old paint until it creates a smooth slope. You will know you are finished when you can run your fingernail over the transition and feel no bump. Once the ridge is gone, switch to a piece of 120-grit sandpaper to lightly scuff the entire patch; this creates tiny scratches that help your new primer and paint grip the surface. Finally, use your vacuum with a brush attachment to remove all traces of dust.
Beginner Tip: Avoid sanding in just one spot for too long. If you stay in the same place, you might accidentally create a divot or valley in the material, which is much harder to fix than the original paint bump.
Pro Tip: To check your progress, lightly wipe the area with a dark-colored cloth. The dust will settle in the tiny scratches and highlight any remaining ridges or uneven spots, showing you exactly where you need to do a bit more sanding.
Step 5: Apply Stain-Blocking Primer
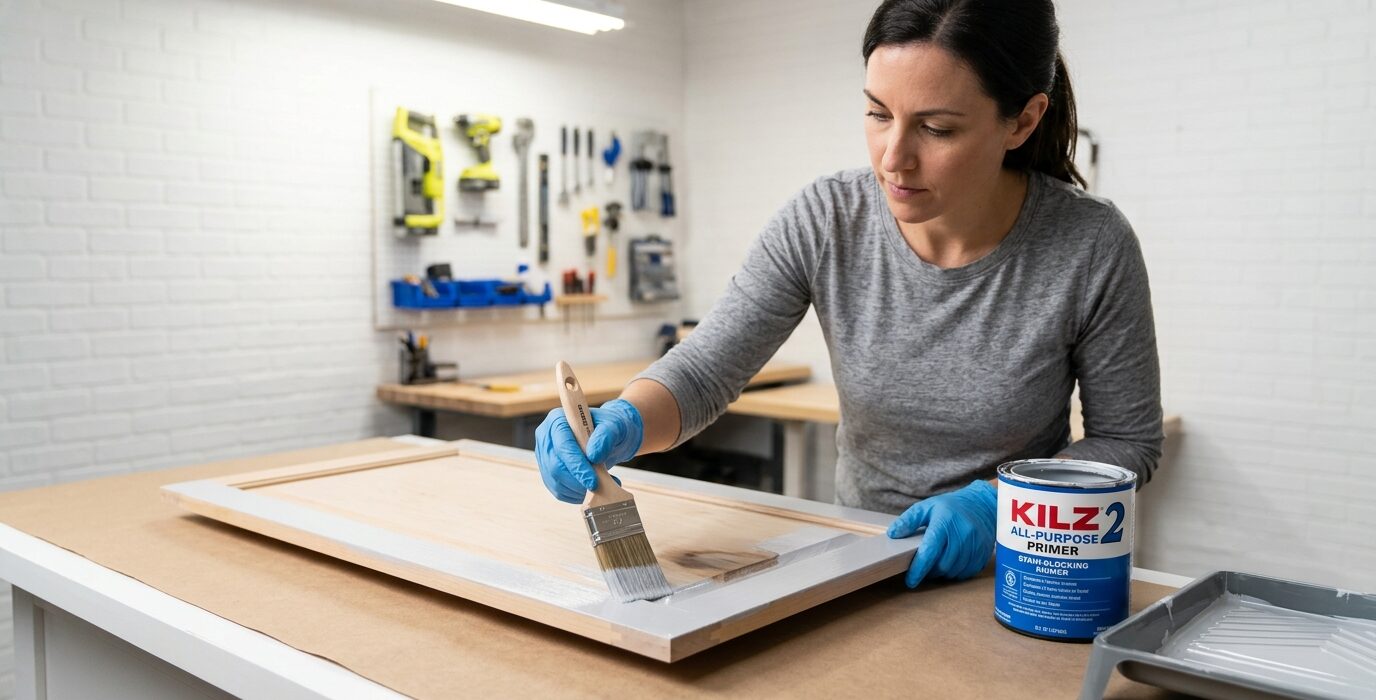
Before you begin patching or painting, it is crucial to seal any areas affected by moisture, water damage, or grease. If you skip this step, those unsightly yellow or brown stains will “ghost” right through your fresh paint, appearing again no matter how many coats you apply. To stop this, use a stain-blocking primer like Zinsser BIN (shellac-based) or an oil-based Cover Stain. Use a small, disposable 2-inch synthetic bristle brush to apply a thin, even coat directly over the discolored spots. You do not need to cover the entire wall or ceiling; simply extend the primer about two inches past the edges of the stain to ensure full coverage. Allow the primer to dry completely – usually about 30 to 60 minutes – before you move on to patching.
Beginner Tip: Avoid the urge to glob on a thick layer of primer. Multiple thin coats are far more effective at sealing stains than one heavy, dripping layer, which can leave visible brush marks that are difficult to smooth out later.
Alternative Method: If you are only dealing with one or two small spots, look for stain-blocking primer in an aerosol spray can. This allows you to mist the area quickly and evenly without the hassle of cleaning brushes or dealing with messy drips, making it a perfect solution for quick touch-ups.
Pro Tip: If you are using shellac-based primer, keep a small container of denatured alcohol nearby. It is the only thing that will effectively clean your brush, as soap and water will not touch it.
Step 6: Patch and Re-Prime
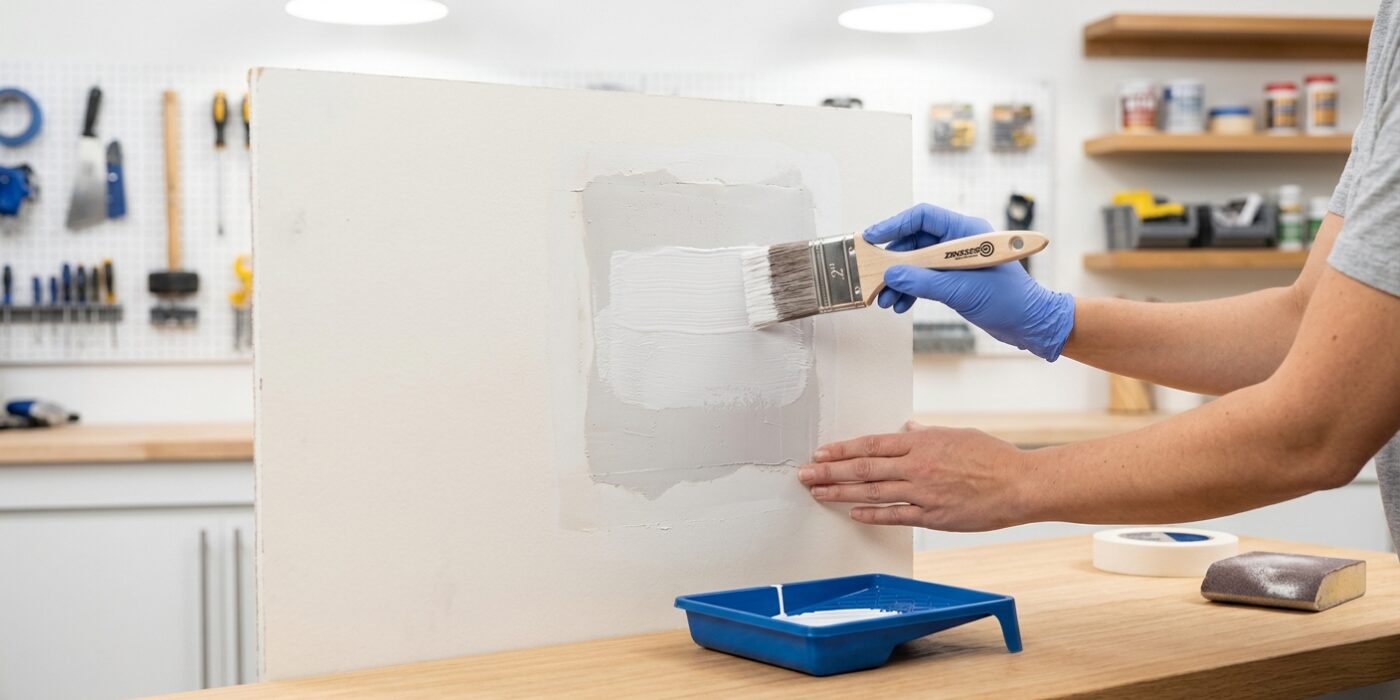
Now it is time to make those repairs invisible. Using a putty knife, scoop a small amount of joint compound – about the size of a golf ball – and press it firmly into any holes or rough spots. The goal is to fill the area just slightly above the surface level. Use your knife to “feather” the edges, which means pulling the blade across the surface at a shallow 30-degree angle to gradually thin the compound out until it disappears into the surrounding wall. Once the compound is bone-dry and feels chalky, sand it gently with a 120-grit sanding block until it is perfectly flush with the wall. Finally, dab a small amount of primer over your patch. This is crucial because it “seals” the repair so that your final paint color doesn’t look dull or patchy compared to the rest of the room.
Beginner Tip: A common mistake is leaving too much compound behind, which creates a noticeable bump. Remember that you can always add more, but sanding away excess is hard work. Aim for a very thin, smooth layer.
Pro Tip: To check if your patch is perfectly smooth, hold a flashlight against the wall so the light shines across the area horizontally. Any bumps or dips will cast long, obvious shadows, revealing exactly where you need to do a little extra sanding.
Step 7: Apply Finish Coat
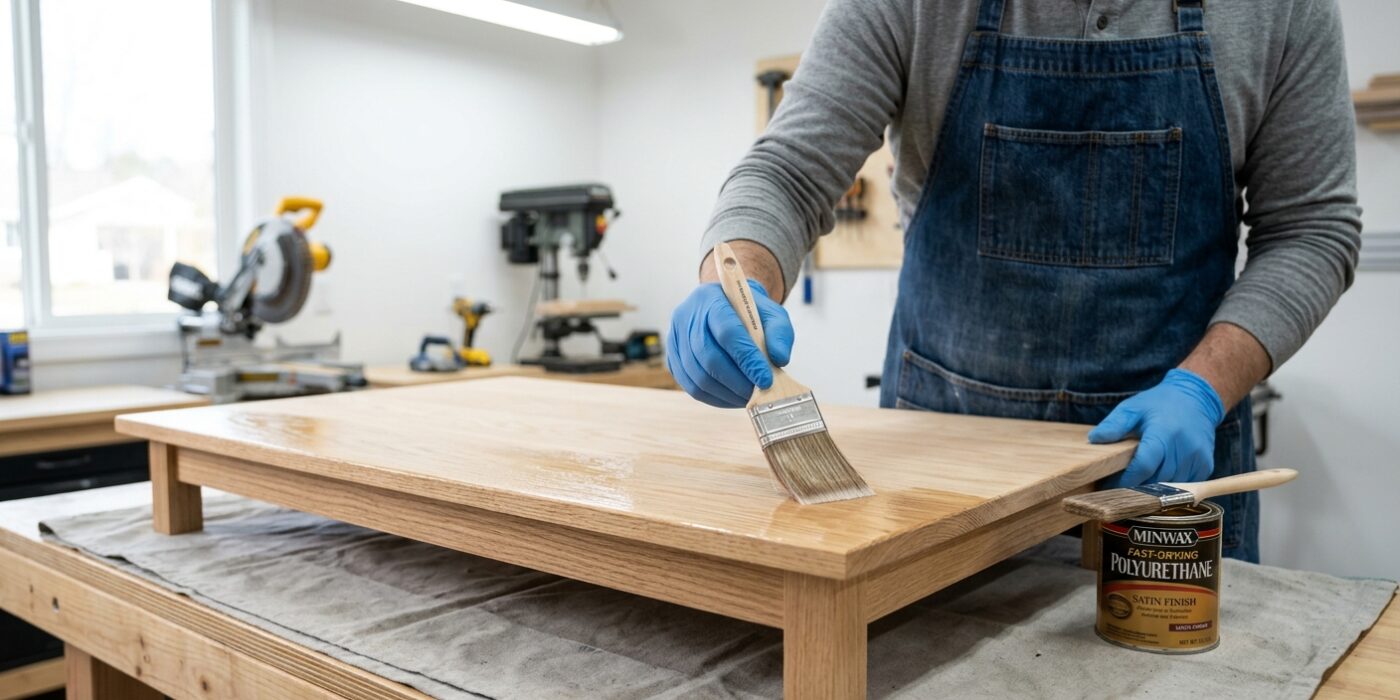
Now it is time to make your repair invisible! Pour a small amount of paint into your tray. Use a high-quality roller to apply the finish coat over your repaired area, moving in a smooth “W” pattern to distribute the paint evenly. Extend the paint about two to four inches beyond the edges of the patch. For a professional, seamless look, roll the entire wall or ceiling section from corner to corner. If you only paint the small patch, the sheen of the new paint will likely look different than the older paint around it, creating a noticeable “spot” that catches the light.
Beginner Tip: Avoid the urge to press hard on your roller. If you push too firmly, you will leave thick, raised lines of paint at the edges of your roller strokes, which are very difficult to sand away later. Let the weight of the roller do the work for you.
Alternative Method: If you do not own a roller and tray, you can use a high-quality synthetic bristle brush. Use long, light strokes to “feather” the paint outward, lifting the brush away from the surface as you reach the edges to prevent harsh lines. This takes a bit more patience but works perfectly for smaller repair areas.
Pro Tip: Mix a small amount of a paint conditioner like Floetrol into your paint. This slows down the drying time, allowing the paint to “self-level” and smooth out brush or roller marks, making it look like it was sprayed on by a professional.