Project Shopping List
Peeling paint on walls and ceilings is a symptom, not just a surface problem. Paint peels because something caused adhesion failure – moisture infiltration, incompatible paint layers, painting over a contaminated surface, or painting in wrong conditions. Simply scraping and repainting without addressing the underlying cause produces a repeat failure within months.
What You’ll Need
Tools
- Putty knife and paint scraper
- Random orbital sander
- 80-grit and 120-grit sandpaper
- Paintbrush and roller
- Flashlight for inspecting for moisture
Materials
- Stain-blocking primer (Zinsser BIN or oil-based)
- Joint compound or spackling
- Matching paint
- Paint conditioner (Floetrol for latex)
Step 1: Find the Cause Before Touching the Peeling Paint
Before you pick up a scraper, you need to play detective. The goal is to identify why your paint is failing so you don’t waste time fixing the same spot twice. To do this, turn off the main room lights and grab a flashlight. Hold the light against the surface at a very low, 15-degree angle – this is called “raking light.” As the beam skims across the wall, the low angle will create dramatic shadows that reveal hidden cracks, bubbles, or damp spots you might otherwise miss.
Look for patterns: peeling near windows or exterior corners often points to water leaks, while flaking in kitchens or bathrooms usually signals trapped humidity. If the paint is peeling in isolated, random patches on an old wall, you likely have layers of oil-based paint hiding under latex. Identifying these patterns is vital because if you simply paint over a moisture problem, the new coat will bubble and peel within weeks.
Beginner Tip: Don’t rush to sand the area yet. A common mistake is assuming that every paint issue is just “old age.” If the wall feels cold or slightly spongy to the touch, stop and address the underlying leak or ventilation issue first, or your repair will fail immediately.
Pro Tip: If you are unsure if a spot is damp, press a small square of clear plastic wrap against the wall and tape the edges down with painter’s tape. If you see condensation droplets under the plastic after 24 hours, you have a moisture leak that must be sealed before you can safely paint.
Step 2: Fix Moisture Problems First
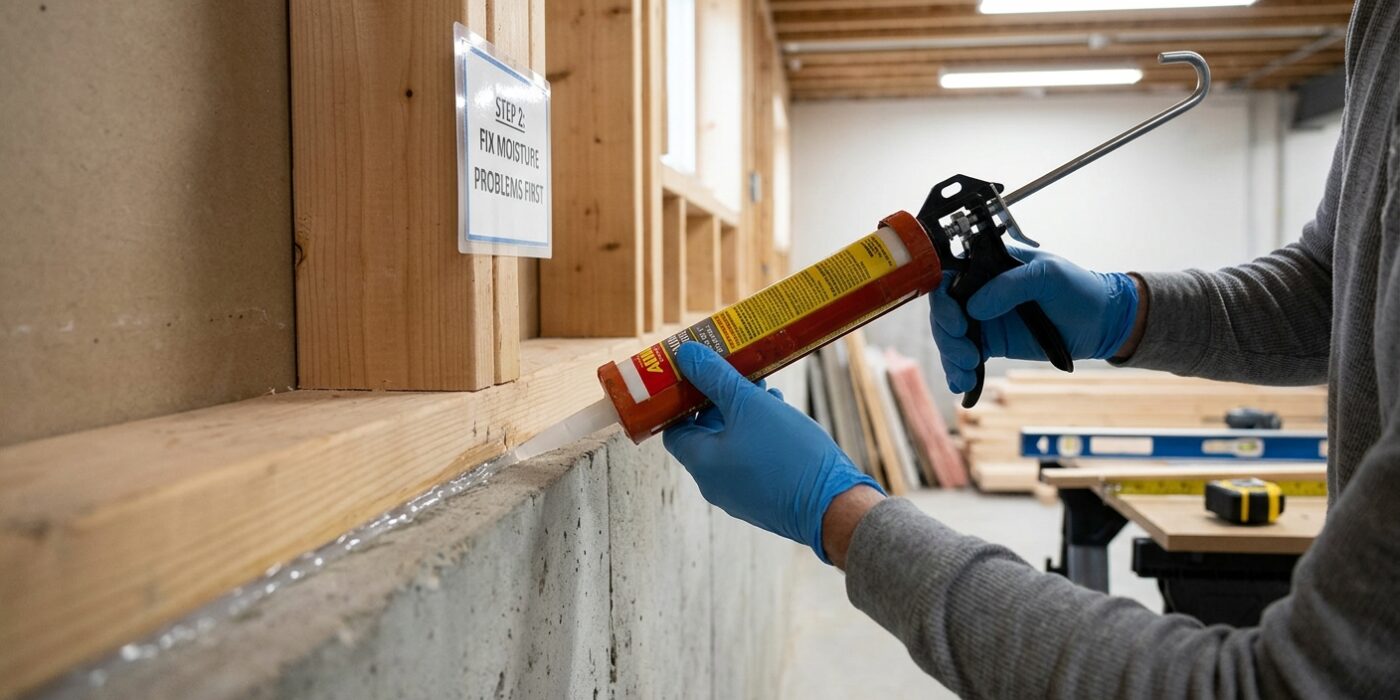
Before you even think about picking up a paintbrush, you must address the root cause of your peeling paint. If you paint over a surface that is still damp or prone to leaks, the moisture will eventually push through your new layer, causing it to bubble and peel again within a year. Think of this as the foundation of your project; skipping it is like building a house on sand.
First, inspect the area carefully. If you see dark stains or feel dampness, use a moisture meter – a simple tool found at any hardware store – to check the surface. Ideally, the moisture content should be below 15%. For ceiling issues, check your attic for roof leaks or blocked bathroom vents. For walls, look for gaps in window caulking or signs of condensation. Once you have repaired the leak or improved the room’s ventilation, you must let the area dry out completely. Depending on the severity, this can take anywhere from one to two weeks. Patience here is your best tool.
Beginner Tip: Do not rely on touch alone to determine if a wall is dry. Surface paint can feel dry to the touch while the drywall underneath remains saturated. Always wait the full two weeks after fixing the leak to ensure deep-seated moisture has evaporated.
Pro Tip: To speed up the drying process, place a dehumidifier in the room and aim a portable box fan directly at the damp patch. Keeping the air circulating at a 45-degree angle will pull moisture out of the materials much faster than just leaving the windows open.
Step 3: Scrape All Loose Paint
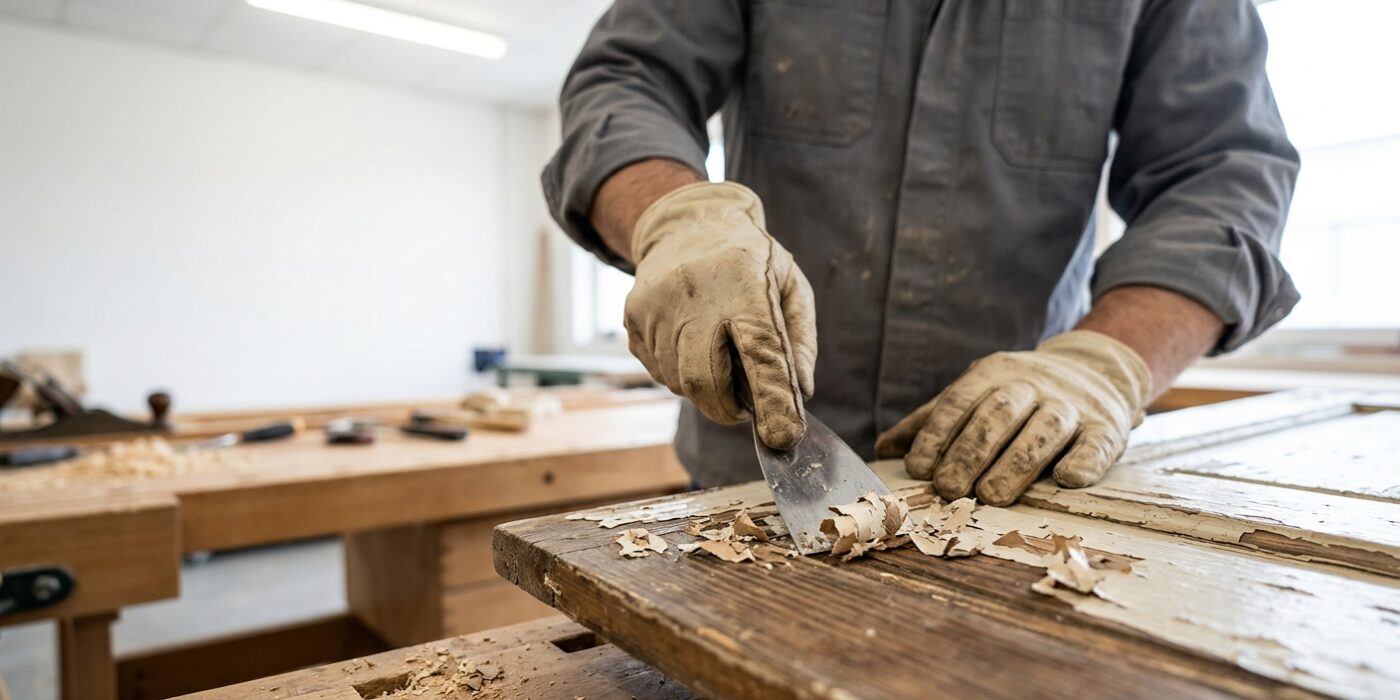
Now it is time to remove the old, failing paint. The goal is to reach a clean, solid surface so your new paint can bond properly. Take your stiff putty knife or paint scraper and hold it at a 45-degree angle against the wall. Gently press the blade edge under any areas where the paint is bubbling or peeling. If the paint lifts or flakes, keep scraping until you reach a section that is firmly attached. It is essential to work systematically across the area, extending your work about three to four inches into the surrounding stable paint. This ensures you remove hidden weak spots that might fail later.
Beginner Tip: Avoid digging the corner of your metal scraper into the wood or drywall underneath the paint. If you press too hard, you will create gouges that are much harder to fix than the paint itself. Keep your pressure even and flat across the blade’s entire width.
Pro Tip: Before you start scraping, use a piece of medium-grit sandpaper to lightly scuff the edges of the peeling paint. This creates a tiny groove that makes it much easier for your scraper blade to catch the edge of the loose material, saving your wrists from extra strain.
By taking your time now, you are creating the perfect foundation for a professional-looking finish. Your patience at this stage makes every future step significantly easier and more rewarding.
Step 4: Sand the Edges and Surface
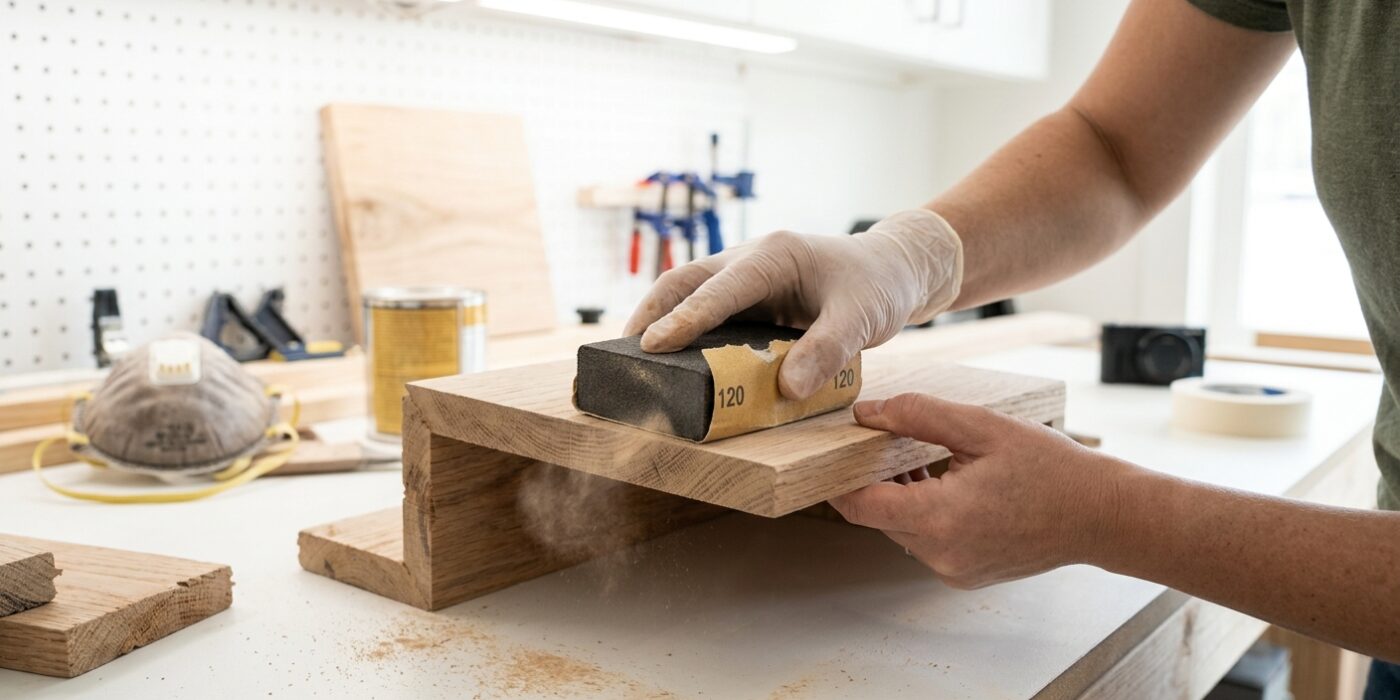
Now it is time to smooth out your work area. When you scraped away the loose paint, it likely left behind a sharp, raised ridge where the old paint meets the bare wood. To ensure your new paint job looks professional and seamless, you need to “feather” these edges. Start by folding a piece of 80-grit sandpaper into a small, manageable square. Using light pressure, sand the ridge in a circular motion, moving from the paint toward the bare wood. Keep going until the transition is so smooth that when you drag your fingernail across it, you cannot feel a bump. Once the ridge is gone, switch to a piece of 120-grit sandpaper and lightly buff the entire area to create a “tooth” or texture, which helps the new primer stick better. Finally, use a vacuum with a brush attachment or a damp rag to remove every trace of dust; paint will not stick to a dusty surface.
Beginner Tip: Avoid pressing too hard. If you push down too aggressively, you risk creating deep scratches in the wood or gouging out soft spots, which will be much harder to fix later. Let the sandpaper do the work.
Pro Tip: Wrap your sandpaper around a small, flat block of wood or a dedicated rubber sanding block. This keeps your sanding pressure even and prevents your fingers from getting tired, giving you a much flatter, more consistent finish.
Step 5: Apply Stain-Blocking Primer
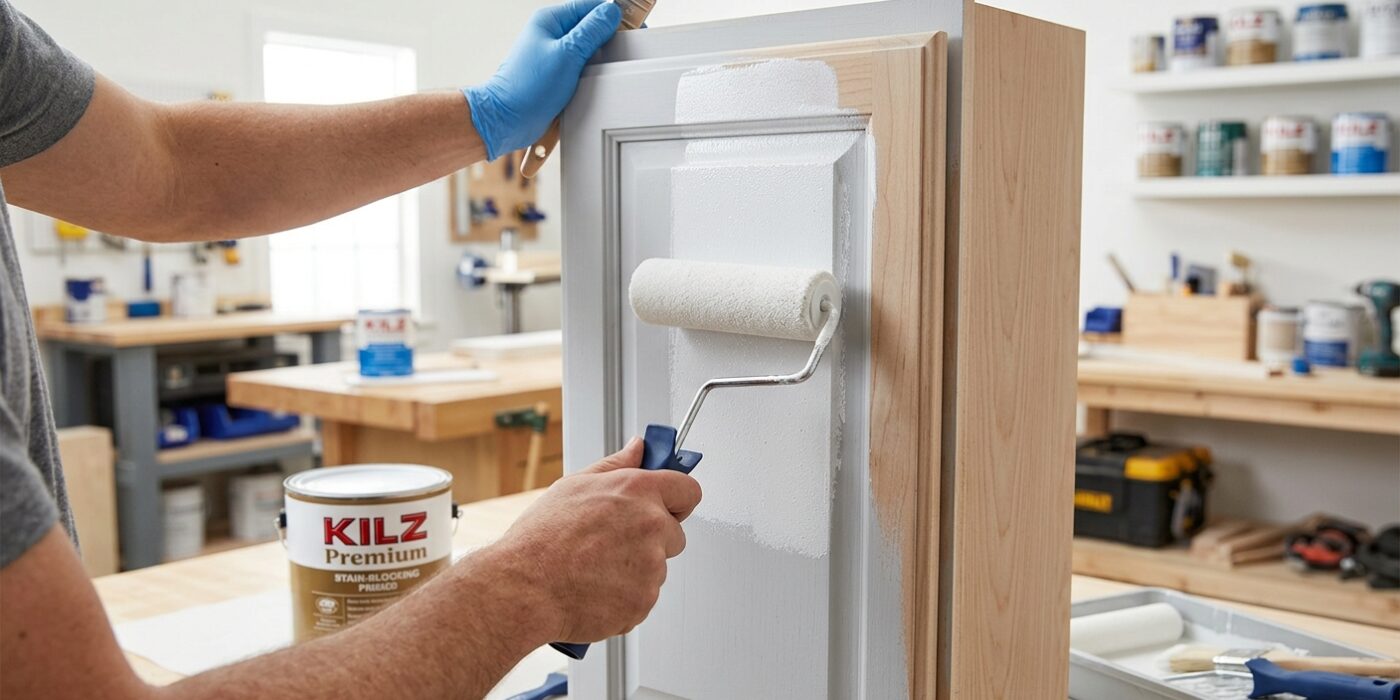
Before you begin patching or painting, it is crucial to address any areas showing water damage, nicotine buildup, or stubborn grease. If you apply regular paint directly over these spots, the discoloration will inevitably “ghost” through, reappearing as a shadow even after several coats. To prevent this, use a stain-blocking primer, such as Zinsser BIN shellac-based or Zinsser oil-based Cover Stain.
Use a small, high-quality synthetic brush to apply a thin, even layer of primer specifically over the affected zones. You do not need to cover the entire wall or ceiling; simply focus on the stained areas, overlapping the edges by about an inch to help the primer blend into the surrounding surface. Let the product dry completely according to the label instructions – usually one to two hours – before you move on to patching or painting.
Beginner Tip: Avoid the temptation to “over-brush” or repeatedly work the primer once it starts to get tacky. Shellac-based primers dry very quickly; if you continue to brush over an area that has already begun to set, you will create unsightly streaks and clumps that are difficult to sand down later.
Pro Tip: If the stained area is large, consider using a spray can version of your chosen primer. Spraying allows you to apply a very light, even mist that is much less likely to leave brush marks, ensuring a perfectly smooth surface for your final coat of paint.
Step 6: Patch and Re-Prime
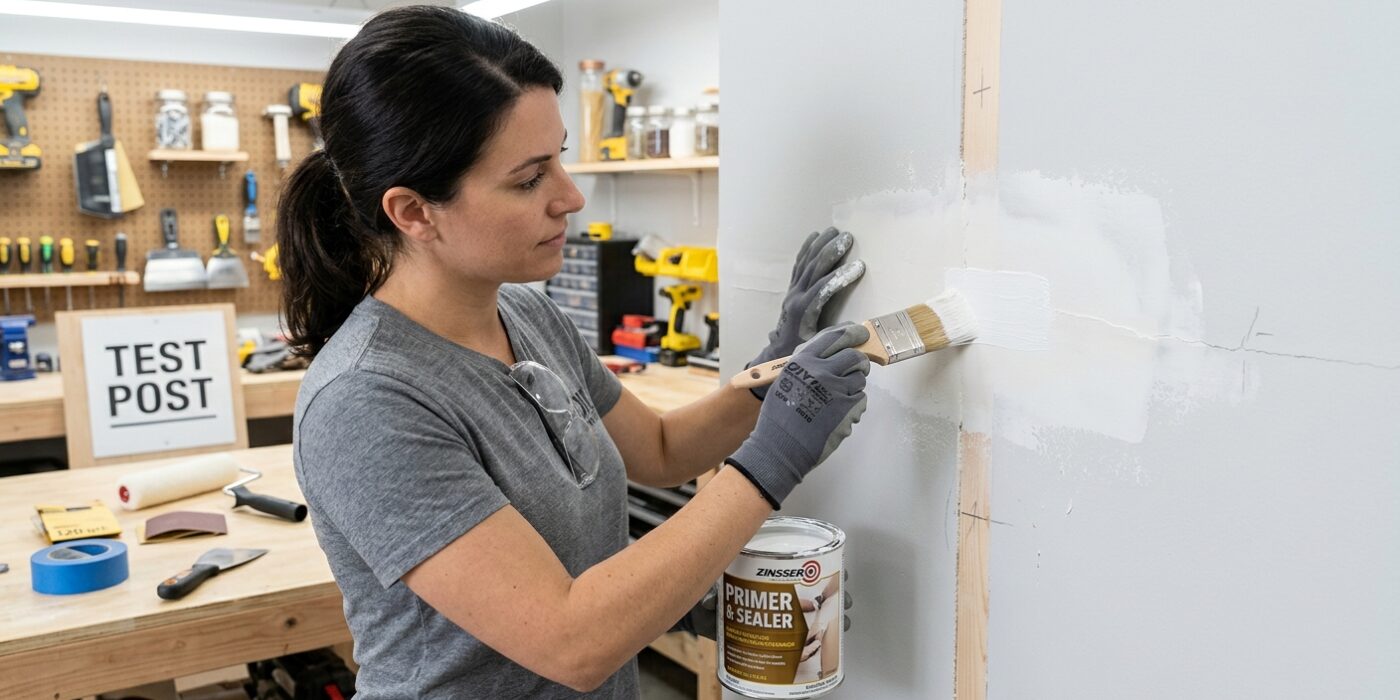
Now that your wall is prepped, it is time to make those imperfections disappear. Take a small amount of joint compound on your putty knife and press it firmly into any holes or rough spots. The goal is to fill the void, then use the blade at a 45-degree angle to scrape away the excess. By dragging the knife gently across the area, you can “feather” the edges, meaning you pull the compound thinner as you move outward so it blends seamlessly into the surrounding wall. Once dry – usually about an hour – use a piece of 120-grit sandpaper to buff the spot until it feels perfectly smooth to the touch. Finally, dab a small amount of primer over the dried patch. This seals the porous material, ensuring your future topcoat of paint matches the sheen of the rest of the wall perfectly.
Beginner Tip: The most common mistake is over-applying the compound. It is much easier to add a second, thin layer than it is to sand away a giant, hard mountain of dried paste. Start with less than you think you need.
Pro Tip: Before you start sanding, hold a flashlight at an angle against the wall. The light will cast long shadows across any bumps or low spots, acting like a map to show you exactly where you need to sand more or add a tiny bit of extra compound.
Step 7: Apply Finish Coat
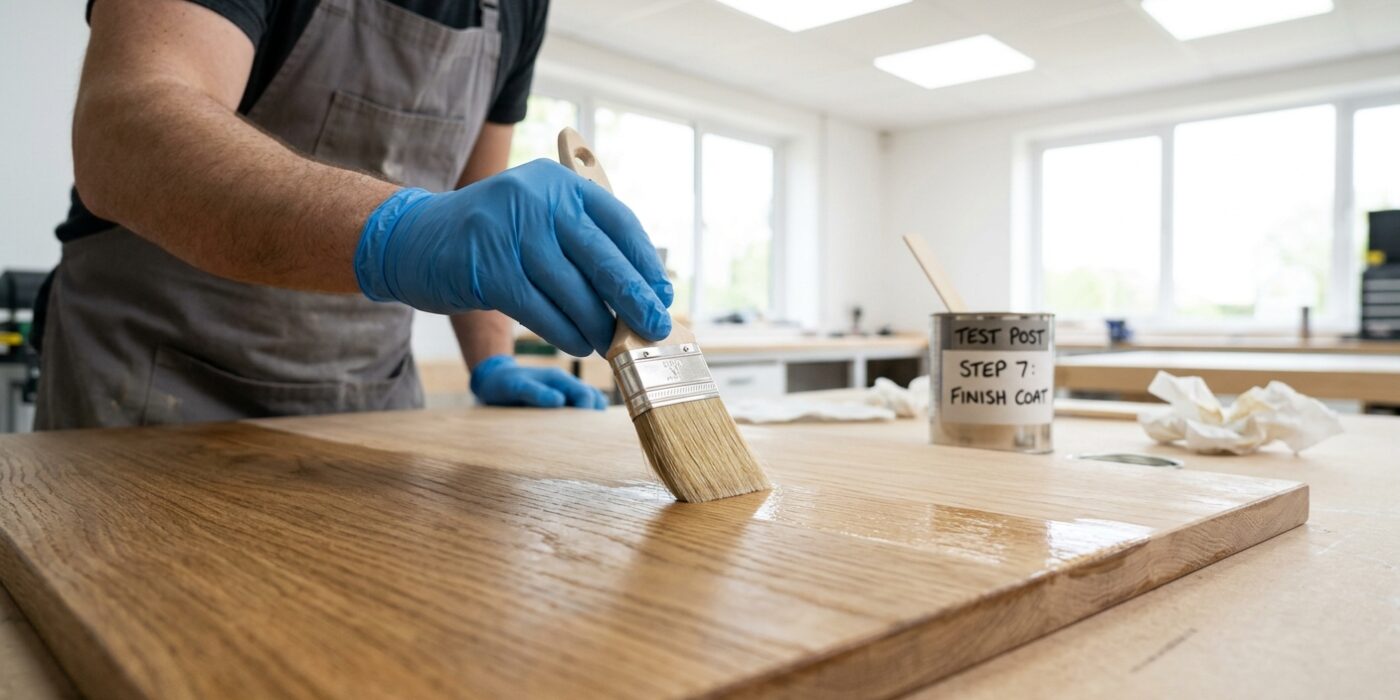
Now it is time to make your repair invisible! Pour a small amount of paint into your tray and lightly coat your roller. Instead of painting only the patch, apply the finish coat across the entire wall or ceiling section. If you stop exactly at the edge of the repair, the new paint will create a visible frame, or “halo,” because the sheen of the fresh paint will contrast with the surrounding area. By rolling the full wall, you ensure the texture and light reflection remain uniform.
Beginner Tip: Avoid the urge to press hard on your roller. Using too much pressure causes paint to squeeze out from the sides of the roller cover, resulting in raised, bumpy lines known as “tramlines.” Let the roller glide gently over the surface, applying only enough pressure to transfer the paint evenly.
Pro Tip: To get a professional, glass-smooth finish, add a splash of a paint conditioner like Floetrol to your paint. This additive slows down the drying time, allowing the paint to level out and self-flatten as it dries. This eliminates unsightly brush marks and roller stipple, making your wall look like it was sprayed by a pro.
Safety Reminder: If your home was built before 1978, please test the area for lead paint before you begin any scraping or sanding. You can pick up a simple lead test kit at any local hardware store to keep yourself and your family safe.