Project Shopping List
Stripping paint from wood is sometimes the only right move – when there are so many layers that new paint won’t stick, when the old paint has alligatored or crazed beyond repair, or when you want to reveal bare wood for a stain finish. The method you choose depends on the size of the project, the profile of the wood (flat versus ornate molding), and whether lead paint is a concern. This guide covers all three main approaches and tells you when to use each.
You’ll learn how to use chemical strippers safely and effectively, how to use heat guns without scorching wood, and how mechanical sanding works for large flat surfaces – and which method is fastest for each type of project.
What You’ll Need
Tools
- Heat gun (Black+Decker or Wagner models are good) for heat stripping
- 5-in-1 or 6-in-1 painter’s tool / scraper for removing softened paint
- Profile scrapers for molding shapes
- Random orbital sander with 60-grit and 80-grit for mechanical removal
- Old paintbrush for applying chemical stripper
- Wide (6-inch) floor scraper for large flat surfaces
Materials
- Chemical paint stripper: Citristrip (safer, slower) or methylene chloride-based stripper (fast, dangerous)
- Lead paint test swabs (essential for homes built before 1978)
- Plastic sheeting for containing stripped debris
- Mineral spirits for cleanup after chemical stripping
- Steel wool (0000) for removing residue in corners
- Respirator: P100 half-face respirator for sanding; organic vapor cartridges for chemical stripping
Step-by-Step Instructions
Step 1: Test for Lead Paint
Before stripping paint on any surface in a home built before 1978, test for lead. Lead paint test swabs (3M LeadCheck, available at hardware stores, under $15) turn red in the presence of lead. Test multiple paint layers, not just the topcoat – lead paint may be buried under several later coats. If lead is present, you face a choice: hire a certified lead abatement contractor, or follow EPA Renovation Repair and Painting (RRP) protocols strictly – which include wetting the surface to prevent dust, containment, and HEPA vacuuming. Generating lead dust by dry-sanding or heat-stripping is illegal and dangerous.
Step 2: Choose Your Method
Chemical stripping is best for ornate profiles and moldings – it softens paint without removing wood and works into crevices that scrapers and sanders can’t reach. Heat gun stripping is best for large flat surfaces like door panels, exterior siding, and window sash – it’s faster than chemicals and doesn’t raise grain as much. Mechanical sanding is best for large, flat surfaces (floors, decks, large panels) when you want a smooth result and don’t mind the dust. Each method has trade-offs in speed, mess, and surface quality.
Step 3 (Chemical Method): Apply Stripper Generously
Chemical stripper must be applied thick enough to stay wet while it penetrates the paint layers. Apply with an old brush in a thick layer – at least 1/8 inch. Cover with plastic wrap to slow evaporation; this allows the chemicals more time to penetrate deep paint buildups. Leave for the time specified on the label – Citristrip needs 30 minutes to several hours for multiple layers; fast-acting methylene chloride strippers work in 5 to 15 minutes. Don’t try to rush the penetration time.
Step 4 (Chemical Method): Remove Softened Paint
Use a plastic scraper or 5-in-1 tool to lift the softened paint in sheets. Work with the grain direction. The paint should come off in thick, gummy strips – if it’s coming off dry or in hard flakes, it hasn’t penetrated enough and needs more time or a second application. For molding profiles, use profile scrapers shaped to match the molding contour, or use coarse steel wool in a pulling motion along the profile direction. Deposit removed paint directly into a plastic bag for disposal.
Step 5 (Heat Gun Method): Keep the Gun Moving
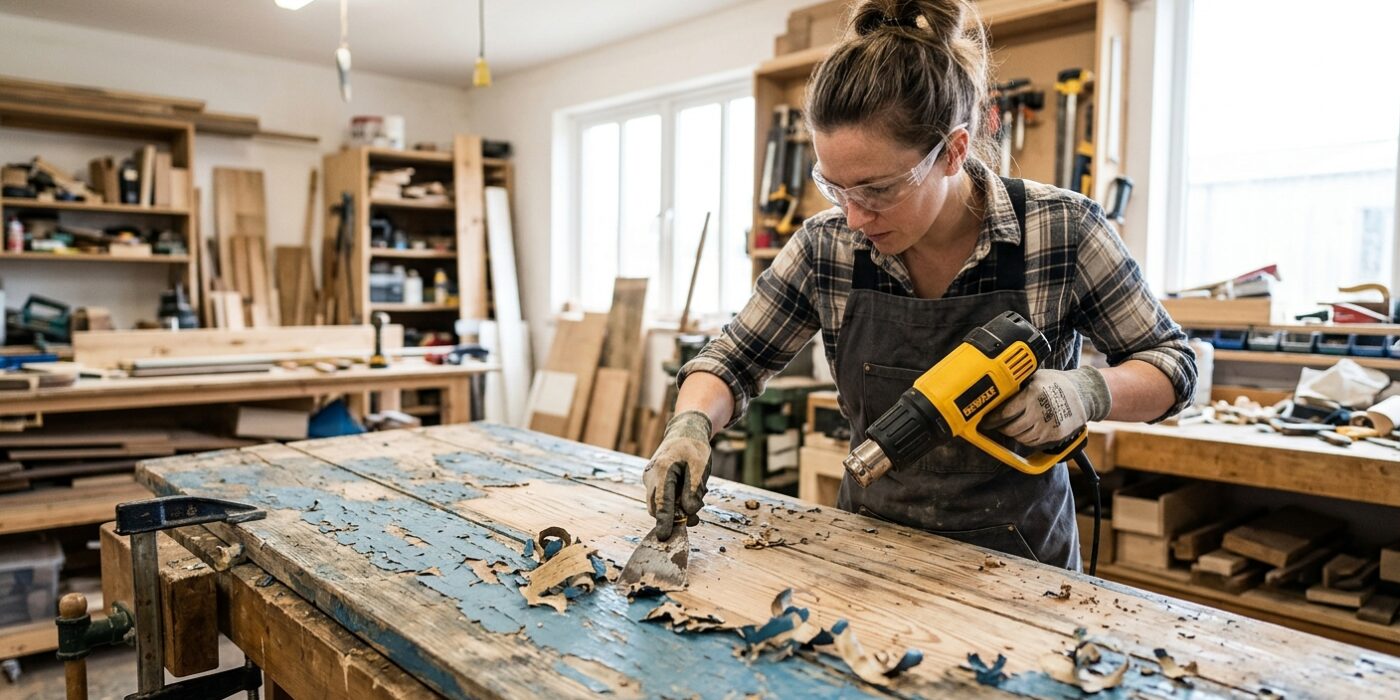
Hold the heat gun 2 to 3 inches from the surface and keep it moving in a slow, steady sweep. When you see the paint start to bubble and release (5 to 10 seconds on most paints), follow immediately with the scraper. The window between “hot enough to scrape” and “scorched wood” is narrow – if you smell burning wood or see the wood darken, you’ve overheated it. Work in small sections and develop a rhythm: heat an 8-inch section, scrape, move to the next section while the last cools. Never hold the gun still on one spot.
Step 6 (Mechanical Method): Start Coarse, Finish Fine
For sanding off paint, start with 40 or 60-grit on a random orbital sander and work through 80-grit, 120-grit, and 150-grit progressively. Never skip grits – jumping from 60 to 150 leaves 60-grit scratches that show in the final finish. For large areas like floors, rent a drum sander (follow directions carefully – drum sanders are aggressive and can quickly damage floors). Hand-sand edges and corners with a block, as power sanders can’t safely reach them.
Step 7: Clean the Surface
After chemical stripping, neutralize the surface per the stripper instructions – most require wiping with mineral spirits or water. Residual stripper chemicals prevent new paint or stain from bonding correctly. For heat-gun work, vacuum and wipe the surface clean. For sanding, vacuum all dust with a HEPA vacuum and wipe with a tack cloth.
Step 8: Sand to Final Smoothness
After any stripping method, always do a final hand sanding with 150 to 220-grit to remove any tool marks, raised grain, or residual paint in the grain. The quality of the final sanding determines how well the new stain or paint will look. Sand with the grain, not across it.
Pro Tips
- For exterior trim and siding with many paint layers, chemical stripping is almost always faster than heat or sanding because you can do large areas in one application and the old paint comes off in thick sheets.
- Citristrip is slower than methylene chloride-based strippers but far safer – methylene chloride is a likely carcinogen that absorbs through skin. For any large indoor project, use Citristrip.
- A heat gun and a good scraper removes most paint from a door panel in about 20 minutes – the same job would take 2 hours with chemical stripper and cleanup.
- Brass or plastic scrapers won’t scratch soft wood the way steel scrapers can – use brass profile scrapers on softwood trim.
- For furniture with many coats of paint, apply stripper, cover in plastic, and let sit overnight – multiple paint layers need more penetration time than the label’s minimum suggests.
Frequently Asked Questions
Can I use a heat gun on painted wood trim indoors?
Yes, but ventilate the area well – heated paint releases fumes including lead fumes if the paint contains lead. Never heat-strip lead paint indoors without respiratory protection rated for lead fume (OV/P100 combination cartridges) and full containment. For lead-painted surfaces, chemical stripping at lower temperatures is safer because it generates less fume.
Do I have to strip all the old paint or can I just sand the surface?
For new paint over old paint, you don’t need to strip – scuff sanding and good primer is usually sufficient if the existing paint is firmly bonded. Stripping is necessary when: the paint is failing, alligatoring, or peeling; there are so many layers that the detail in trim is being lost; you want a bare-wood stain finish rather than paint; or a chemical bond test shows poor adhesion of the existing paint.
What do I do with the stripped paint waste?
Chemical stripper waste, lead paint chips, and contaminated materials must be disposed of as hazardous waste in most jurisdictions – check with your local municipality for household hazardous waste disposal days or locations. Don’t put them in regular trash. Dried paint chips from non-lead paint can typically go in regular trash in small quantities – check local rules.