Project Shopping List
Lap marks — those streaky, slightly darker bands of paint that appear when you roll over an already-drying section — are the most common mistake in interior painting. They are caused by overlapping wet paint onto paint that has already started to dry and lost its “open time.” The fix is not to paint faster or use better paint — it is to maintain a wet edge throughout every section of wall until it is complete. This guide explains the wet edge concept and the rolling sequence that eliminates lap marks.
Understanding the Wet Edge
When you roll paint onto a wall, you have a window of time (the open time) during which the paint stays wet enough that if you lap back over it, the new and old paint blend together seamlessly. Once that time passes and the paint starts to set up, lapping back over it leaves a ridge and a color difference — the lap mark. Open time for water-based latex paint is typically 5 to 10 minutes in normal conditions (shorter in heat or low humidity, longer in cool humid conditions).
Step 1: Choose the Right Roller Nap
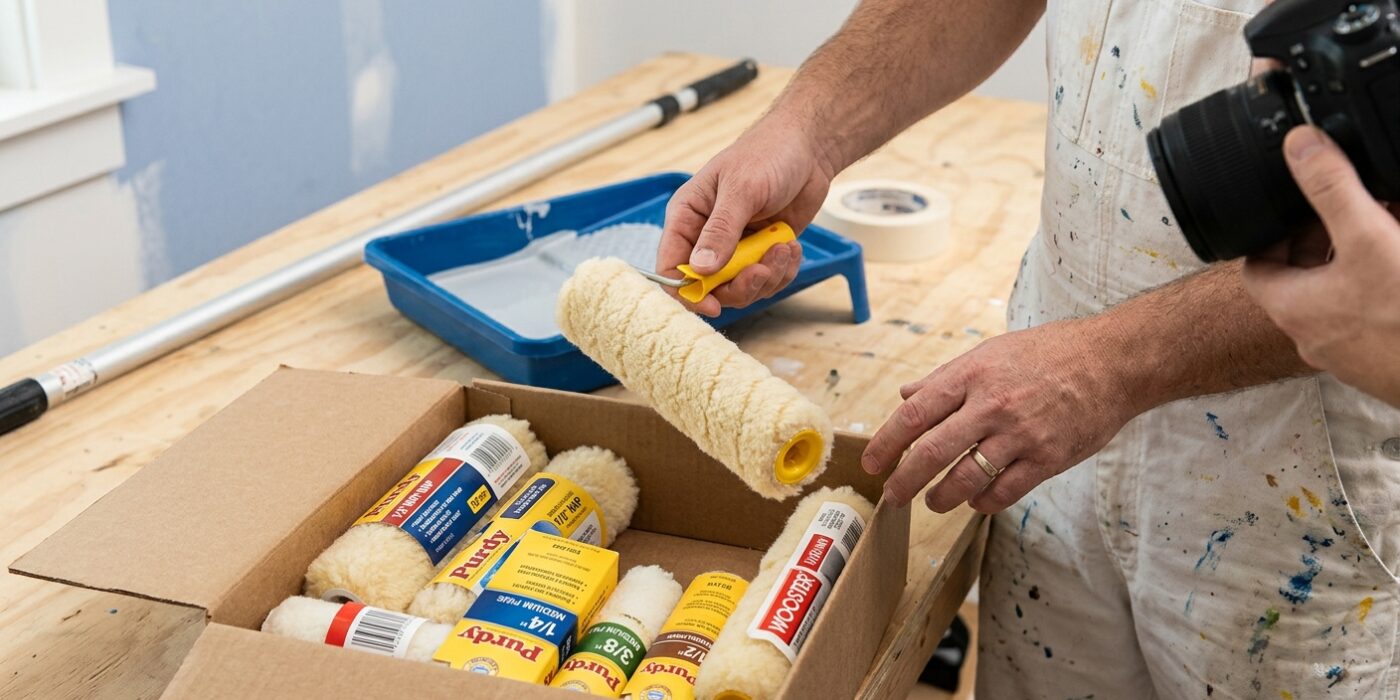
The “nap” of a paint roller refers to the length of the fabric fibers. Choosing the correct length is the secret to a professional finish because it ensures paint reaches deep into your wall surface without requiring excessive pressure. If your roller nap is too short for a textured wall, you will find yourself pressing down hard to push paint into the crevices, which squeezes excess paint out at the edges. These squashed, thick edges are exactly what cause those frustrating, darker lines known as lap marks.
Match your roller nap to your wall surface:
- Smooth to light texture: Use a 3/8-inch nap for standard drywall.
- Light texture (eggshell or minor orange peel): Use a 1/2-inch nap for better coverage.
- Heavy texture (knockdown or skip trowel): Use a 3/4-inch nap to reach the deepest valleys.
Beginner Tip: Avoid the mistake of thinking one roller fits all. Many beginners grab a standard 3/8-inch roller for every project, but using it on a heavy-textured wall will make your work twice as hard and leave you with uneven, streaky results. Always check your wall texture first!
Pro Tip: Before you begin, wrap a piece of painter’s tape around your new roller cover and peel it off. This simple trick pulls off any loose, stray fibers that would otherwise end up stuck in your fresh coat of paint, giving you a much cleaner, smoother finish from the very first stroke.
Step 2: Load the Roller Properly
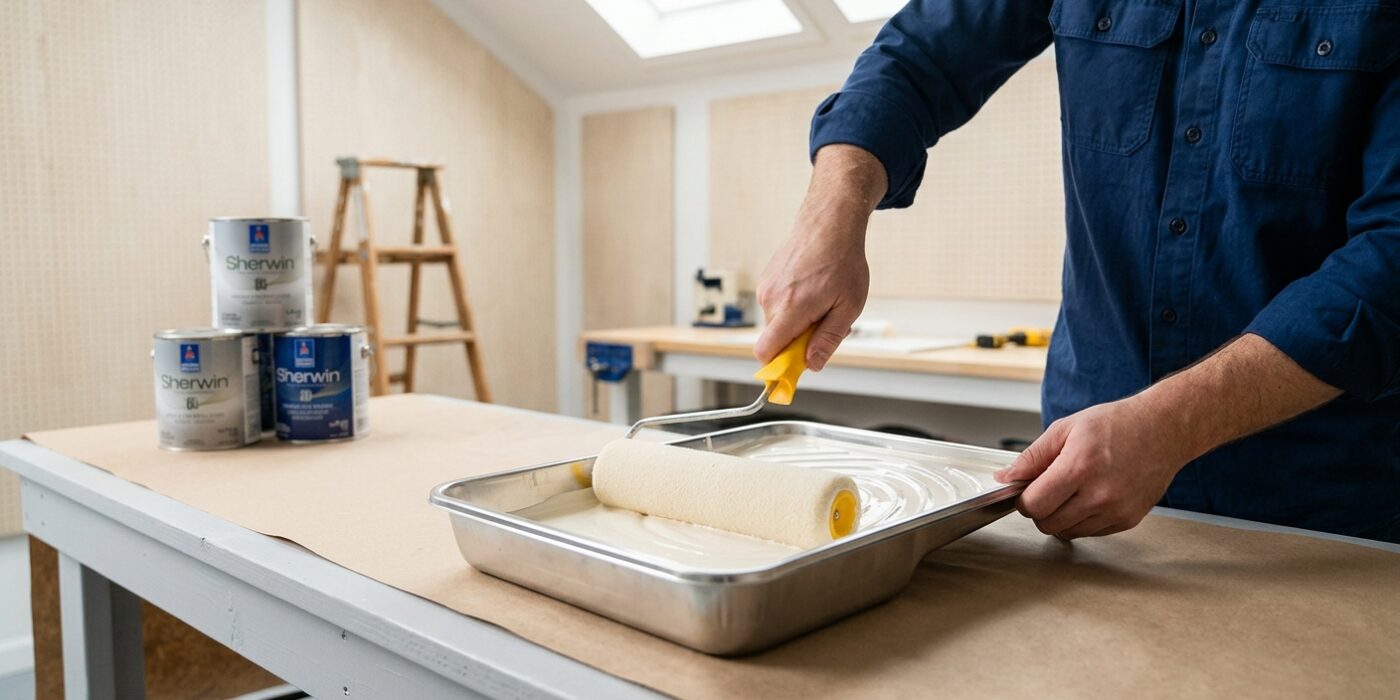
To load your roller like a pro, start by dipping it about one-third of the way into the deep reservoir of your paint tray. Do not submerge the entire roller, as this will soak the core and lead to messy drips. Once the roller has paint on it, move it to the sloped, ridged section of the tray. Roll it back and forth several times using moderate pressure. The goal is to work the paint deep into the roller’s fibers until the entire surface has a consistent, orange-peel texture. If you see big globs or streaks, keep rolling until the surface is uniform. An evenly loaded roller is your best defense against lap marks, as it ensures the same amount of paint hits the wall with every single stroke.
Beginner Tip: Avoid the urge to over-saturate your roller. Many beginners think that more paint means less work, but a dripping roller is much harder to control and will create uneven ridges on your wall that are nearly impossible to blend away later.
Pro Tip: Before you dip your roller in paint for the first time, dampen the roller cover slightly with water (for latex paint) and spin it out on a rag until it is just barely moist. This pre-conditions the fibers, allowing the paint to release more smoothly onto your wall surface right from the very first stroke.
Step 3: Work in Full Sections from Top to Bottom
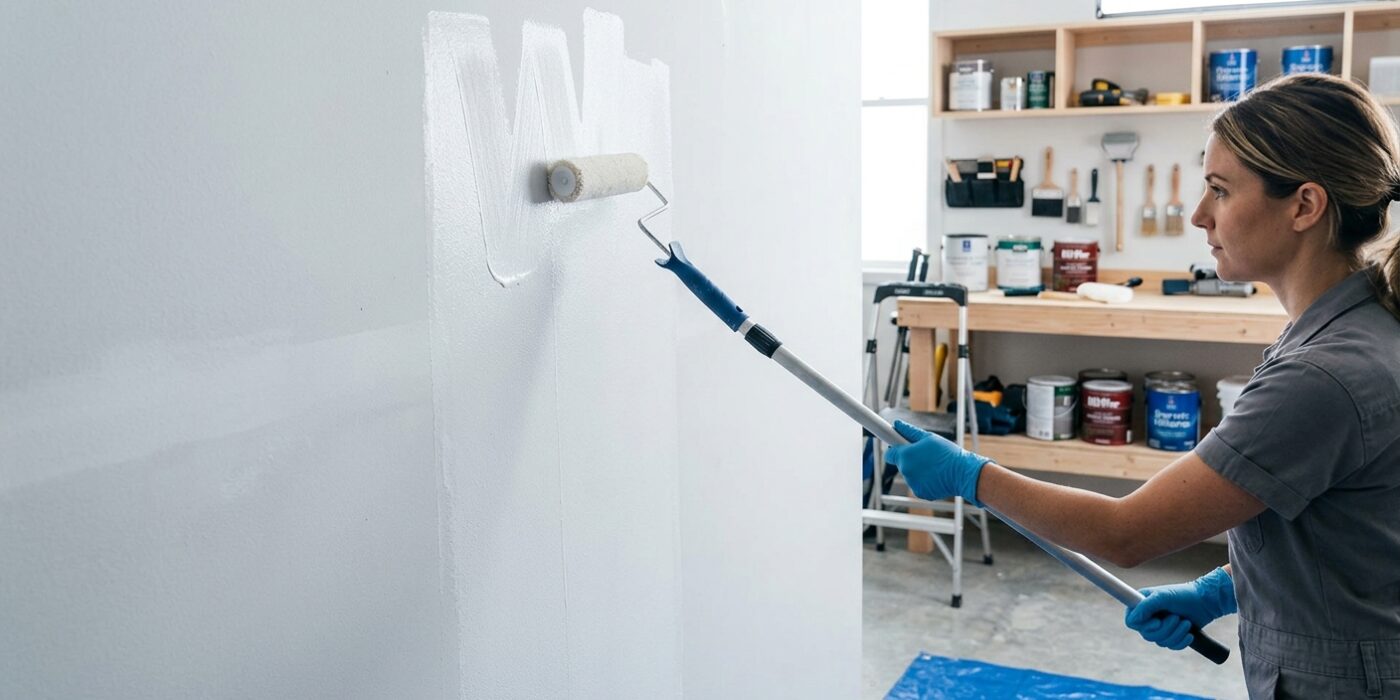
Think of your wall as a series of vertical columns rather than one giant canvas. To keep your finish looking professional, work in sections about two to three feet wide. Start at the top near the ceiling and roll straight down to the baseboard in one continuous motion. Once you reach the bottom, reload your roller and move to the next section immediately, overlapping the edge of the previous, still-wet stripe by about two to three inches.
The goal here is to maintain a “wet edge.” Paint dries surprisingly fast; if you allow the edge of a section to dry before you connect it to the next one, the overlapping paint will create a dark, thick stripe known as a lap mark. By working quickly and keeping those edges wet, the paint blends seamlessly into a smooth, uniform surface.
Beginner Tip: A common mistake is to “stretch” the paint by rolling until the roller is almost dry. This causes the texture to look thin and inconsistent. Keep your roller well-loaded – it should sound like light bacon sizzling as it rolls – and don’t be afraid to go back to the tray frequently.
Pro Tip: To avoid obvious vertical lines, try rolling in a “W” or “N” pattern within your two-foot section before finishing with vertical strokes. This spreads the paint evenly across the wall surface, ensuring you don’t end up with heavy globs of paint at the start and end of each roll.
Step 4: Roll in a W or M Pattern
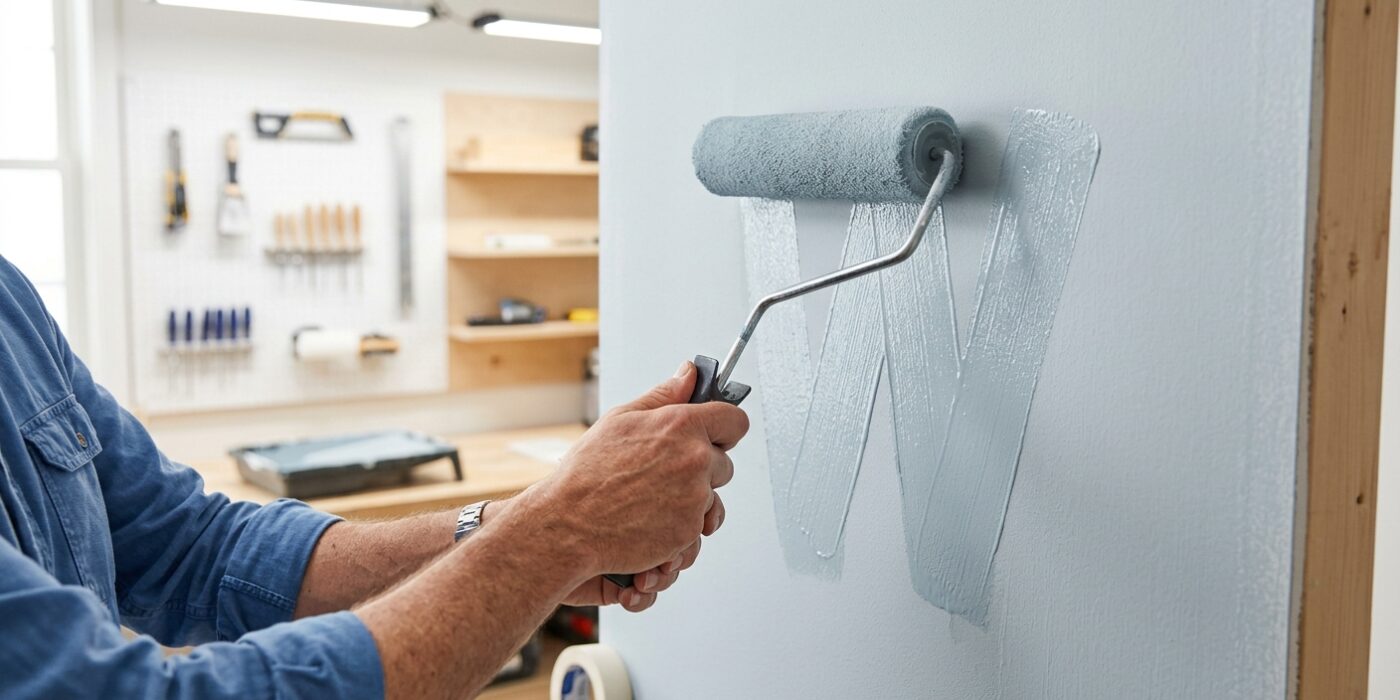
Now that your roller is loaded, it is time to apply the paint using the “W” or “M” technique. Start about six inches away from the corner or your previous section. Without lifting the roller from the wall, roll a large “W” or “M” shape that spans roughly three feet wide and three feet tall. This technique is crucial because it distributes a generous amount of paint across a large surface area before the roller begins to run dry.
Once the shape is drawn, move back to the start and fill in the open gaps of your letter by rolling vertically up and down. Finally, without reloading any new paint, finish with long, gentle strokes from the ceiling to the floor. Think of this as “laying off” the paint; these light, final passes smooth out the texture and blend the thick edges of your roller, preventing those unsightly streaks known as lap marks.
Beginner Tip: A common mistake is pressing too hard against the wall. If you push down firmly, you will squeeze extra paint out of the edges of the roller, creating permanent ridges. Let the roller glide; your arm should feel relaxed, not strained.
Pro Tip: Always work in “wet sections.” Try to complete one small area and move to the next while the edge of the previous section is still damp. If the paint dries before you overlap it, you will see a visible seam where the two layers met.
Step 5: Maintain One Continuous Wet Edge
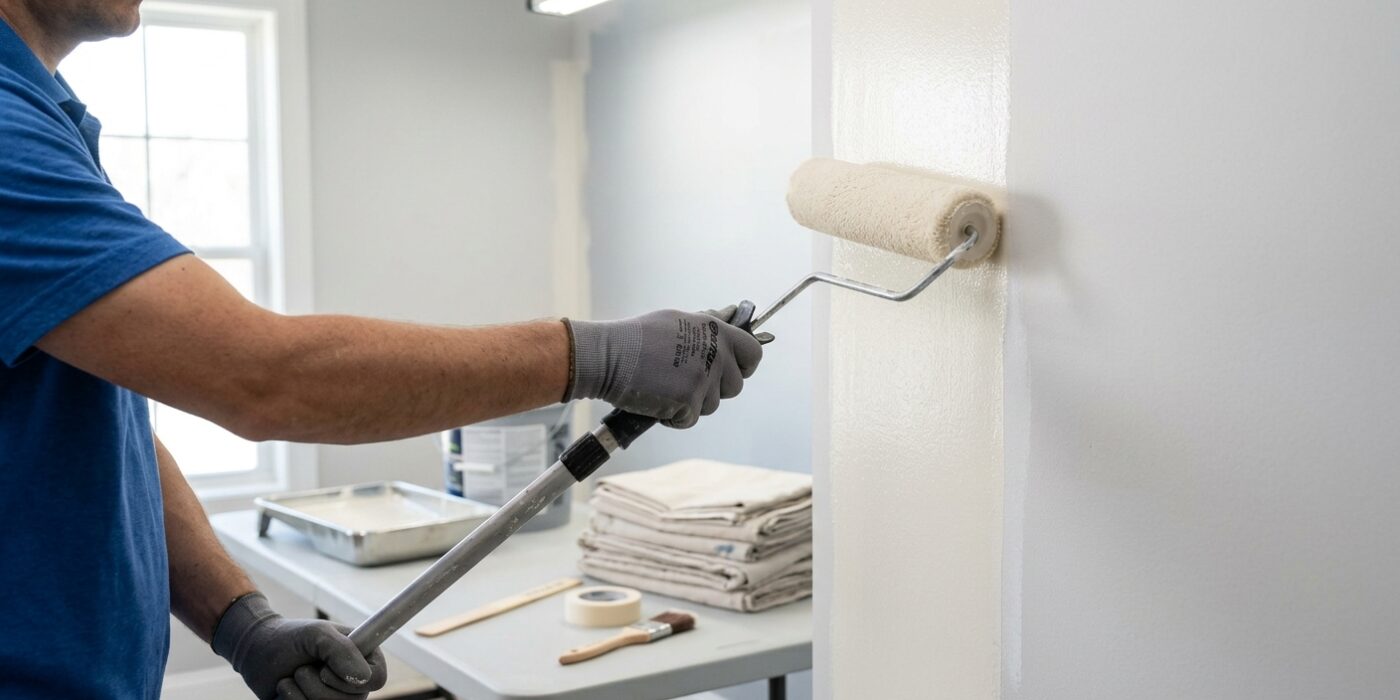
The “wet edge” is the boundary where your freshly applied paint meets the dry wall. To achieve a flawless finish, you must always roll into the part of the wall that is still damp. If you stop for too long, the edge of your previous stroke will start to dry, creating a thick, overlapping line that won’t blend away – this is what professionals call a “lap mark.” To prevent this, work in sections about 3 feet wide, moving from top to bottom. Reload your roller frequently, and always overlap your new stroke by about 2 or 3 inches into the previous, still-wet section. Keeping this momentum going ensures that the paint layers melt together seamlessly as they dry.
Beginner Tip: A common mistake is trying to stretch your paint too thin to avoid reloading the roller. If you hear a loud, sticky, crackling sound while rolling, your roller is too dry. This prevents the paint from leveling out properly, which creates uneven textures and visible streaks. When in doubt, dip your roller again!
Pro Tip: To keep that edge perfectly wet, maintain a “W” or “M” motion as you roll. Start by rolling a large W shape on the wall without lifting the roller, then fill in the gaps without picking it up. This distributes the paint evenly across the entire section, giving you a wider window of time to move to the next area before the paint begins to set.
Step 6: Use Paint Conditioner in Dry or Hot Conditions
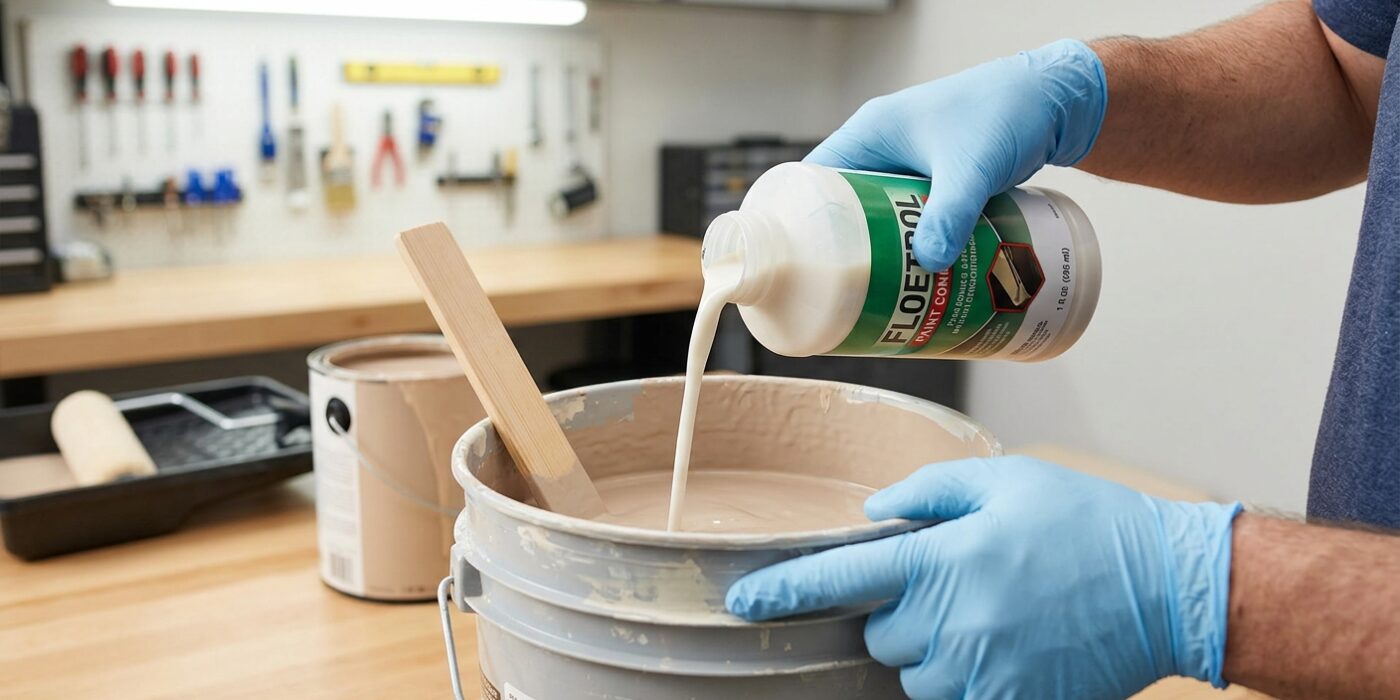
When the temperature rises above 85 degrees or the air is very dry, your paint will dry faster than you can keep up with, leading to those frustrating “lap marks” where layers overlap. To prevent this, add a paint conditioner like Floetrol (for water-based paints) or Penetrol (for oil-based paints) to your paint. These additives extend the “open time,” meaning the paint stays wet longer, giving you more time to blend your strokes seamlessly.
To use these correctly, always follow the manufacturer’s mixing instructions found on the back of the bottle. A typical starting point is adding about 8 ounces of conditioner per gallon of paint. Pour the conditioner into your paint, and use a stir stick to mix it thoroughly for at least two minutes until the consistency is uniform. This simple step helps the paint level out on the wall, resulting in a smooth, professional finish without thinning the product or ruining its ability to cover the wall.
Beginner Tip: A common mistake is adding the conditioner “by eye” without measuring. Always use a measuring cup. Adding too much conditioner can make the paint too thin, causing it to drip or lose its color intensity, while adding too little won’t give you the extra working time you need.
Pro Tip: If you are painting on an exceptionally hot day, lightly mist your roller cover with water (if using latex paint) before you start. This keeps the roller slightly damp, which prevents it from “wicking” the moisture out of your paint too quickly as you work.