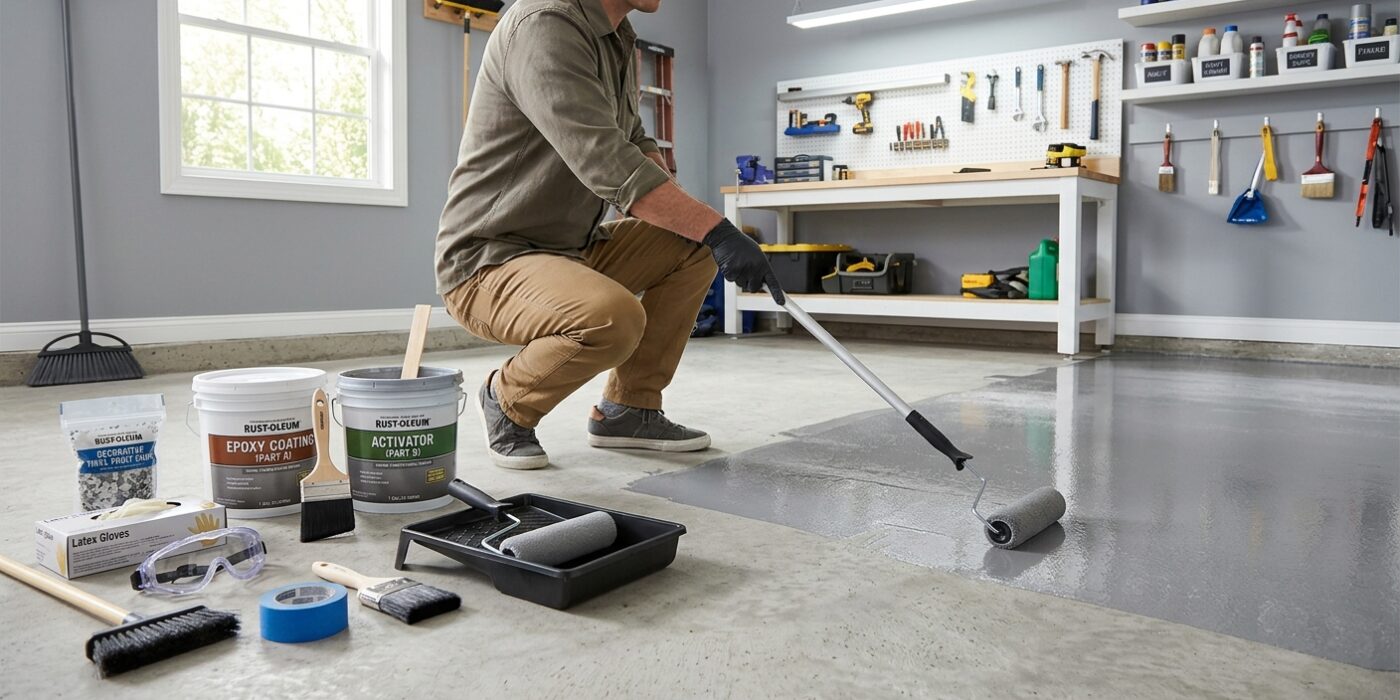
Project Shopping List
A garage floor epoxy coating is one of the most satisfying upgrades you can make to a garage – it transforms a dusty, oil-stained slab into a clean, professional-looking surface that resists chemicals, cleans easily, and dramatically brightens the space. Done properly, it lasts 5 to 10 years under normal residential use. Done incorrectly – which usually means skipping acid etching or applying without properly addressing moisture – and it peels within the first year in large sheets.
This guide walks through every step of a successful garage floor epoxy project, from moisture testing and acid etching through topcoat application and the waiting period before driving on it.
What You’ll Need
Tools
- Floor grinder with 40-grit diamond pads or acid etching supplies
- Pump garden sprayer (for acid application)
- Stiff-bristle push broom or scrubber
- Shop vacuum with HEPA filter
- 9-inch roller with 3/8-inch nap sleeve
- 4-inch brush for edges
- Squeegee for spreading epoxy on large areas
- Spiked roller shoes (allows walking on wet epoxy during application)
Materials
- 100% solids epoxy kit or water-based epoxy (100% solids is far more durable)
- Muriatic acid or phosphoric acid for etching
- Baking soda for neutralizing acid
- Concrete degreaser for oil stain pre-treatment
- Decorative paint chips/flakes (broadcast into wet epoxy)
- Clear polyurethane or polyaspartic topcoat (for maximum durability)
- Plastic sheeting and tape for masking walls and door seals
Step-by-Step Instructions
Step 1: Test for Moisture – Critical First Step
Tape a 24-inch square of plastic sheeting to multiple spots on the garage floor, sealing all four edges with tape. Leave for 24 hours. If you find condensation or dark wet concrete under the plastic, you have moisture vapor transmission – epoxy applied over active moisture will delaminate within weeks, often in large bubbles. For garages with significant moisture, a moisture-vapor barrier primer must be applied first, or the project should be postponed until the moisture issue is resolved.
Step 2: Degrease All Oil Stains
Oil stains are the enemy of epoxy adhesion. Apply a concentrated concrete degreaser to all oil spots – diluted degreaser is often too weak for motor oil that’s been soaking in for years. Let it sit 20 minutes, then scrub aggressively with a stiff brush and rinse thoroughly. For very old, deep oil contamination, you may need to apply degreaser twice, or use a poultice of cat litter and degreaser left overnight. Acid etching after degreasing is still necessary – degreasing doesn’t create the mechanical profile needed for adhesion.
Step 3: Acid Etch the Entire Floor
Dilute muriatic acid at 1 part acid to 10 parts water – always add acid to water, never water to acid. Wet the floor first, then apply the acid solution from a watering can or pump sprayer working from the back of the garage toward the exit. You’ll see active bubbling – this is the acid reacting with the concrete calcium and creating the porous profile epoxy needs to bond to. Scrub with a push broom while the acid is active. Rinse thoroughly, then neutralize with a baking soda and water solution (1 cup per gallon of water), rinse again, and let the floor dry for a minimum of 24 hours.
Step 4: Patch Cracks and Divots
Fill cracks with epoxy crack filler or polyurethane concrete caulk before coating. For spalls (pits), use a vinyl concrete patch compound. Allow all patches to cure per manufacturer instructions. The goal isn’t to make the floor perfectly smooth – epoxy will bridge minor surface variations – but deep cracks and holes larger than 1/4 inch should be filled so the epoxy doesn’t pool in them unevenly.
Step 5: Mix the Epoxy Correctly
Two-part epoxy is mixed by combining Part A (resin) and Part B (hardener) in a specific ratio – typically 2:1 or 1:1 by volume. Measure precisely. Mix thoroughly for a full 3 minutes, scraping the sides and bottom of the container. Then pour the mixed batch into a second container and mix again for another minute – this ensures no unmixed material from the container walls contaminates the batch. Unmixed epoxy doesn’t cure; it remains sticky permanently. Pot life is typically 20 to 30 minutes at 70°F – work quickly once mixed.
Step 6: Apply the Epoxy Coat
Cut in along the walls and door edges with a brush. Pour the mixed epoxy in a line across the back of the garage and spread it with a squeegee or roller, working toward the exit. Maintain a wet edge – don’t let one section start to set before the adjacent section is applied. Wear spiked roller shoes so you can walk on the wet epoxy to reach far sections. Work in sections no larger than you can coat in 15 minutes with your crew size. Immediately broadcast decorative chips into the wet epoxy (if using) while rolling – don’t wait until a section is done to add chips.
Step 7: Apply Clear Topcoat (Highly Recommended)
One-coat epoxy systems (common in DIY kits) wear faster than systems with a dedicated clear topcoat. After the epoxy base coat has cured for 12 to 24 hours, apply a polyurethane or polyaspartic clear topcoat for maximum abrasion resistance, UV stability (epoxy yellows in direct sun without UV-stable topcoat), and chemical resistance. Polyaspartic topcoats are extremely hard-wearing and cure fast – some can be walked on in 1 hour. Apply in two thin coats for best results.
Step 8: Cure Before Use
Walking on the floor can begin after 12 to 24 hours. Light storage items can go back in after 48 hours. Do not park vehicles on the floor for a minimum of 72 hours, and ideally 7 days. Hot tires on a partially cured epoxy floor cause delamination (tire marks that pull the coating off when the car moves). This is one of the most common epoxy failure complaints – the floor looks cured but the thermoplastic tires still bond to the partially cured coating.
Pro Tips
- Temperature is critical: apply epoxy only when both the air and slab temperature are between 55°F and 85°F. Cold slabs slow cure dramatically; hot slabs accelerate pot life so the epoxy starts to set before you’ve spread it.
- Do the project in two days: etch and patch on day one, apply epoxy on day two. This gives etch chemicals time to fully dry out of the concrete pores.
- A single-car garage takes 1 to 1.5 gallons of 100% solids epoxy. A two-car garage needs 2.5 to 3 gallons. Buy a little extra – running short mid-application on a time-sensitive material is a serious problem.
- If your garage gets significant direct sun, choose a UV-stable polyaspartic topcoat rather than a standard polyurethane – UV stabilization prevents the floor from yellowing within months of application.
- Keep a bucket of acetone and disposable rags nearby during application – epoxy that gets on surfaces you don’t want to coat (wall base, door gaskets) must be wiped off immediately; once cured, epoxy requires mechanical removal.
Frequently Asked Questions
How long does garage floor epoxy last?
On a properly prepared floor, 100% solids epoxy with a polyaspartic topcoat typically lasts 7 to 10 years under normal residential use. Water-based or paint-style epoxy products from hardware stores typically last 1 to 3 years. The difference is almost entirely in the product solids content and surface preparation quality.
Can I apply epoxy over an existing painted concrete floor?
Only if the existing coating is well-bonded. Test by pressing duct tape firmly on the surface, then pulling it off quickly. If existing coating comes up with the tape, it must be removed before applying epoxy. If it stays firmly bonded, lightly grind the surface with 40-grit pads to create a profile, clean thoroughly, and apply an epoxy bonding primer before the topcoat.
What’s the difference between epoxy paint and real epoxy?
So-called “epoxy paint” from hardware stores is often only 30 to 50% solids – the rest is water or solvent that evaporates. Real 100% solids epoxy contains no solvent; every gram of material stays on the floor. 100% solids epoxy is 3 to 5 times thicker and far more durable than epoxy paint. It also costs more per gallon but covers less area (which makes sense – it’s denser). For a lasting garage floor, use 100% solids epoxy only.