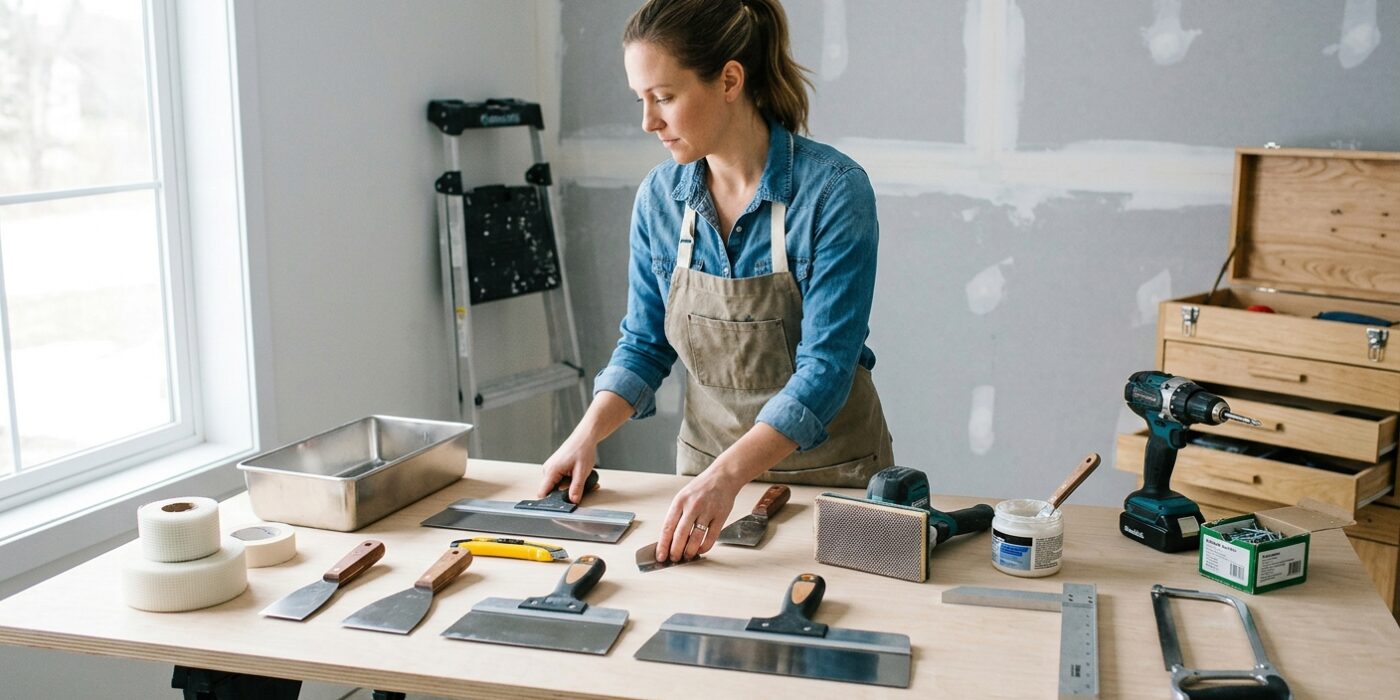
Drywall is one of the most rewarding DIY skills to develop – once you can hang and finish drywall, you can renovate rooms, add walls, and repair damage like a pro. The right tools make the difference between a flat, invisible finish and seams that show through the paint.
For Hanging Drywall
1. Drywall Screw Gun (or Drill with Dimpler Bit)
A dedicated drywall screw gun has a clutch set to sink screws at the exact depth needed – slightly below the surface without breaking the paper face. A regular drill with a drywall dimpler attachment works too, and is the better starting choice if you already own a drill.
What to look for: Variable depth clutch, high RPM for fast driving, magnetic bit holder.
Price range: $8–$15 for a dimpler bit | $70–$150 for a dedicated screw gun.
2. Drywall T-Square
A 48" T-square lets you mark a straight line across a full sheet for scoring – essential for making clean cross-cuts. Score the paper, snap the sheet, and score the back – the cleanest cut you can make without a saw.
Price range: $25–$45.
3. Utility Knife
For scoring and cutting drywall. Keep fresh blades – a dull blade tears instead of scoring cleanly. See the full review: Best Utility Knives at DIY Arsenal.
Price range: $10–$18.
4. Stud Finder
Finding studs is critical for hanging drywall on existing walls and for any repair work. A good electronic stud finder locates the center and edges of studs accurately.
→ See our review: Best Stud Finders for Drywall and Plaster at DIY Arsenal.
For Finishing Drywall (Taping and Mudding)
5. Drywall Knives – 6", 10", and 12"
Finishing drywall requires three coats of joint compound applied with progressively wider knives. Start with a 6" knife for the tape coat, move to 10" for the filler coat, and finish with a 12" for the final skim coat. Each wider knife feathers the compound further to create an invisible seam.
Price range: $8–$15 each, or buy a set.
6. Corner Bead + Mud Pan
Outside corners need metal or paper-faced metal corner bead to create a durable, crisp edge. A plastic mud pan holds your joint compound while you work and gives you a surface to load your knife cleanly.
Price range: $2–$4 per corner bead | $8–$15 for a mud pan.
7. Drywall Sander + Dust Mask
Sanding drywall compound creates extremely fine silica dust – one of the bigger respiratory hazards in home renovation. A pole sander with 120-grit screen works for flat surfaces. Always wear an N95 or better respirator.
→ See our review: Best Dust Masks and Respirators for Drywall and Woodworking at DIY Arsenal.
For Drywall Repairs
8. Lightweight Spackle + Putty Knife
For nail holes and small damage, lightweight spackle applied with a 3" putty knife is faster than mixing joint compound. Sand smooth when dry and the repair is invisible under paint.
Price range: $6–$8 for spackle | $5–$8 for a putty knife.
Start Your Project
Frequently Asked Questions
How many coats of joint compound do I need?
Three is the standard: a tape coat (embeds the tape), a filler coat (fills depressions), and a finish coat (final skim for smoothness). Some professional finishers do a fourth skim coat in high-end work. Each coat must dry completely before the next.
What’s the difference between joint compound and spackle?
Joint compound (drywall mud) is for finishing drywall seams and tape – it shrinks as it dries and takes multiple coats. Spackle is for small holes and repairs – it doesn’t shrink much, dries faster, and is ready to sand in hours. Don’t use spackle on seams; it will crack.
Do I need a drywall lift to hang ceiling drywall?
For a ceiling project, yes – a drywall lift rental (~$40/day) lets one person hang ceiling sheets alone. Trying to hold a 4×8 sheet overhead while driving screws without a lift is genuinely dangerous. For small patch repairs, a helper can hold a cut piece while you screw it.