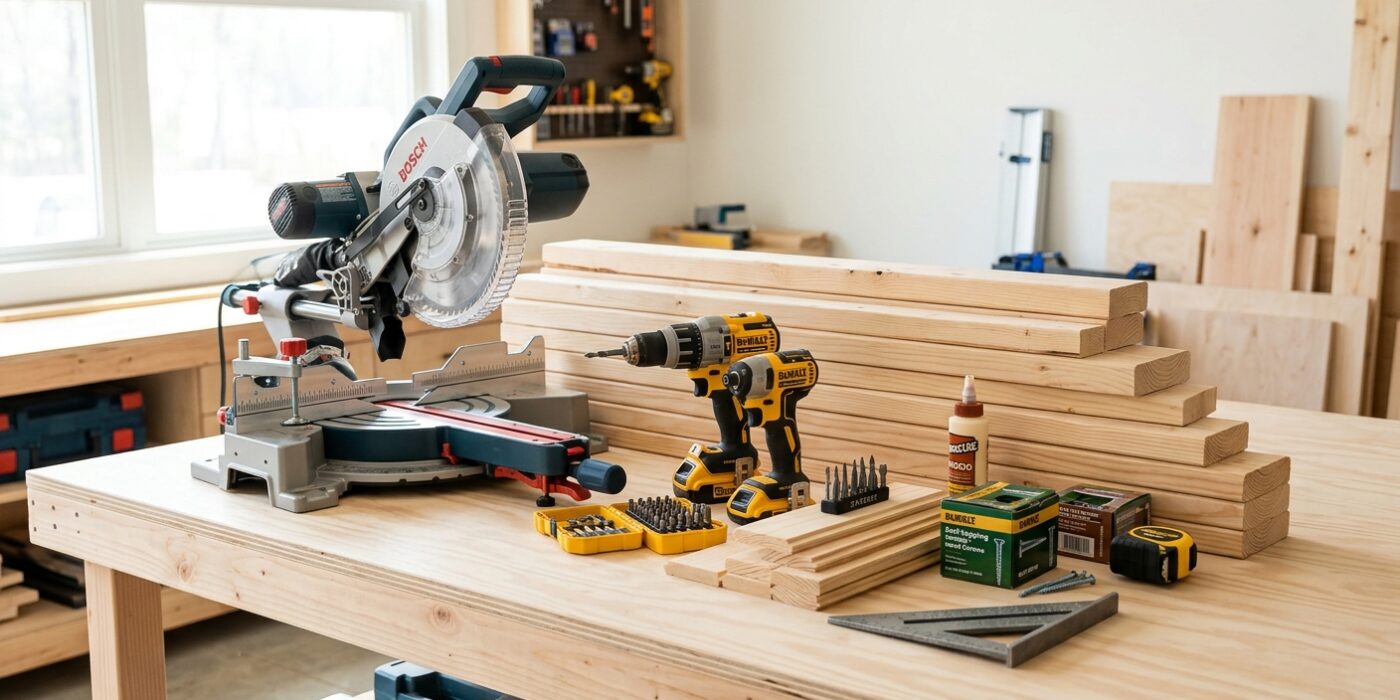
Project Shopping List
A platform bed frame is the foundation of a bedroom – and building one yourself means you get exactly the size, height, and style you want at a fraction of retail cost. A queen or king platform bed is also one of the most forgiving furniture projects: the structure is simple, the joinery is straightforward, and a few hours of work produces a piece that looks like it costs ten times what you spent.
This guide builds a queen platform bed (60×80-inch mattress) with a low-profile frame, center support beam, and optional headboard attachment. The same design scales directly to king size by adjusting the width. No box spring required.
What You’ll Need
Tools
- Miter saw
- Circular saw or table saw
- Drill and pocket hole jig
- Random orbital sander
- Tape measure, square, level
- Clamps
Materials
- 2×6 lumber – 8-foot boards for the frame rails
- 2×4 lumber – for the center support beam and legs
- 1×4 or 1×6 slats (poplar, pine, or birch)
- 4×4 post material for corner legs (6 inches tall)
- Pocket screws (2-1/2 inch)
- Lag bolts or structural screws (3-inch, for leg attachment)
- Sandpaper, stain, and polyurethane or paint
Step-by-Step Instructions
Step 1: Determine Final Dimensions
A queen mattress is 60×80 inches. Add 3/4 inch to each dimension for the frame interior – this gives you a snug fit without the mattress being difficult to remove. The exterior frame dimensions will be larger depending on leg and rail construction. Plan for a platform height of 14–18 inches from floor to mattress top – too low and getting up is difficult; too high and the room feels cramped.
Step 2: Cut the Side Rails and End Rails
Cut two side rails from 2×6 lumber at the mattress length plus two rail thicknesses. Cut two end rails at the mattress width. Stand these on edge – the bed frame bears weight across its length, and 2×6 on edge has significantly more bending resistance than 2×4. Sand all cut ends smooth before assembly.
Step 3: Cut and Attach the Legs
Cut four corner legs from 4×4 material at the desired finished height minus the depth of your rails. Attach each leg to a corner using two 3-inch structural screws per side, driven at an angle through the rail into the leg. Apply wood glue at the joint. Square each corner precisely – an out-of-square frame will rock and stress the joinery over time.
Step 4: Assemble the Outer Frame
Assemble the four rails at the corners with pocket holes and 2-1/2-inch pocket screws, two per corner on each joining face. Check diagonal measurements to confirm the frame is square – equal diagonals mean a square frame. Clamp the frame and let the glue cure before moving to the next step.
Step 5: Install the Center Support Beam
A queen or king platform bed must have a center beam running the length of the frame – without it, the slats will sag in the middle under the mattress and occupants’ weight. Cut a 2×4 or 2×6 beam to span the interior from end rail to end rail, and add a center leg at the midpoint to the floor. Fasten the beam to the end rails with pocket screws and confirm the center leg sits flat on the floor without rocking.
Step 6: Install the Slats
Cut slats from 1×4 or 1×6 lumber to the interior width of the frame. Space slats no more than 3 inches apart – wider spacing allows the mattress to sag between slats and shortens its life. Fasten each slat to the rails with two screws per end, countersunk. Leave a 1/8-inch gap between slats for air circulation, which reduces moisture buildup under the mattress.
Step 7: Add Optional Headboard Attachment
If you want a headboard, install two 2×4 uprights rising from the head end rail at the inner corners – bolt them to the rail with lag bolts. These uprights accept standard bolt-on headboard hardware. Alternatively, build a simple panel headboard from plywood, frame it, upholster it or paint it, and fasten it directly to the uprights.
Step 8: Sand, Finish, and Assemble
Sand all surfaces through 120 and 180 grit before finishing. Apply your chosen stain and two coats of polyurethane, or paint with a primer and two coats of cabinet enamel. Finish all surfaces – even the undersides and hidden faces – to prevent differential moisture absorption that causes warping. Once finish is cured, assemble the frame in the bedroom if it was built in pieces.
Pro Tips
- Build the frame in sections that fit through your doorway – measure the doorway before cutting your longest pieces. A queen frame interior often does not fit through a standard 30-inch doorway intact.
- Use furniture levelers instead of fixed feet – minor floor variations in most rooms mean a fixed-leg frame will rock. Adjustable leveling feet make this trivial to correct.
- Round all exposed edges with a router or heavy sanding – sharp lumber edges at knee height are a daily hazard.
- Pre-drill all screw locations in the slats before installation – splitting a slat during installation is frustrating and wastes material.
Frequently Asked Questions
How many slats does a queen platform bed need?
A queen bed (60-inch span with a center beam) needs slats spanning from the side rails to the center beam – about 20 slats per side if spaced 3 inches apart, or 40 total. With slats only from rail to rail (no center beam), the number is the same but the center beam is essential to prevent sag on spans over 30 inches.
What wood is best for a platform bed frame?
Construction-grade pine (dimensional lumber from a home center) is perfectly adequate for the structural members – 2×6 and 2×4 are already engineered for load bearing. For slats, poplar is stronger than pine and resists splitting better. If you want a hardwood appearance without hardwood cost, build the structural frame from pine and use poplar or soft maple for any exposed decorative elements.
Can I add under-bed storage?
Yes – the simplest approach is to raise the frame height to 12–14 inches and use rolling storage bins underneath. For built-in drawers, you need to design drawer slides into the side rails from the beginning – retrofitting drawers to a completed frame is much harder. Plan the drawer opening size based on the storage you need, then size the rails around it.