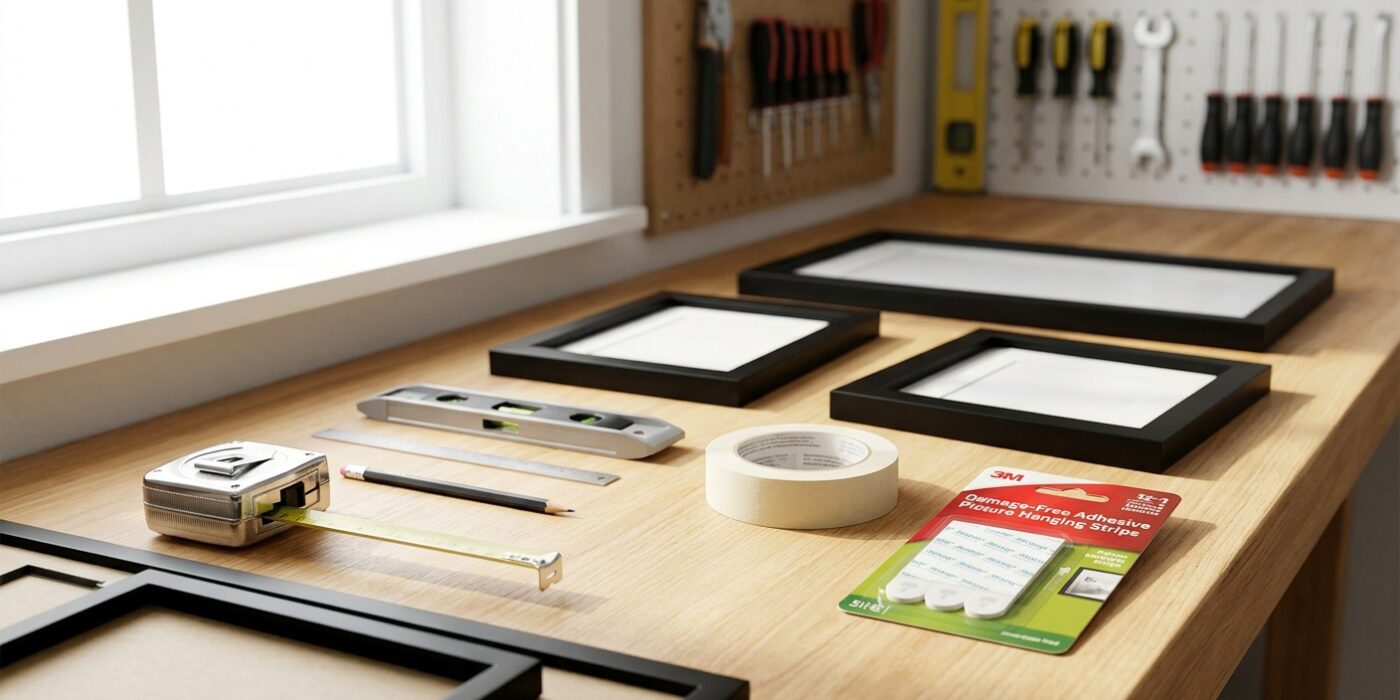
Project Shopping List
Two frames side-by-side with one hanging 3 inches lower than the other. Sound familiar? The trick to avoiding that classic mistake is spending five minutes with paper and tape before you touch a hammer. Here’s how to nail two common gallery arrangements without putting 40 holes in your wall.
What You’ll Need
Tools
- Tape measure
- Level (torpedo level or laser level)
- Pencil
- Hammer
- Picture-hanging hooks rated for the frame weight
Materials
- Kraft paper or newspaper (for templates)
- Painter’s tape
- Picture-hanging strips (for frames under 8 lbs, optional)
The Golden Rule: Template First
Trace each frame onto kraft paper and cut out the shapes. Mark the hanging hardware position on each template – where the nail will actually go relative to the top of the frame. Tape the templates to the wall with painter’s tape and step back. Rearrange until you like the spacing. Then nail through the templates. Pull the paper off, and your holes are exactly where they need to be. No math, no measuring twice in your head.
Layout 1: Two Frames Side by Side and Level
Step 1: Decide on center height
Aim to center the arrangement at eye level – approximately 57–60 inches from the floor. For a set of two frames, the center of the arrangement is the midpoint between the two frames’ centers. Mark this height on the wall.
Step 2: Determine horizontal spacing
For frames hung next to each other, 2–3 inches of space between the frames looks intentional. More than 4–5 inches and they start to feel unrelated. Mark the centerline of each frame position on the wall.
Step 3: Make paper templates
Trace both frames. On each template, measure from the top of the frame to the hanging wire or hook at full tension, and mark that point on the paper. This is where your nail goes.
Step 4: Tape templates, level, nail
Tape the first template at your target height. Use a level to set the top edge. Mark the nail position through the paper, then move to the second template. Level it to match the first – use a long level or laser to span both if you have one. Mark the second nail. Remove templates and drive the nails.
Step 5: Hang and adjust
Hang both frames, then check with a level placed across the top of both. A small adjustment on one side is normal – most picture hooks allow for a few millimeters of shift.
Layout 2: Three Frames in a Diagonal (Staircase) Arrangement
This layout follows a diagonal line rising from lower-left to upper-right (or vice versa). It works best with three frames of the same size, or with a clear visual hierarchy.
Step 1: Establish the diagonal
Decide on the start and end points of the diagonal. A rise of 6–8 inches per frame position looks natural. Mark where the center of each frame will sit: the leftmost lowest, the middle at mid-height, the rightmost at the top of the diagonal.
Step 2: Set horizontal spacing
Each frame should be spaced evenly horizontally – typically the frame width plus 3–4 inches. This keeps the diagonal clean rather than bunched.
Step 3: Template, tape, nail
Same process as above: cut three paper templates, mark the hardware point on each, tape them to the wall following your diagonal, check spacing by eye, mark the nail points, remove paper, drive nails.
Step 4: Hang from the top position down
Hang the highest frame first – it’s easier to adjust the lower ones to align with a hung frame than vice versa. Use a level to make sure the top edge of each frame is level individually, even though the arrangement as a whole follows a diagonal.
Getting Frames Perfectly Level
A frame hung on a single nail tends to tilt. Two tricks to prevent this: (1) hang two nails spaced about a third of the frame width apart, or (2) put a small blob of museum putty (poster putty) on the bottom corners of the frame where it contacts the wall – it holds the frame from swinging without damaging paint.
Pro Tips
- Laser levels make this trivial. A $30–40 cross-line laser level projects a perfectly level line across the wall, and you just hang to the line.
- On plaster walls, drive a small pilot hole with an awl before the nail to avoid cracking.
- Frames under 8 lbs can use adhesive strips (Command-type). These work on smooth-painted drywall and leave no holes.
- If you make a mistake, fill nail holes with a dab of spackle on your finger, let it dry, and touch up with matching paint on a small brush.