Project Shopping List
Deck stairs are the most structurally complex part of a deck build — they must carry dynamic loads, meet building code requirements for rise and run dimensions, and be anchored correctly at both top and bottom. Getting the stair calculations right before cutting is everything: one wrong cut on a stringer wastes an expensive 2×12.
What You Need
- 2×12 pressure-treated lumber for stringers
- 2×6 pressure-treated decking for treads
- Stair framing square and speed square
- Circular saw and jigsaw
- Drill and impact driver
- Stair stringer hardware (top and bottom connectors)
- Post-base hardware and concrete anchor bolts (for bottom landing post)
Understanding Stair Math
Stairs must comply with code. Common residential requirements: maximum rise 7-3/4 inches, minimum run 10 inches, minimum tread width 36 inches, consistent rise and run throughout (no variation over 3/8 inch). To calculate: measure total rise (deck surface height above landing), divide by your unit rise (try 7 inches), round to nearest whole number of steps. Actual unit rise equals total rise divided by number of steps. Unit run is tread depth minus nosing overhang (typically 10-11 inch run).
Step-by-Step Instructions
Step 1: Calculate Rise, Run, and Number of Steps
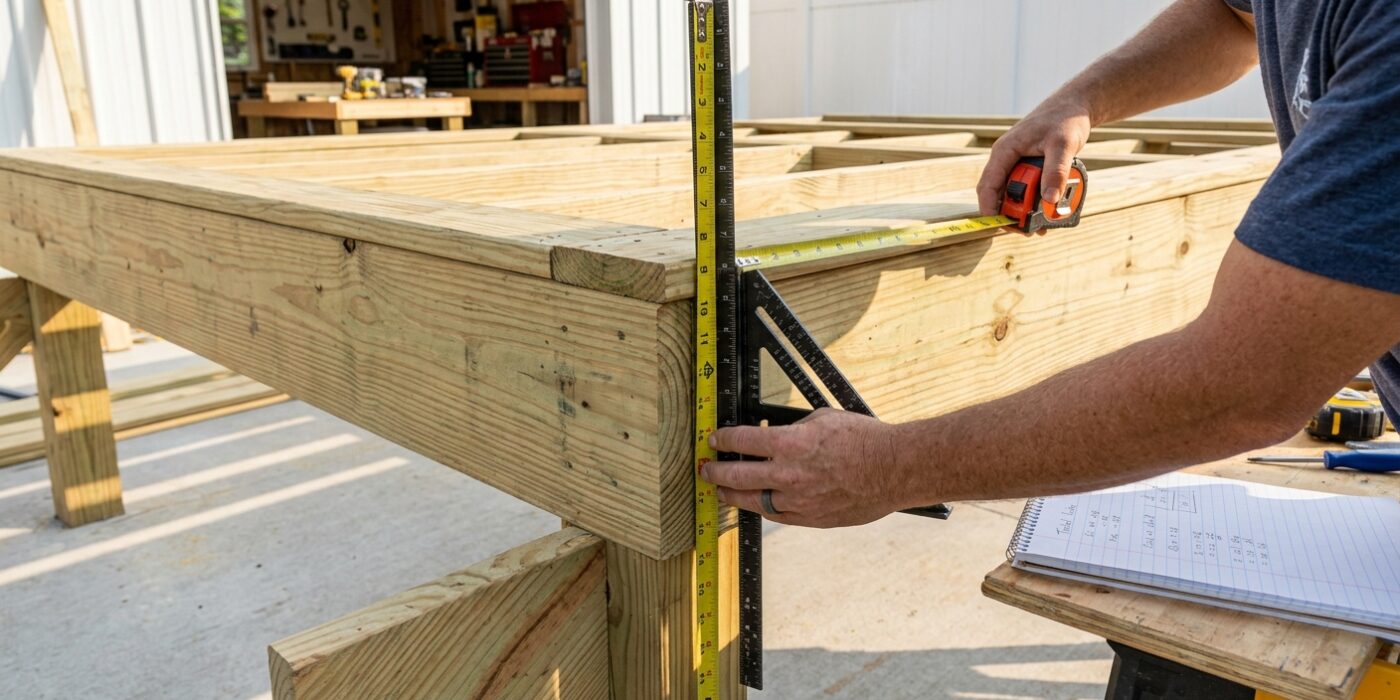
Measure the total rise precisely — from the top of the deck surface to the finished grade or landing surface below. Divide by 7 to get approximate number of steps, round to a whole number, then divide total rise by that number for exact unit rise. Example: 42-inch total rise divided by 7 equals 6 steps; 42 divided by 6 equals exactly 7-inch rise per step. Unit run is typically 10-11 inches for residential stairs. Sketch the stringer layout before cutting.
Step 2: Lay Out the Stringer
Clamp a stair square (or use stair gauges on a framing square) set to your unit rise and unit run. Walk the square down the 2×12 stringer from the top end, marking each step. The layout must account for: the thickness of the tread material subtracted from the first (top) riser, and the concrete pad or landing at the bottom. Mark the top and bottom cuts — the top cut notches over the deck frame; the bottom cut sits flat on the landing. Check your layout by adding up all rises and runs to confirm total rise and total horizontal run match your measurements.
Step 3: Cut the Stringer
Cut along the layout lines with a circular saw, stopping 1/2 inch short of the corner at each notch. Complete each inside corner with a jigsaw or handsaw — never overcut with the circular saw, which removes more wood than marked and weakens the stringer at the most critical point. The remaining wood below each notch (the stringer throat) must be at least 3-1/2 inches for structural adequacy — measure this on your layout before cutting.
Step 4: Test-Fit One Stringer
Test-fit the cut stringer in position before using it as a template for the others. Check that the top cut sits flush against the deck rim joist, each tread cut is level, and the bottom sits flat on the landing with the correct final rise from landing to first tread. Adjust if needed. Once satisfied, use the first stringer as a template to mark and cut the remaining stringers identically.
Step 5: Install Stringer Hardware
Attach stringer hangers or angle brackets at the top of each stringer to the rim joist — do not rely on toenails alone. At the bottom, anchor the stringers to a concrete pad with post-base hardware or concrete anchor bolts through a pressure-treated 2×6 ledger at the base. Space stringers no more than 16 inches on center for 2×6 treads, or 24 inches on center for 5/4 composite treads.
Step 6: Install Treads
Cut 2×6 treads to width (36 inches minimum, matching the deck width). Two 2×6 boards side by side give a 12-inch tread depth with a 1/4-inch gap between boards for drainage. Leave a 1-inch nosing overhang on the front edge of each tread. Drive two screws or structural connector screws at each stringer for each board. Use stainless or hot-dipped galvanized fasteners — plain steel corrodes with pressure-treated lumber.
Pro Tips
- Buy extra stringer material — one mistake on a 2×12 stringer is expensive. Having a spare piece costs less than the time to run back to the lumber yard.
- A concrete landing pad under the stairs is not required but dramatically extends the life of the bottom stringer by keeping it off soil and away from moisture.
- Use 3 stringers for a 36-inch wide stair — 2 stringers flex noticeably under load and feel unstable.
Frequently Asked Questions
Do deck stairs need a permit?
Stairs are part of the deck structure and are included under the deck permit. If your deck was permitted, the stairs are covered. If you are adding stairs to an existing deck without a permit, check with your local building department — stairs are inspected and must meet code.
Can I use composite decking for stair treads?
Yes — most composite decking manufacturers offer matching stair tread profiles with a bullnose front edge. Composite treads are more durable than wood in wet climates but may be more slippery when wet. Choose a deck product with a high-traction surface rating for stair applications.