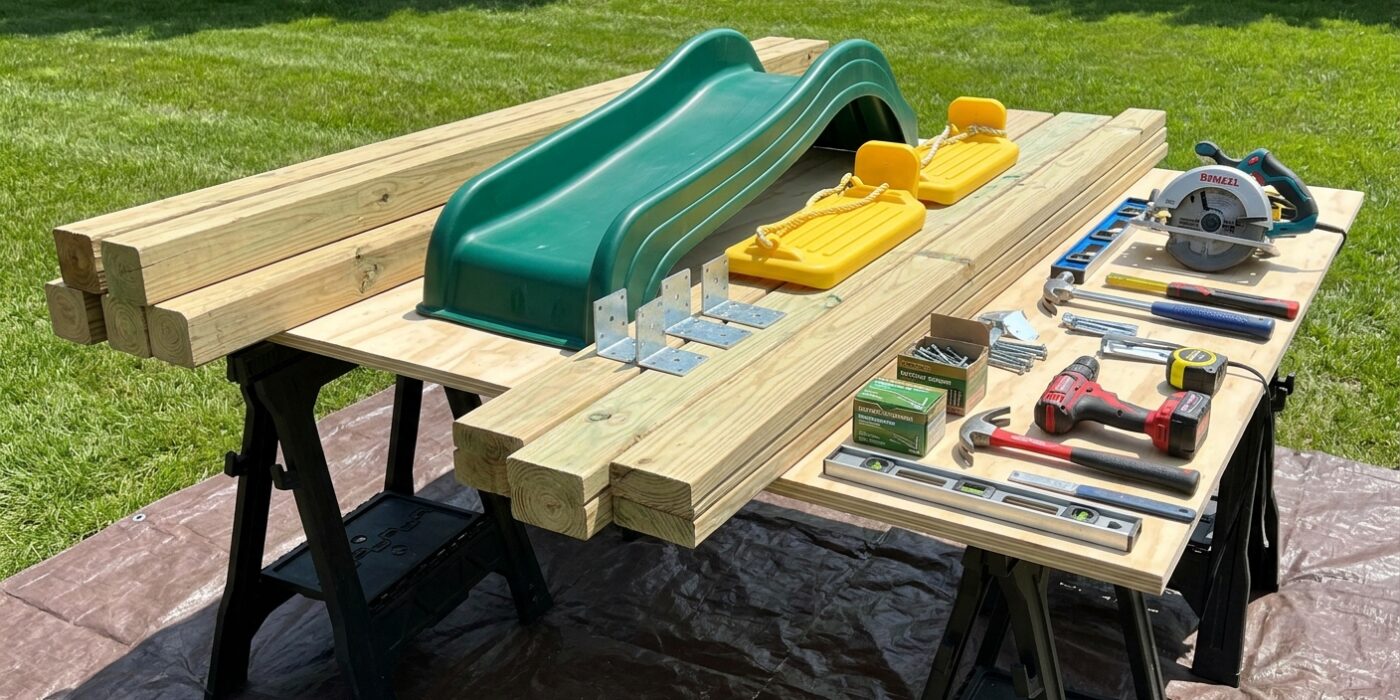
Project Shopping List
A backyard playset gives kids a dedicated place to climb, swing, slide, and play outside. Building your own lets you customize the size, layout, and features to your yard and your kids’ ages – and saves substantial money over pre-built kits. This guide covers building a freestanding wooden playset with a swing beam, climbing ladder, slide, and an upper deck using pressure-treated lumber for ground-contact components and cedar for decking and trim.
This is a two-person project that requires a full weekend for most builds. Plan your layout carefully before you buy materials – the swing beam needs clear space on both sides for full arc swing, and the overall footprint needs to clear fences and overhead lines by a comfortable margin.
What You’ll Need
Tools
- Post hole digger and digging bar
- Miter saw and circular saw
- Drill and driver
- Level (4-foot)
- Socket set for bolts
- Tape measure and chalk line
- Clamps and a helper
Materials
- 4×4 and 4×6 pressure-treated posts (ground contact rated)
- 2×6 and 2×8 pressure-treated lumber (beams and joists)
- 5/4×6 cedar or composite decking (upper deck)
- 3/8-inch galvanized carriage bolts, nuts, and washers
- Joist hangers and post caps (galvanized)
- Swing hardware kit: swing hangers, chains, and seats
- Slide (purchased separately)
- Fast-set concrete mix (2 bags per post)
- Mulch or rubber mat for fall zone
Step 1: Design and Layout
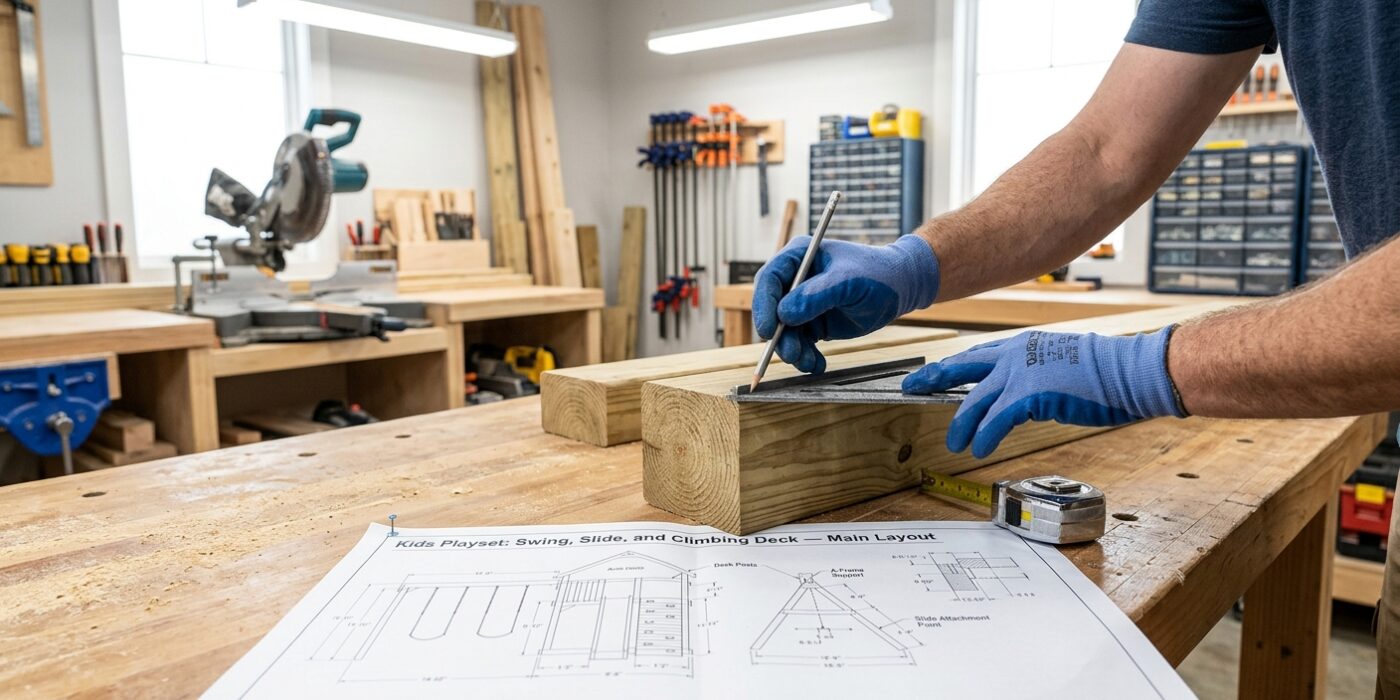
Before you lift a single board, you need a solid plan. Sketch your playset on paper, aiming for an 8-foot by 8-foot tower footprint. This size offers plenty of room for play without overwhelming your yard. Plan for an upper deck height of 5 to 6 feet, which is perfect for elementary-aged children, and extend your swing beam 8 to 10 feet from the side of the tower. Once your sketch is ready, move to your yard to stake out the corners. Connect these stakes with builder’s string to visualize the perimeter. Before you touch a shovel, you must call 811 at least three business days ahead of time. They will mark underground utility lines for free, preventing a dangerous and expensive mistake.
Beginner Tip: The most common mistake is failing to square the layout. If your corners aren’t at perfect 90-degree angles, your structure will be crooked, making it impossible for boards to line up later. To check for square, measure diagonally from corner to corner. If those two diagonal measurements are exactly the same, your layout is perfectly square!
Pro Tip: To keep your layout lines taut and precise, use a “batter board” setup. Drive small stakes a few feet outside your actual corner points and attach a horizontal scrap board to them. Run your string between these boards rather than tying them directly to your corner stakes. This allows you to slide the strings side-to-side to fine-tune your square measurements without pulling up your stakes every time.
Step 2: Set the Posts
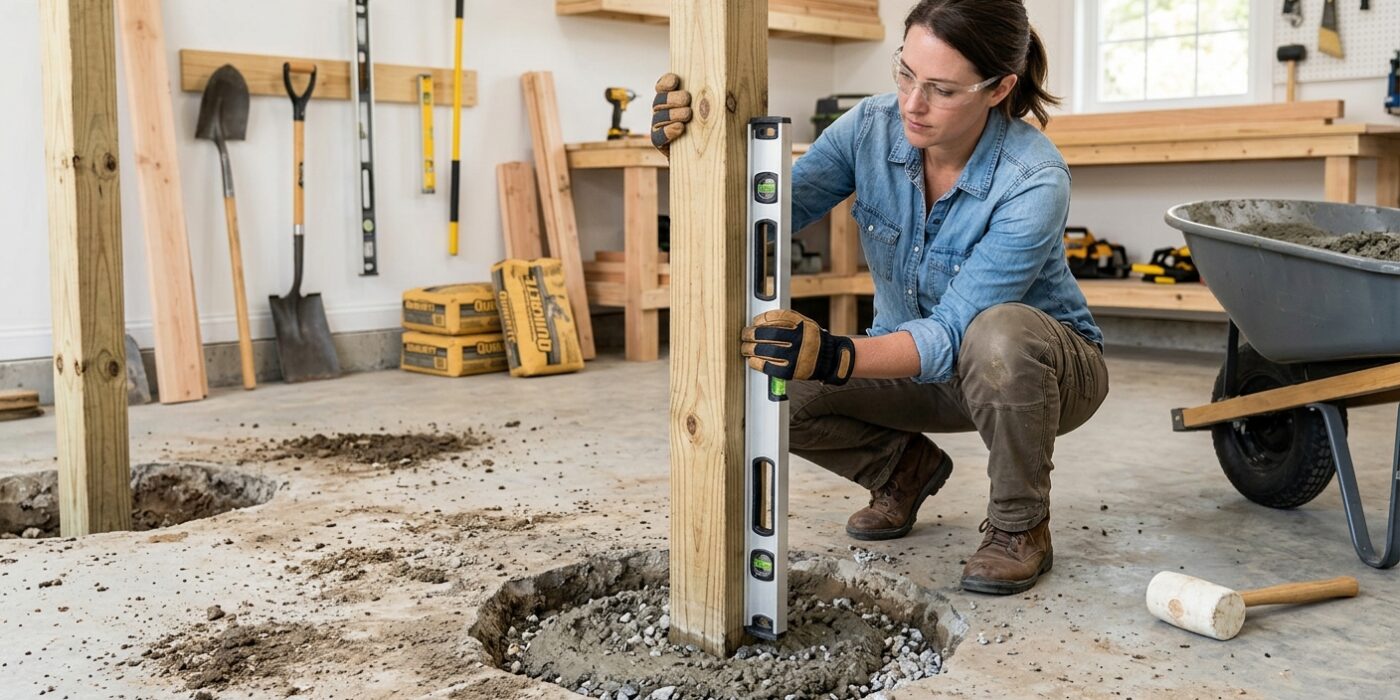
Now that your site is prepped, it is time to anchor the foundation. Dig your post holes to a depth of at least 2.5 feet, or deeper if your local building code requires it to reach below the frost line. Adding 4 to 6 inches of gravel at the bottom provides essential drainage, which prevents the base of your wood posts from rotting prematurely. Once the posts are in, use a carpenter’s level to ensure they are perfectly plumb – perfectly vertical – on two adjacent sides. Secure them in this position using temporary 2×4 boards staked firmly into the ground. Pour your fast-set concrete directly into the hole, add the recommended amount of water, and use a trowel to shape the top into a slight mound or “crown” that slopes away from the post, shedding rainwater effectively.
Beginner Tip: Avoid the mistake of rushing the concrete pour. Always check your level after every bag of concrete you add; it is very easy for a post to shift slightly as the weight builds up, and once that concrete sets, there is no going back.
Alternative Method: If you do not have a post-hole digger, you can use a garden spade, though it will take significantly longer. To keep the hole narrow, remove only the soil you absolutely need to, rather than digging a wide pit, to minimize the amount of backfilling required later.
Pro Tip: Wrap the portion of the post that sits in the concrete with a layer of flashing tape or a specialized post-sleeve. This creates a moisture barrier that acts as a final line of defense against wood rot, extending the life of your playset by several years.
Step 3: Install the Beams and Joists
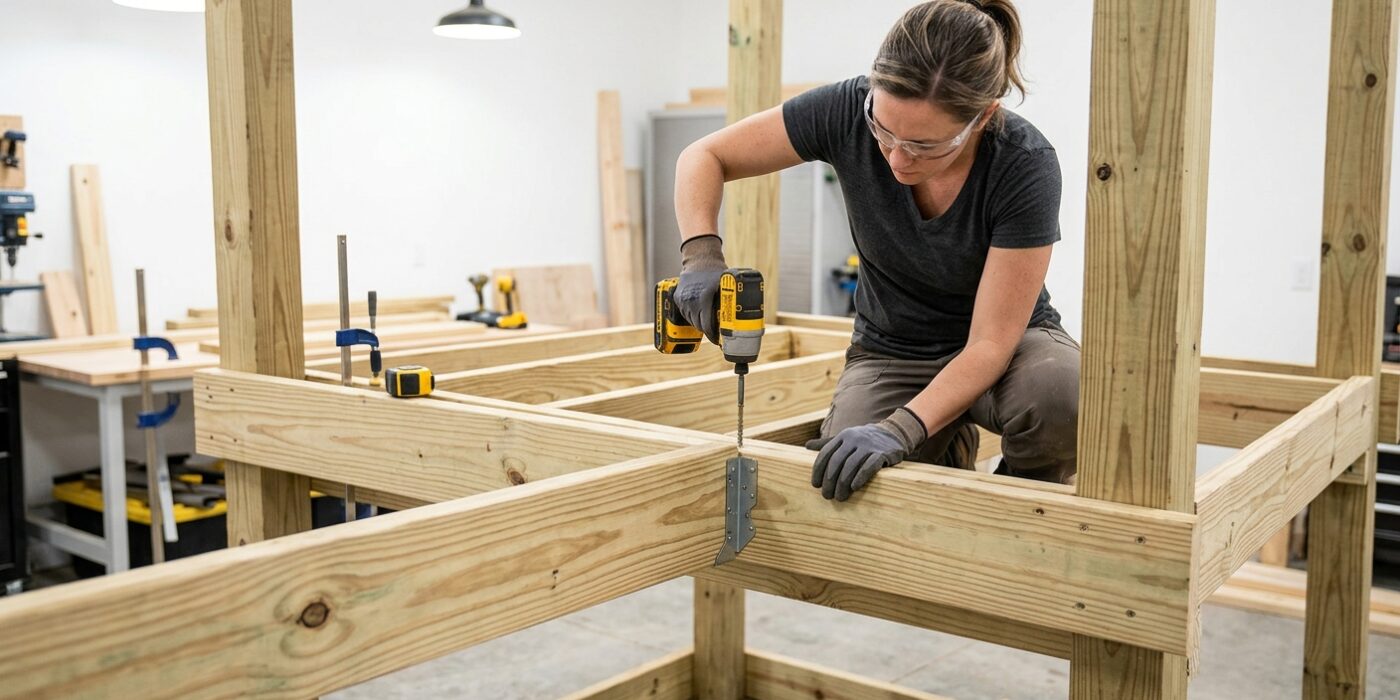
Now that your foundation posts are set, it is time to build the “bones” of your playset. First, determine your desired deck height – usually 48 inches for a standard slide – and mark this level on every post. Use a long level to ensure these marks are perfectly even across all posts, as a crooked frame will make the entire structure unstable. Once marked, carefully cut the post tops with your circular saw.
Next, attach your 2×8 beams to the posts using galvanized post caps and carriage bolts. Drill pilot holes slightly smaller than your bolt diameter to prevent the wood from splitting, then secure each connection with at least two bolts. Finally, install your 2×6 floor joists inside the beam perimeter. Space them exactly 16 inches apart from center to center; this spacing is the industry standard to ensure your deck can safely support jumping children without the wood sagging or feeling bouncy. Use metal joist hangers for every connection to provide maximum strength.
Beginner Tip: Never rely on your eyes to judge if a frame is level. Always use a four-foot spirit level on your joists before attaching the decking. If your frame isn’t perfectly level now, your slide and swing attachments will not align correctly later.
Pro Tip: To keep your joists perfectly spaced without measuring every single one, cut a scrap piece of wood to exactly 14.5 inches. Use this as a spacer block between joists during installation; it guarantees consistent 16-inch center-to-center spacing every time.
Step 4: Deck the Upper Platform
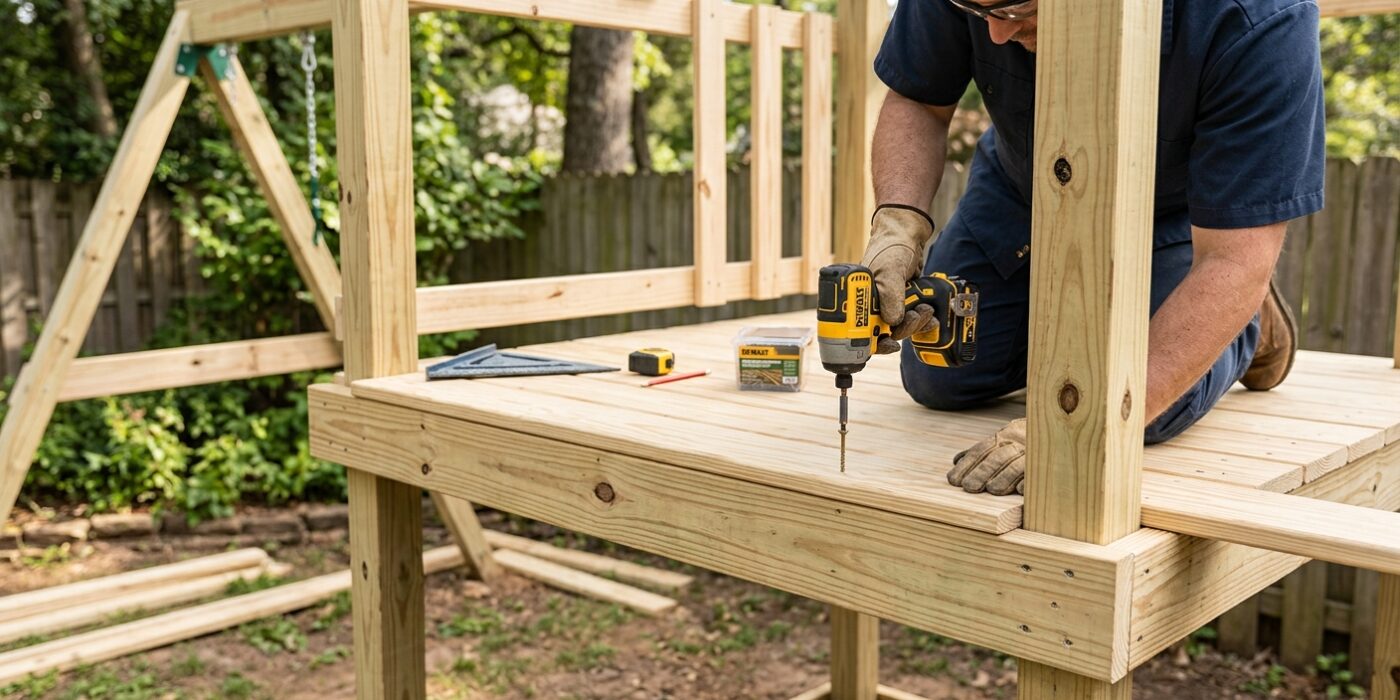
Now it is time to build the floor of your platform. Start by laying your 5/4×6 cedar deck boards across the joists. To ensure water drains off the deck rather than pooling and rotting your wood, place a 1/4-inch spacer – like a scrap piece of wood or a dedicated deck gap tool – between every board. Secure each board by driving two 2-1/2 inch galvanized deck screws into every joist they cross. Once they are all laid down, use a circular saw to trim the overhanging ends so they are perfectly flush with the outer beams.
Safety is the most important part of this build. When installing your guardrails, use 2x4s for the top and bottom rails and space your 2×2 vertical balusters no more than 3.5 inches apart. This specific distance is vital; it prevents a child from getting their head stuck between the balusters, ensuring the play area remains a safe zone.
Beginner Tip: Avoid the urge to butt your deck boards tightly against each other. Even pressure-treated or cedar lumber will expand and contract with the weather; without that small 1/4-inch gap, your deck boards may buckle or warp once the first rain hits.
Pro Tip: To keep your screws in a perfectly straight, professional-looking line across the platform, snap a chalk line across the joists before you begin driving screws. It acts as a visual guide so you don’t accidentally miss the center of the joist or end up with a crooked, messy pattern.
Step 5: Build the Swing Beam
The swing beam is the heart of your playset, so let’s get it sturdy and safe. You will be using a 4×6 pressure-treated timber, which is exceptionally strong and designed to hold the weight of active children. This beam needs to sit between two 4×4 posts attached to the side of your main tower. Position the beam so it hangs 8 to 9 feet above the ground; this height provides the perfect arc for swinging without the chains hitting the ground.
When installing your swing hangers, never use standard household hardware. Purchase heavy-duty, playground-rated hangers specifically designed to handle constant motion and friction. Space these hangers at least 24 inches apart from each other and keep them at least 24 inches away from the ends of the beam to prevent the swing from bumping into the support posts.
Beginner Tip: The most common mistake is overtightening the nuts on your swing hangers. While you want them secure, leave just enough room for the bracket to pivot smoothly. If the hardware is tightened so much that it binds against the wood, it will create unnecessary stress on the timber and make the swing feel jerky.
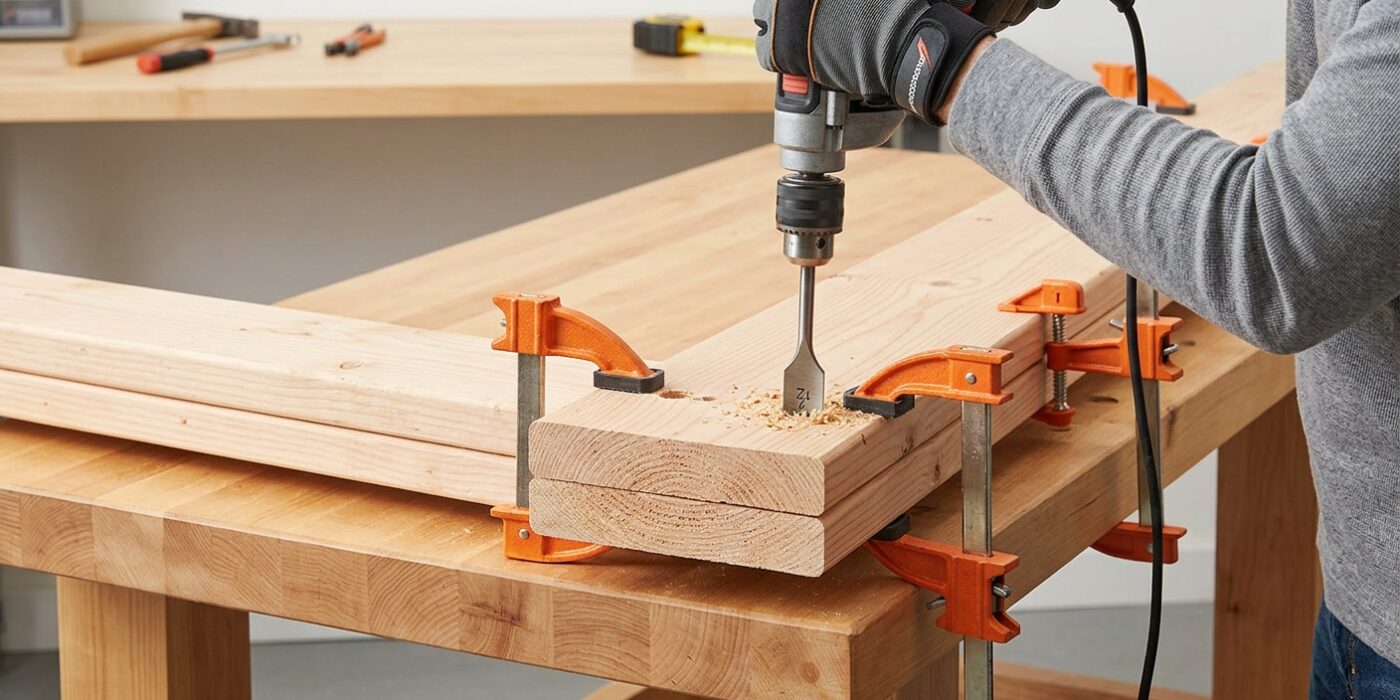
Pro Tip: Before you climb a ladder to install the beam, pre-drill your pilot holes on the ground. Use a drill bit slightly smaller than the shank of your lag screws. This makes the final assembly much faster and prevents the heavy timber from splitting when you drive the hardware in.
Step 6: Add the Climbing Ladder and Slide
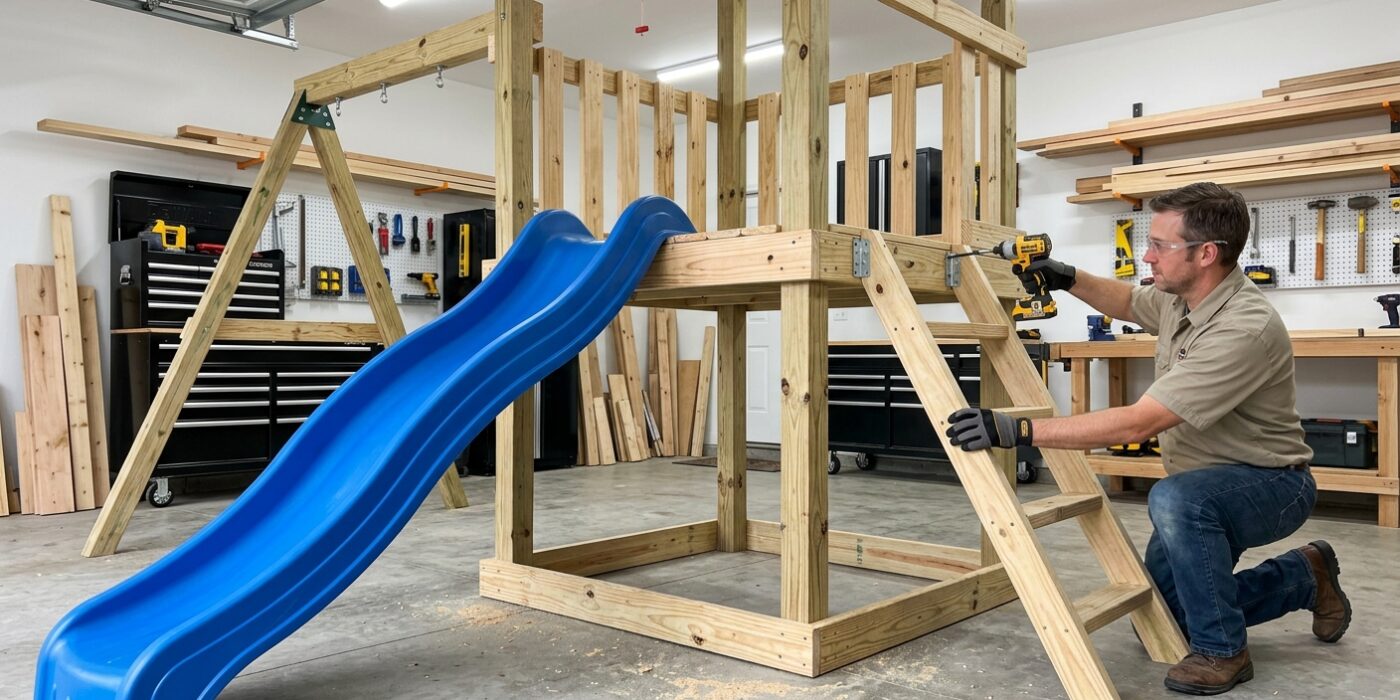
Now that your main frame is sturdy, it is time to build your ladder and install the slide. To build the ladder, cut two 2×6 boards to serve as your side rails (stringers). Cut your 2×4 rungs to 18 inches wide, then bolt them between the rails at exactly 12-inch intervals. Using a level, ensure the ladder sits at an angle between 70 and 75 degrees; this slant is much easier for small feet to navigate than a perfectly vertical wall. Secure the top of the ladder to the deck frame using 1/2-inch carriage bolts, washers, and nuts, rather than screws, as bolts provide the structural integrity required to keep the ladder from pulling away under stress.
When installing the slide, follow the manufacturer’s provided manual precisely. Position the slide exit so it lands on soft, level ground with plenty of clearance from your base posts. Using the included hardware creates a seamless transition that prevents small gaps where fingers or clothing might catch.
Beginner Tip: Avoid the temptation to use standard wood screws to attach the ladder to the deck. Because kids will be pulling and climbing, screws can eventually wiggle loose or snap under pressure. Always use carriage bolts with locking nuts to ensure the connection stays rock-solid for years.
Pro Tip: Before you drill your holes for the carriage bolts, use a C-clamp to hold the ladder in its final position against the deck. This lets you step back, check the angle visually, and make micro-adjustments without having to hold the heavy ladder in place while trying to measure.
Step 7: Prepare the Fall Zone
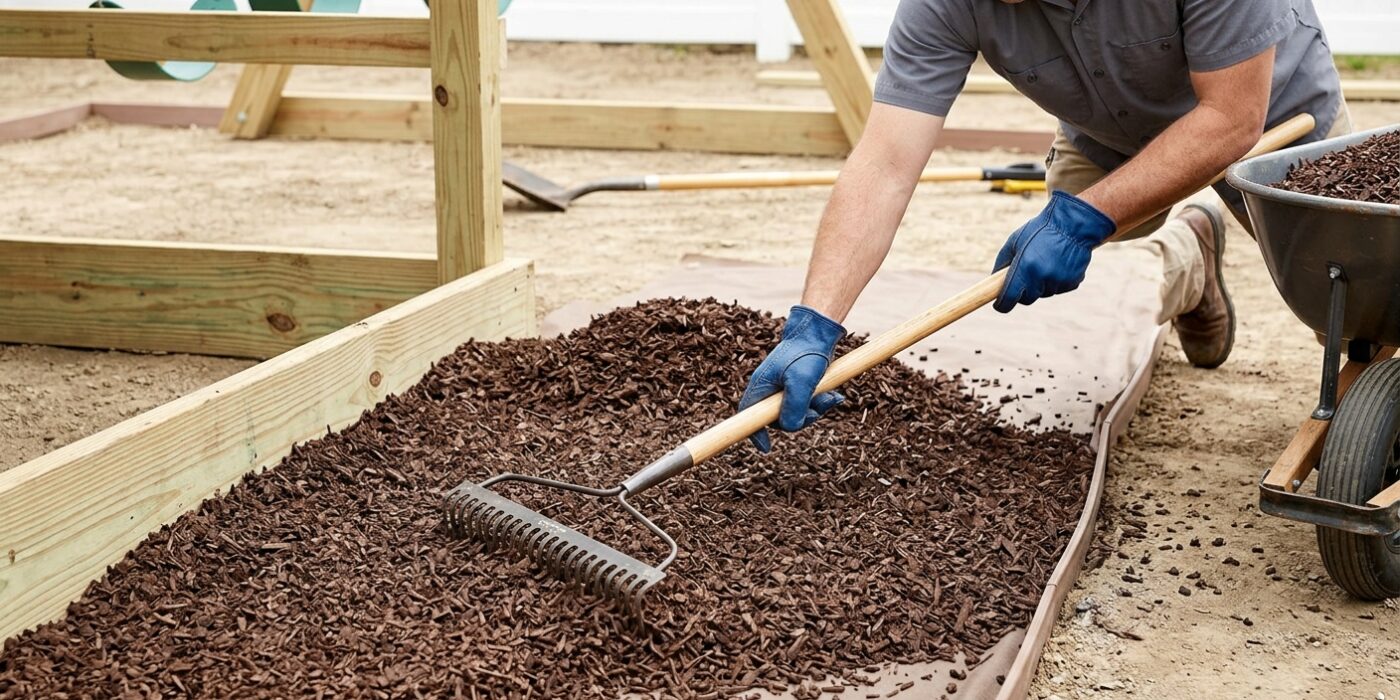
Creating a dedicated “fall zone” is the most important step to keep your little ones safe. You need to create a soft landing area that extends at least 6 feet from every side of your playset. For the swing area, the zone must reach forward and backward a distance equal to twice the height of the swing beam. If your beam is 9 feet high, ensure you have 18 feet of clearance under the swings. Fill this area with 6 to 12 inches of wood mulch, rubber mulch, or pea gravel. This material acts as a cushion to absorb impact if a child jumps or slips. Finally, install flexible plastic or wood landscape edging around the perimeter to keep your mulch from spreading into the rest of your yard.
Beginner Tip: Don’t forget to dig out the grass inside your designated zone before adding the mulch. If you pile mulch directly on top of the lawn, the grass will eventually rot, mix with the cushioning material, and become an uneven, messy surface that is difficult to maintain.
Pro Tip: Before pouring your mulch, lay down a layer of heavy-duty landscape fabric over the soil. This creates a weed barrier that prevents grass and persistent dandelions from poking through your soft surface, saving you hours of weeding work over the coming years while keeping the area looking clean and professional.