Project Shopping List
Drywall screws that pop out from the wall surface are one of the most common drywall complaints and one of the most common DIY repair jobs. A nail or screw pop looks like a small bump under paint, sometimes with a visible head. Popped fasteners are not a structural problem, but they look bad and reappear if fixed incorrectly. The right fix takes five minutes per pop and stops it from recurring.
What You Need
- Drywall screws (1-1/4 inch)
- Drill or drywall screw gun
- Joint compound (pre-mixed)
- 3-inch and 6-inch drywall knife
- 120-grit sandpaper
- Primer and touch-up paint
Why Screws Pop
Fastener pops happen when wood framing dries and shrinks after installation, pushing the fastener outward. A nail in green lumber almost always pops eventually; drywall screws pop less often but still do when framing moisture content is high at the time of installation. Pops can also result from screws driven at an angle (missing the stud center), or from using the wrong screw length that does not provide adequate penetration into the framing.
Step-by-Step Instructions
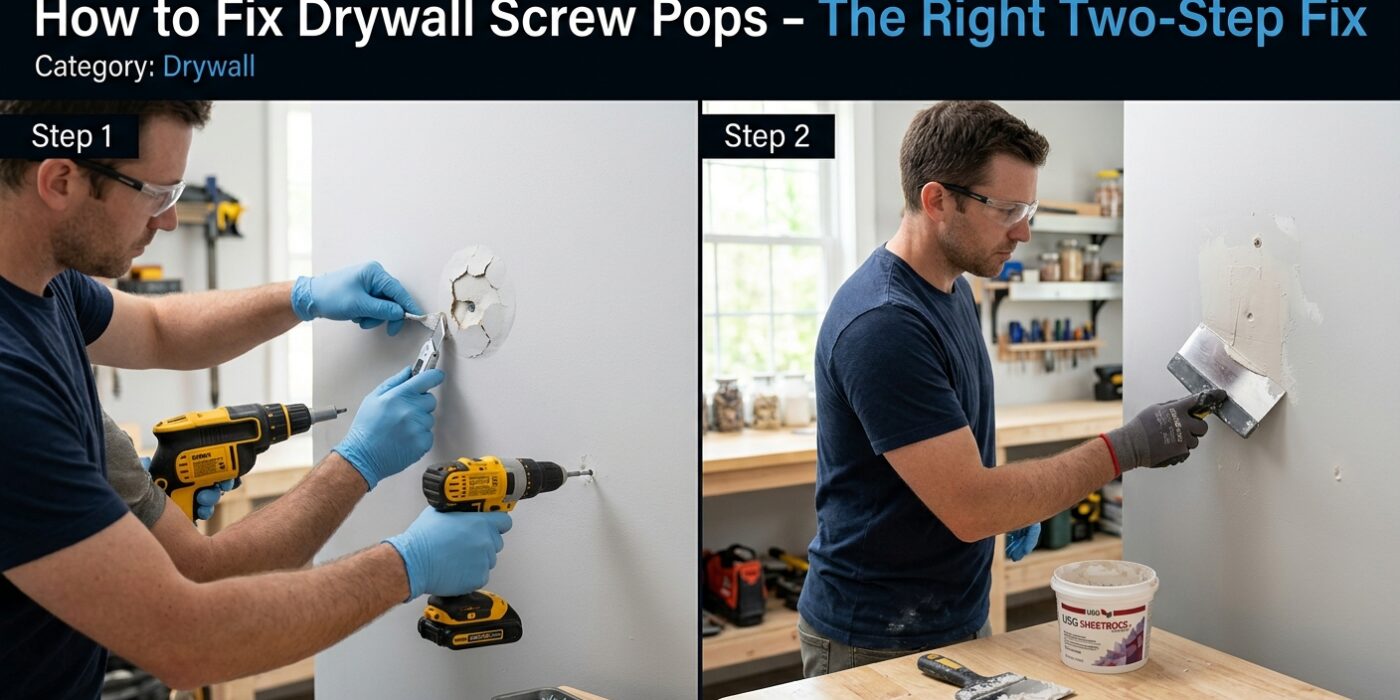
Step 1: Drive the Popped Fastener Back In (or Remove It)
If the pop is a nail, drive it back in with a hammer until it is slightly countersunk (dimpled) below the surface. If it is a screw, drive it back down with a drywall screw gun. In either case, the goal is to have the head about 1/32 inch below the paper surface — creating a shallow dimple without breaking the paper. If the fastener keeps spinning (it has lost its bite in the framing), remove it completely and fill the hole with compound.
Step 2: Drive Two New Screws Adjacent to the Pop
Drive two new 1-1/4-inch drywall screws 2 inches above and below the popped fastener, both hitting the same stud. These new screws pull the drywall tight against the framing. The pop will not recur in this area after the new screws are in place. This step is critical and the step most commonly skipped in a pop repair — driving new screws is what actually fixes the problem. Without this step, the repaired pop will reappear.
Step 3: Apply First Coat of Compound
Fill the dimple over the popped fastener and the new screw dimples with a small amount of joint compound using a 3-inch knife. Apply a thin, smooth coat and feather the edges. Let dry completely (2-4 hours).
Step 4: Apply Second Coat
Apply a slightly wider second coat with a 6-inch knife, feathering 2-3 inches beyond the first coat edges. This wider coat blends the repair into the surrounding wall surface. Let dry completely.
Step 5: Sand and Prime
Sand the dried repair with 120-grit sandpaper by hand or with a small sanding block. Blend the edges until the repair is flush with the surrounding surface and you cannot feel the transition. Wipe dust with a damp cloth. Apply a coat of primer to the repair area — paint applied directly to joint compound without primer will have a dull, flat spot (called flashing) surrounded by the sheen of the surrounding paint.
Step 6: Touch Up Paint
Apply one or two coats of touch-up paint, blending into the surrounding wall. On older walls where the original paint has faded, a small repair area almost always looks slightly different from the surrounding wall — the best approach for a truly invisible repair is to repaint the entire wall section from corner to corner.
Pro Tips
- Check the entire room for pops before starting repairs — find and fix all of them in one session rather than discovering more after you have painted.
- Use a pencil to circle each pop location as you find them — they are easy to lose track of after the initial pass around the room.
- In rooms with many pops (common in new construction after the first winter), check whether the framing was installed with green lumber. If so, expect pops to continue appearing for 2-3 years as the framing dries.
Frequently Asked Questions
Will fixed screw pops come back?
If you add new screws on either side of the pop as described in Step 2, the repair is permanent. If you only fill the dimple without adding new screws, the pop will almost certainly reappear within one season as wood movement continues. The new screws are the repair; the compound is cosmetic.
I have dozens of pops in a new house. Is this normal?
Yes — extensive popping in new construction during the first year is called “nail pops” and occurs as the framing lumber dries to equilibrium moisture content. It is normal and covered under most new construction warranties. Wait until after the first full heating season before repairing — if you repair in the fall, new pops may appear by spring. Fix all of them at once after the first full winter.