Project Shopping List
Installing drywall in a bathroom requires moisture-resistant board in all wet areas and correct product selection to prevent mold and failure. Standard drywall deteriorates rapidly in high-humidity environments — greenboard was the traditional solution, but cement board (backer board) is the correct material for any tiled surface. Understanding which product goes where prevents expensive callbacks and mold remediation.
Products Explained
Standard Drywall (White Board)
Standard drywall is not appropriate in any bathroom wall area that will be directly wetted, tiled, or within 8 inches of a water source. It absorbs moisture, swells, and supports mold growth within months in high-humidity environments. Use it only in a bathroom where it will be separated from moisture by a vapor barrier and finished with multiple coats of moisture-resistant paint — and even then, only in areas far from the shower or tub.
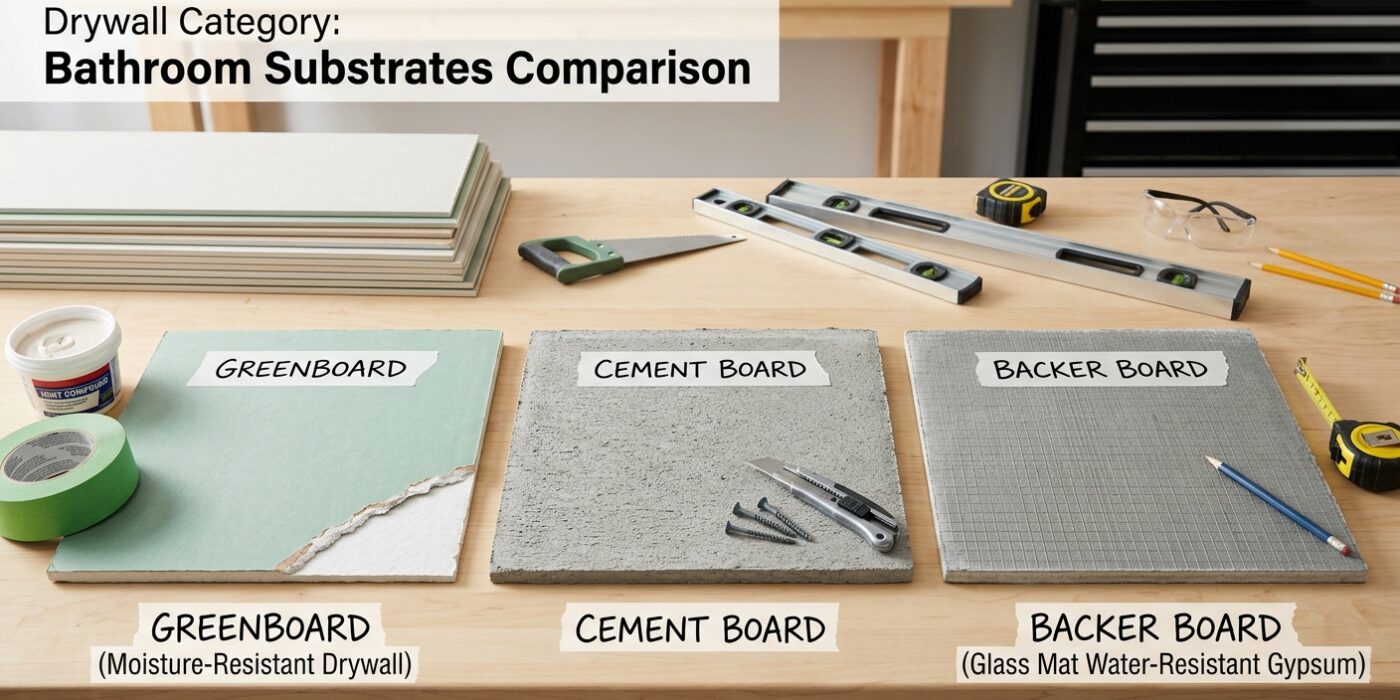
Greenboard (Moisture-Resistant Drywall)
Greenboard is standard drywall with moisture-resistant paper facing. It is more resistant to high humidity than standard board but is not appropriate behind tile — the gypsum core still absorbs water when the tile adhesive fails. Use greenboard for bathroom walls away from the tub and shower area (such as the walls around a vanity or toilet in a low-humidity zone) where it will receive only paint, not tile.
Cement Board (Backer Board)
Cement board (HardieBacker, Durock, or Wonderboard) has a cement and aggregate core with fiberglass mesh facing — it contains no gypsum and does not absorb or deteriorate from water. Cement board is the correct substrate for all tiled surfaces in wet areas: shower walls, tub surrounds, shower floors, and any area that will be directly wetted. Pair it with a waterproof membrane for shower interiors.
Tile Backer with Waterproof Membrane
For shower enclosures that will be in continuous contact with water, cement board plus a waterproof membrane (RedGard, HydroBan, or similar) is the professional standard. The membrane is a liquid-applied elastomeric coating painted over the cement board, which cures into a fully waterproof layer that prevents any water that gets behind the tile from reaching the framing.
Installation Guide
Step 1: Determine Zones
Divide the bathroom into wet, damp, and dry zones. Wet zone: inside the shower enclosure and tub surround (minimum 6 inches above the highest reach of spray). Damp zone: the rest of the bathroom exposed to humidity and occasional splashing. Dry zone: areas more than 4 feet from water sources. Wet zone requires cement board with membrane. Damp zone requires greenboard or moisture-resistant drywall. Dry zone can use standard drywall.
Step 2: Install Cement Board in Wet Zones
Cut cement board with a circular saw equipped with a masonry blade, or score and snap (it cuts like drywall but requires more pressure). Wear a dust mask — cement board dust contains silica and is a serious respiratory hazard. Fasten with cement board screws or hot-dipped galvanized roofing nails every 8 inches on studs and 6 inches at edges. Leave a 1/8-inch gap between boards and between the board and tub ledge — do not force boards tight together.
Step 3: Tape Cement Board Joints
Tape all cement board joints with fiberglass mesh tape and thinset mortar (not joint compound — joint compound fails in wet areas). Apply thinset over the tape and feather out 2-3 inches on each side. Thinset-and-mesh joints are waterproof and provide a level substrate for tile installation.
Step 4: Apply Waterproof Membrane (Shower Only)
Apply liquid waterproofing membrane (RedGard is the most common DIY product) over the entire shower area after the cement board joints have cured. Apply with a roller in two coats at right angles to each other. The membrane should turn a uniform pink-to-red color when fully cured (color indicates thickness). Apply extra membrane in corners and at the curb — these are the most water-vulnerable areas.
Step 5: Install Greenboard or Moisture-Resistant Drywall in Damp Zones
In the damp zone (toilet wall, vanity area, areas outside the wet zone), install greenboard using standard drywall techniques. Tape joints with paper tape and joint compound as you would for any drywall. Prime with a moisture-resistant bathroom primer before painting with at least two coats of bathroom-specific paint with mildewcide.
Pro Tips
- Always leave cement board 1/8 inch above the tub ledge or shower pan — if the board wicks water from the pan, it will eventually deteriorate even cement board edges.
- Silicone caulk in all corners of a shower, not grout — grout is not flexible and cracks at the tub-to-wall joint as the tub flexes under weight. Silicone seals this joint permanently.
Frequently Asked Questions
Can I use regular drywall in a shower if I use waterproof paint?
No. Waterproof paint is not adequate protection for shower walls. Paint is a surface coating that chips, cracks, and does not prevent water from reaching the gypsum core when any small failure occurs. Cement board and tile (or prefab surround panels) are the only appropriate systems for direct water exposure.
Is greenboard the same as cement board?
No — they are completely different products. Greenboard is moisture-resistant drywall with a gypsum core (not waterproof). Cement board has a cement core and is waterproof and dimensionally stable in wet environments. The confusion between these products causes many wet-area failures. Use cement board behind tile, greenboard only for painted damp areas.