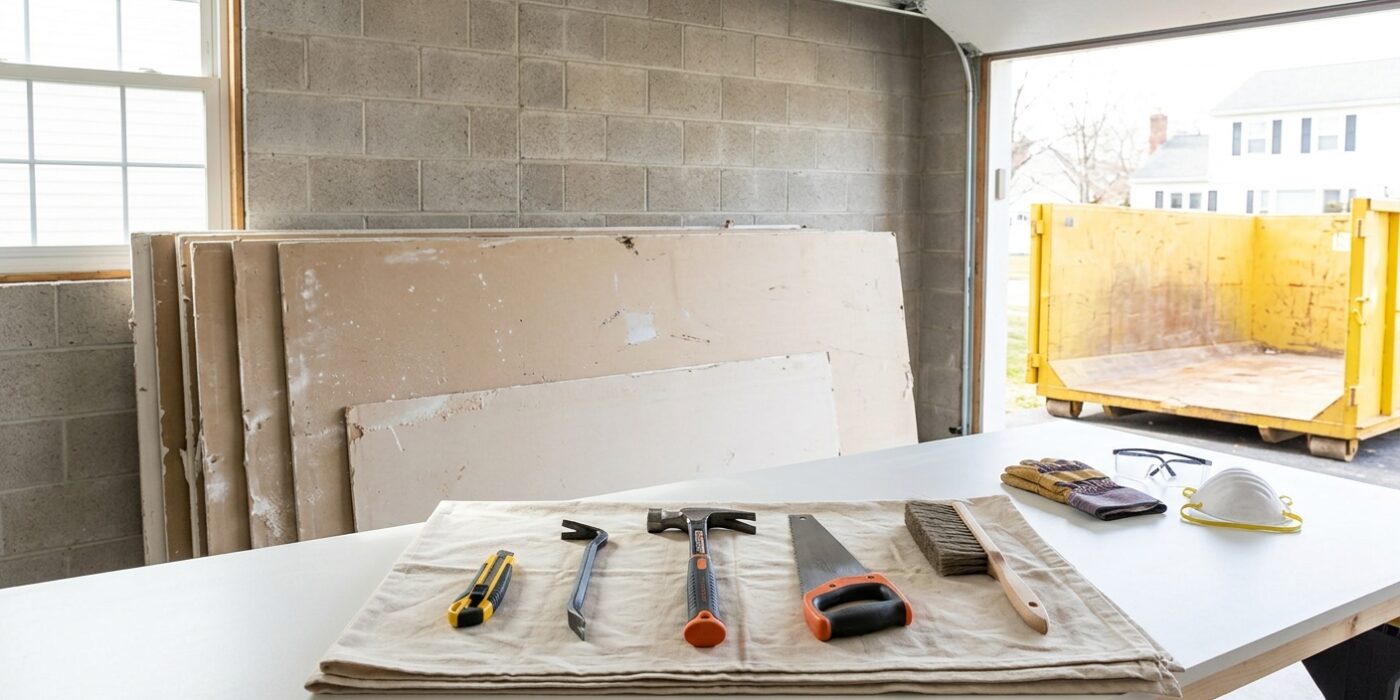
Project Shopping List
Removing old drywall is necessary before rewiring, re-insulating, or remodeling. The task is physically demanding and dusty, but straightforward when done systematically. Sealing adjacent areas and turning off circuits before starting makes the process safe and manageable.
What You Need
- Utility knife, pry bar, and flat bar
- Hammer and stud finder
- Non-contact voltage tester
- Plastic sheeting and tape for dust containment
- N95 dust mask, safety glasses, gloves
- Heavy-duty trash bags or dumpster
Safety First
Turn off all electrical circuits in the work area at the breaker panel before starting. Use a non-contact voltage tester on all outlets and switches — assume everything is live until tested. Seal doorways and HVAC vents with plastic sheeting and tape to contain drywall dust. In houses built before 1978, have joint compound tested for asbestos before any demolition — asbestos was used in some compound products of that era and requires licensed abatement, not DIY removal.
Step-by-Step Instructions
Step 1: Remove Trim and Outlet Covers
Remove baseboard trim, door casing, and outlet/switch cover plates before touching drywall. Label trim pieces on the back for reinstallation. Turn off the circuit and unscrew electrical boxes from the stud mounting before pulling adjacent drywall — trying to work around live boxes with drywall still attached is dangerous and damages the wiring.
Step 2: Score the Perimeter
Score the drywall perimeter of the removal area with a utility knife, cutting through the paper face and partway into the gypsum. This score line controls where the board breaks and prevents accidental damage to adjacent areas.
Step 3: Break Through and Pull
Drive a pry bar through the drywall between studs (not at a fastener line) to create a starting hole. Insert the pry bar and lever sections away from framing. Grip and pull moderate-sized sections — drywall breaks in irregular pieces. Work from the initial hole outward, watching for wiring, plumbing, and insulation as each section comes away.
Step 4: Remove Remaining Fasteners
After drywall is removed, pull or drive flush all remaining nails and screws in the framing. Protruding fasteners are a serious hazard during re-installation. Inspect all framing for rot or damage and make repairs before proceeding.
Step 5: Mark Stud Locations for Re-Installation
Mark all stud and joist centers on the floor and ceiling with a pencil before cleanup. This saves significant time locating framing for the new drywall installation.
Step 6: Dispose of Drywall
Drywall is heavy (a 4×8 sheet weighs 55-65 lbs) — break pieces to manageable sizes. Drywall is not hazardous and can go in a general dumpster. Many transfer stations accept clean drywall for recycling into soil amendment. Pre-1978 compound must be tested and handled per asbestos regulations if positive.
Pro Tips
- Seal HVAC vents in the work area with plastic before starting — drywall dust is extremely fine and circulates through entire house systems if not blocked at the source.
- Canvas drop cloths are better than plastic for floor protection — drywall pieces can puncture plastic and compound-soaked plastic becomes a slipping hazard.
- Wet the drywall surface slightly before scoring and removal — it reduces airborne dust significantly.
Frequently Asked Questions
Can I reuse old drywall?
Rarely worth it. Drywall breaks irregularly during removal, the edges are often damaged, and old board is heavier and more brittle than new. New drywall is inexpensive enough that reuse is not practical except for large, undamaged sections that came away cleanly.
How do I know if my old drywall contains asbestos?
You cannot tell visually. Send a sample of joint compound from a taped seam to a certified testing lab. Home test kits are available at hardware stores for under $50. If asbestos is found, stop work and contact a licensed abatement contractor. Do not sand, cut, or disturb asbestos-containing materials.