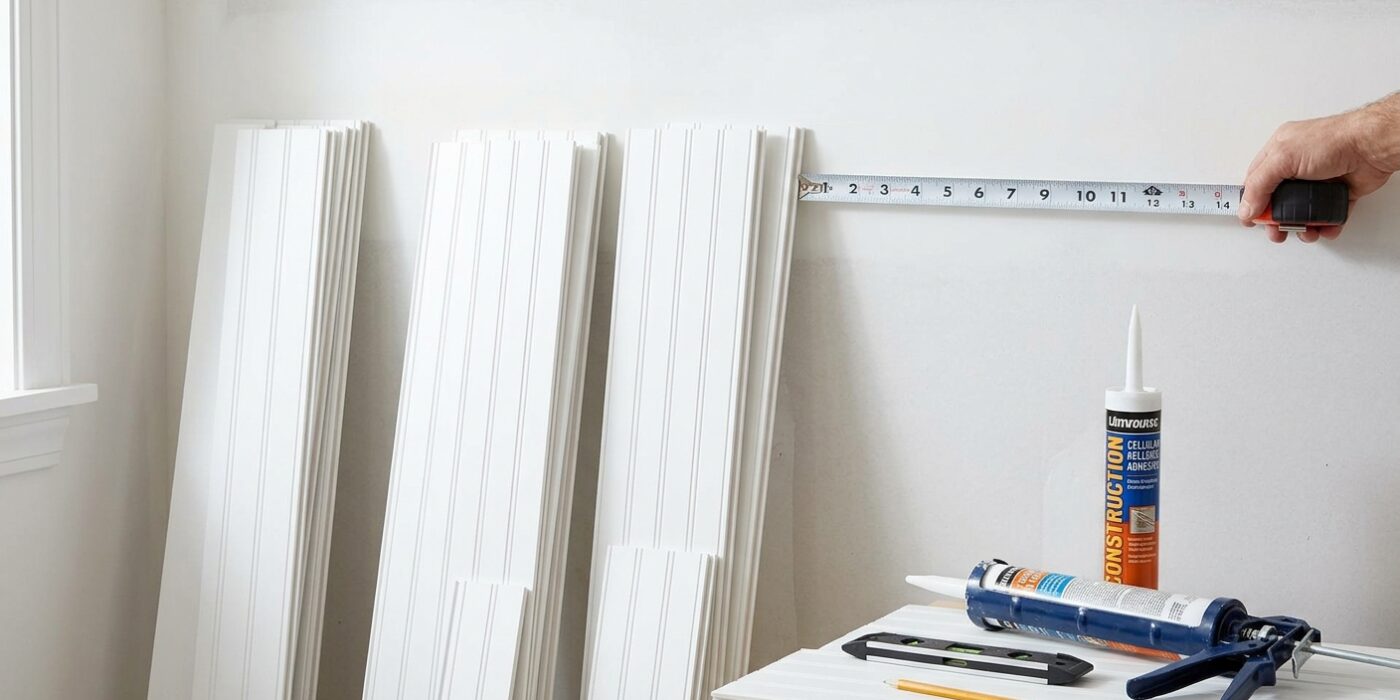
Project Shopping List
Beadboard wainscoting is a classic wall treatment that adds visual interest, texture, and a degree of protection to the lower portion of a wall. Whether you install traditional solid-wood beadboard panels or modern MDF beadboard sheets, the installation process is the same: apply panels to the lower third of the wall, cap them with a horizontal rail at the top, and finish the corners and base. This guide covers installing MDF beadboard sheets – the most cost-effective approach for most rooms.
What You’ll Need
Tools
- Miter saw
- Circular saw or table saw
- Jigsaw (for outlets and obstacles)
- Drill and driver
- Level and chalk line
- Caulk gun
- Nail gun (finish nailer) or hammer and finish nails
- Tape measure and pencil
Materials
- MDF beadboard panels (typically 4×8 sheets, 3/16 to 1/4 inch thick)
- Chair rail or cap molding (to cap the top of the panels)
- Base shoe molding (to cover the panel bottom edge)
- Inside and outside corner molding or baseboard to match
- Construction adhesive (panel adhesive) and finish nails
- Wood filler and paintable caulk
- Primer and paint
Step 1: Determine and Mark the Height
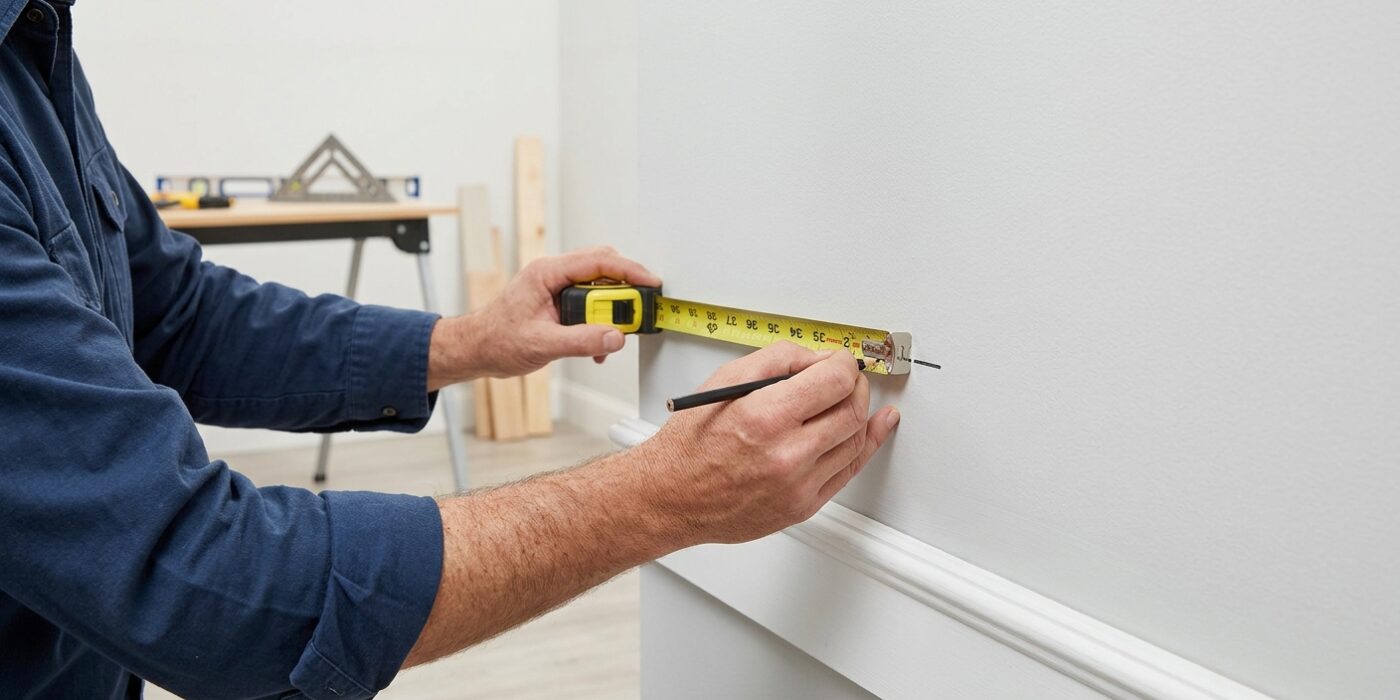
Before you begin cutting any materials, you need to establish a level guideline for your wainscoting. The standard height for this project is 32 to 36 inches from the floor, which usually represents about one-third of the total wall height. This creates a visually balanced look that prevents the room from feeling cramped.
Start by using a tape measure to mark your desired height in several spots along the wall. Next, place a carpenter’s level against the wall at these marks to draw a short, perfectly horizontal pencil line. Once you have several reference marks, use a chalk line tool to connect them, creating a continuous line around the room. This line acts as your visual map; the top edge of your beadboard panels and the bottom of your decorative cap rail will sit directly against it.
Beginner Tip: Never measure your height solely from the floorboards. Floors are rarely perfectly level, and if you follow the floor line, your wainscoting will look slanted. Always measure up from the floor at each point to ensure your line is level, even if the gap between the floor and your line varies slightly.
Pro Tip: To keep your chalk line from sagging, have a friend hold the center of the string against the wall while you pull it taut from the other side. A tight, straight line ensures your panels look perfectly professional once installed.
Step 2: Locate Studs and Prepare Walls
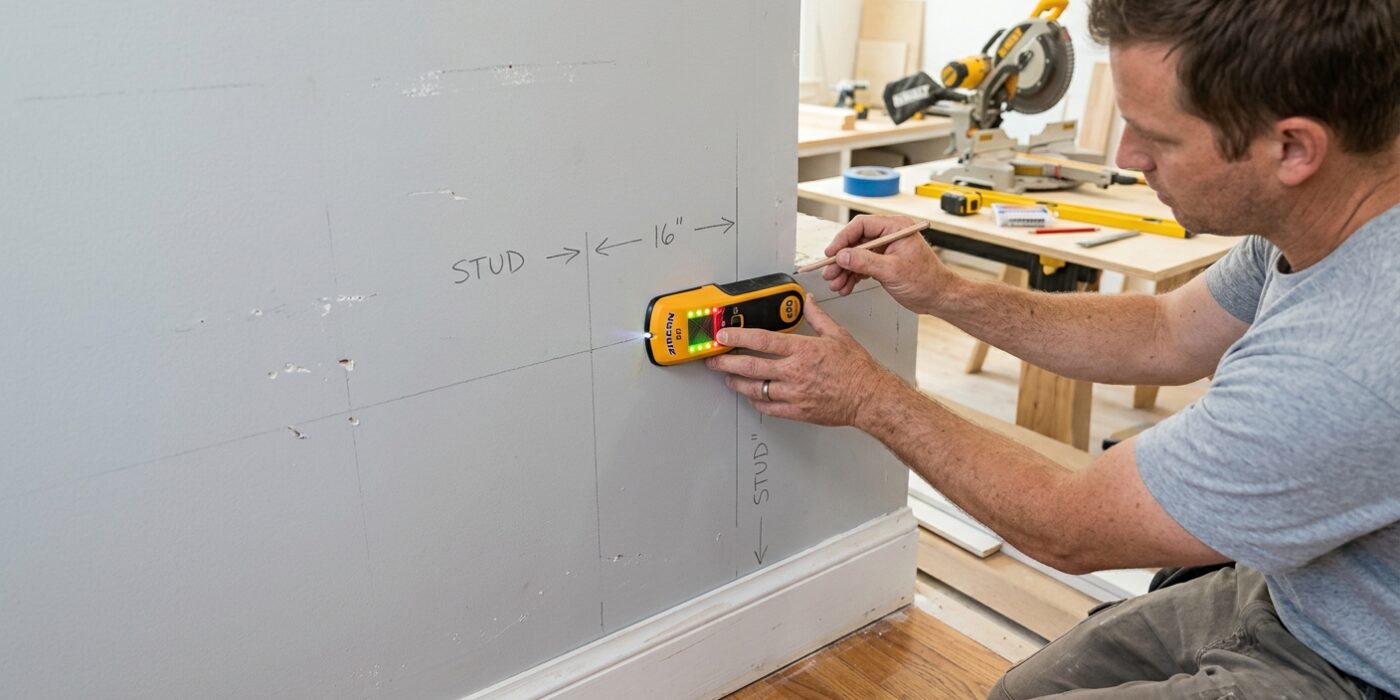
Before you begin your installation, you need to prepare the “canvas” of your wall to ensure the beadboard stays put for years to come. Start by using an electronic stud finder to locate the vertical wooden framing behind your drywall. Once you find a stud, mark its center with a light pencil line extending from the floor up to the planned height of your wainscoting. Because the beadboard will be held by both construction adhesive and nails, hitting these solid studs is essential for a secure bond.
Next, remove your existing baseboards using a pry bar. Gently wedge the bar behind the trim and pull outward, working slowly to minimize wall damage. If your current wall paint is high-gloss or semi-gloss, take a piece of medium-grit sandpaper and lightly scuff the area where the panels will sit. This creates “tooth” for the adhesive to grab onto, preventing the boards from peeling away over time.
Beginner Tip: Don’t press too hard with your stud finder. Many beginners tilt or force the device, which can lead to false readings. Hold it flat against the wall and let the internal sensors do the work – when the light turns red or the beep turns solid, you have found the center.
Pro Tip: Use a long piece of painter’s tape to connect all your vertical stud marks. By running a single strip of tape across the wall at the top edge of your wainscoting, you create a perfect visual guide that shows you exactly where to aim your nail gun, even after the adhesive is applied.
Step 3: Cut and Dry-Fit Panels
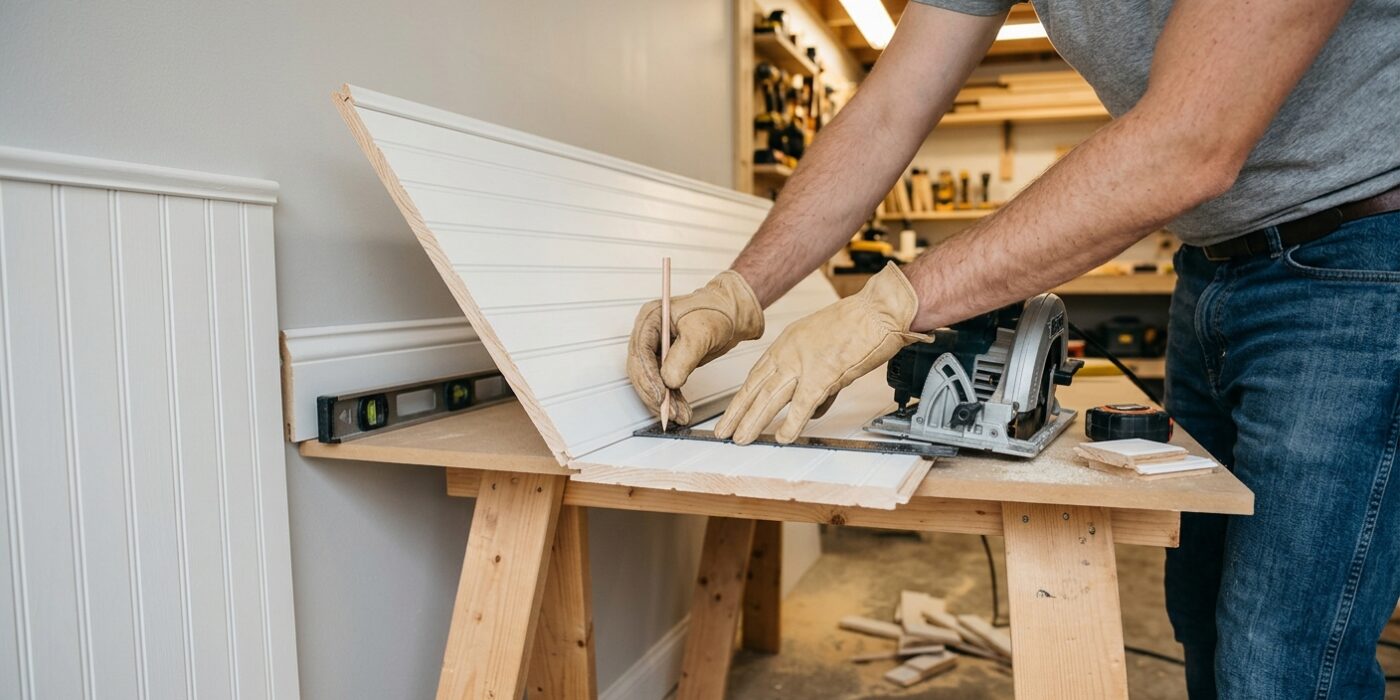
Now that your walls are prepped, it is time to cut your beadboard panels to size. Measure the distance from the floor to your chalk line at several points along the wall; floors are rarely perfectly level, so use the shortest measurement to ensure your panels fit without hitting the ceiling or molding. Set your table saw or circular saw with a straight-edge guide to this height and cut your panels carefully. The goal here is a clean, straight edge that sits flush against your chalk line.
Before grabbing the glue, perform a dry-fit by standing the panels against the wall. This allows you to check for gaps and ensure the bead patterns align seamlessly where panels meet. In corners, place one panel so it reaches snugly into the corner, then have the adjoining panel butt up against it. If you have an outlet, trace its position onto the panel and cut the hole now while the board is still easy to handle.
Beginner Tip: Avoid measuring just once! Always measure the height of the wall at every spot where a new panel will go. Even if your floor looks flat, a quarter-inch difference can leave an ugly gap if you cut all your panels to the same length.
Pro Tip: To keep your bead patterns perfectly aligned, use a piece of painter’s tape to mark the “front” of each panel as you move around the room. It is very easy to flip a panel accidentally, which would leave you with mismatched vertical grooves that are impossible to hide later.
Step 4: Install the Panels
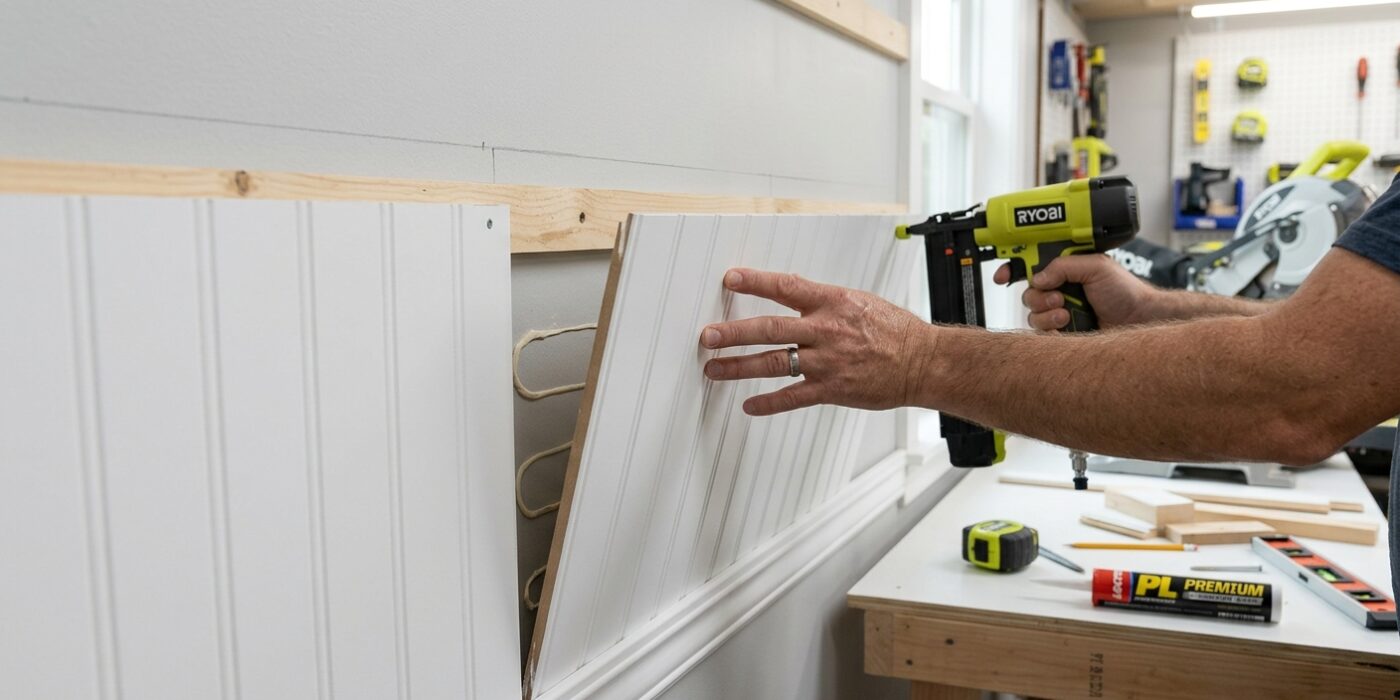
Now it is time to bring your vision to life. Start by applying a high-quality construction adhesive to the back of your first panel in a repeating “S” pattern. This technique ensures a strong bond while allowing the board to expand and contract slightly with temperature changes. Press the panel against the wall, aligning the bottom with your floor and the top with your chalk line. Place a level vertically against the panel to ensure it is perfectly plumb, or straight up-and-down. Once positioned, drive 1-inch finish nails through the face of the panel and directly into your wall studs at the top and bottom. Use a nail set – a small metal tool – to tap the nail heads just beneath the surface of the wood so they can be hidden later with filler.
Beginner Tip: A common mistake is nailing too close to the edge of the panel, which can cause the thin wood to split. Aim to drive your nails at least an inch away from any side edge to keep the board structurally sound.
Alternative Method: If you do not have a nail gun, you can absolutely use a hammer and finish nails. Simply drill tiny pilot holes first to prevent the wood from splitting, then gently tap the nails in manually.
Pro Tip: When working around outside corners, use a simple piece of matching outside corner molding instead of trying to cut precise 45-degree miters. It hides square-cut edges perfectly, saves you significant time, and gives your project a professional, polished finish.
Step 5: Install the Cap Rail
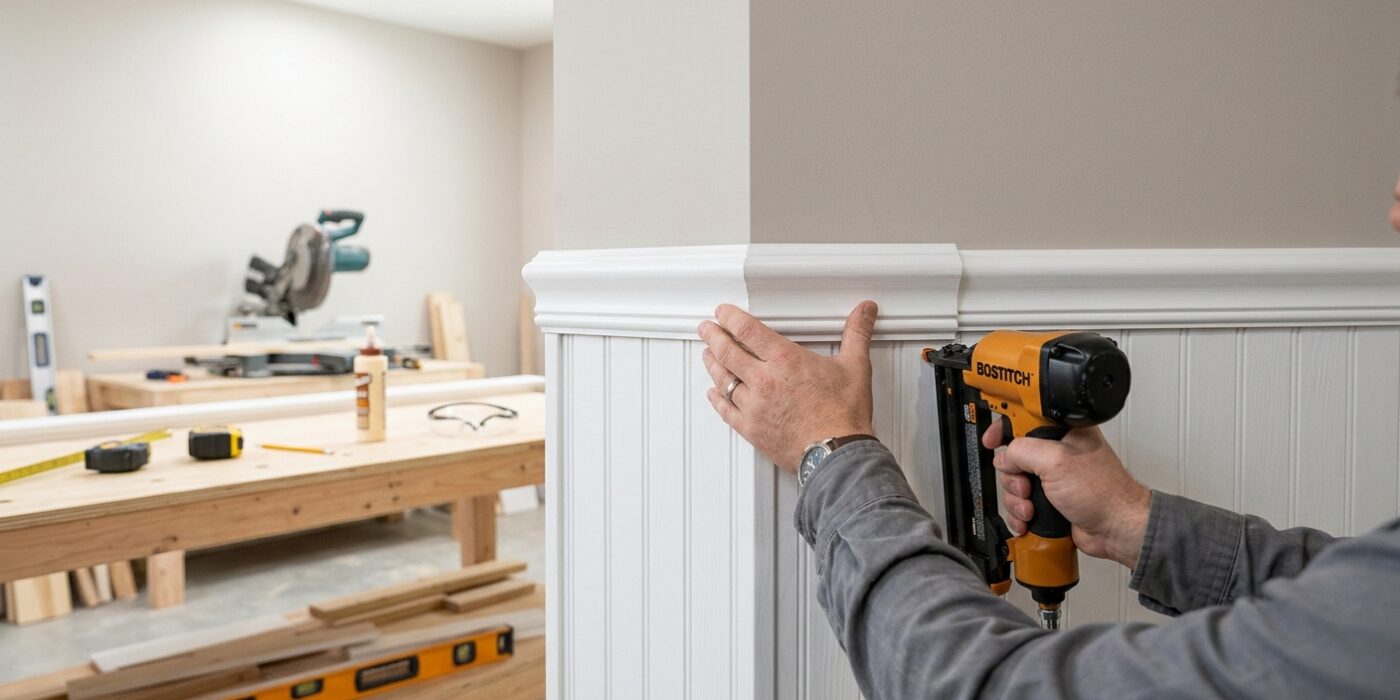
Now that your panels are up, it is time to add the cap rail, also known as chair rail. This molding provides a polished, finished look while hiding the raw, top edge of the beadboard. To start, measure the length of each wall section where the rail will sit. If you have corners, you will need to cut the ends of your molding at a 45-degree angle using a miter saw so they meet perfectly.
For the best results, use construction adhesive on the back of the rail before pressing it into place. Secure it by driving finish nails through the rail and into the wall studs located behind the beadboard. Aim to have the bottom edge of the rail rest firmly against the top of your panels, following the chalk line you drew earlier to ensure everything is perfectly level.
Beginner Tip: Do not rely on just the nail gun to hold the rail in place. If your wall is slightly wavy, the molding might pull away from the beadboard, leaving an ugly gap. Always apply a bead of construction adhesive to ensure the rail stays tight against the wall once the glue dries.
Alternative Method: If you are intimidated by complex corner angles, you can use pre-made square corner blocks. These sit at the corners of your room and allow you to cut your rail pieces into simple, straight 90-degree lengths that butt directly into the block, eliminating the need for tricky miter cuts.
Pro Tip: Before nailing, press the rail firmly against the wall and check for gaps. If there is a small space, use a clamp or have a helper hold it steady while you nail; this ensures your joints stay tight and professional-looking.
Step 6: Fill, Caulk, and Paint
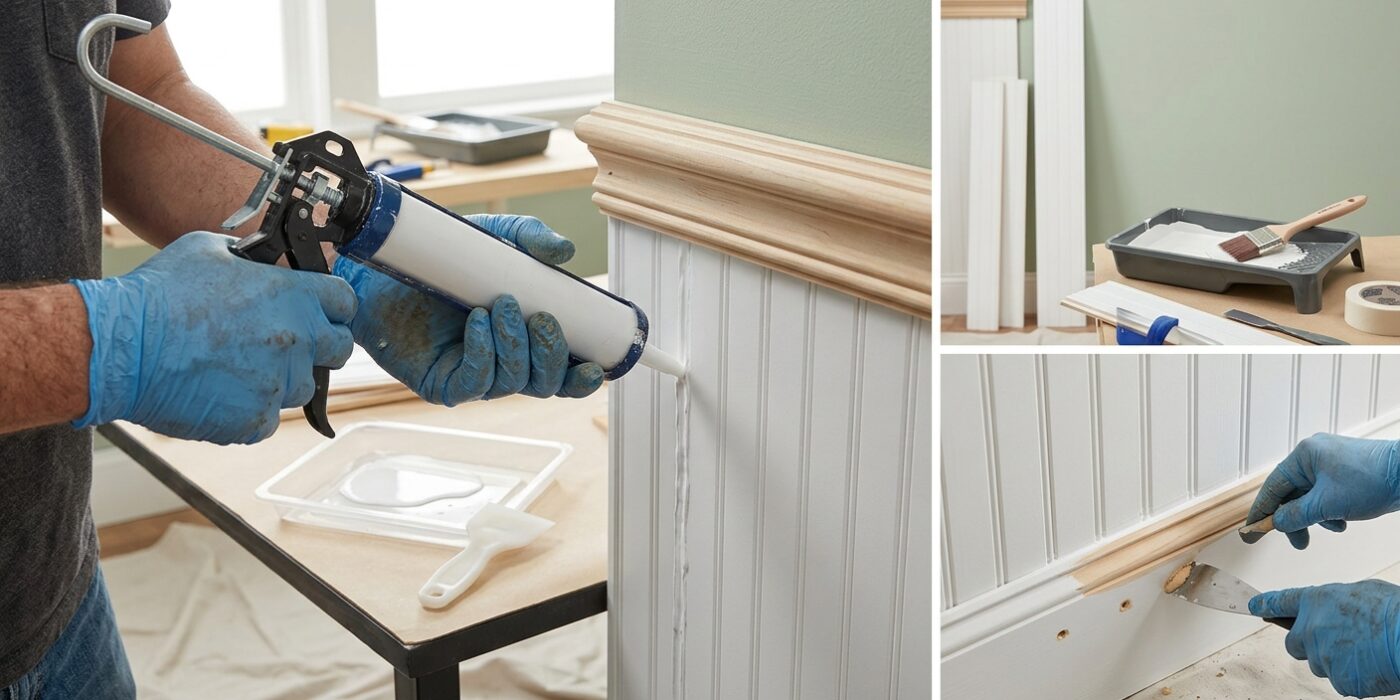
Now that your panels are secure, it is time to turn those raw materials into a seamless, professional-looking wall. Begin by filling every nail hole with wood filler using a putty knife; press the filler firmly into the hole and leave a slight mound, as it will shrink while drying. Once fully dry, lightly sand these spots with 220-grit sandpaper until they are perfectly flush with the wood surface. Next, grab your tube of paintable latex caulk to seal all gaps. Apply a thin, consistent bead along every corner, the top edge of the cap rail, and the base where the panel meets the floor. Smooth the caulk immediately with a damp finger to create a clean transition. Finally, finish with two coats of semi-gloss or gloss paint. This durable finish is essential because wainscoting sits in high-traffic areas and needs to withstand accidental bumps and frequent wiping.
Beginner Tip: Avoid the urge to apply a thick, globby line of caulk. Too much product is difficult to smooth and creates a messy, uneven ridge. A small cut at the very tip of your caulk tube nozzle is all you need – you can always add more, but removing excess is a frustrating chore.
Alternative Method: If you find using a traditional caulking gun difficult to control, look for “squeeze-tube” caulk at your local hardware store. These function like a tube of toothpaste and offer much better precision for small projects, allowing you to fill gaps without needing the larger, heavier tool.
Pro Tip: To get a razor-sharp paint line between your cap rail and the wall, use a high-quality painter’s tape. After painting the rail, remove the tape while the paint is still slightly tacky to prevent the dried film from peeling away with the tape.