Project Shopping List
Squeaky floors are one of the most common complaints in older homes, and the good news is you usually don’t need to tear up the carpet to fix them. The squeak happens when subfloor boards rub against each other or against the joists below, and there are several methods to stop that movement from above.
This guide covers three proven approaches you can do from the top side – no demolition, no special equipment, just targeted fixes that last. You’ll learn to locate the exact squeak, identify what’s causing it, and apply the right solution.
What You’ll Need
Tools
- Stud finder (magnetic or electronic)
- Drill with Phillips and countersink bits
- Hammer
- Knee pads
- Flashlight or headlamp
Materials
- Squeak-Ender or similar under-carpet squeak kit (optional, best method)
- Specialty carpet screws (e.g., Squeeeeek No More kit) – scores off at carpet depth
- Talcum powder or powdered graphite
- Flexible construction adhesive (if accessing from basement)
Step 1: Find the Squeak Precisely
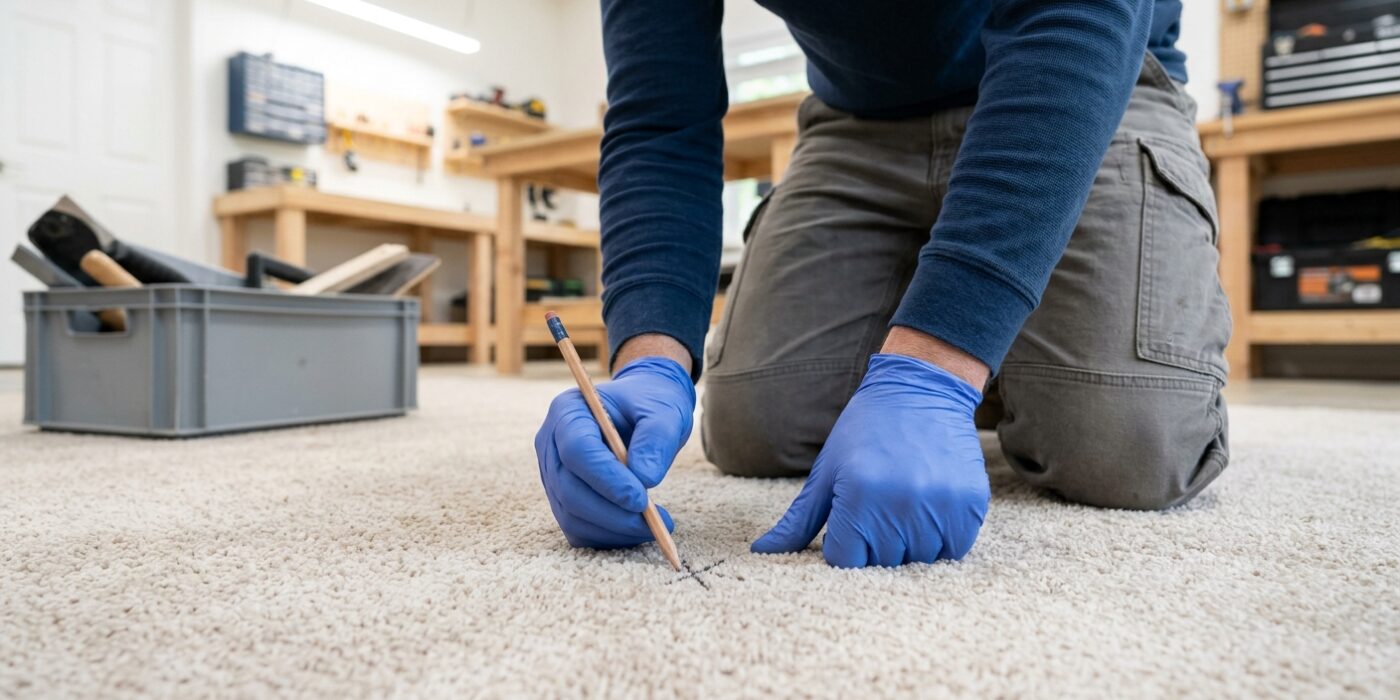
To start your repair, you need to identify the exact spot where the floorboard is rubbing against a floor joist. Start by walking slowly across the room, paying close attention to any creaks or pops. Since sounds can travel, don’t just rely on your ears; have a friend watch the floor as you walk, or observe closely yourself to see where the carpet dips slightly under your weight.
Once you locate a general area, press down firmly with your foot in a 12-inch radius around the sound. The goal is to find the point where the subfloor has the most “give” or flex. That specific point is your target zone, as it marks where the floor material has separated from the supporting wooden joist underneath. Place a small piece of painter’s tape directly on the carpet to mark this spot; this will ensure you drill in the exact right location once you are ready for the hardware.
Beginner Tip: Avoid the mistake of marking the spot while standing in the wrong position. Always wear shoes with thin, stiff soles, or go barefoot, so you can actually feel the floor flexing beneath your feet. Thick-soled sneakers can mask small movements, making it harder to pinpoint the exact location of the gap.
Pro Tip: If you are working alone, use a heavy object like a stack of books or a kettlebell. Place it on the spot you think is the culprit, then walk around the area to see if the squeak persists. If the noise stops, you have successfully located the exact point that needs securing.
Step 2: Try Talcum Powder First
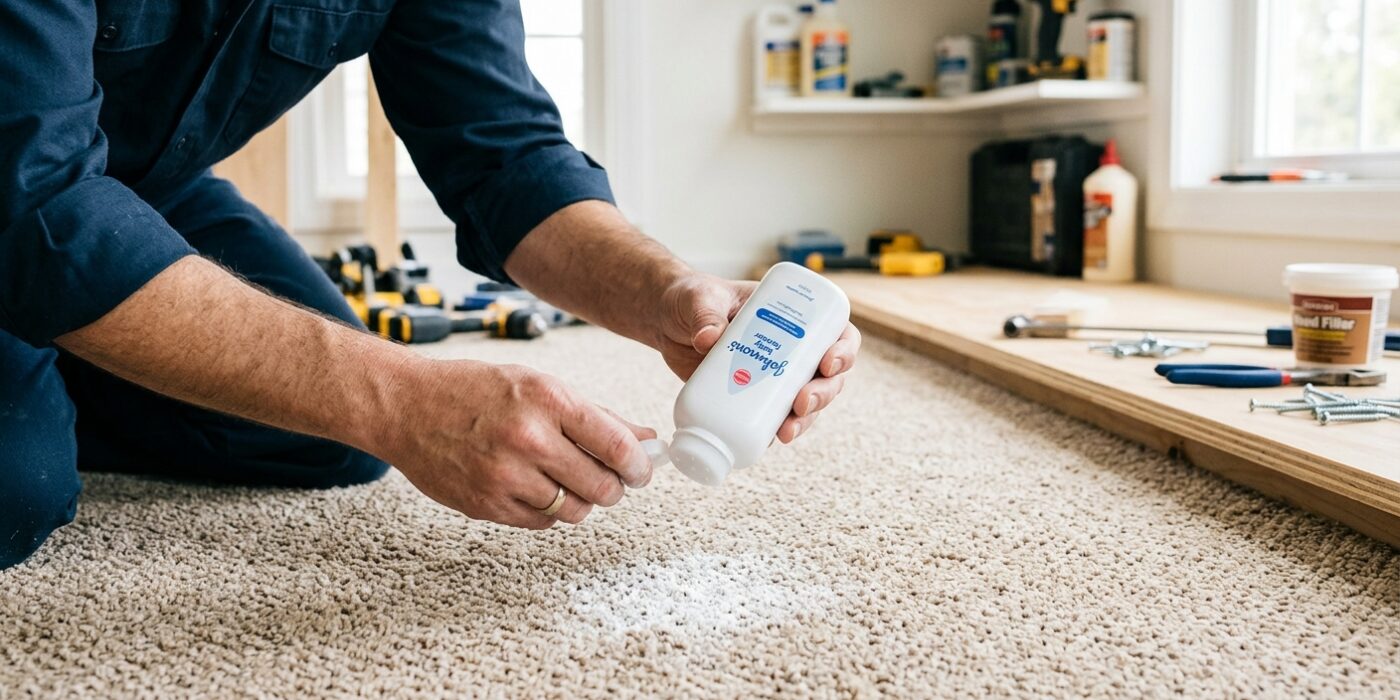
Before you commit to complex repairs, start with the simplest solution: lubricating the friction points between your floorboards. Squeaks often occur when two pieces of wood rub together under the weight of your footsteps. By applying talcum powder, you create a dry lubricant that silences this movement instantly without damaging your flooring.
Start by identifying the exact spot where the floor squeaks. Sprinkle about one tablespoon of talcum powder directly onto the carpet fibers in that area. Using your fingertips, gently massage the powder down through the carpet pile and into the backing. Don’t worry about making a mess; the goal is to work the powder into the seams beneath. Once applied, walk over the area firmly several times, moving in different directions to ensure the powder settles deep into the wood joints. If the squeak persists, you can repeat this process once more with a slightly smaller amount.
Beginner Tip: Avoid using cornstarch or flour instead of talcum powder. While they may seem like similar household substitutes, organic starches can attract pests or grow mold if moisture gets trapped in the carpet, whereas talcum powder remains inert and effective.
Pro Tip: To get the powder deeper into the backing without creating a cloud of dust in the room, place a piece of wax paper over the powder before you begin walking on it. This protects your carpet fibers and forces the pressure of your weight to drive the powder precisely into the stubborn floor joints.
Step 3: Locate the Joist
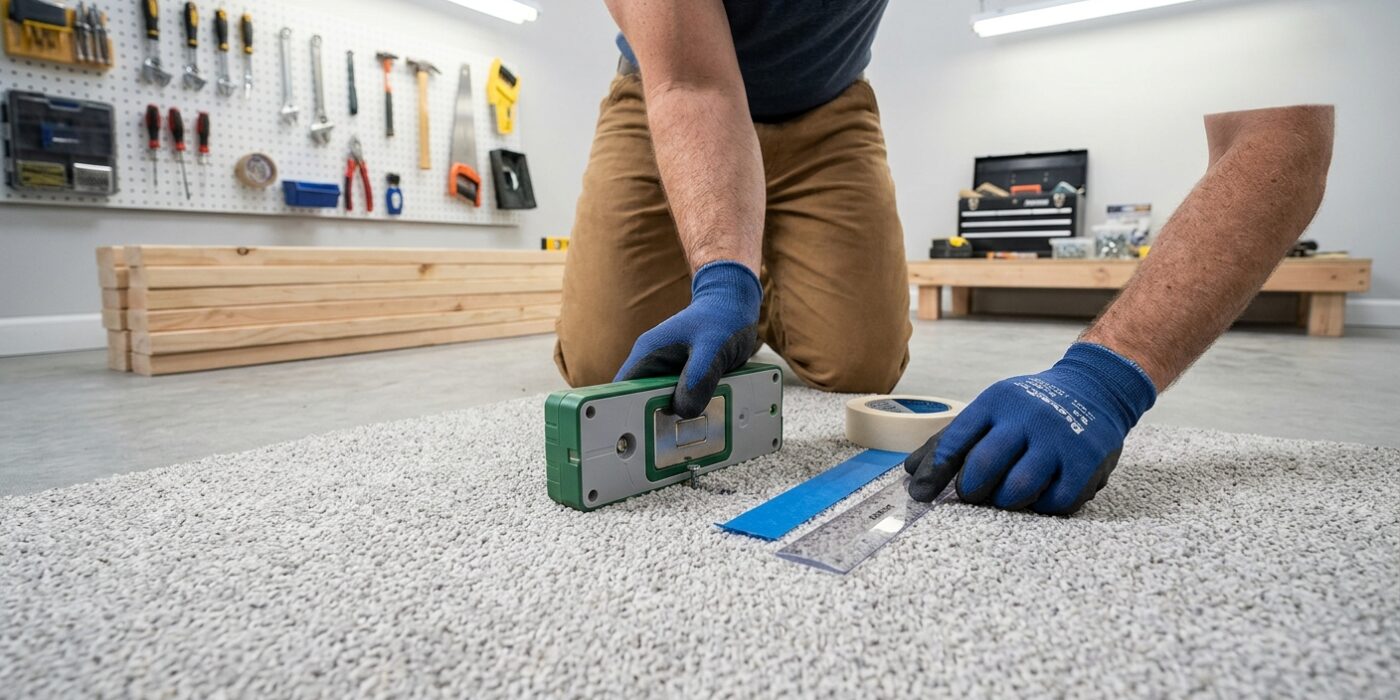
To stop that squeak, you need to find the floor joist – the sturdy wooden beam hidden beneath your subfloor that the floorboards are nailed into. When the subfloor rubs against these joists, it creates that annoying sound. You are looking for a solid connection point directly over one of these beams.
Start by moving your magnetic stud finder slowly across the carpet in the area of the squeak. When it finds a nail or screw head securing the subfloor to the joist, it will click or light up. Once you feel that strong pull, use a small piece of painter’s tape to mark the center. If you are struggling, remember that joists are generally spaced 16 inches apart. If you find one, measure 16 inches over to locate the next potential culprit.
Beginner Tip: Avoid the mistake of guessing where the joist is based on wall position alone. Old homes sometimes have uneven joist spacing, or your floor might have bridging that feels like a solid joist but isn’t. Always confirm your spot with the stud finder or a test drill before driving your main fasteners.
Alternative Method: If you do not have a stud finder, use the “thump” test. With your shoes off, walk slowly and tap the floor with your knuckles. A hollow, echoing sound indicates you are between joists, while a solid, dull thud indicates you are directly over one.
Pro Tip: Place your tape mark slightly to the side of where you think the center is. As you drill your pilot hole, you can actually feel the resistance of the wood change; if you hit the very edge of the joist, you will know immediately to adjust your angle slightly.
Step 4: Use Specialty Squeak Screws Through Carpet
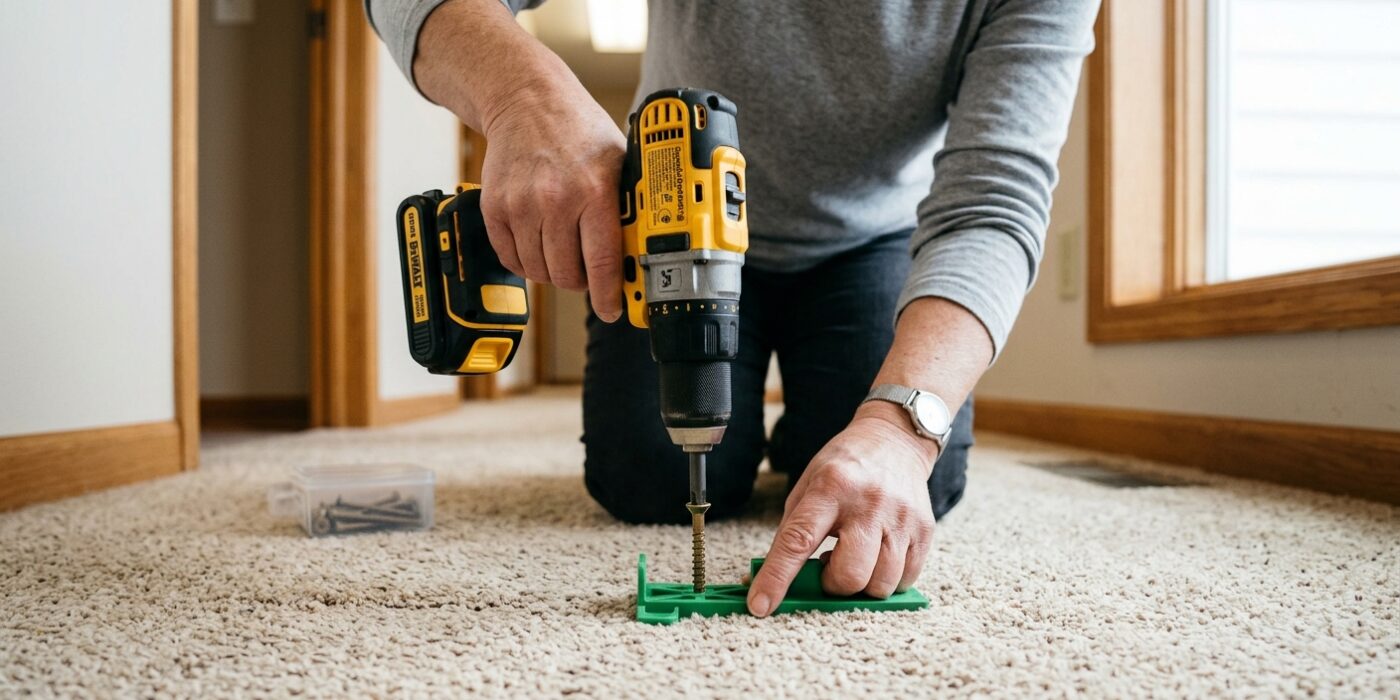
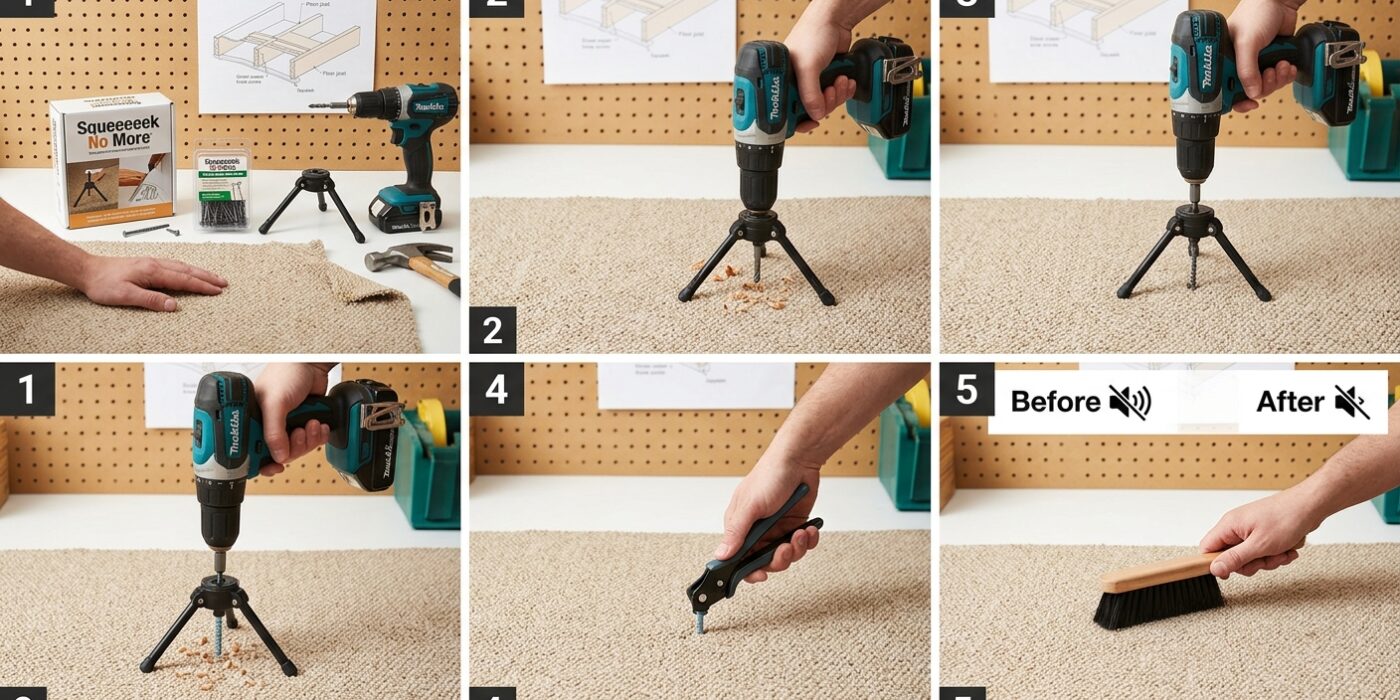
Now that you have located your joist, it is time to quiet that squeak for good using the Squeeeeek No More system. This kit uses specialized scored screws designed to pull your subfloor snugly against the floor joist, which stops the friction causing that annoying noise. First, use the provided tripod-shaped guide tool to hold the carpet fibers aside. Insert the specialized screw through the guide and into your drill. Drive the screw straight down until the head snaps off automatically at a preset depth just below the carpet backing. Because the screw is engineered to break off cleanly, it will disappear completely, leaving your carpet looking untouched and your floor rock-solid.
Beginner Tip: Take your time when driving the screw. If you move too fast, you might accidentally strip the head or drill at a slight angle. Keep your drill level and apply firm, steady pressure, letting the tool do the work for you.
Pro Tip: Before you commit to driving the screw, stand on the area you are fixing to ensure the subfloor is pressed tightly against the joist. Having a helper stand on the spot while you drive the screw ensures you are fastening the boards in their compressed position, which provides the most permanent, squeak-free result.
Step 5: Use a Squeak-Ender Bracket (Best for Strong Squeaks)
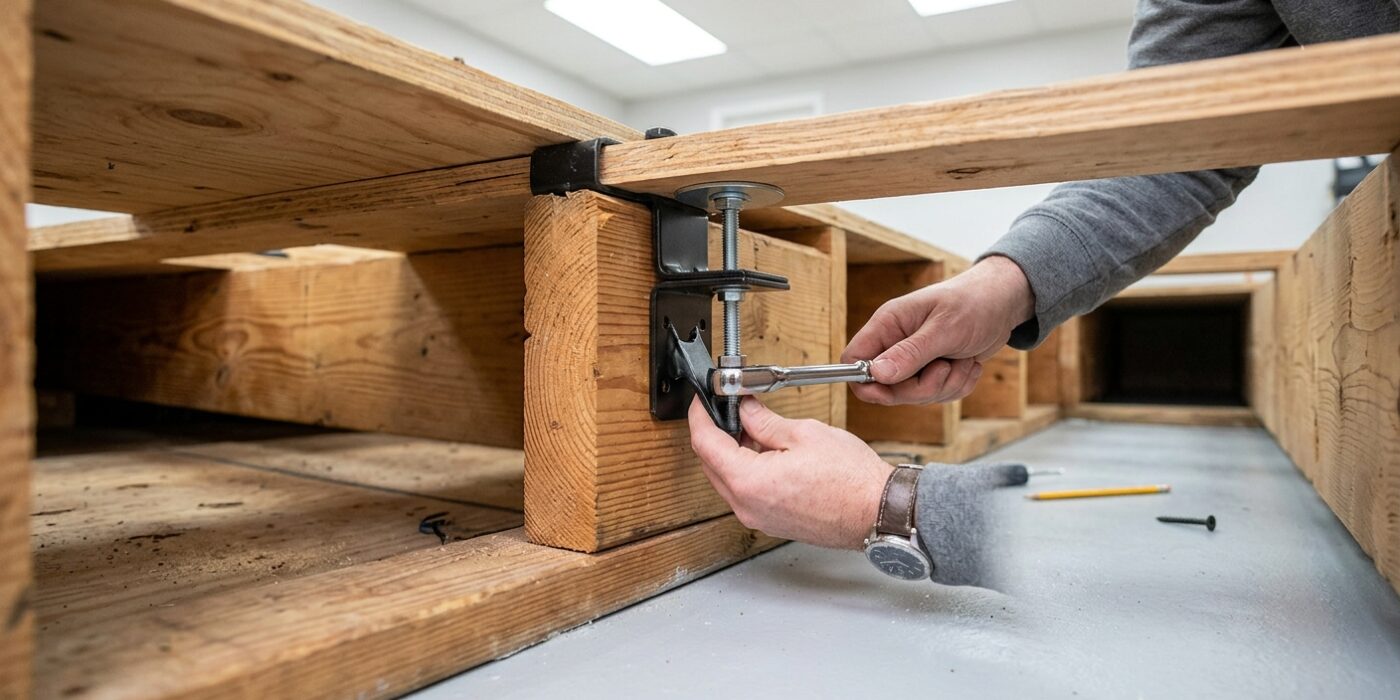
If you have access to the floor from below, such as in a basement or crawl space, a Squeak-Ender bracket is your best friend. This device works by clamping onto the wooden joist (the structural beam supporting your floor) and using a threaded rod to push a metal plate upward against the subfloor. As you tighten the nut on the rod, it pulls the subfloor firmly down against the joist, closing the gap that causes the noise. Position the bracket directly over the spot where the squeak occurs. Simply hand-tighten the plate until it makes contact, then give it an extra quarter-turn with a wrench. You do not need to overtighten; just enough to bridge the gap is perfect.
Beginner Tip: Avoid the urge to crank the bracket as tightly as possible. If you tighten it too much, you can actually create a hump in your floorboards above, which is much harder to fix than the original squeak. Always check the floor above after your first few turns to ensure it remains flat.
Alternative Method: If you cannot reach the joists, you can use a trim-head screw driven at a 45-degree angle through the subfloor into the joist. To find the joist, tap the floor lightly with a hammer – the sound will change from hollow to solid when you are over a beam. Use a screw designed for wood, and ensure it is long enough to bite deep into the joist without poking through your finished flooring.
Pro Tip: Have a partner stand on the squeaky spot while you are underneath. Their weight closes the gap perfectly, allowing you to install the bracket in the exact position needed to lock the floor in that quiet, flat state.
Step 6: Address a Loose Subfloor Panel Edge
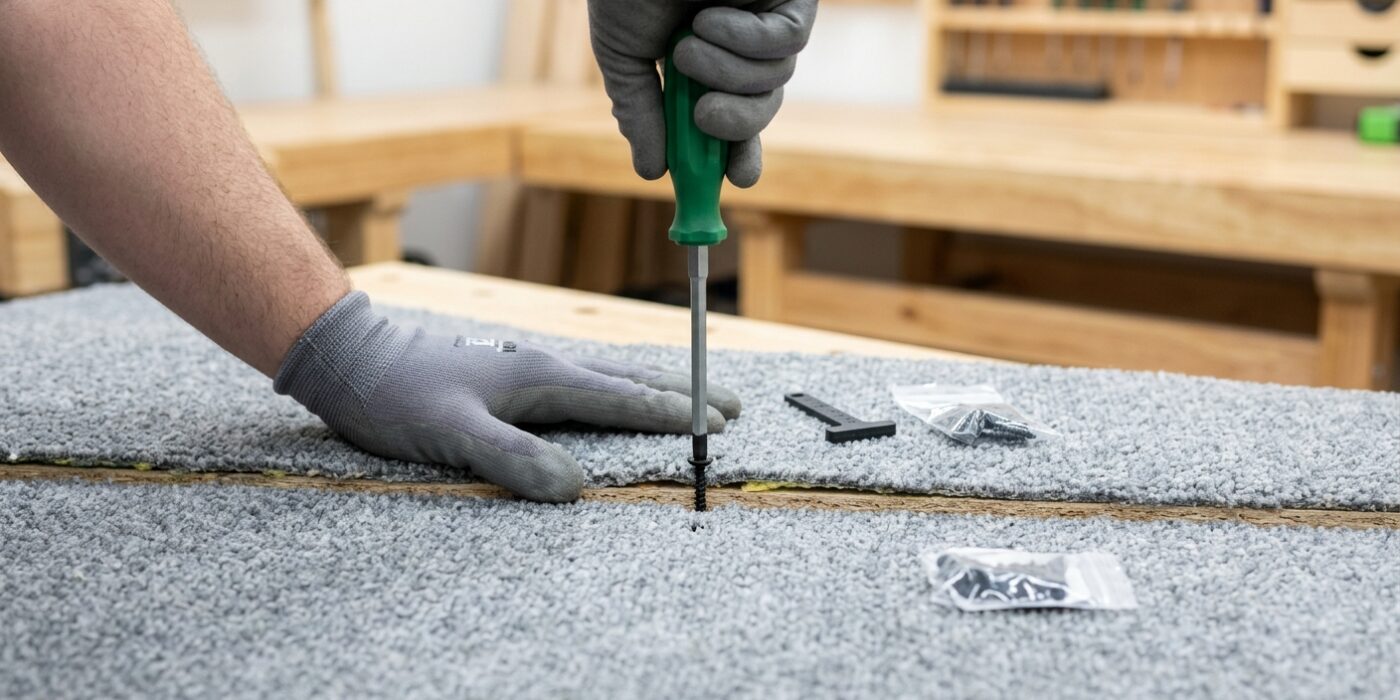
Sometimes, a squeak isn’t caused by a joist, but by two pieces of subfloor rubbing against each other at a seam. To stop this, you need to pull these edges tightly together. Drive two specialized break-away screws through the carpet and into the subfloor panels on either side of the seam. Aim your drill at an opposing 45-degree angle – imagine the screws are “toenailing” or leaning toward each other like an inverted V. By angling them this way, you create a mechanical clamp that pulls the two loose boards snugly against the framing, effectively silencing the friction.
Beginner Tip: Avoid the urge to over-tighten the screws. If you drive them too deep, you might create a small depression in your floor that remains visible under the carpet. Stop as soon as the screw head snaps off or sits flush with the subfloor; you want to secure the wood, not crush it.
Alternative Method: If you don’t have a specialized break-away screw kit, you can use a small drill bit to create a pilot hole through the carpet and subfloor, then drive a standard wood screw. You will need to carefully “back-out” the screw until the head is hidden beneath the carpet pile, but ensure it is deep enough that you won’t feel it underfoot.
Pro Tip: Before you start drilling, walk slowly across the seam while a partner listens carefully to pinpoint exactly where the movement is loudest. Marking these specific “hot spots” with a piece of painter’s tape ensures you secure the board exactly where it needs the most help.
Step 7: Verify the Fix
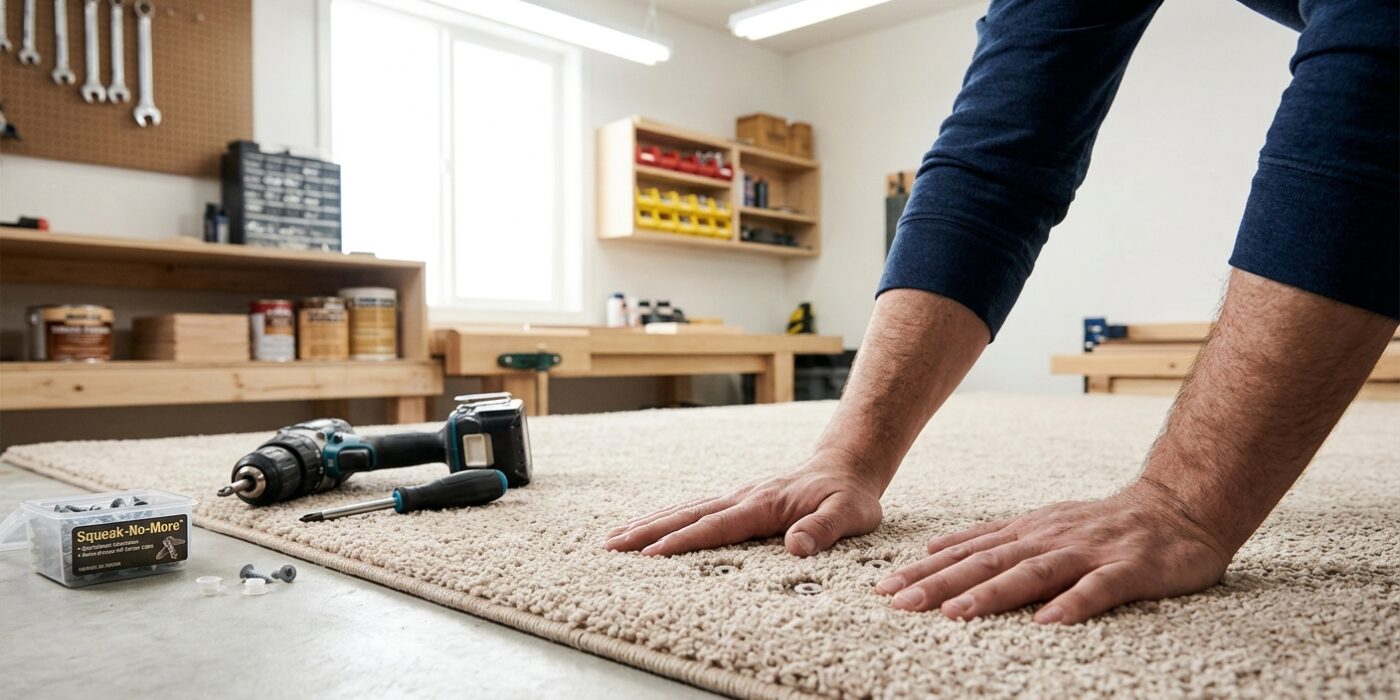
Now that your screw is securely in place, it is time to test your work. Put on a pair of soft-soled shoes or socks and walk over the area, applying your full body weight. Do not just step over it; try bouncing lightly and approaching the spot from different angles – front, back, and sides. A successful fix will be silent regardless of how you step on it. If the squeak persists or if you notice a new squeak right next to your first one, do not be discouraged. It is very common for squeaks to exist in clusters where multiple floorboards have loosened. Simply repeat the process, placing another screw about 3 inches away from the first one.
Beginner Tip: The most common mistake is assuming that a slight creak means you failed. Sometimes, the sound you hear is actually the carpet fibers shifting or the screw head settling into the wood grain. Wait at least an hour before declaring the spot fixed; often, the sound disappears completely once the floor settles under its new tension.
Pro Tip: If you are struggling to tell if the squeak is gone, have a partner walk across the floor while you listen closely near the floor level. If you are working alone, place your hand firmly on the carpeted floor as you step near the spot; you can often feel the vibration of a loose floorboard through your palm even if your ears are not certain.