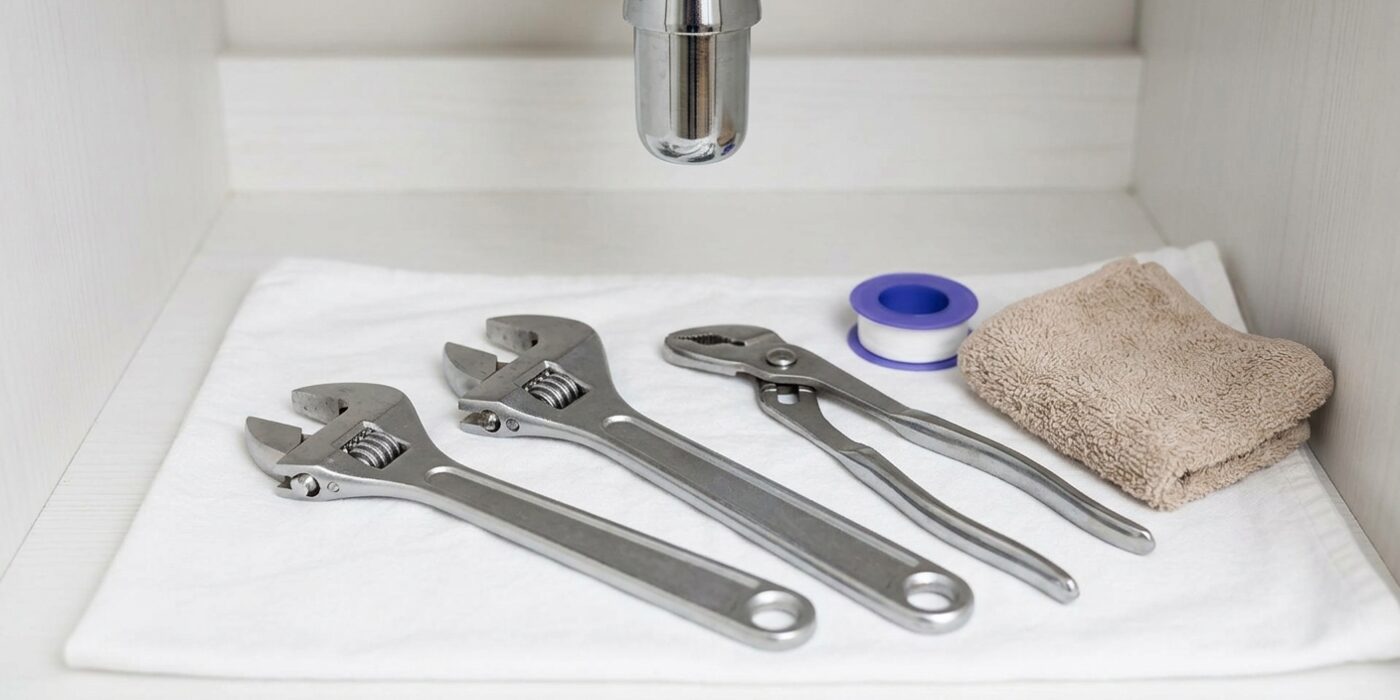
Project Shopping List
A leaking shut-off valve under the sink is the kind of problem that starts as a few drops and turns into cabinet rot and mold if ignored for a season. Shut-off valves (also called stop valves or angle valves) typically last 10–20 years, but they’re often neglected and the packing inside dries out or the valve body corrodes at the compression fitting. The good news: most leaks from these valves can be stopped in 30–45 minutes with a few basic plumbing tools.
This guide covers the two main leak locations – the packing nut just behind the handle, and the compression fitting where the valve connects to the supply pipe – and when a complete valve replacement is the better choice.
What You’ll Need
Tools
- Adjustable wrench or basin wrench
- Channel-lock pliers (two pairs for counter-torque)
- Bucket and towels
- Utility knife
Materials
- Replacement shut-off valve (1/2-inch compression inlet, 3/8-inch compression outlet – most common size)
- Teflon tape (PTFE thread seal tape)
- Pipe dope / thread sealant compound
- Replacement compression ferrule and nut (if fixing compression joint)
Step 1: Confirm the Leak Location
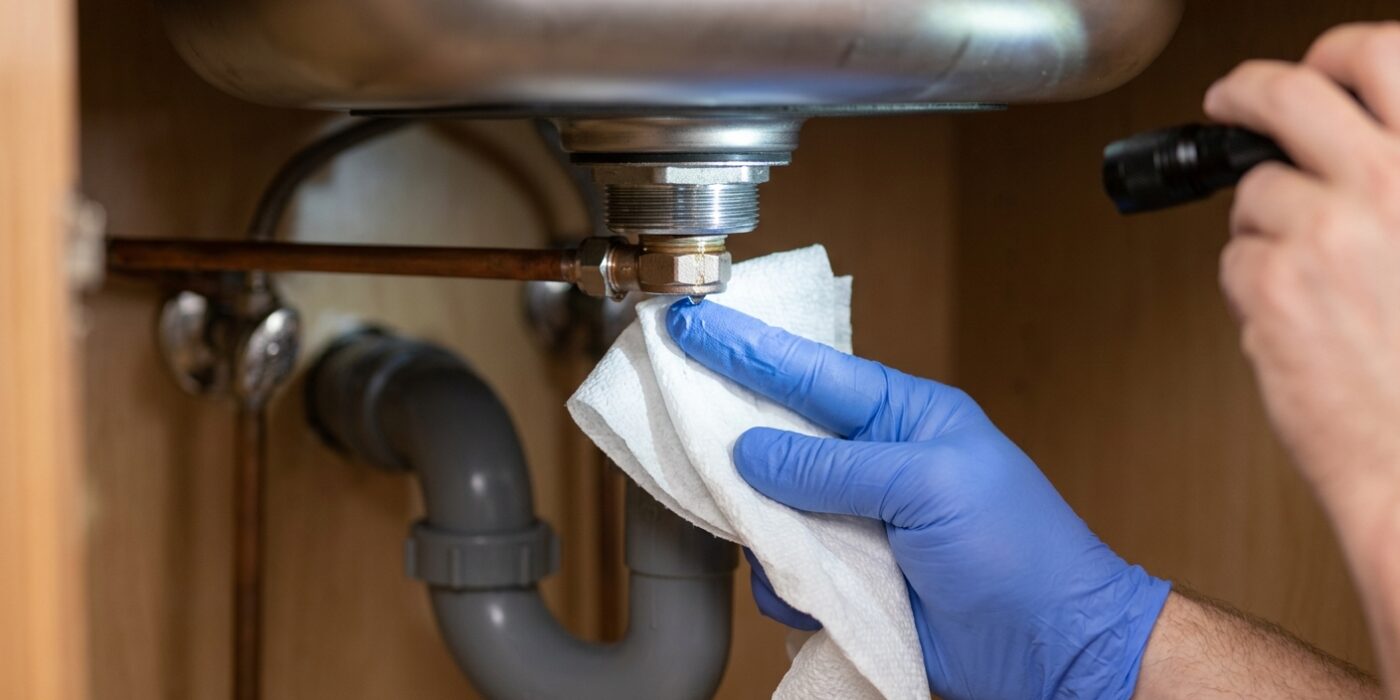
Before you can fix your leak, you must act like a detective to find exactly where the water is escaping. Start by using a clean, dry towel to wipe every inch of the shut-off valve, the supply pipe, and the flexible line until they are bone-dry. Turn the water supply back on fully and shine a bright flashlight directly on the assembly. Watch the connection points closely for 30 seconds; even a tiny, shimmering bead of water will reveal the culprit.
There are three likely suspects: the packing nut behind the handle, the compression nut connecting the valve to your wall pipe, or the outlet nut connecting to your sink line. Identifying the right spot is crucial because tightening a nut that isn’t the source won’t stop the drip. Take your time – if you don’t see water immediately, wait another minute, as some leaks are slow.
Beginner Tip: Do not mistake condensation for a leak. If you see a light mist covering the entire pipe rather than a specific bead of water forming at a seam, your pipes might just be “sweating” due to a temperature difference. Always check for a focused drip from a joint before assuming a mechanical failure.
Pro Tip: If the leak is too slow to spot, wrap a piece of dry toilet paper around each connection point. The paper will change color or tear immediately when it touches water, providing a high-contrast visual confirmation that saves you from staring at the pipe for minutes on end.
Step 2: Shut Off Water at the Main
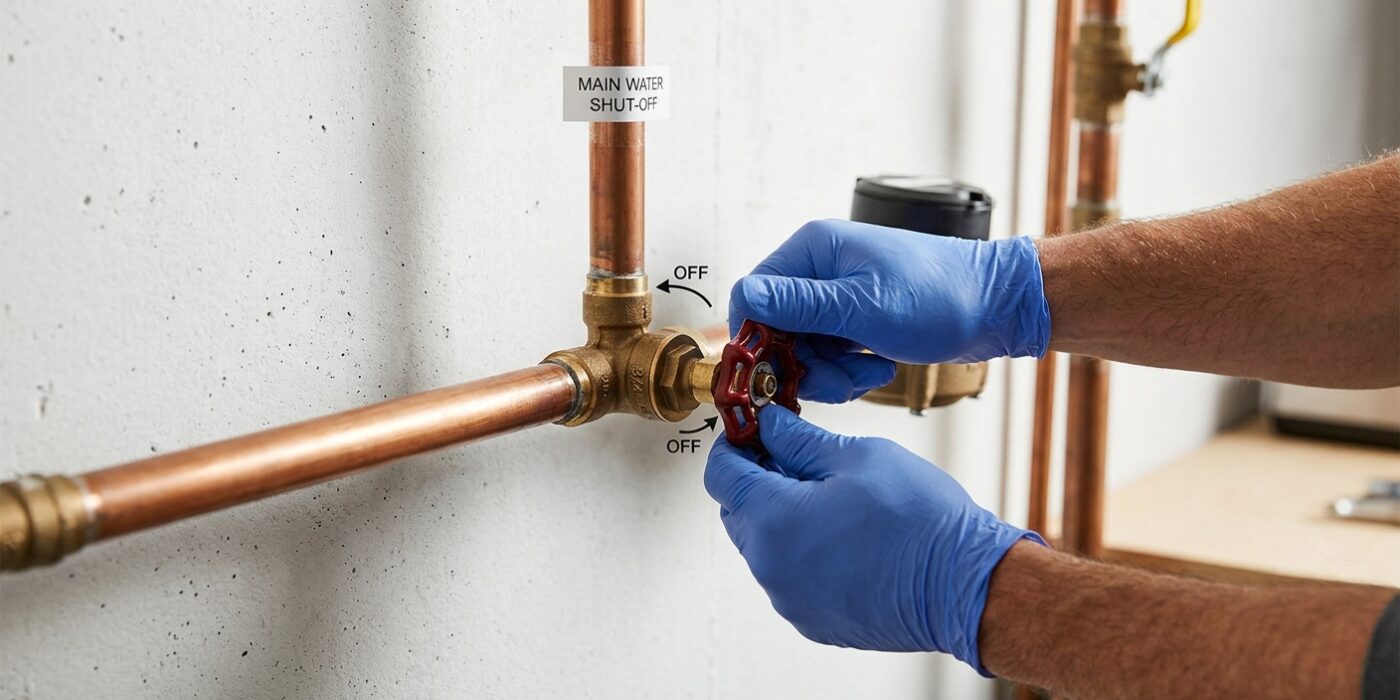
Before you touch the leaky valve under your sink, you must cut the water supply to the entire home. Locate your home’s main shut-off valve, which is usually found in the basement, garage, or near the front exterior of the house. If you have a wheel-style handle, turn it clockwise (to the right) until it stops; if you have a lever-style valve, turn the handle a quarter-turn so it sits perpendicular – at a 90-degree angle – to the pipe. This stops the flow of water entirely.
Next, head to the lowest faucet in your home (like a basement laundry sink) and turn it on to release trapped pressure. Then, go back to the sink you are fixing and turn on the faucet. You will hear a short burst of air or water, then it will stop. This ensures there is no pressurized water sitting in the pipes ready to spray you once you remove the valve.
Beginner Tip: A common mistake is assuming the water has stopped immediately after closing the main valve. Always wait for the flow at your faucets to completely cease before you begin your repair. If water keeps trickling for more than a minute, your main valve may not be fully closed or might need to be replaced by a professional.
Pro Tip: Place a large towel or a plastic bucket directly under the sink valve before you start. Even with the lines drained, a small amount of residual water is almost guaranteed to spill out when you loosen the nut.
Step 3: Fix a Packing Nut Leak
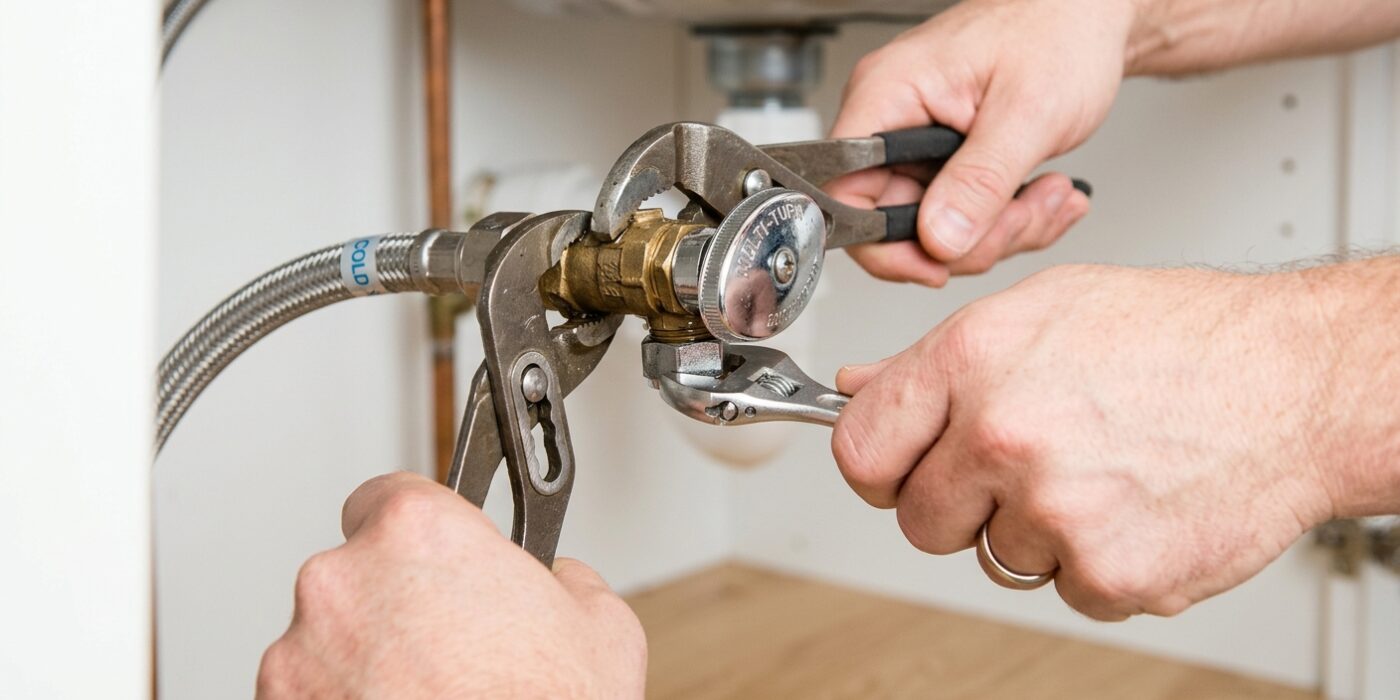
If you notice water dripping from the handle area while the valve is turned on, the culprit is likely the packing nut – the hexagonal nut located directly behind the valve handle. This nut holds a seal in place around the stem that turns the water on and off. Over time, this seal can dry out, but you can often fix it without replacing the entire valve.
Start by taking an adjustable wrench and placing it firmly around the packing nut. Turn the wrench clockwise by only a quarter-turn. It does not take much force to compress the internal packing material, so be gentle to avoid stripping the metal. If the drip stops, you are done! If it continues, or if the nut refuses to turn, the internal packing material has degraded. You will need to unscrew the nut completely, wrap a small amount of graphite packing string around the valve stem, and tighten the nut back into place. This simple procedure is a very affordable alternative to hiring a professional.
Beginner Tip: When using your wrench, always hold the main body of the valve with a second wrench (or your spare hand) to keep it steady. This prevents the valve from twisting, which protects the pipes hidden inside your wall from unnecessary strain.
Pro Tip: Before you begin, place an old rag or a small container directly under the valve. Even a small repair can release a few rogue drops of water, and keeping your workspace dry will help you keep a better grip on your tools.
Step 4: Fix a Compression Fitting Leak
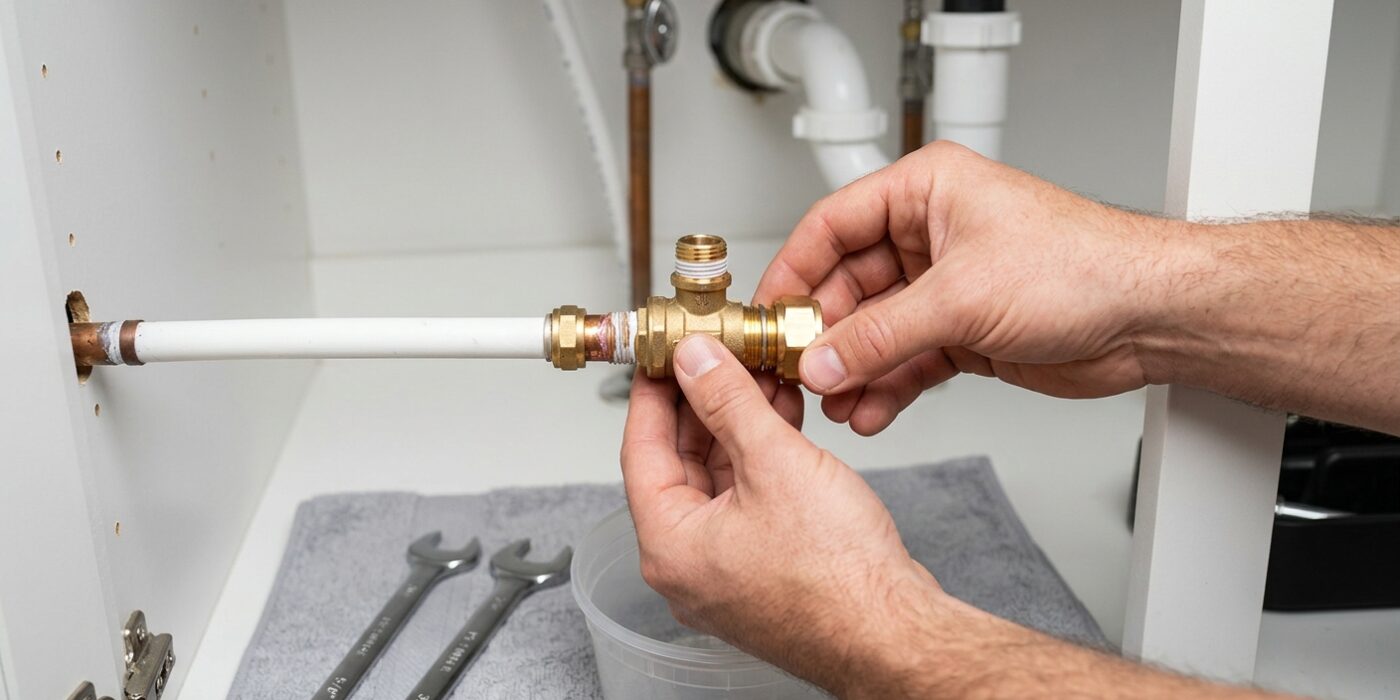
The compression fitting connects your valve to the copper pipe using a small brass ring called a ferrule. When tightened, this ring squeezes against the pipe to create a watertight seal. If you notice a drip, start by placing two adjustable wrenches on the assembly: one to hold the valve steady and the other to turn the nut clockwise. Gently tighten the nut by just 1/4 turn. This small adjustment is often all that is needed to reseal the connection.
If the leak persists, the ferrule may be deformed. You will need to unscrew the nut completely, slide off the old ring, and replace it with a new one. Ensure the tapered end of the new ferrule faces toward the valve body. Once replaced, slide the nut back on and tighten it until you feel resistance, then add exactly one full turn. This precise pressure ensures a solid seal without crushing the soft copper pipe.
Beginner Tip: Avoid the urge to keep turning if you still see a drip. Over-tightening is the most common mistake; it permanently crushes the pipe, turning a small repair into a major plumbing emergency that requires cutting the pipe and starting over.
Pro Tip: Before installing your new ferrule, take a quick look at the copper pipe itself. If you see any deep scratches or debris, lightly buff the area with a small piece of fine-grit sandpaper. A smooth, clean surface allows the ferrule to seat perfectly, giving you a leak-free result the first time.
Step 5: Replace the Valve Entirely
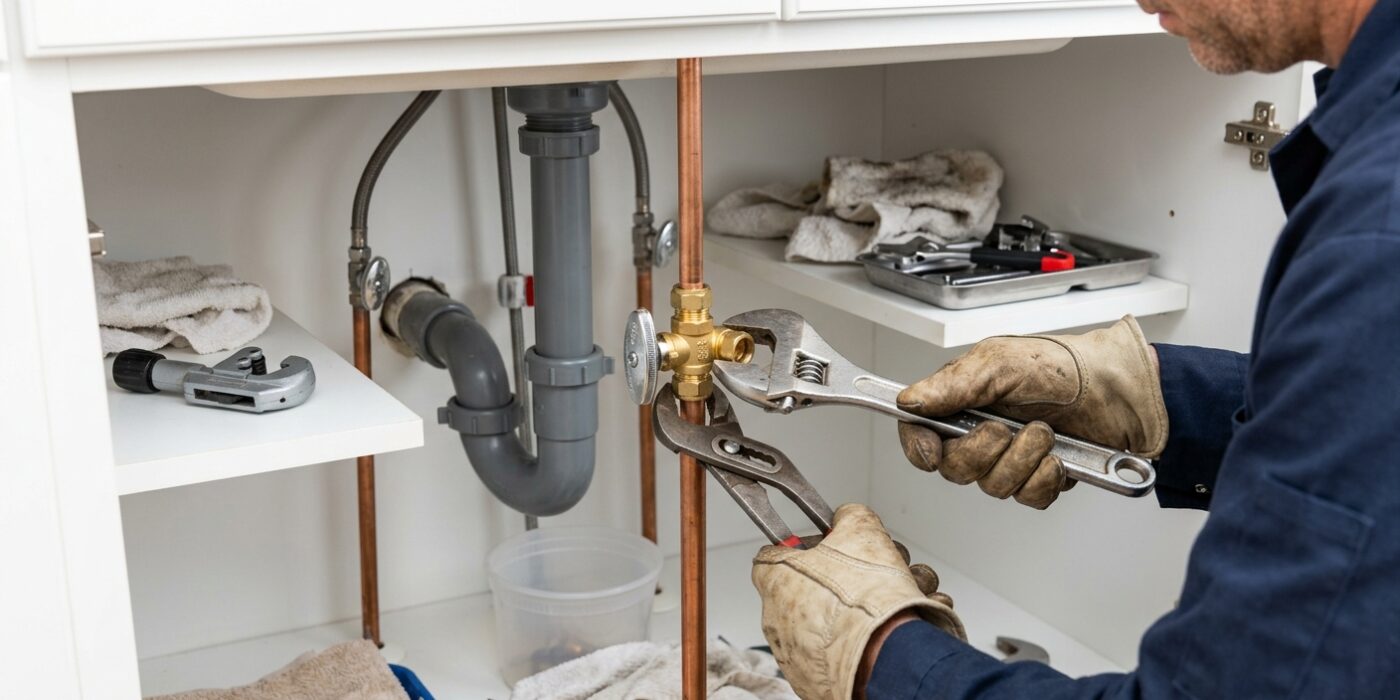
If your valve is corroded, won’t stop the water, or has reached its tightening limit, it is time for a fresh start. Replacing the entire valve ensures a watertight seal and saves you future headaches. We recommend swapping your old multi-turn globe valve for a modern quarter-turn ball valve; these are far more reliable and easy to operate.
Start by loosening the compression nut on the old valve with two wrenches – one to hold the pipe steady and one to turn the nut. Once the old unit is off, slide the new compression nut and brass sleeve (the ferrule) onto the copper pipe. Insert the pipe fully into the new valve, push the nut up, and tighten it by hand until it stops. Then, use your wrenches to tighten it one full rotation (360 degrees) further. This creates a secure, leak-proof bite against the pipe.
Beginner Tip: The biggest mistake is over-tightening. If you crank the nut as hard as you can, you can actually deform the copper pipe or crack the new fitting. “Snug plus one turn” is the golden rule; if it drips slightly after turning the water back on, a tiny quarter-turn more is usually all it needs.
Pro Tip: Before installing the new valve, use a piece of fine-grit sandpaper or emery cloth to polish the end of the copper pipe. Removing any old mineral buildup or paint ensures the new ferrule seats perfectly, which is the secret to a drip-free connection every time.
Step 6: Restore Water and Test
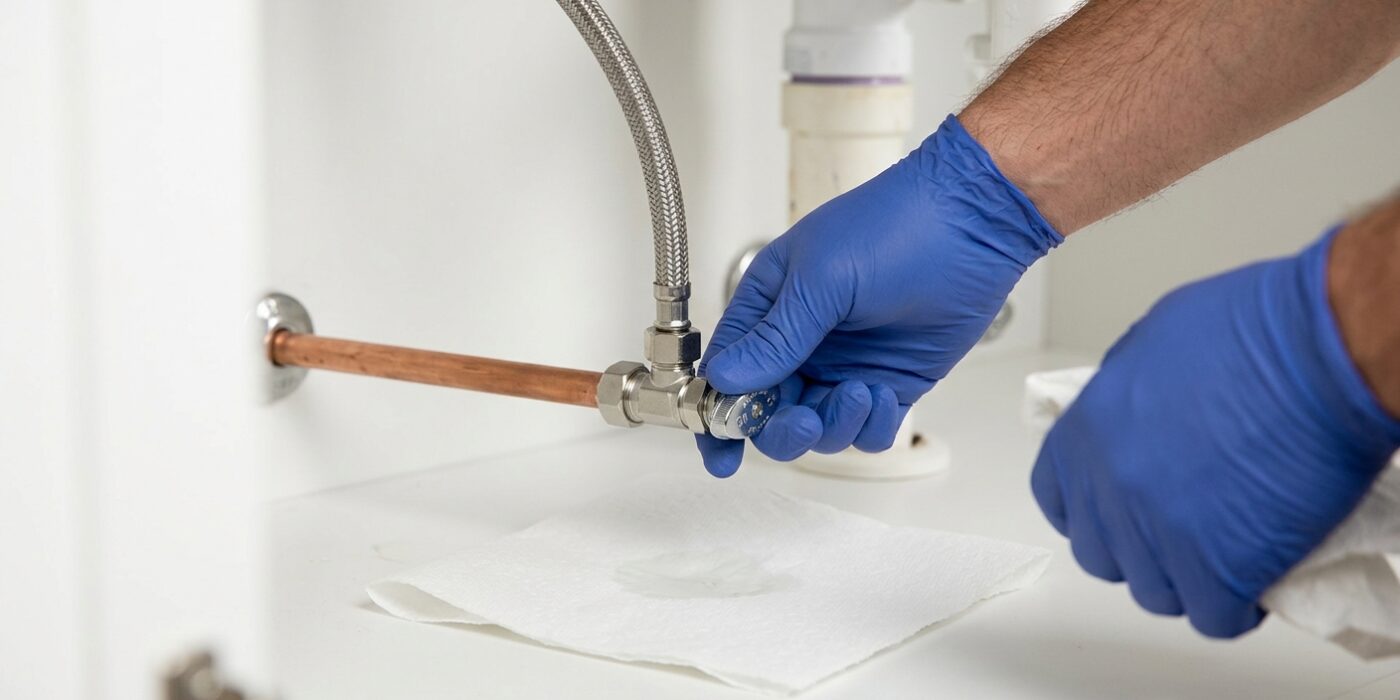
Now that your new valve is installed, it is time to turn the water back on. Head to your main water shut-off and open it very slowly. By keeping the flow restricted initially, you prevent a sudden “water hammer” or pressure surge that could stress your new connection. Walk back to your sink, look closely at the compression nut, and watch as the pipe fills with water. Once the pressure stabilizes, take a dry paper towel and wipe the joint completely clean. Stare at that connection for at least three full minutes. Because the surface is bone-dry, even a tiny “weep” – a single bead of water – will show up instantly as a dark spot on the paper towel. If it stays dry, you have successfully mastered a plumbing repair!
Beginner Tip: A common mistake is overtightening the nut in a panic. If you see a small drip, do not grab your wrench and crank it down with all your strength. Instead, tighten it only an eighth of a turn at a time. Overtightening actually damages the internal ferrule and creates a permanent leak that no amount of torque can fix.
Pro Tip: Before turning the main water back on, place a shallow bowl or a thick, folded towel directly underneath the valve. If your seal isn’t quite perfect, this extra buffer protects your cabinet floor from water damage and keeps your workspace clean while you make that final, tiny adjustment.