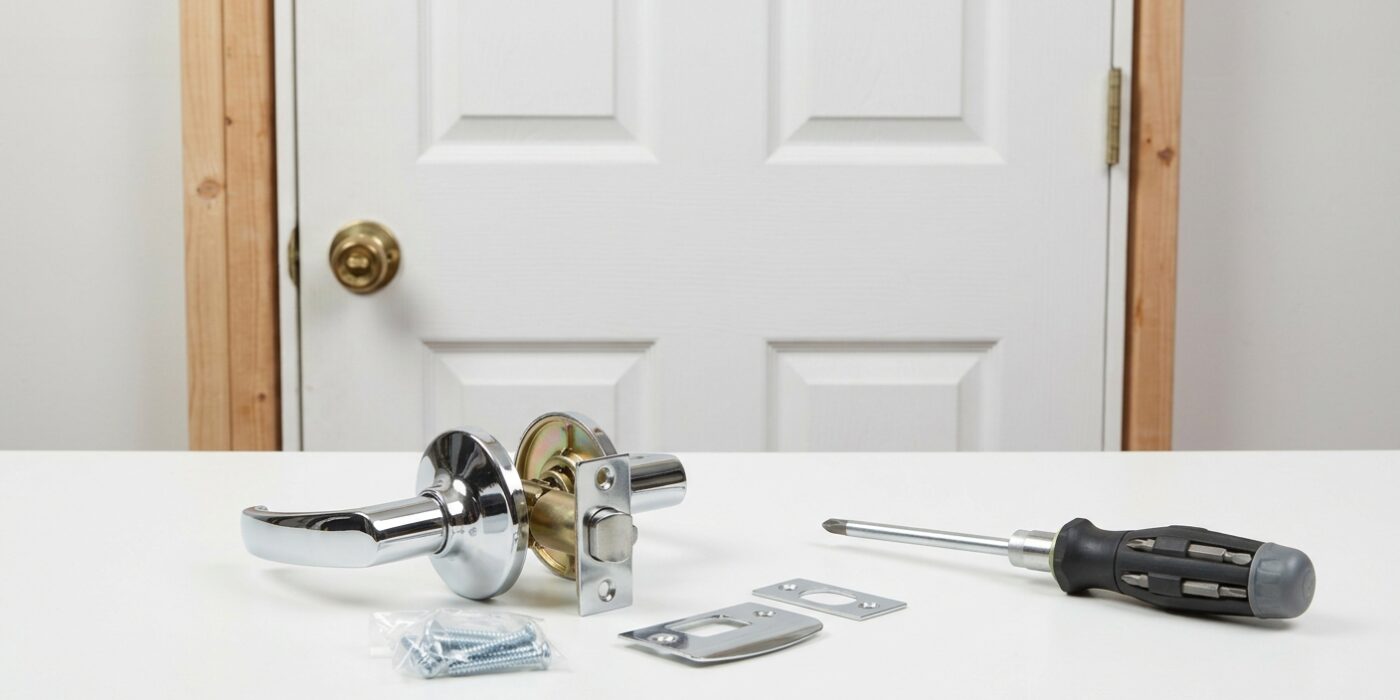
Project Shopping List
Replacing an interior door handle is a 20-minute job that makes a significant difference in how a room feels – a sticky, loose, or outdated lever or knob handle is one of those details that catches the eye constantly. The process is nearly identical across all interior door handle styles, and the hardware you buy will include all needed fasteners.
This guide covers both spindle-based lever handles and tubular latch doorknob sets, since those are the two types you’ll encounter in most homes. It also covers the case where the new handle doesn’t quite fit the existing latch prep – a common issue when mixing brands.
What You’ll Need
Tools
- Phillips and flathead screwdrivers
- Tape measure
- Chisel (1-inch) – only if adjusting strike plate mortise
- Hammer
Materials
- Replacement door handle set (includes latch bolt, rose plates, and handle)
Step 1: Measure the Backset
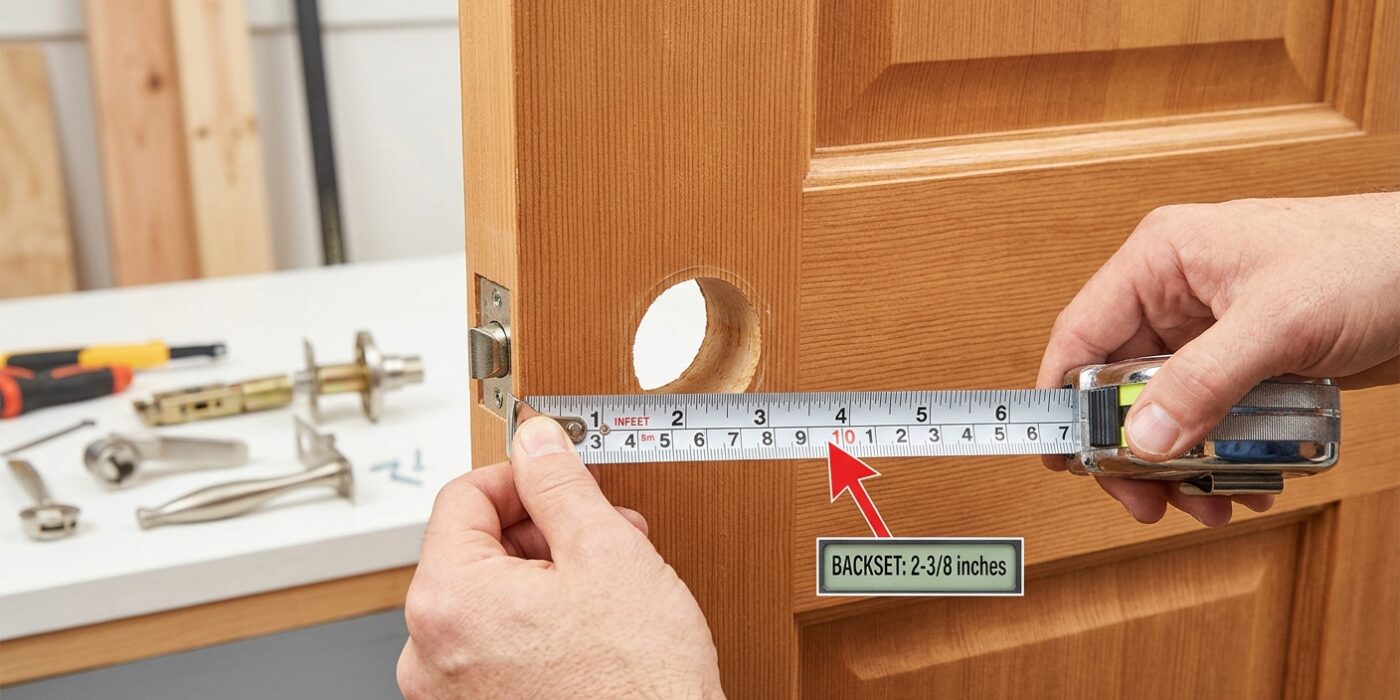
Before you buy your shiny new handle, you need to determine your door’s “backset.” This is simply the distance from the edge of the door to the center of the hole where the knob sits. To measure this, take your tape measure and place the metal hook against the flat edge of the door. Pull it across the face of the door until you reach the exact center of the existing knob or handle. You will find that your measurement is almost certainly either 2-3/8 inches or 2-3/4 inches. Knowing this number is vital because if your new latch doesn’t match your door’s hole, the bolt won’t line up with the plate on your door frame, preventing the door from closing properly. While many modern handles are adjustable, checking this now saves you a frustrating trip back to the hardware store.
Beginner Tip: Avoid measuring to the edge of the knob’s decorative plate or rosette. Always measure to the very center of the knob itself. If you measure to the edge of the trim, your reading will be off, and you might accidentally buy the wrong size hardware.
Alternative Method: If you cannot find your tape measure, you can use a standard business card. Most business cards are exactly 3.5 inches long. If the distance from the door edge to the center of the knob is roughly two-thirds of the card, you likely have a 2-3/8 inch backset. It is not as precise as a tape measure, but it works in a pinch.
Pro Tip: If your door has a thick layer of paint around the latch, use a utility knife to gently score the paint before measuring. This ensures your tape measure sits flush against the wood, giving you an accurate, professional reading every time.
Step 2: Remove the Old Handle
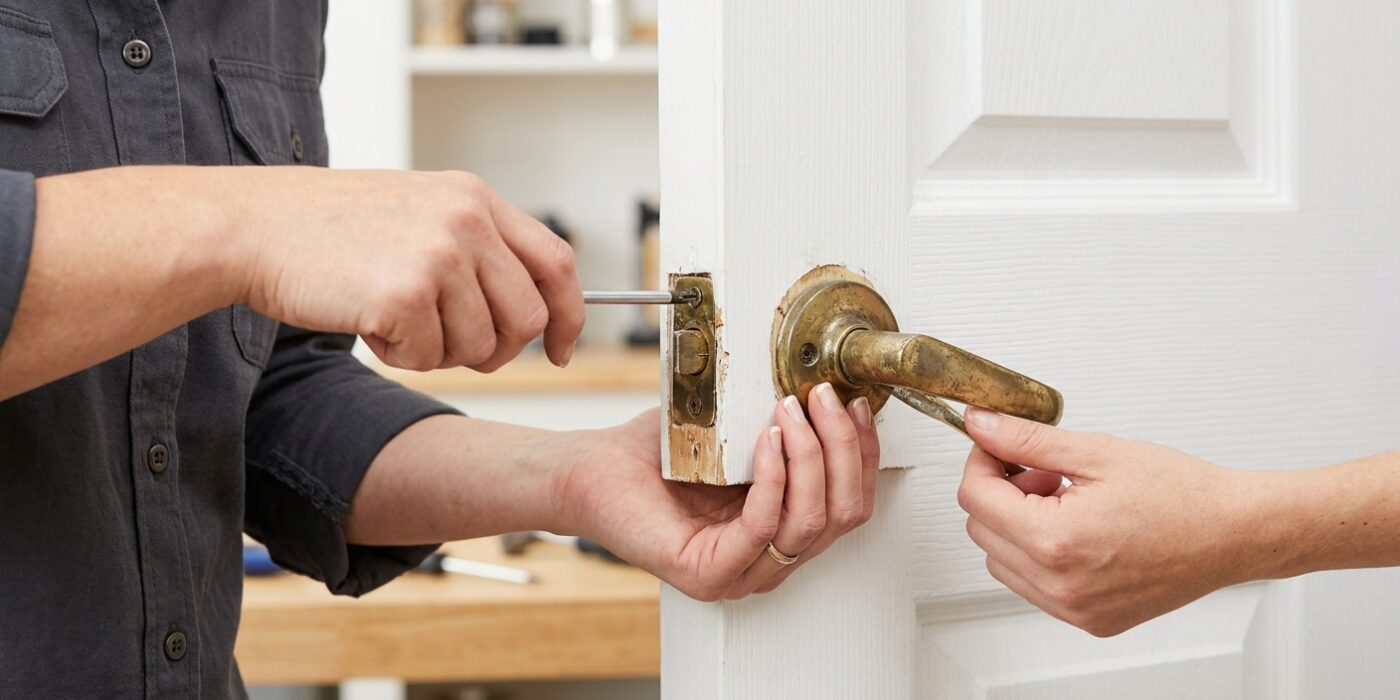
Now that your door is prepped, it is time to remove the hardware. Your approach depends on the style of your handle. If you have a knob with a small pinhole on the neck, insert a thin flathead screwdriver or the metal pin included with your new set. Press firmly into that hole to depress the internal spring button, known as a detent, while simultaneously pulling the knob outward. It should slide right off the spindle. Once the knob is off, look for the circular trim plate, or rose. This usually unscrews counter-clockwise; if it feels stuck, try gently prying it with a flat tool to reveal the mounting screws underneath.
For lever handles, the process is often simpler. You will typically see two exposed Phillips-head screws on the interior plate. Use a screwdriver to turn them counter-clockwise until they come out completely. As you remove the second screw, hold the handle on the other side of the door so it does not drop to the floor. Once the screws are out, simply pull both halves of the handle away from the door.
Beginner Tip: Avoid using a power drill for this step. Because the screws are often painted over or slightly rusted, a drill can easily strip the screw heads. Stick to a hand-held screwdriver to maintain better control and feel.
Pro Tip: If your trim plate won’t budge, wrap a thin cloth around your flathead screwdriver before prying. This creates a soft barrier that prevents you from accidentally scratching the wood finish on your door.
Step 3: Remove the Latch Bolt
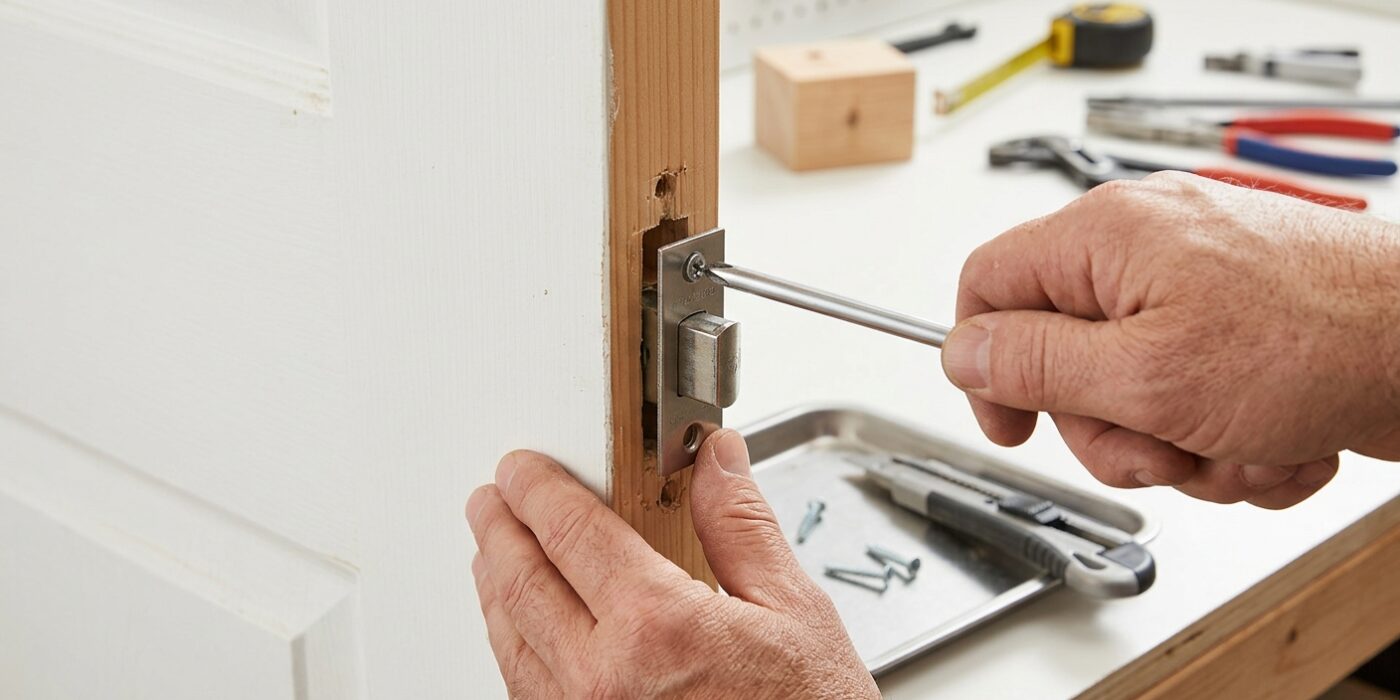
Now that the handles are removed, look at the narrow edge of your door where the door meets the frame. You will see a small, rectangular metal plate held in place by two screws. Using your Phillips head screwdriver, turn these screws counter-clockwise to remove them completely. Once the screws are out, gently pull the latch unit straight out from the door edge. If it feels stuck due to paint buildup, you can carefully wiggle it or use a flat-head screwdriver to gently pry the edge of the plate outward.
Beginner Tip: A common mistake is losing track of the latch’s orientation. Before you pull it out, notice that the latch bolt – the springy metal piece that clicks – is beveled on one side. This sloped side must face toward the door jamb so the door closes smoothly without you having to turn the handle. If you put it in backward, the door won’t latch shut!
Pro Tip: If your door has been painted many times, the latch plate might be “glued” to the wood by layers of paint. Take a utility knife and carefully score the paint line around the perimeter of the metal plate before you start unscrewing. This prevents the paint from peeling away in large, unsightly chunks, keeping your door looking professional and clean.
Step 4: Install the New Latch Bolt
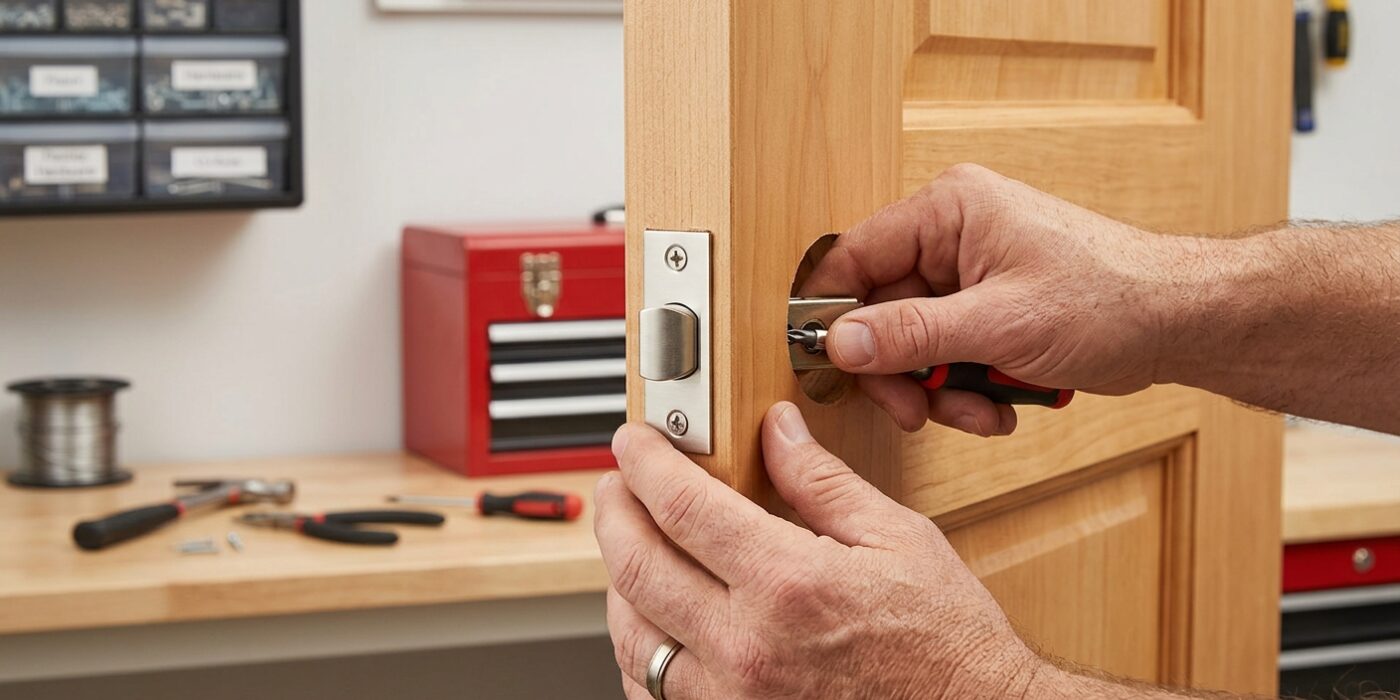
Now it is time to secure the latch bolt into the edge of the door. Locate the hole on the side of the door and slide the latch mechanism inside. If your new latch is adjustable, you will see a slider or a screw mechanism that allows you to set it to either 2 3/8 inches or 2 3/4 inches; match this to your door’s specific measurement so the handle sits perfectly centered. Ensure the beveled, angled side of the bolt faces the direction the door closes – it should be sloping toward the door frame so the door can click shut smoothly.
Once inserted, the rectangular face plate should sit perfectly flush with the wood. If it sticks out (sits proud), use a sharp wood chisel to gently shave away a thin layer of wood from the recessed area until the plate fits level. Finish by driving the two provided screws into the wood using a manual Phillips-head screwdriver, turning until they are snug but not overtightened.
Beginner Tip: The most common mistake is installing the latch upside down. Before you screw it in, test the latch by pushing the bolt with your finger. If it doesn’t retract smoothly or the angled side faces the wrong way, flip the mechanism over.
Pro Tip: To ensure the screws go in straight and don’t split the wood, use a handheld awl or a small nail to tap a tiny “starter hole” in the center of the screw holes before driving the screws home.
Step 5: Install the New Handle
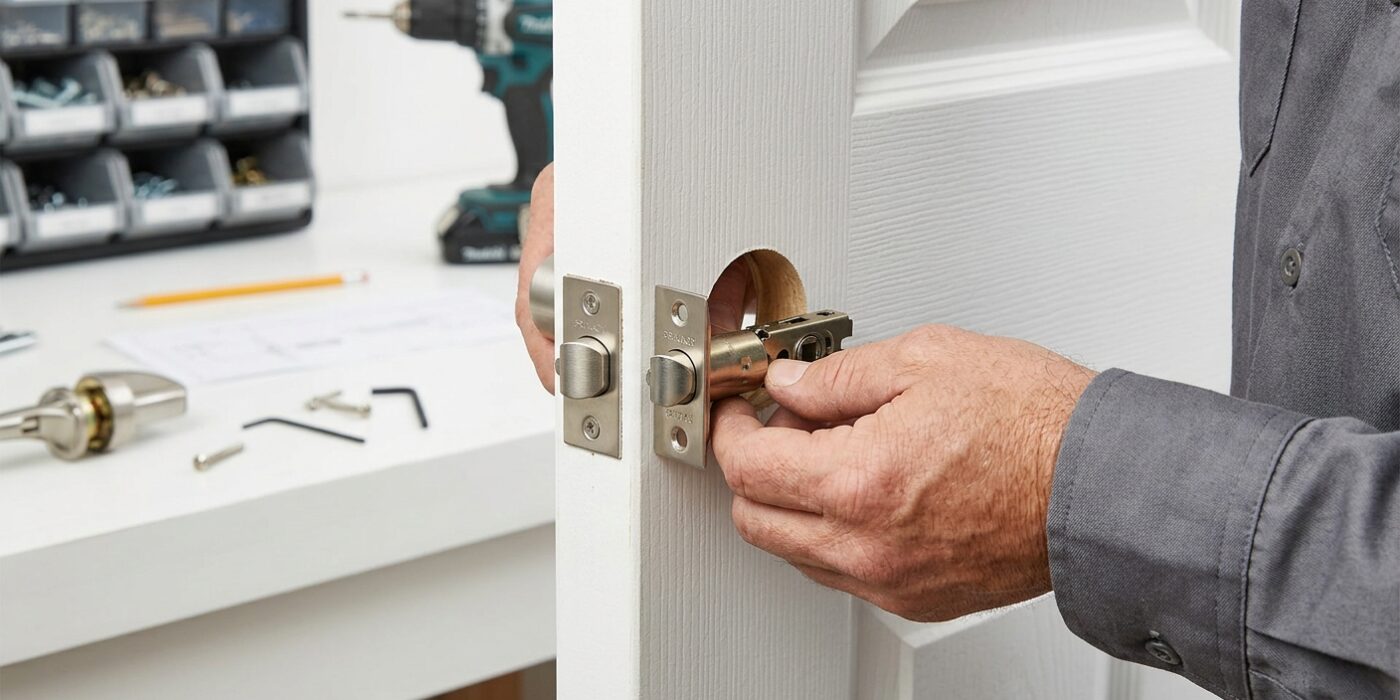
Now it is time to bring your project to life. Take the exterior handle assembly – the side with the metal bar called the spindle – and slide it through the square center of the latch bolt already inside the door. Once it is through, line up the two metal mounting posts on the back of the exterior handle with the holes on the interior rose plate. Hold the interior handle steady against the door, align it with those posts, and insert your two mounting screws. Use your screwdriver to turn them clockwise, alternating between the top and bottom screw every few turns. This keeps the plate perfectly level so the internal springs don’t bind.
Beginner Tip: A common mistake is overtightening the screws, which can cause the handle to stick or feel stiff. Tighten them just until they are snug and the plate feels firm against the wood; you should be able to turn the handle comfortably with your pinky finger. If the handle feels heavy or grinds, simply back the screws off by a quarter turn to release the pressure.
Pro Tip: If you are struggling to get the screw threads to catch while holding the handles together, use a small piece of painter’s tape to hold the exterior handle in place against the door. This frees up both of your hands, allowing you to focus entirely on aligning the internal mechanism and driving the screws straight without the handle slipping or falling.
Step 6: Align the Strike Plate
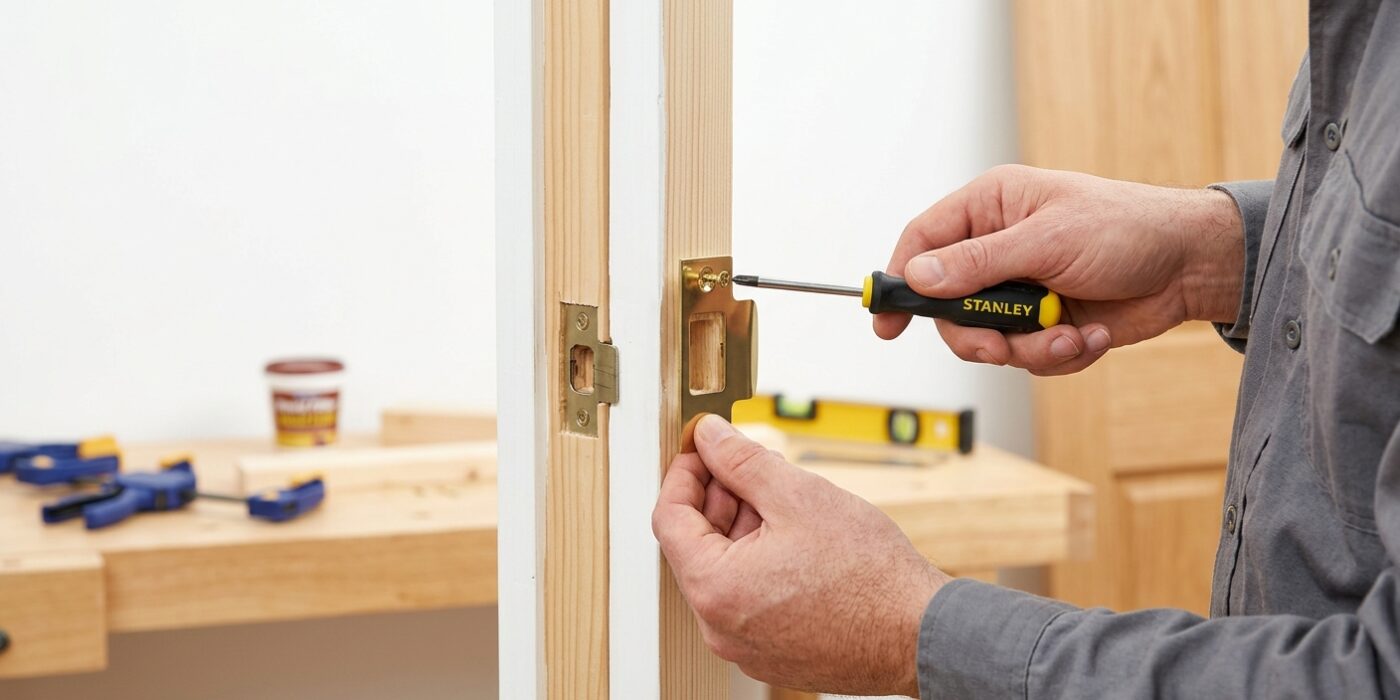
Now that your new handle is installed, it is time to ensure the door latches perfectly. Close the door slowly and watch how the slanted metal latch bolt meets the strike plate – the metal piece attached to your door frame. Ideally, the bolt should slide smoothly into the center of the opening with a satisfying “click.” If the bolt hits the metal edge or the frame instead of the hole, your door won’t stay closed properly.
To fix this, loosen the two screws on the strike plate just enough so you can wiggle it. Shift the plate slightly up, down, or toward the room until the bolt sits perfectly centered in the cutout, then tighten the screws back down. If the bolt is only slightly off-center – by an eighth of an inch or less – you can use a metal file to widen the opening of the strike plate in the direction you need, rather than moving the entire plate.
Beginner Tip: Resist the urge to slam the door to “test” the fit. If the latch is misaligned, slamming it can damage the wood frame or chip your brand-new door handle finish. Always test it gently by hand first.
Pro Tip: If you are struggling to see exactly where the bolt is hitting, rub a little bit of lipstick or colored chalk onto the side of the latch bolt. When you close the door, the mark will transfer to the strike plate, showing you exactly where the metal is obstructed.