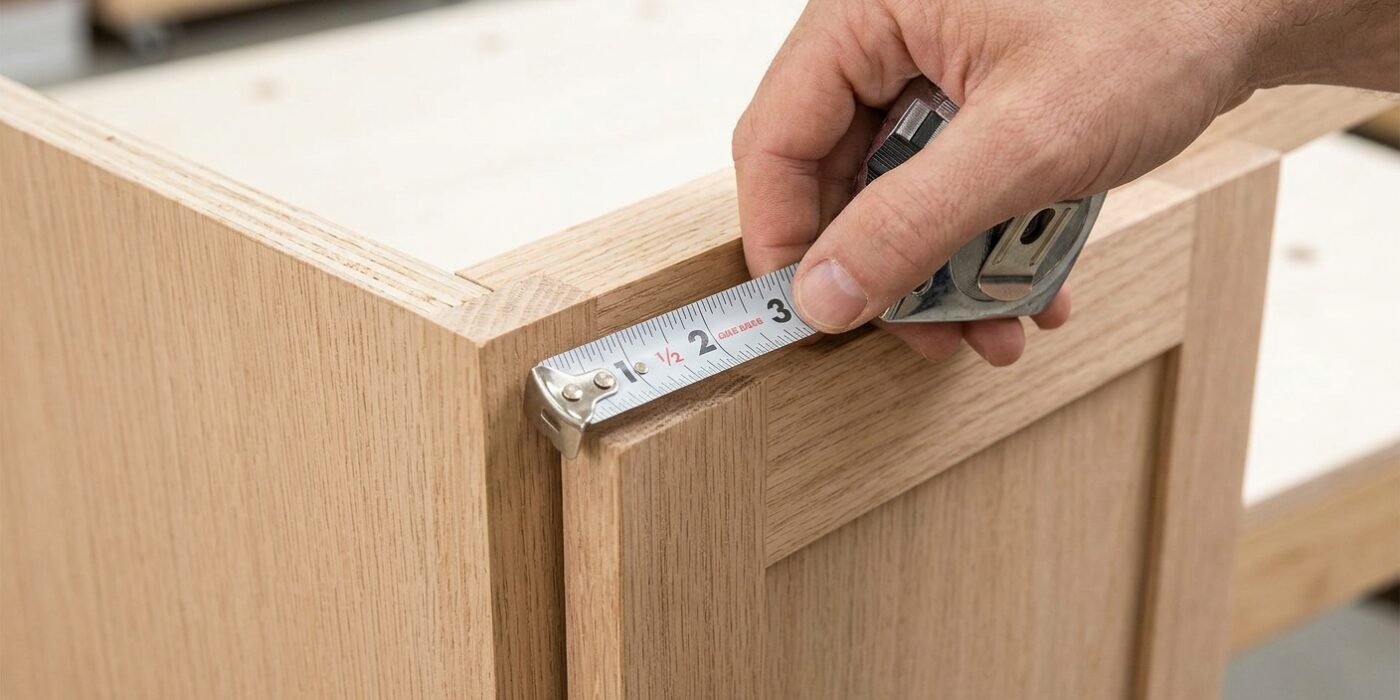
Project Shopping List
Replacing cabinet hinges and adding soft-close functionality is a high-impact upgrade that makes a kitchen or bathroom feel newer and quieter overnight. Old hinges accumulate wear, cause doors to sag or sit unevenly, and the slamming is both noisy and hard on the cabinet boxes. Modern soft-close hinges are inexpensive ($2–$4 each), easy to install, and completely transformative.
This guide covers the most common scenario: replacing existing European-style cup hinges (the type that mount to a cup hole drilled into the back of the cabinet door) with modern soft-close equivalents. It also covers replacing older surface-mount hinges when the original installation predates cup hinges.
What You’ll Need
Tools
- Phillips screwdriver or drill with Phillips bit
- 35mm (1-3/8 inch) Forstner bit and drill (only if adding new cup holes)
- Tape measure and pencil
- Clamps (to hold doors while adjusting)
Materials
- Soft-close European cup hinges (sized for your door thickness – most are 1/2 or 5/8 inch full overlay, but measure your door-to-cabinet-face overlap to confirm)
- Hinge mounting plates (may be included or separate depending on brand)
Step 1: Identify Your Existing Hinge Type
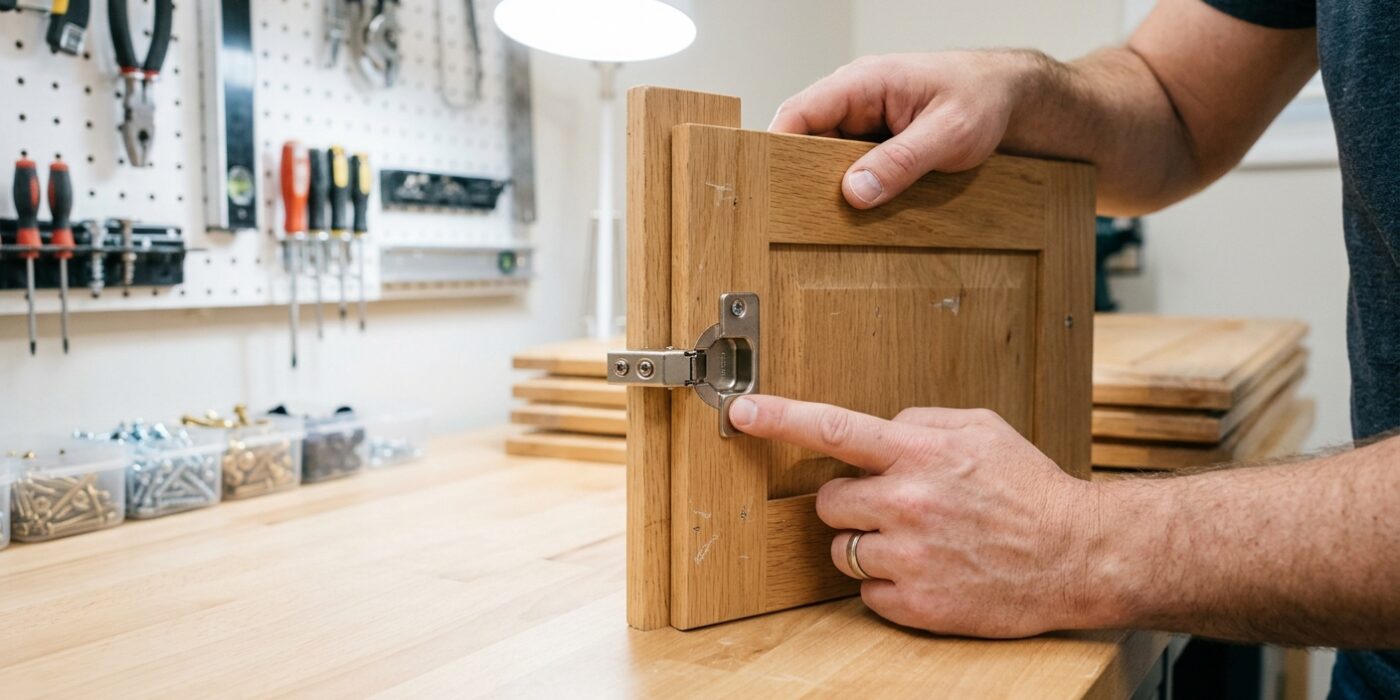
Before you purchase any new hardware, you need to identify your current hinge type to ensure your upgrade goes smoothly. Open your cabinet door wide and examine the metal mechanism. If you see a large, circular metal cup recessed directly into the back of the door, you have what is known as a European cup hinge. These are the gold standard for soft-close upgrades because they are designed to be swapped out with modern replacements that fit the exact same mounting holes.
If your hinges look like tiny versions of the ones on your bedroom door, with visible pins and plates screwed onto the surface of the wood, you have surface-mount butt hinges. While these are reliable, they do not accommodate soft-close mechanisms as easily. Upgrading these often requires drilling a precise 35mm hole into the door, which is a bit more advanced but entirely doable.
Beginner Tip: Never assume all cup hinges are the same size. Before buying your new hinges, measure the diameter of the circular cup currently in your door. Most standard hinges use a 35mm cup, but measuring ensures you won’t have to fill old holes or drill new ones just to get a proper fit.
Pro Tip: Take a clear, well-lit photo of your current hinge from the side and the back while it is still attached to the cabinet. Bring this photo to the hardware store or upload it to the retailer’s support chat; experts can instantly identify your specific hinge model, saving you from the frustration of buying the wrong parts.
Step 2: Measure the Overlay
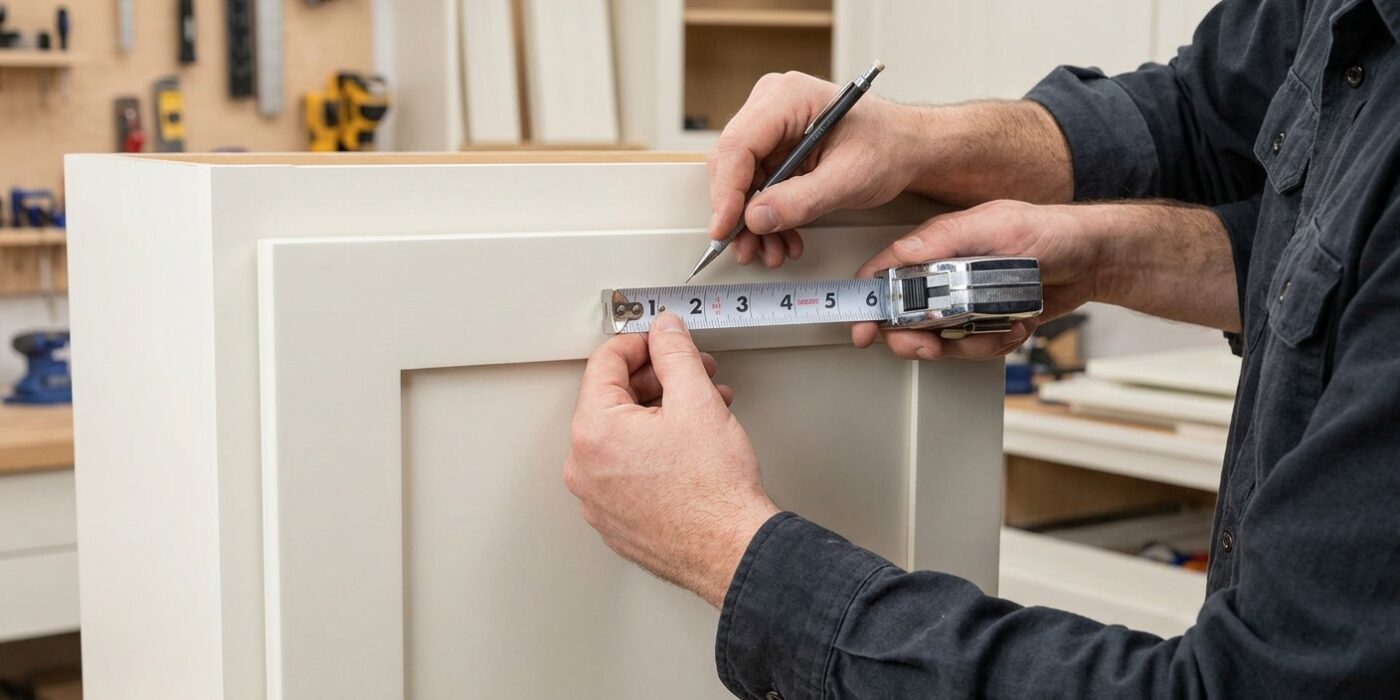
Before you buy your new hinges, you need to identify your cabinet’s “overlay.” The overlay is simply how much of the cabinet frame your door covers when it is closed. Think of it as the door’s “reach” over the opening. Knowing this measurement is critical because it dictates the shape of the hinge arm; get this wrong, and your door won’t sit flush or close properly.
To measure this, close your cabinet door and use a pencil to lightly mark a vertical line on the cabinet frame exactly where the edge of the door sits. Open the door and measure the distance from the edge of the cabinet opening to that pencil line. That measurement – whether it is 1/2 inch, 3/4 inch, or something else – is your overlay. When shopping for soft-close hinges, look for packaging that explicitly matches this specific measurement to ensure a perfect fit.
Beginner Tip: Do not guess your overlay by looking at it! Even a 1/8-inch difference can prevent your door from closing completely. Always use a ruler or tape measure to get the exact distance, as cabinet styles are rarely standardized.
Alternative Method: If you find measuring the frame difficult, simply remove one of your existing hinges and take it to the hardware store. Most store employees can identify the hinge type and overlay by sight or by matching it against their inventory, saving you the math entirely.
Pro Tip: Apply a small piece of painter’s tape to the cabinet frame before making your pencil mark. This allows you to draw your measurement directly on the tape instead of the cabinet wood, keeping your finish clean and scratch-free.
Step 3: Remove the Old Hinges
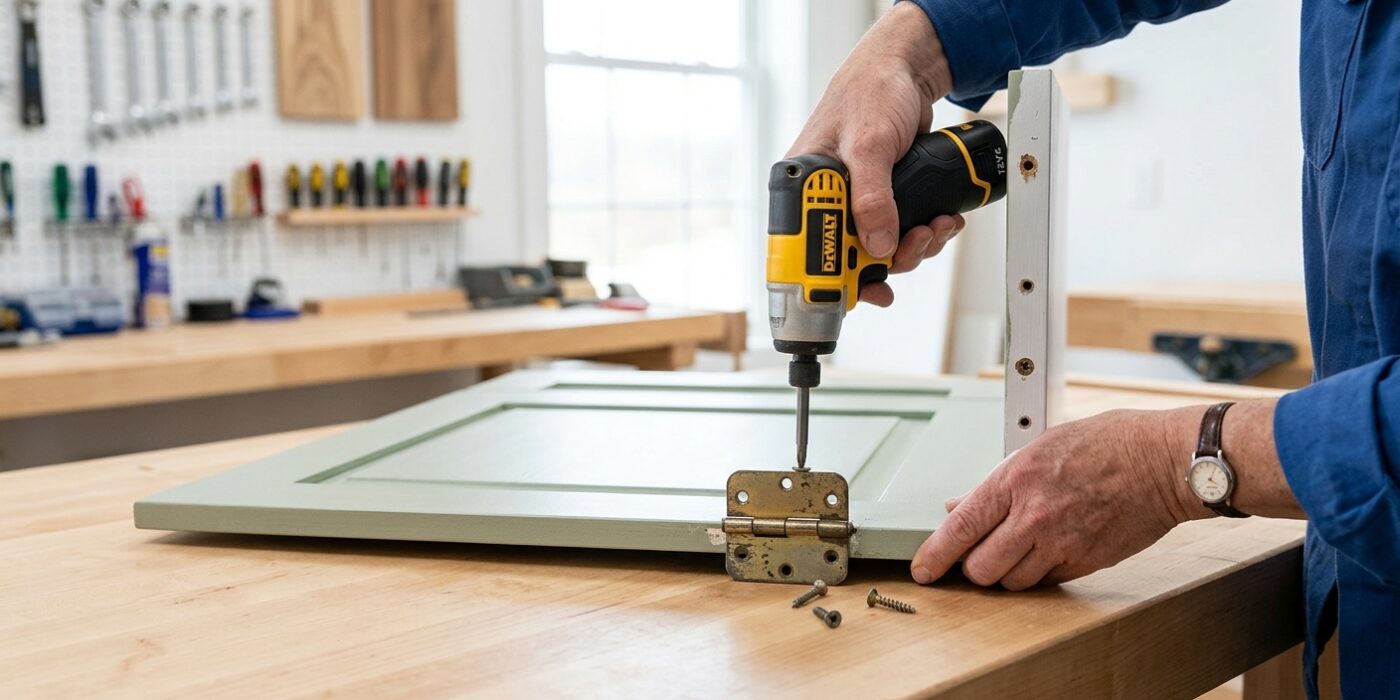
Now that your door is safely off, it is time to remove the old hardware. First, locate the mounting plate attached to the inside wall of your cabinet. You will see one central screw that locks the hinge arm in place; loosen this a few turns, and the hinge arm should pop right off the plate. Once the arm is detached, use your screwdriver to fully remove the two screws securing the mounting plate to the cabinet wall.
Next, focus on the circular “cup” embedded in the back of the cabinet door. You will see two small screws flanking the cup – unscrew these completely. Once they are out, gently wiggle the hinge cup back and forth while pulling outward. If it feels stuck, use the flat head of your screwdriver to lightly pry under the rim of the cup to pop it out of the hole.
Beginner Tip: Avoid using a power drill for this step. Because old screws can be tight or slightly rusted, a drill can easily strip the screw heads, making them impossible to turn. Use a manual screwdriver to maintain full control and protect your cabinet finish.
Pro Tip: Keep your old screws organized! Place the hardware from each specific door into a small plastic bag or bowl as you remove it. If you accidentally drop a hinge or lose a screw, having them separated by door ensures you won’t be hunting through a pile of mismatched parts later.
Step 4: Install New Mounting Plates
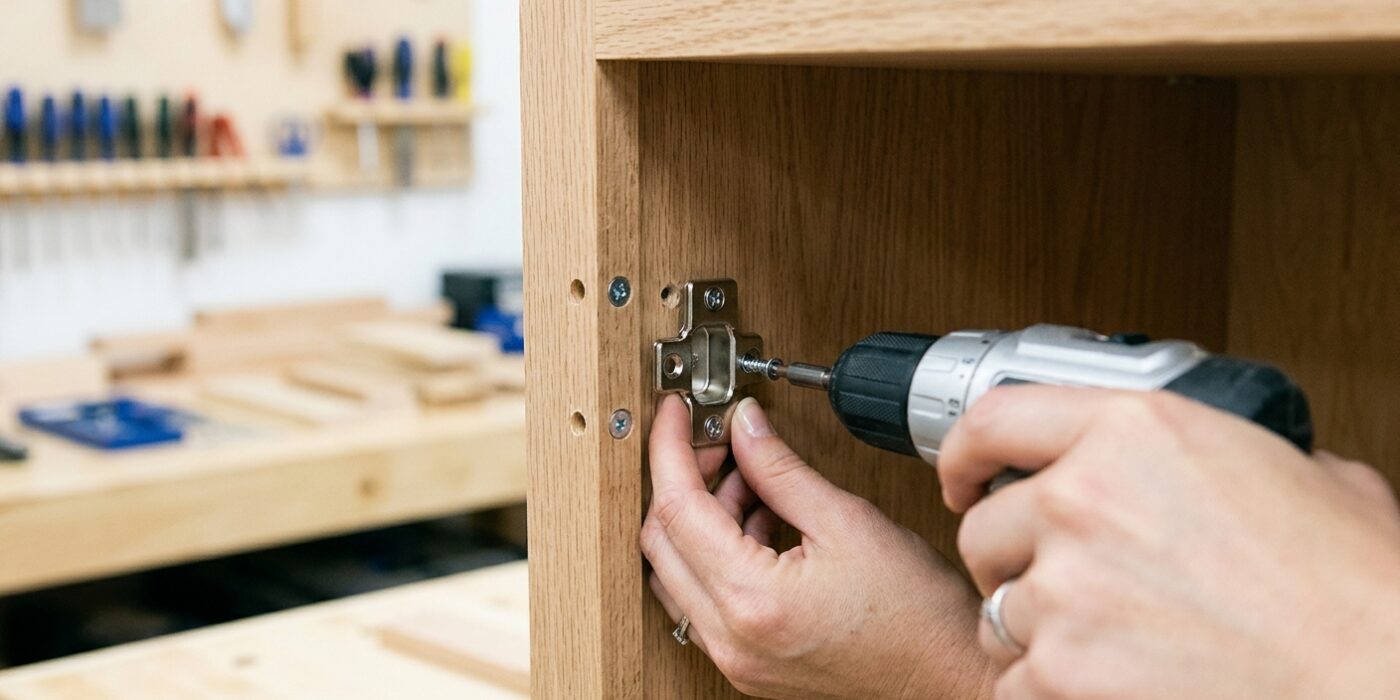
Now that your old hardware is removed, it is time to install the mounting plates. These plates act as the anchor for your new soft-close hinges, so a secure installation is essential. Hold the new mounting plate against the inside wall of your cabinet, aligning the screws with the existing holes you used for the old hinges. If your new plates have slots rather than perfect circles, place the screws in the center of the slot; this gives you the “wiggle room” you might need later to move the door up, down, or forward to ensure it sits perfectly straight. Using your screwdriver, tighten the screws until they are snug, but avoid overtightening, as you don’t want to strip the wood inside the cabinet wall.
Beginner Tip: The biggest mistake to avoid is using a power drill on the highest torque setting. Because cabinet walls are often made of particleboard or thin plywood, it is very easy to accidentally “strip” the hole, which makes the wood fibers turn to dust so the screw won’t hold anymore. Always use a handheld Phillips-head screwdriver for this step to maintain complete control and ensure a firm, long-lasting grip.
Pro Tip: Before you fully tighten the screws, take a piece of painter’s tape and mark the original depth of the plate on the cabinet wall. If the plate shifts slightly while you are tightening, this visual reference will help you quickly nudge it back into the perfect position without needing to measure everything over again.
Step 5: Install New Hinge Cups in the Door
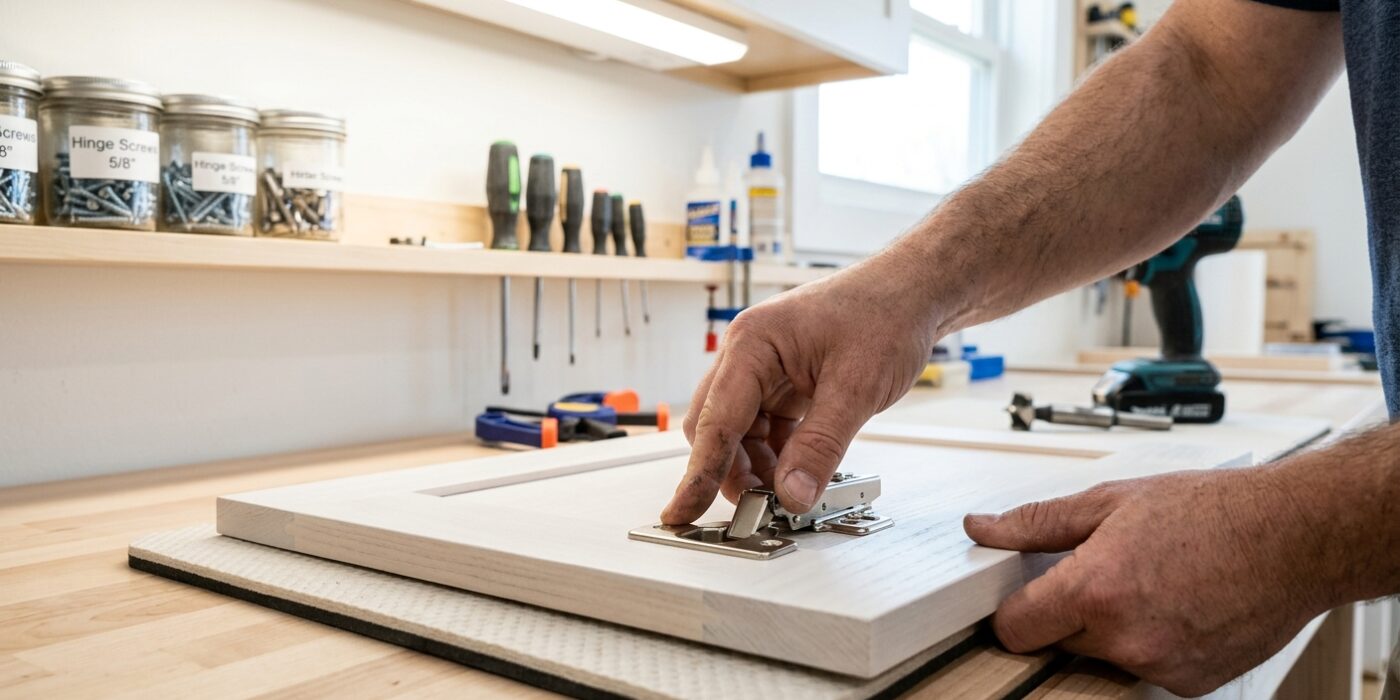
Now that your old hinges are removed, it is time to give your cabinet doors a premium feel. Take your new soft-close hinge and align the circular hinge cup with the existing 35mm hole on the back of the door. The cup should drop in smoothly; if you feel resistance, check that no wood splinters from the previous hinge are obstructing the opening.
Once seated, ensure the hinge arm is perfectly perpendicular to the side edge of the door. If the cup sits crooked, the door will not hang straight later. Press the hinge firmly against the wood so the mounting plate is flush, then use a screwdriver to drive the provided screws into the pilot holes. Tighten them just enough so the hinge is snug against the door – avoid overtightening, as this can strip the wood and cause the hinge to wiggle over time.
Beginner Tip: A common mistake is using a power drill on the highest torque setting. This can easily “spin out” the screw holes, making them too large to hold the screws. Always hand-tighten the final few turns with a manual screwdriver to ensure the screws bite into the wood firmly without stripping the material.
Pro Tip: Before driving your screws, place a tiny drop of wood glue into the existing screw holes. This helps the screws gain a superior grip, ensuring your soft-close hinges remain sturdy and quiet for years to come.
Step 6: Attach the Hinge Arm and Adjust
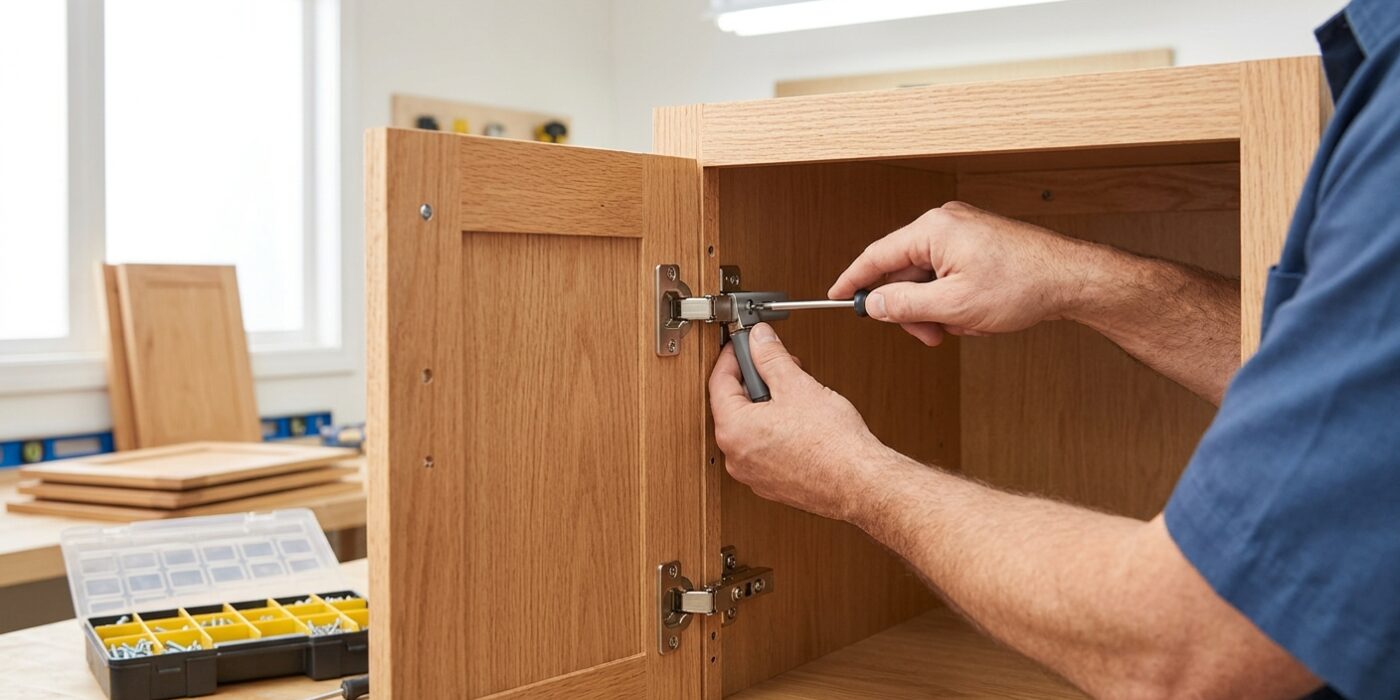
Now comes the satisfying part where your cabinet door finally takes its place. First, take the hinge arm and snap it onto the mounting plate already attached to your cabinet frame; you should hear a crisp “click” if it is a clip-on hinge, or simply tighten the rear locking screw if it is a screw-on model. With the door hanging, it is time to fine-tune the alignment.
Use a Phillips head screwdriver to manipulate the three adjustment screws located on the hinge arm. The front screw handles lateral alignment (moving the door left or right), the rear screw manages depth (bringing the door flush against the frame), and the mounting plate screws control height (moving the door up or down). Aim for a consistent gap of about 1/8 inch between the door and the cabinet frame. Turn these screws in quarter-turn increments, testing the door after each turn to see how the alignment changes.
Beginner Tip: Avoid the temptation to turn adjustment screws multiple full rotations at once. Because these hinges are sensitive, one full turn can drastically throw off the door alignment, making it look crooked or causing it to rub against the frame. Take it slow, and always close the door to check the results after every small adjustment.
Pro Tip: To get that perfect, professional look, use a piece of folded cardstock or a business card as a spacer. Hold it in the gap between the door and the frame while you tighten the screws; this ensures a perfectly uniform reveal across all your cabinets.
Step 7: Fine-Tune All Doors
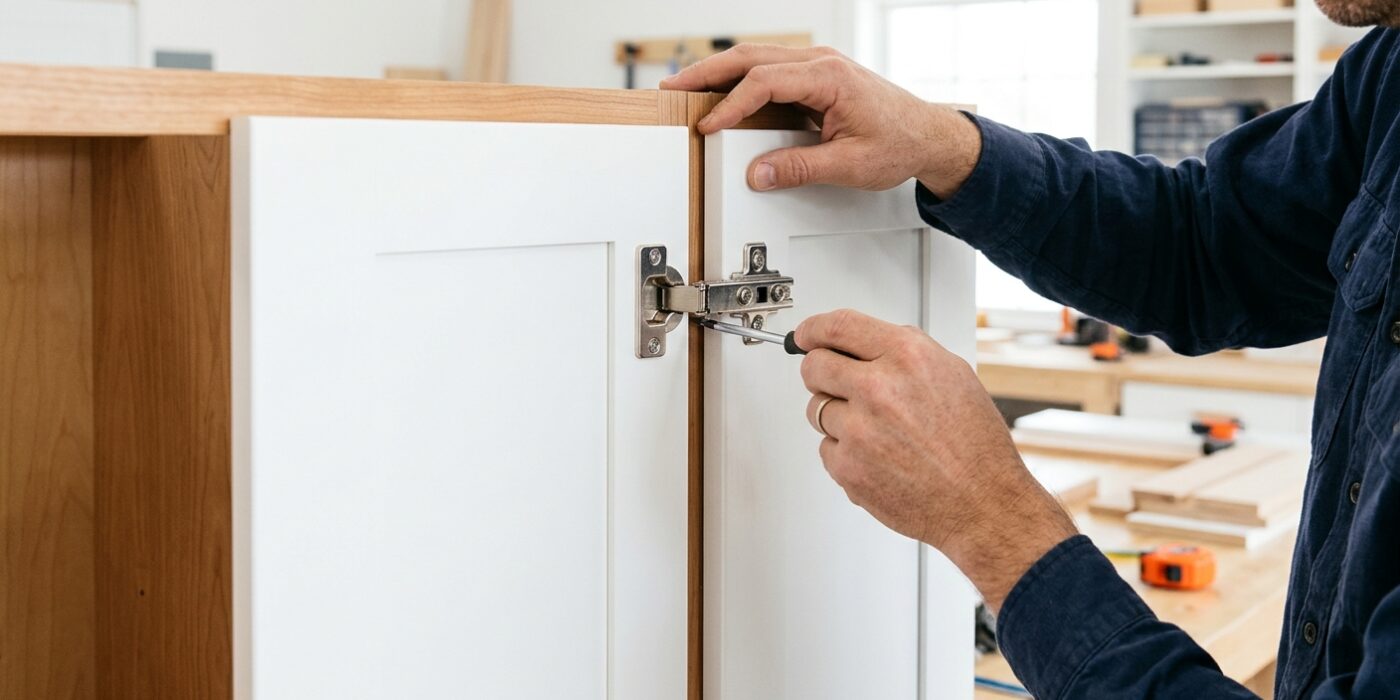
Now that your hinges are installed, it is time to make everything look professional. Step back and observe your doors. Are the gaps between them even? Do they sit flush with the cabinet frame? You will use the adjustment screws on the hinge arm to fine-tune the fit. Turning the front screw moves the door left or right, while turning the rear screw moves the door in or out. Small adjustments – usually just a quarter or half-turn – move the door about 1–2mm. Make these tweaks slowly, testing the door after every turn, until the spacing looks uniform across the entire run of cabinets.
Beginner Tip: The biggest mistake is over-adjusting. If you turn a screw too many times, you may lose your place or cause the door to sit crooked. Only adjust one screw at a time, and always close the door fully between adjustments to see the final result. If the door isn’t moving, try turning the screw in the opposite direction.
Pro Tip: Use a simple playing card or a folded piece of cardboard as a spacer. By placing it in the gap between the door and the frame while you tighten the screws, you ensure an identical, consistent gap across every cabinet door in your kitchen. It is a quick, free trick that makes your DIY project look like it was finished by a master carpenter.
FAQ
The soft-close isn’t engaging – the door still slams. Why? Soft-close hinges require the door to be within 2–3 inches of closed before the dampener engages. If the door slams from fully open, you are likely swinging it too fast; these hinges are designed to catch the door during the final swing, not to brake a hard throw.