Project Shopping List
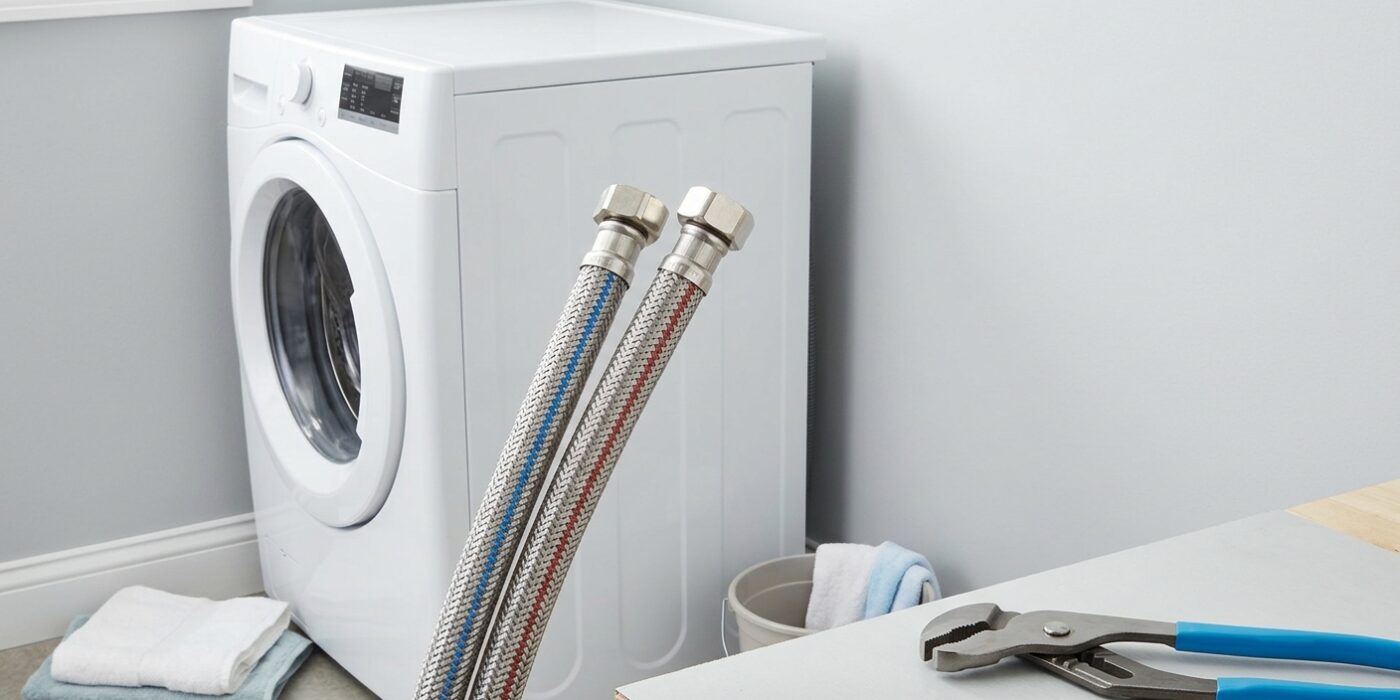
The supply hoses connecting your washing machine to the hot and cold water valves are among the most overlooked maintenance items in a home – and one of the most consequential. A failed washing machine hose releases water at full pressure, and since laundry rooms are often unoccupied for hours, this can dump thousands of gallons before anyone notices. Hose replacement takes 15 minutes and should happen every 5 years or whenever you see any sign of deterioration.
This guide covers replacing both hoses, choosing the right replacement type, and the pre-installation checks that prevent the most common failures.
What You’ll Need
Tools
- Adjustable pliers or pliers
- Bucket and towels
Materials
- Replacement washing machine hoses – braided stainless steel, 4-foot or 6-foot (match your current length)
- Or: reinforced rubber burst-protection hoses
Step 1: Choose the Right Hoses
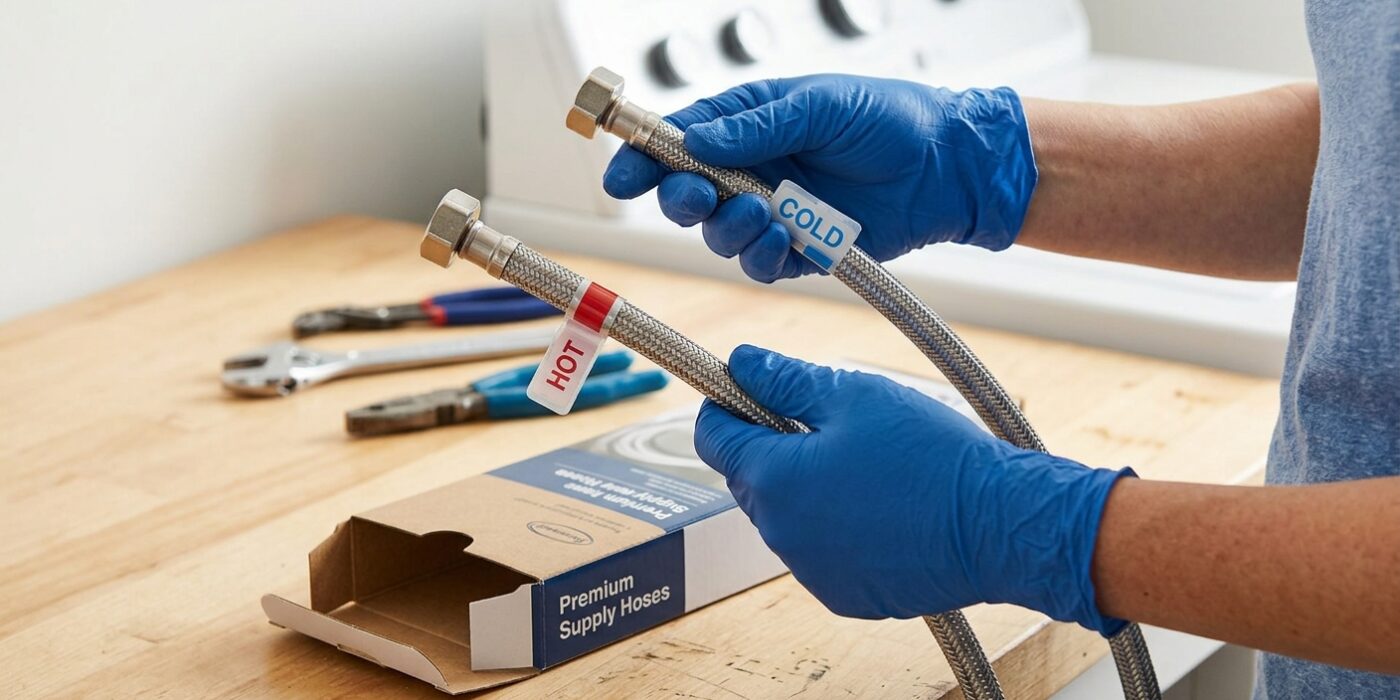
Before you begin, you need to select the right replacement hoses. Washing machines use two primary types, and choosing the right one is your first line of defense against a basement flood. Standard rubber hoses, which often come pre-installed, break down over time due to constant heat and water pressure; these should be replaced every five years. We highly recommend upgrading to braided stainless steel hoses, which feature a protective metal mesh jacket that prevents the hose from bursting even if the internal rubber ages. If you want maximum peace of mind, look for “burst-proof” or “no-burst” hoses, which include an internal valve that automatically shuts off the water flow if a failure is detected.
To pick the correct set, measure your current hoses from one connection point to the other. Most standard setups require four-foot or six-foot lengths. Buy a pair – one for the hot water intake and one for the cold – so you can refresh both at the same time.
Beginner Tip: Don’t guess the length! If your current hoses are stretched tight like a guitar string, they are under too much tension. Always buy a hose that is a few inches longer than your current one to allow for a slight, natural curve; this prevents stress on the connections.
Pro Tip: When shopping, check the packaging for the “fittings” size. Almost all residential washing machines use a standard 3/4-inch female hose thread, but double-checking this on the package ensures you won’t have to make a second trip to the hardware store.
Step 2: Shut Off the Supply Valves
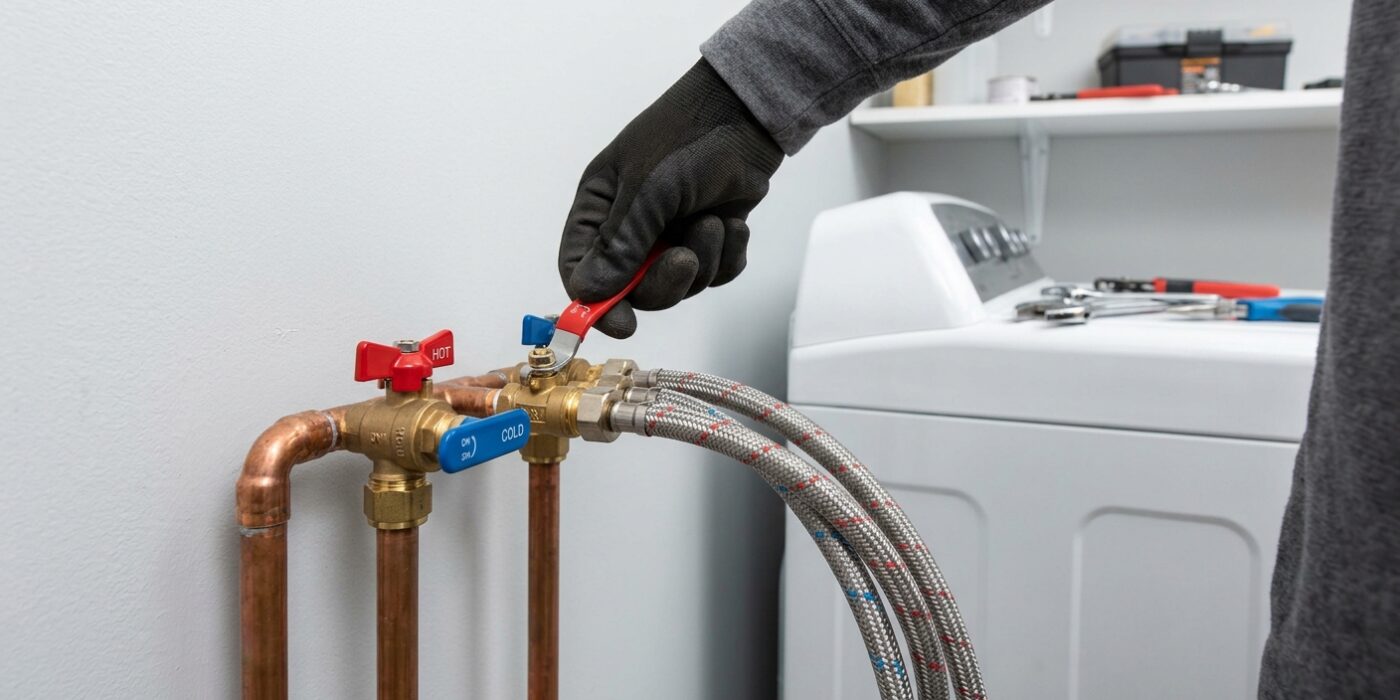
Before you begin, you need to locate the two water supply valves tucked behind your washing machine. You will see two hoses attached to the wall or the back of the unit; the left valve is typically marked with a red handle for hot water, while the right valve features a blue handle for cold water. To shut these off, firmly grasp each handle and turn them clockwise – or to the right – until they stop completely. This cuts off the water flow, ensuring your laundry room stays dry when you disconnect the hoses.
Once the valves are closed, you must relieve the built-up pressure inside the existing lines to prevent water from spraying when you unscrew them. Simply turn your washing machine power on, select a standard fill cycle, and let it run for exactly five seconds before cancelling the cycle. This quick burst allows the machine to pull that remaining water out of the hoses, making the disconnection process much cleaner.
Beginner Tip: Never force a stiff valve. If the handle feels stuck or rigid, do not jerk it, as old valves can be brittle. Apply a small amount of spray lubricant to the base of the handle and let it sit for ten minutes to loosen internal mineral buildup before trying again.
Pro Tip: Keep an empty bucket and an old towel ready on the floor. Even after draining the pressure, a small amount of residual water will inevitably spill out the moment you loosen the hose connections; having a towel underneath will save you from mopping up a mess later.
Step 3: Disconnect the Old Hoses
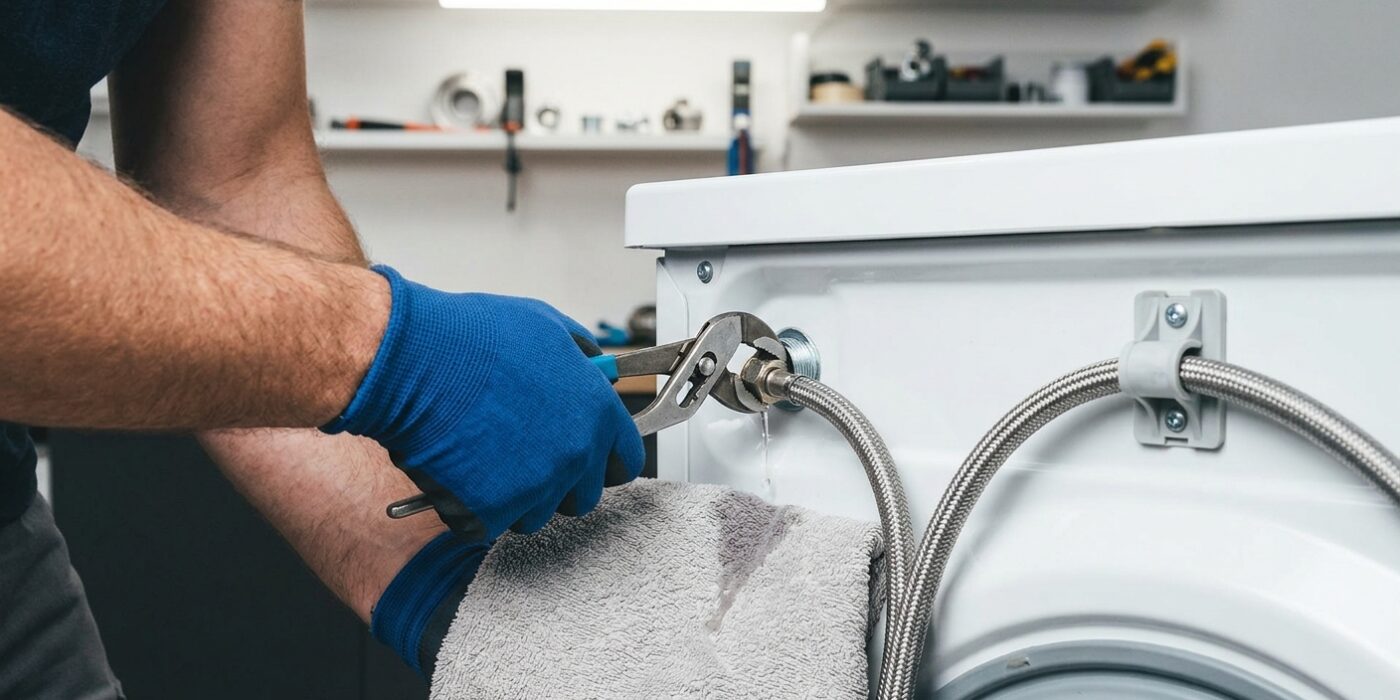
Now it is time to remove the old hoses. Place a bucket directly underneath the connection points to catch any lingering water. Grip the round metal coupling at the supply valve end with your pliers. Turn the coupling counterclockwise – think “lefty-loosey” – until it spins freely. You will likely only need to turn it a few times before it threads off completely. Keep a towel wrapped snugly around the connection while you do this to soak up the inevitable drips. Once that end is free, repeat the process at the back of the washing machine. If you are worried about mixing them up, use a piece of masking tape to label each hose as “Hot” or “Cold” before pulling them away. The ports on your machine are clearly marked with an H or C, so take a quick photo with your phone for reference before disconnecting.
Beginner Tip: A common mistake is to turn the pliers too hard, which can accidentally damage or strip the threads on the valve. Use a steady, firm pressure rather than a quick jerk, and ensure your pliers are clamped securely around the metal fitting, not the rubber hose itself.
Pro Tip: If the fitting feels “frozen” or stuck due to mineral buildup, do not force it. Instead, spray a small amount of household penetrating oil or white vinegar onto the threads and let it sit for ten minutes. This will break down the crusty deposits and allow the nut to spin off as smooth as butter.
Step 4: Inspect the Supply Valves
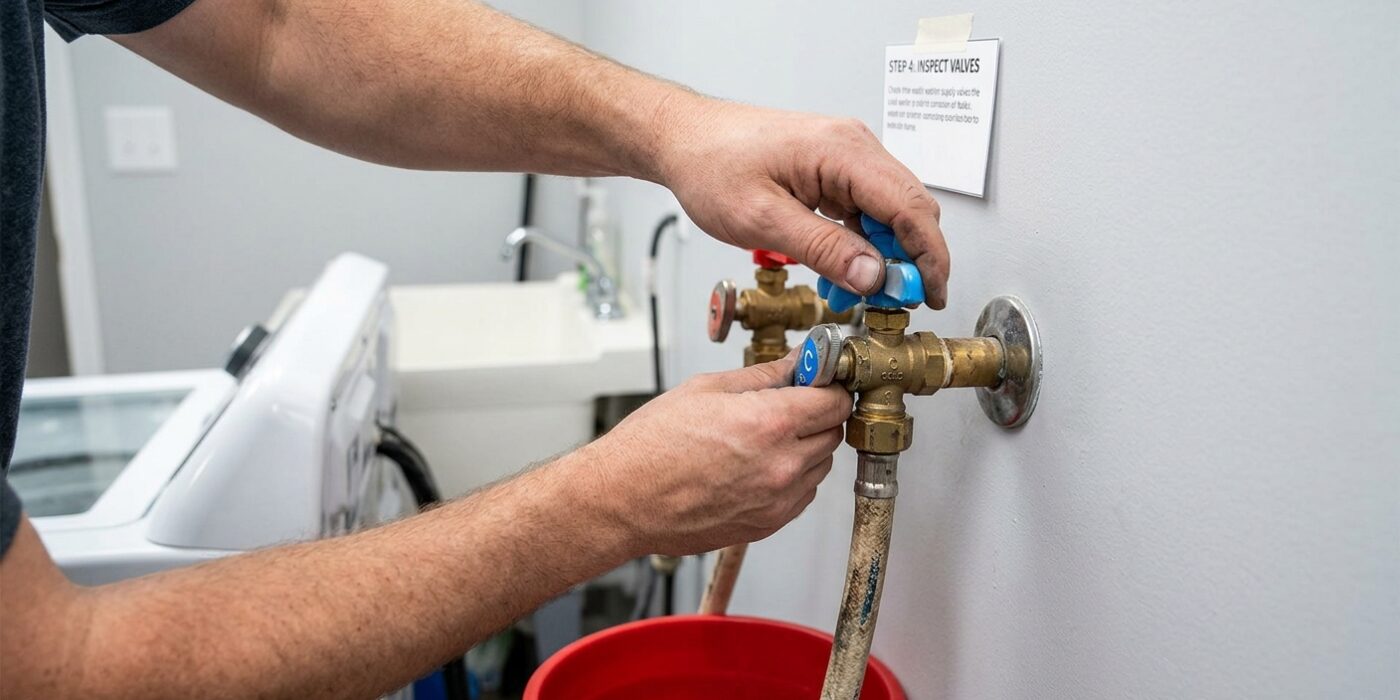
Before you attach your new hoses, take a moment to test the supply valves located on the wall behind your machine. Turn each handle clockwise until it stops completely. If the handle feels stiff, apply gentle, steady pressure rather than yanking on it. Once closed, check the ends of the threaded nipples for any signs of dripping. If water continues to spray or drip, the internal seal has failed, and you will need to replace the valve before proceeding. Next, look closely at the metal threads where the hose connects. If you see white, crusty mineral buildup or jagged, damaged threads, take a firm wire brush and scrub them clean. You want these surfaces to be smooth and free of debris so the new hose gaskets can create a perfect, watertight seal.
Beginner Tip: Avoid using metal pliers or wrenches to tighten anything on these valves during your inspection. If you force the handle or over-tighten, you risk snapping the valve stem or cracking the pipe behind the wall. Use only your hands to test the handles and a soft brush to clean the threads.
Pro Tip: If your valve handles are hard to turn, do not force them. Instead, spray a small amount of penetrating oil or a household lubricant onto the valve stem where it meets the handle. Let it sit for ten minutes; the oil will break down internal corrosion and allow the valve to move smoothly without requiring extra muscle.
Step 5: Install the New Hoses
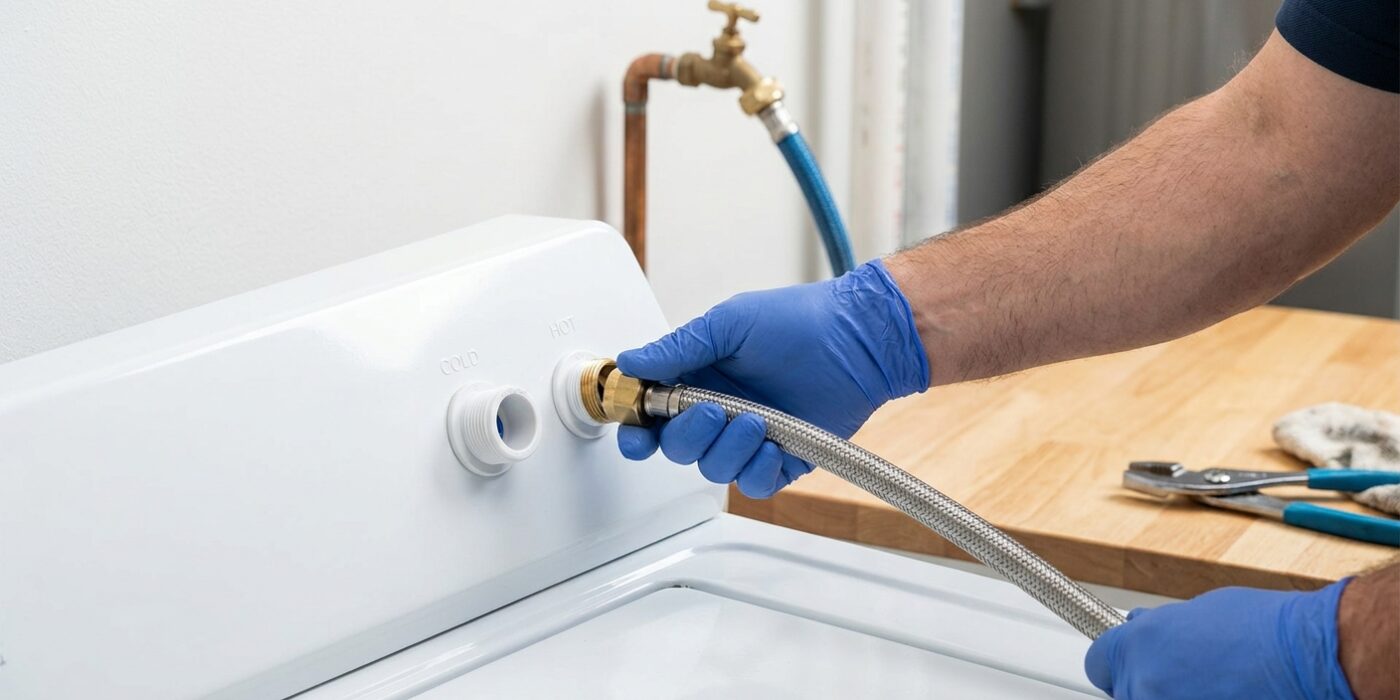
Now it is time to attach your new hoses. You will see they are clearly labeled, usually with red/blue bands or HOT/COLD stamps. Start by attaching the hot hose to the hot supply valve on your wall and then to the corresponding inlet on your washing machine. The golden rule here is to thread the metal collar onto the valve using only your fingers. By doing this, you ensure the threads are perfectly aligned before applying force, preventing “cross-threading,” which can ruin the valve.
Once you have tightened the collar as far as you can by hand, use your pliers to turn the fitting an additional quarter to one full turn. The rubber washer tucked inside the hose fitting does all the heavy lifting to create a watertight seal; it just needs a little compression to do its job.
Beginner Tip: A very common mistake is using pliers to tighten the hose from the very first turn. If the metal threads aren’t perfectly aligned, the pliers will force them into a crooked position, causing a permanent leak that requires an expensive plumber to fix. Always trust your fingers for the first few turns!
Pro Tip: Before screwing on the new hose, take a second to look inside the fitting to ensure the rubber washer is lying flat and not pinched or folded. If the washer is sitting crooked, it won’t create a seal, and you will be left with a slow, frustrating drip even after tightening it perfectly.
Step 6: Open Valves and Test for Leaks
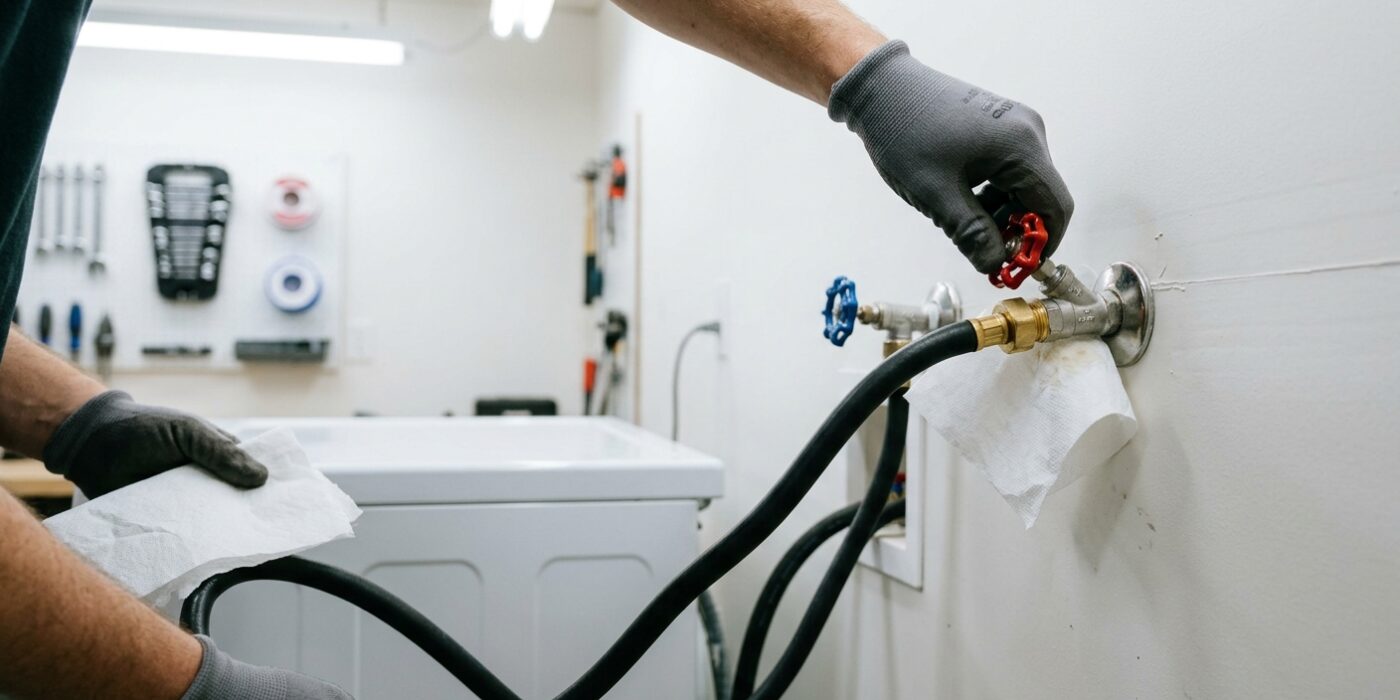
Now that your new hoses are securely attached, it is time to bring the water back on. Slowly turn your hot and cold water supply valves counter-clockwise until they are fully open. As the water rushes into the hoses, stand back and watch all four connection points – two at the wall and two at the machine – for the first 60 seconds. Take a dry paper towel and press it firmly against each fitting; if the towel comes away dry, you are in the clear. If you see even a bead of moisture, close the supply valve immediately, give the fitting an extra quarter-turn with your pliers, and try again.
Beginner Tip: Do not overtighten the connections right out of the gate. A common mistake is using excessive force, which can crack the rubber gaskets inside the hose. Start with a snug, hand-tightened fit, and only use your pliers for that final quarter-turn if you spot a drip. Gentle pressure is always better than crushing the seal.
Pro Tip: After confirming there are no leaks, run your washing machine through a short “Quick Wash” cycle. It is important to do this because many modern machines don’t open the internal water inlet valves until they are actively running. Checking the connections under this real-world pressure ensures that your installation is truly secure before you walk away.
Alternative Method: If you find it difficult to reach the connections behind the machine to check for leaks, use a small makeup mirror on a telescoping handle. This allows you to inspect the underside of the fittings without having to squeeze into the tight, awkward space between the machine and the wall.