Project Shopping List
Adding an outdoor GFCI outlet is a project that combines basic electrical work with weatherproofing considerations – the outlet must be in a weatherproof in-use cover box, connected to a GFCI-protected circuit, and properly sealed at all penetrations into the house envelope. Done right, this is one of the most useful electrical upgrades for a yard, driveway, or deck.
This guide covers installing a new outdoor outlet by extending a circuit from an existing indoor outlet or junction box through an exterior wall. It applies to most single-family homes where the electrical panel is accessible and there’s a suitable existing circuit to extend from.
What You’ll Need
Tools
- Non-contact voltage tester
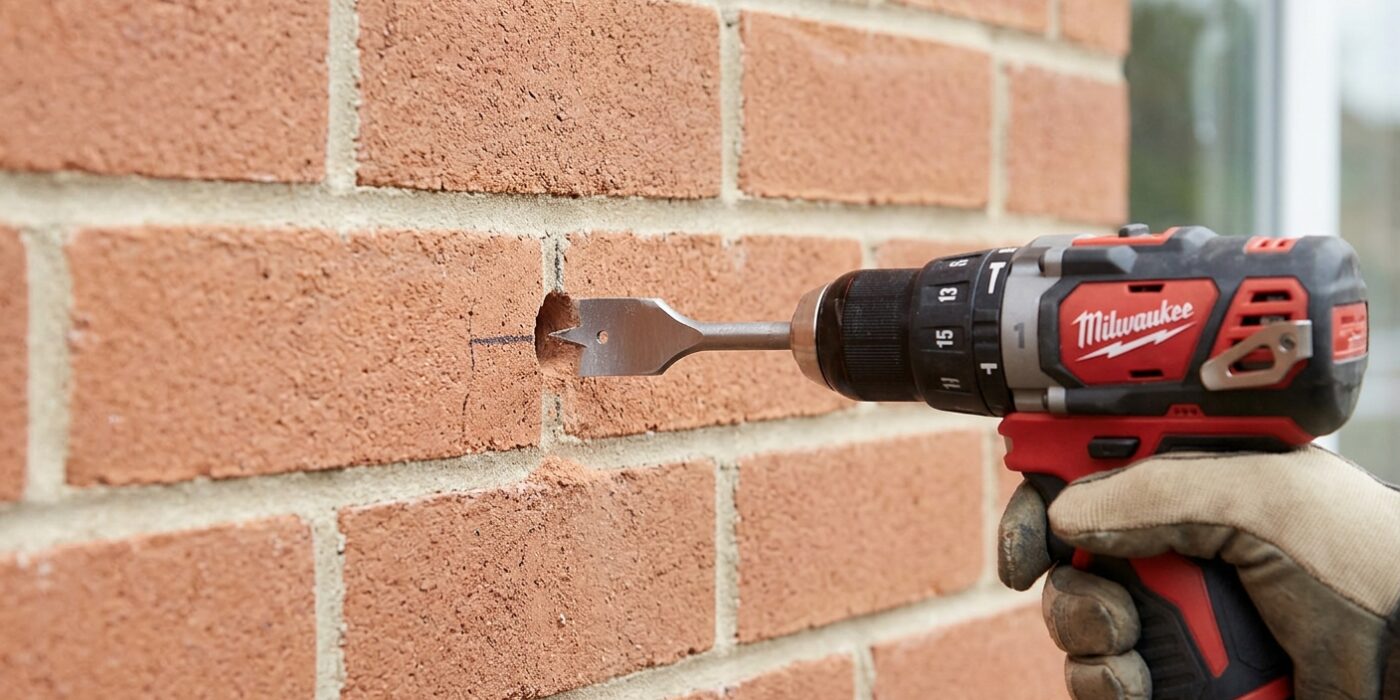
- Drill and 1/2-inch spade bit (for wall penetration)
- Fish tape or stiff wire
- Screwdrivers
- Wire stripper
- Stud finder
- Utility knife
Materials
- GFCI outlet (15A or 20A matching the circuit)
- Outdoor weatherproof in-use cover box with gasket (required for outdoor outlets)
- Outdoor electrical box (weatherproof, non-metallic)
- 12/2 or 14/2 NM-B cable or UF-B cable (UF-B required if cable runs through soil)
- Wire nuts, cable staples
- Exterior caulk
Step 1: Plan the Circuit Extension
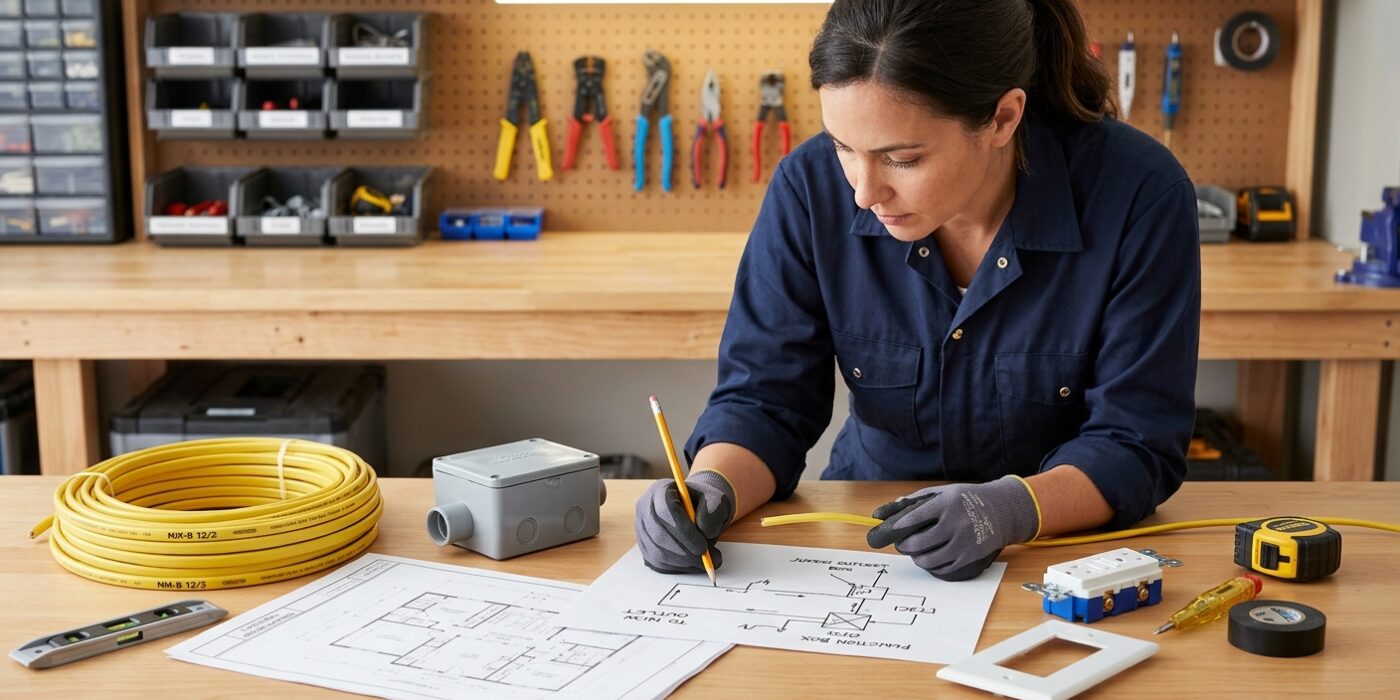
Before you pick up a screwdriver, you need to choose the right power source. Locate an existing indoor outlet or junction box positioned on the interior side of the exterior wall where you plan to install your new outlet. The goal is to “tap into” this power. First, head to your electrical panel and locate the breaker for that specific area. Check the amperage rating – most standard household circuits are 15 or 20 amps.
You must avoid kitchen, bathroom, or laundry room circuits, as these are often “dedicated,” meaning they are already working at full capacity to power heavy appliances. Adding more to these lines can trip your breaker constantly. Also, use a simple non-contact voltage tester to see if the outlet is already protected by a GFCI (the kind with “Test” and “Reset” buttons). If it is, your new outdoor outlet would already be protected, and you might save yourself the hassle of buying extra equipment.
Beginner Tip: Never assume the labels on your electrical panel are 100% accurate. Even if the panel says “Living Room,” turn the breaker off and test the outlet with a lamp or voltage tester to confirm it is actually dead before you begin any work.
Pro Tip: Use a stud finder to locate the wooden frame behind the wall near your chosen outlet. Knowing exactly where the studs are before you drill will prevent you from accidentally hitting a support beam or a hidden pipe.
Step 2: Cut the Outdoor Box Location
First, identify exactly where your outlet will go. For efficiency, choose a spot on the exterior wall that mirrors an existing interior outlet. This allows you to “fish” the wire through a single wall cavity without drilling through multiple studs. Use a stud finder to scan the area; you must avoid mounting the box directly over a wall stud, as you need a clear, hollow space behind the siding to run your cable.
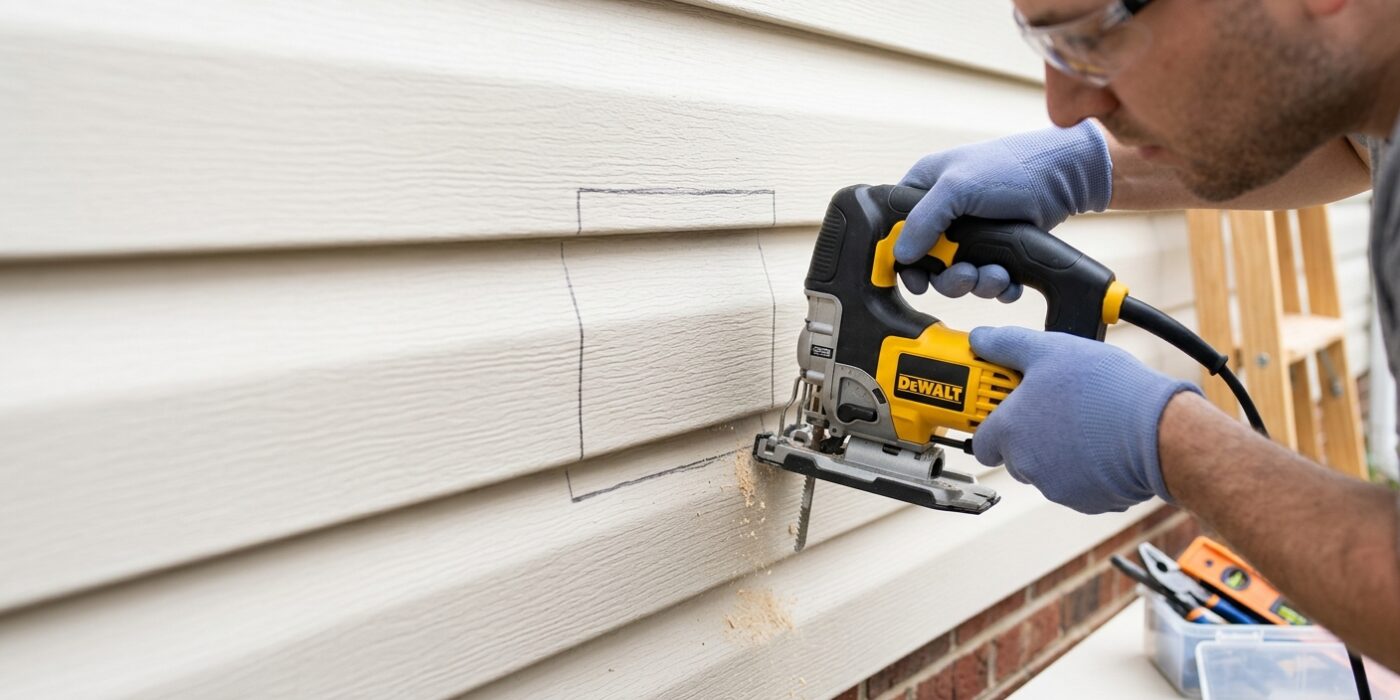
Once you’ve confirmed a clear spot, hold your weatherproof box against the wall at a comfortable height – typically 12 to 24 inches above the ground. Use a pencil to trace the outer perimeter of the box onto the siding. For vinyl or wood, use a jigsaw or oscillating tool to carefully cut along your line. If your home has stucco, use a hole saw sized to the box’s diameter, as stucco is prone to cracking with vibrating blades. Once the hole is open, press the box into place and secure it to the structural sheathing using the screws included in your kit.
Beginner Tip: Double-check the wall inside before cutting. It is easy to accidentally hit a hidden pipe or existing wire. Take a small drill bit and poke a pilot hole through the center of your traced box area first; if you meet unexpected resistance, stop and choose a different location.
Pro Tip: Before mounting the box permanently, apply a bead of high-quality silicone caulk around the back edges of the flange. This creates a waterproof seal that prevents moisture from seeping into your wall cavity, protecting your home from water damage.
Step 3: Drill Through the Wall
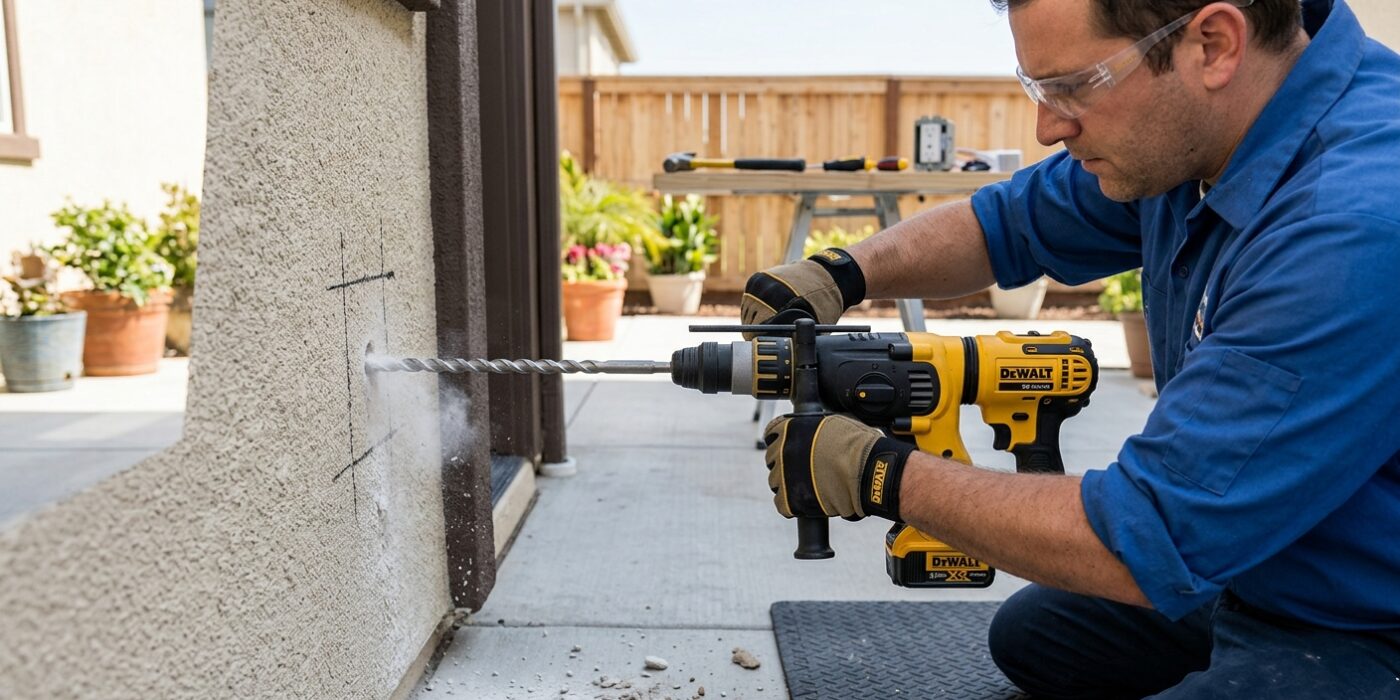
Now it is time to create the path for your electrical cable. From the outside, select a spot for your outlet and drill a 1/2-inch hole through the exterior siding, sheathing, and insulation. Hold your drill at a slight downward angle – aiming the bit toward the ground as it enters the house. This is crucial because it ensures that if any water gets behind your outlet cover, it will drip outward away from the wall rather than running inside your home.
Once the hole is clear, feed a piece of fish tape from the inside of your home through the wall until it emerges outside. Securely wrap electrical tape around your new cable and the end of the fish tape, then head back inside to gently pull the cable through. After the wire is in place, seal the gap around the cable on the exterior with a high-quality, paintable outdoor caulk to keep moisture and pests out.
Beginner Tip: Before you pull the trigger on your drill, double-check the inside of your wall. Ensure you aren’t drilling into a stud, a water pipe, or existing electrical wiring. If you aren’t sure, use a stud finder or carefully poke a small test hole first.
Pro Tip: Wrap your electrical tape in a tapered, “cigar” shape when connecting the cable to the fish tape. This prevents the bulky connection from snagging on insulation or wall materials while you pull.
Step 4: Connect at the Interior Source Outlet
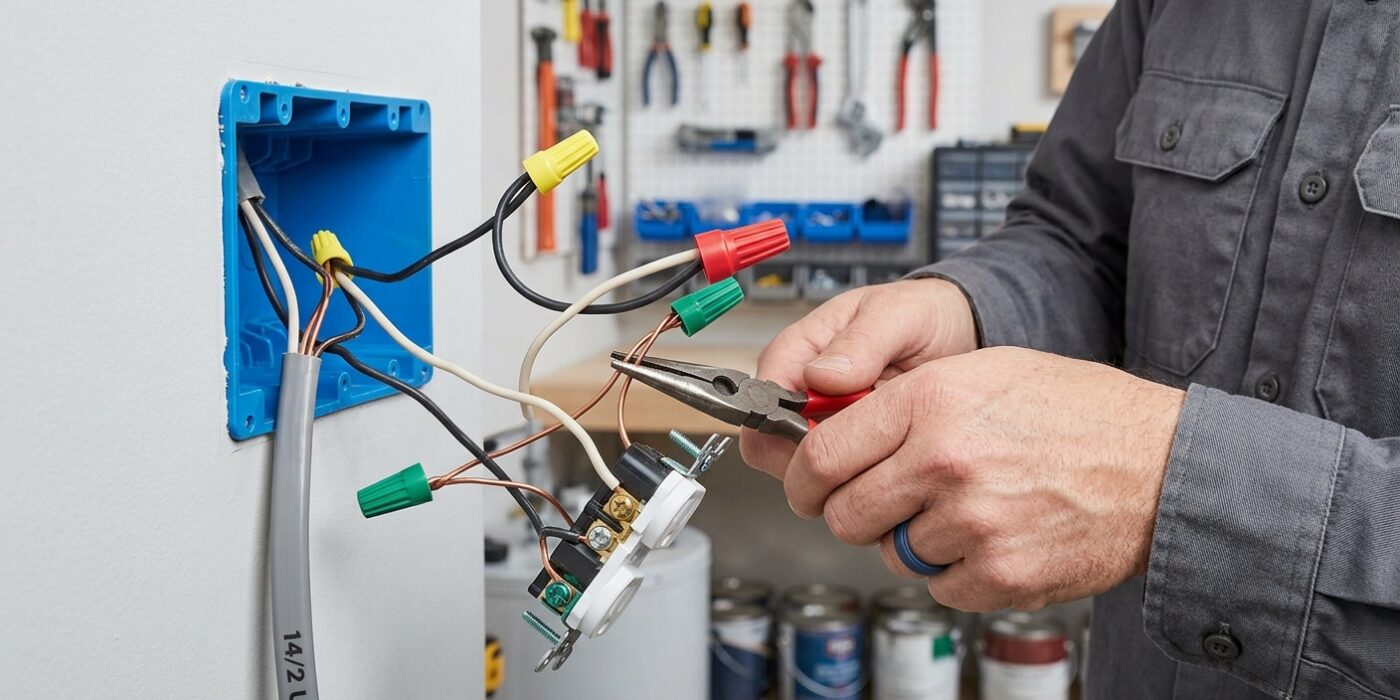
Now that your new cable is run, it is time to connect it to your interior power source. First, ensure the power is off at your main breaker panel and verify this by testing the outlet with a non-contact voltage tester. Once confirmed, unscrew the existing outlet and gently pull it out of the wall box. You will see black (hot), white (neutral), and bare copper (ground) wires connected to the device or joined by wire nuts.
To connect your new cable, you are essentially “piggybacking” onto these existing wires. Strip about 3/4-inch of insulation from the ends of your new wires. Using wire nuts, join the new black wire with the existing black wires, the new white wire with the existing white wires, and the new ground wire with the existing ground wires. Ensure no bare metal is exposed outside of the wire nut. Once secured, gently push the wires back into the box and screw the outlet back into place. You are effectively sharing the electrical supply with the new outdoor location.
Beginner Tip: A common mistake is crowding the electrical box. When pushing the wires back in, try to fold them like an accordion rather than stuffing them in a tangled ball. This prevents accidental wire disconnections and helps the outlet fit flush against the wall.
Pro Tip: If your wire nuts feel loose after twisting them, give the wires a gentle tug individually. If a wire slips out, untwist the nut, realign the wire ends so they are perfectly even, and re-twist the nut until it feels rock solid.
Step 5: Install the GFCI Outlet Outside
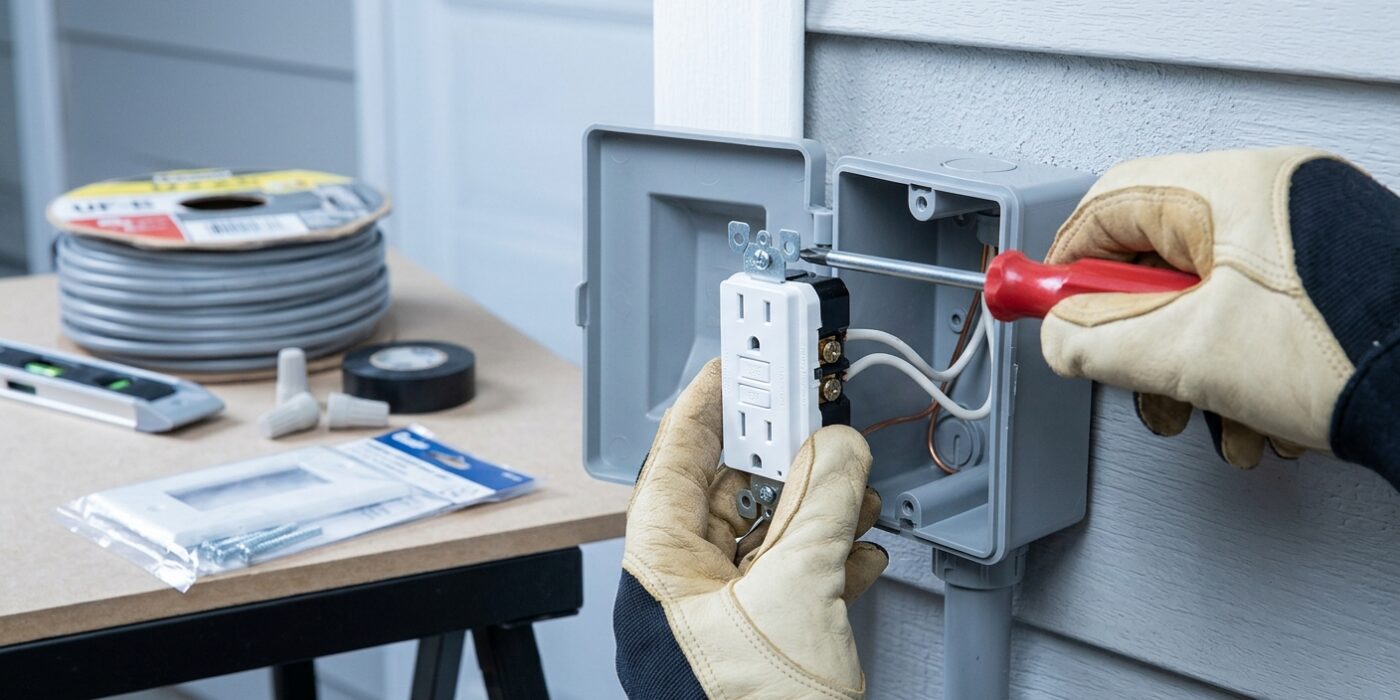
Now it is time to bring your power to the outside. Take your new electrical cable and strip about 3/4 of an inch of insulation off the black and white wires. Locate the LINE side terminals on the back of your new GFCI outlet. It is vital to use the LINE terminals, not the LOAD ones, as LOAD is reserved for protecting other outlets further down the line. Secure the black (hot) wire to the brass screw and the white (neutral) wire to the silver screw. Finally, wrap the bare copper ground wire clockwise around the green grounding screw and tighten it firmly.
Once wired, tuck the excess cable gently into the back of the box, ensuring the wires do not get pinched. Secure the outlet to the box using the provided mounting screws. Before finalizing, place the weatherproof gasket – the soft foam or rubber seal – behind the faceplate. This creates a tight barrier against moisture, which is essential for outdoor safety.
Beginner Tip: Ensure that the “J-hook” of your wire (the hook you create at the end of the stripped copper) wraps around the screw in a clockwise direction. If you wrap it counter-clockwise, the screw will push the wire out as you tighten it, creating a loose, unsafe connection.
Pro Tip: Before you screw the outlet into the box, give each wire a firm, gentle tug to ensure it is locked into place. This quick check saves you the frustration of having to unscrew everything later if a single wire slipped out during installation.
Step 6: Mount the In-Use Cover and Test
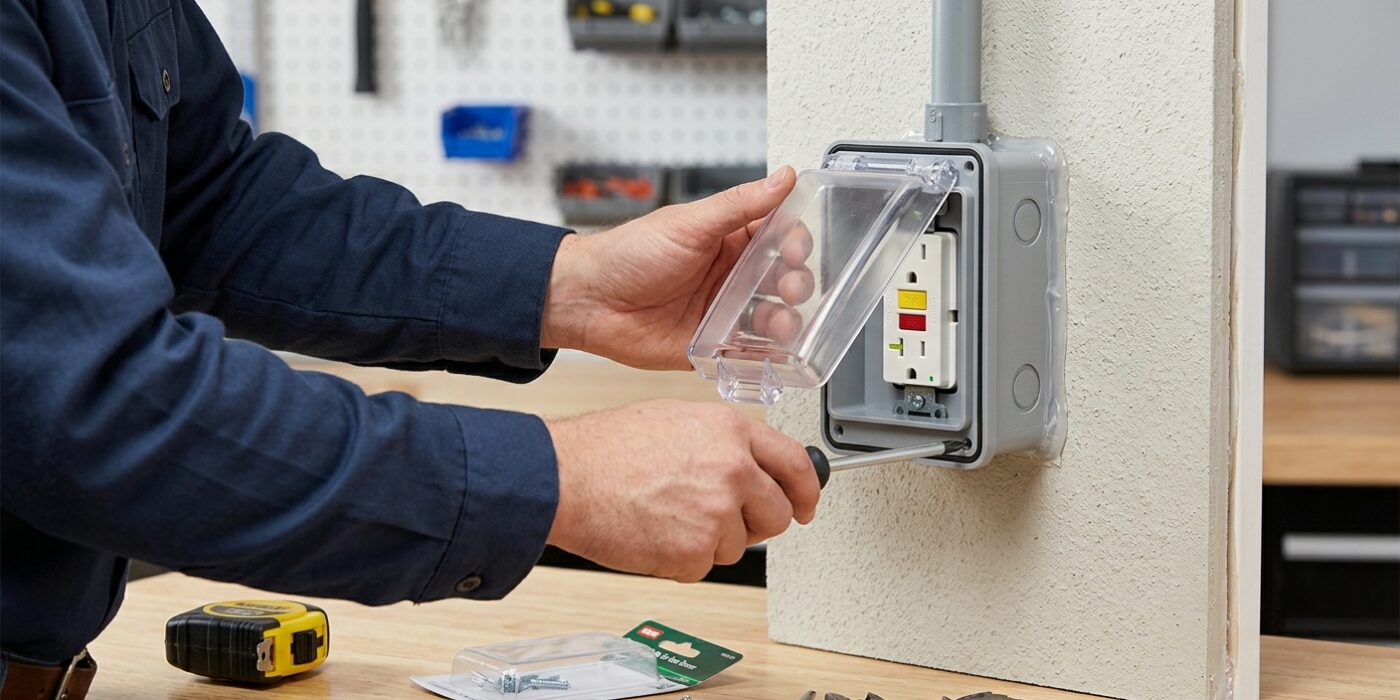
Now that your wiring is secure, it is time to install the weatherproof “in-use” cover. These deep, protective enclosures allow cords to remain plugged in while keeping the outlet shielded from rain and debris. Align the cover’s gasket with the back of the box, ensuring it sits flush against the siding to create a watertight seal. Secure it using the included mounting screws, tightening them until the gasket is slightly compressed. Once the cover is on, flip your circuit breaker back on at the main panel. To verify safety, press the “TEST” button on the outlet; you should hear a mechanical click, and any light or tester plugged in should go dark. Press the “RESET” button to restore power. If the device reacts this way, your installation is a success!
Beginner Tip: A common mistake is overtightening the cover screws. Because you are working against a foam or rubber gasket, you only need to turn the screws until they are snug. Overtightening can cause the plastic cover to crack or warp the seal, which defeats the purpose of keeping moisture out.
Pro Tip: When installing the gasket, apply a thin bead of clear outdoor-rated silicone caulk along the top and sides of the cover where it meets the house siding. Leave the bottom edge uncaulked; this allows any minor condensation that finds its way behind the plate to drain out rather than becoming trapped against your wall.