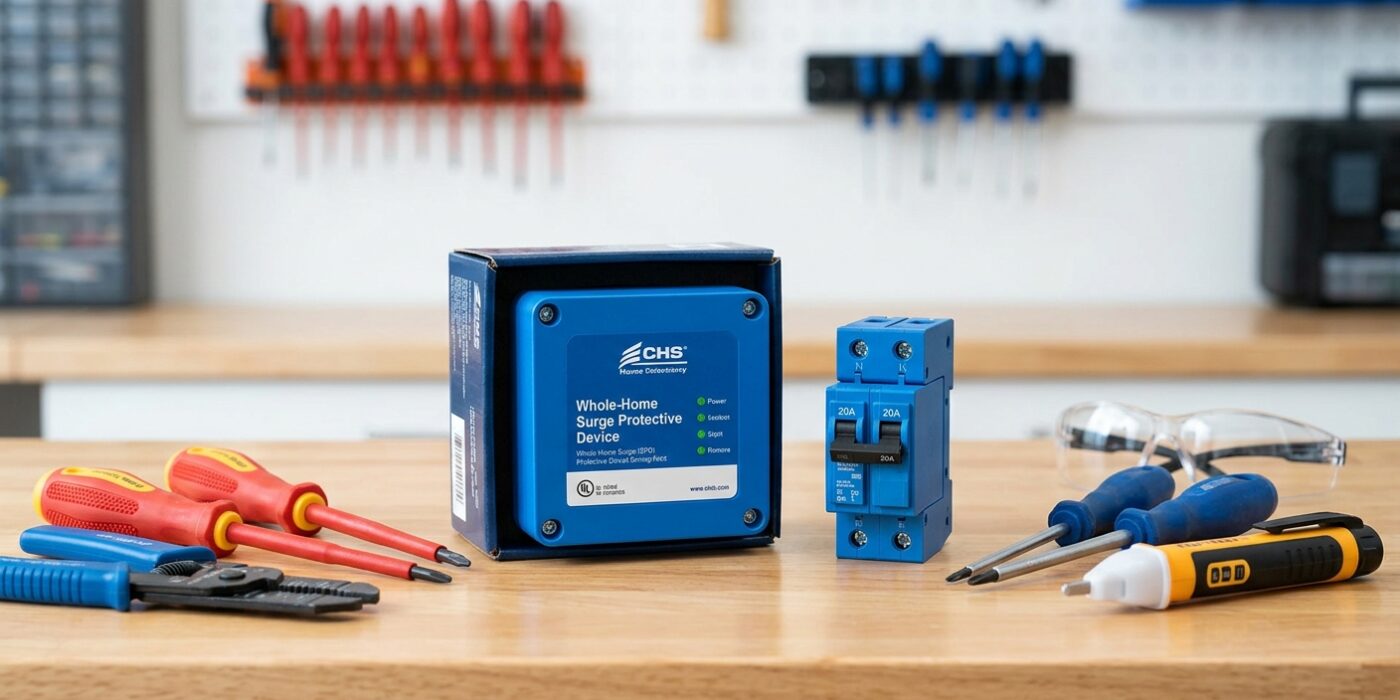
Project Shopping List
A whole-home surge protector installed at the main panel is the single most cost-effective protection you can add for the electronics, appliances, and HVAC systems in your home. Unlike power strip surge protectors (which protect only one circuit’s worth of plugged-in devices), a panel-mounted surge protector clamps voltage spikes on every circuit in the house simultaneously. Installation takes about an hour and requires basic panel work.
This guide covers selecting, mounting, and wiring a whole-home Type 1 or Type 2 surge protective device (SPD) at the main electrical panel.
What You’ll Need
Tools
- Non-contact voltage tester
- Phillips screwdriver
- Wire stripper
- Flashlight
Materials
- Whole-home surge protector (Type 1 or Type 2 SPD) – sized for your panel amperage
- Double-pole circuit breaker (if SPD requires dedicated breaker)
- 10 AWG wire (if SPD requires dedicated branch circuit)
Step 1: Choose the Right Surge Protector
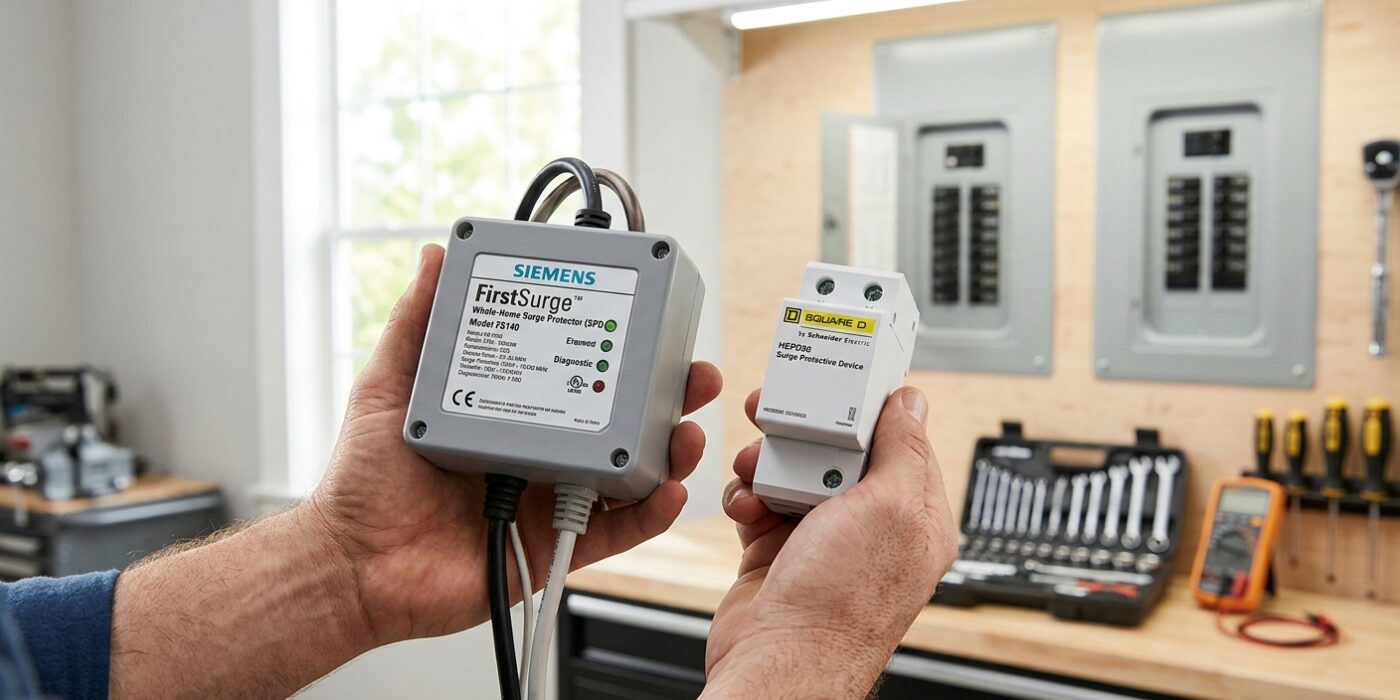
Before you purchase any hardware, you must identify the brand and model of your electrical panel. Open your main breaker box door and look for a sticker on the inside of the door or the metal frame listing the manufacturer, such as Eaton, Siemens, Leviton, or Square D. Buying a device that matches your specific panel brand is crucial, as these units are engineered to snap or bolt into your existing busbars seamlessly, saving you from complex wiring.
For most homes, you want a Type 2 Surge Protective Device (SPD). These are designed to be installed on the load side of your main breaker, meaning they guard all the electronics and appliances throughout your home from power spikes. Aim for a unit with at least a 40,000A surge current rating and ensure the packaging displays a UL 1449 certification. This rating confirms the device has been independently tested to safely handle significant voltage surges without failing or causing a fire.
Beginner Tip: Never buy a generic “one-size-fits-all” protector that requires drilling new holes or custom mounting. If it does not explicitly state it is compatible with your specific panel brand, skip it. Forcing an incompatible device into your panel can void your homeowner’s insurance and pose a significant safety risk.
Pro Tip: Take a clear, well-lit photo of your electrical panel’s interior and the manufacturer label before heading to the hardware store. Showing this picture to the electrical department associate ensures you get the exact model that fits your unique setup on the first try.
Step 2: Shut Off the Main Breaker and Verify
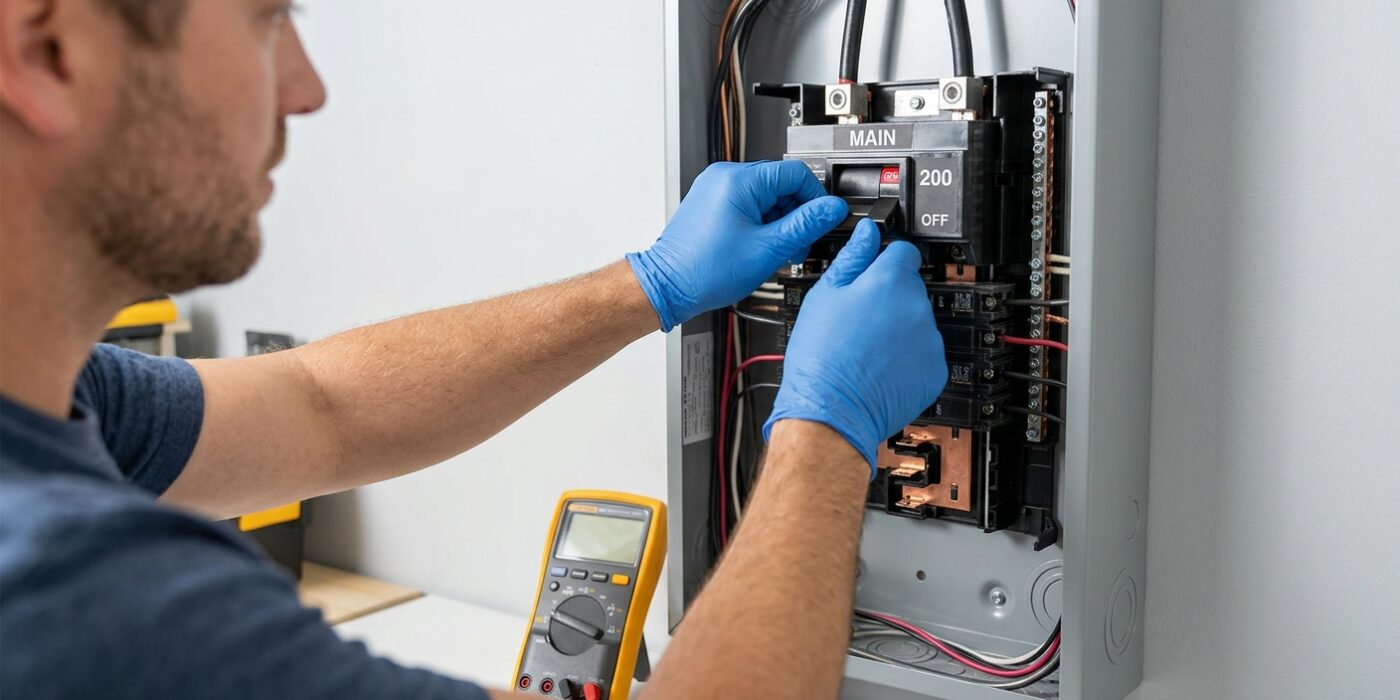
Before you begin, locate your electrical service panel and find the main breaker, which is typically the largest switch at the very top or bottom of the box. Firmly flip this switch to the OFF position. This cuts power to the entire house. Now, grab your non-contact voltage tester – a pen-shaped tool that beeps or lights up near electricity – and hold it near the branch circuit breakers to confirm they are dark and silent. This step is non-negotiable because it ensures your workspace is safe.
You will notice large, thick cables entering the top of your panel. These are your service entrance conductors. Warning: These wires are always energized, even when the main breaker is off. Do not touch them, and keep your tools and your hands at least six inches away from that top section at all times. Treat that area as a “no-go” zone to ensure you stay safe while you work.
Beginner Tip: Many beginners forget to test the tool itself before testing the panel. Before you touch the panel, wave your non-contact voltage tester near a lamp cord that is plugged into a wall outlet and turned on. If the tester beeps or lights up, you know the tool is working correctly and will be reliable when you move to the panel.
Pro Tip: Use a small piece of painter’s tape to secure the main breaker in the OFF position. This acts as a visual reminder to anyone else in the house that you are working on the electrical system, preventing an accidental flip while your hands are inside the panel.
Step 3: Identify the Installation Method
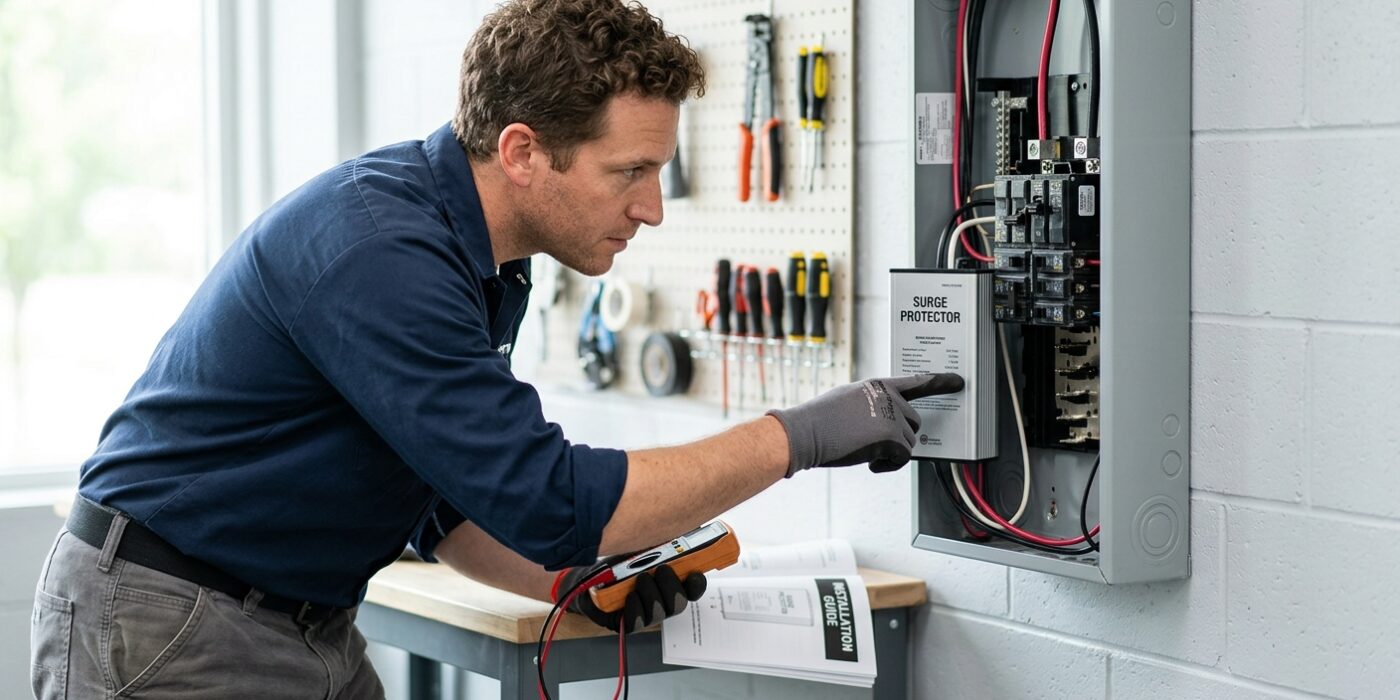
Before you get started, you need to understand how your specific surge protection device (SPD) talks to your electrical panel. Think of the surge protector like a safety valve that needs a dedicated path to dump excess electricity. Most homes use the breaker-style installation. In this method, the SPD acts like a new appliance. You will need to install a double-pole breaker – typically 30A or 50A – into your panel, which provides the necessary connection points. You will then run 10 AWG copper wires from this breaker to your SPD unit, which is usually mounted securely to the exterior wall right next to your panel using a standard knockout hole.
Beginner Tip: The most common mistake is failing to check your panel’s available space before buying your SPD. Before purchasing, open your panel cover and verify you have two adjacent, empty slots side-by-side. If your panel is completely full, you cannot add this type of protector without hiring a pro to install “slim” breakers to make room.
Alternative Method: If you are lucky enough to have a brand-name panel like Siemens, Eaton, or Square D, look for an SPD designed specifically for your manufacturer. These often feature a “plug-on” design that snaps directly into the panel like a standard breaker, eliminating the need to strip wires or maneuver extra conduit. This is significantly easier and safer for your first project.
Pro Tip: When mounting the SPD to the side of your panel, aim to keep the wires as short and straight as possible. Surge energy hates sharp turns; keeping the wire run under 12 inches significantly improves the device’s ability to react to a lightning strike or power surge.
Step 4: Install the SPD
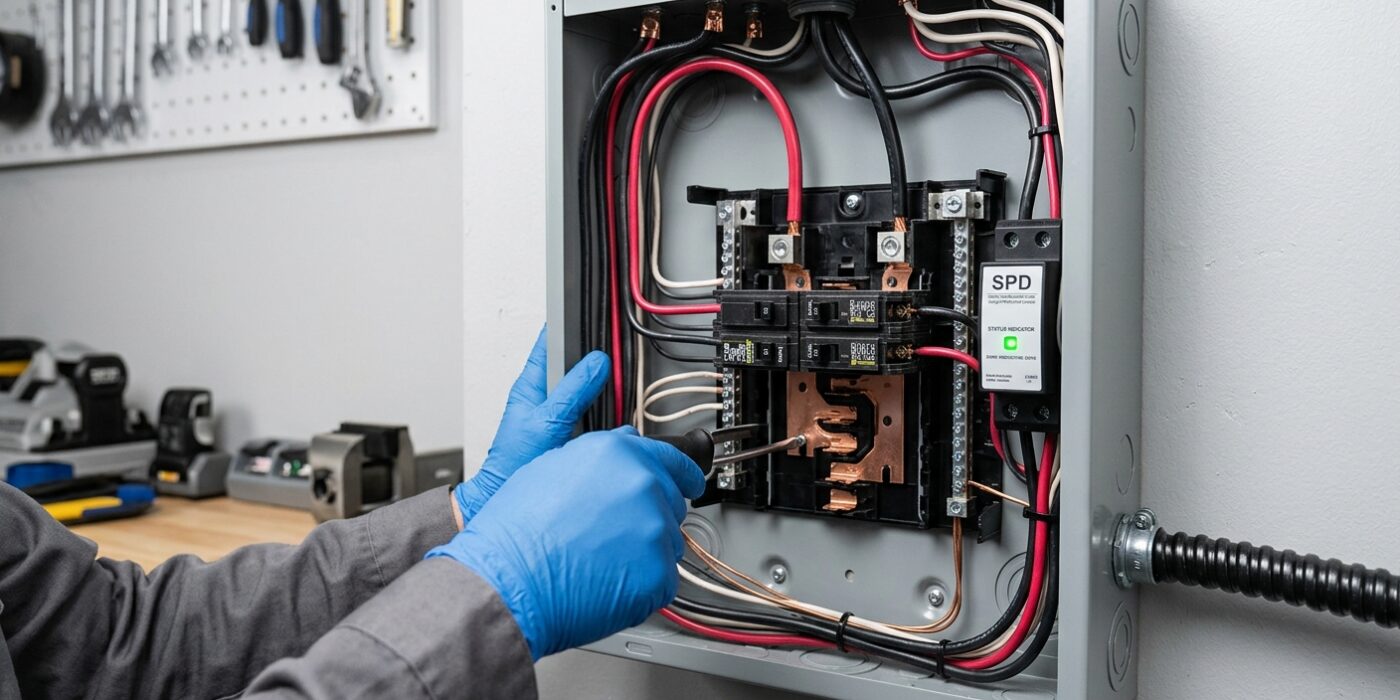
Now it is time to secure the Surge Protective Device (SPD) to your electrical panel. First, find a clear spot on the side of your breaker box. Most SPD units come with a threaded nipple; simply remove one of the circular “knockouts” on the side of the panel, insert the nipple, and tighten the locknut from the inside to secure it firmly. Keep the unit as close to the breaker as possible, as shorter wires are more effective at catching surges.
Next, connect the wires. You will attach the two hot wires to your new double-pole breaker, the white wire to the neutral bus bar (where other white wires gather), and the bare or green wire to the ground bus bar. Ensure every connection is snug; loose wires cause heat buildup and failure. Always double-check the manufacturer’s wiring diagram included in your kit, as internal layouts vary by brand.
Beginner Tip: Avoid leaving excessive, coiled-up slack in your wires. While it is tempting to leave extra length “just in case,” long loops of wire create resistance that weakens the surge protector’s speed. Cut the wires to the shortest length necessary to reach their destination comfortably.
Pro Tip: Before you strip the ends of your wires, hold them up to the terminals and use a piece of masking tape to mark exactly how much insulation needs to be removed. This prevents you from stripping away too much copper, which could leave live metal exposed outside the terminal, or too little, which prevents a solid grip.
Step 5: Install the Breaker and Restore Power
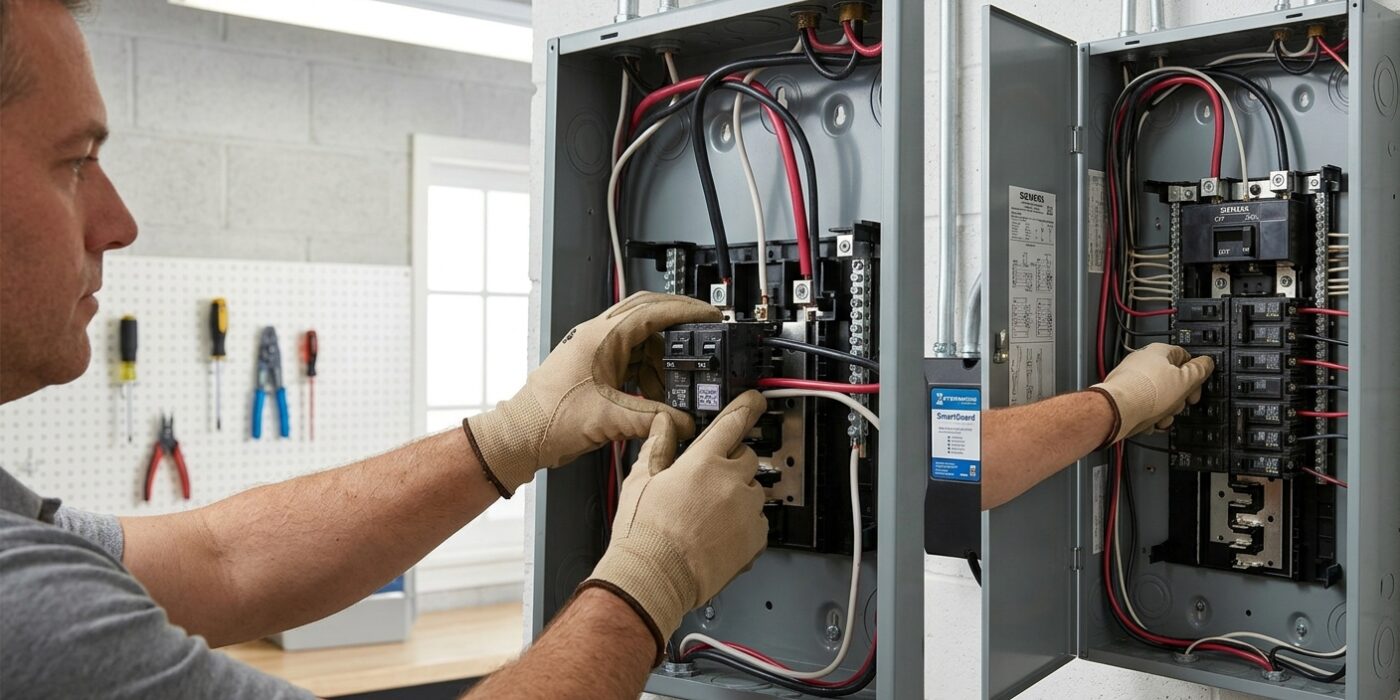
Now it is time to bring your surge protector to life. Take your new double-pole breaker and align it with the two empty, adjacent slots you identified earlier. You will notice a metal bus bar protruding from the back of the panel; line up the breaker’s clip with the mounting rail and press firmly until you hear a solid “click.” Once seated, switch your main electrical panel breaker back to the “On” position, then flip the new surge protector breaker on. Check the face of your surge device; you are looking for a steady green light or a “Protected” status indicator. A red or yellow light means the unit has detected an electrical issue, so turn off the breaker immediately and double-check that your wires are fully seated and tightened into their terminals.
Beginner Tip: The most common mistake is failing to push the breaker in until it locks. If the breaker feels wobbly or doesn’t sit flush with the others, it isn’t fully connected to the bus bar. Ensure the power is off while you firmly snap it into place to avoid any sparking or accidental contact.
Pro Tip: Before you close the panel cover, gently wiggle the wires connected to your new breaker. They should be immovable. If you can pull a wire out of the terminal, the connection is too loose and could create heat, so give each screw an extra half-turn to ensure a rock-solid, safe connection.