Project Shopping List
A GFCI (Ground Fault Circuit Interrupter) outlet in a bathroom is a code requirement and a genuine safety device – it cuts power within 1/40th of a second if it detects current leaking to ground, preventing electrocution in wet environments. Replacing an old or failed GFCI outlet is a beginner-level electrical project that takes 20–30 minutes and requires no special skills beyond basic wire identification.
This guide covers replacing an existing bathroom GFCI outlet, including the important distinction between LINE and LOAD wiring that many tutorials get wrong – and what it means when other outlets stop working after you install the new one.
What You’ll Need
Tools
- Non-contact voltage tester
- Phillips and flathead screwdrivers
- Wire stripper (if needed)
- Needle-nose pliers
Materials
- Replacement GFCI outlet – 15A or 20A (match the circuit amperage; a 15A outlet has two vertical prong holes; a 20A has one vertical and one T-shaped prong hole)
- Wire nuts (backup)
Step 1: Shut Off the Bathroom Circuit
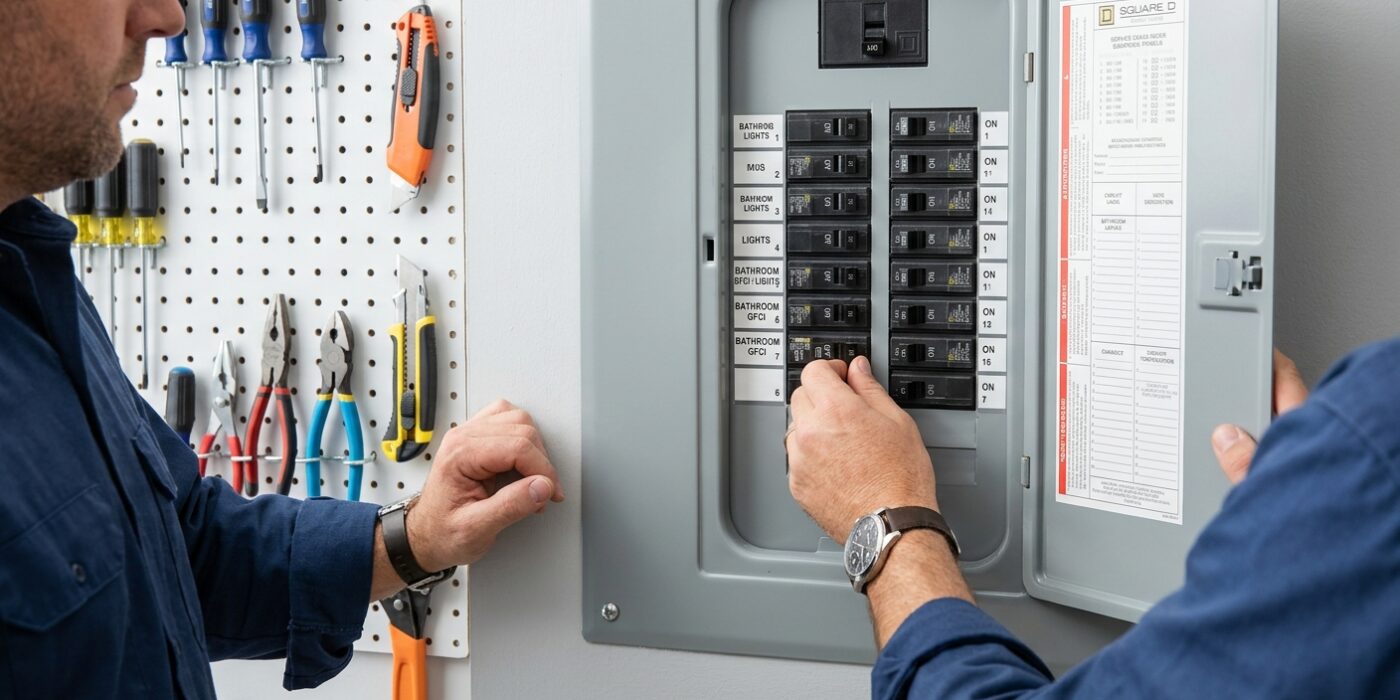
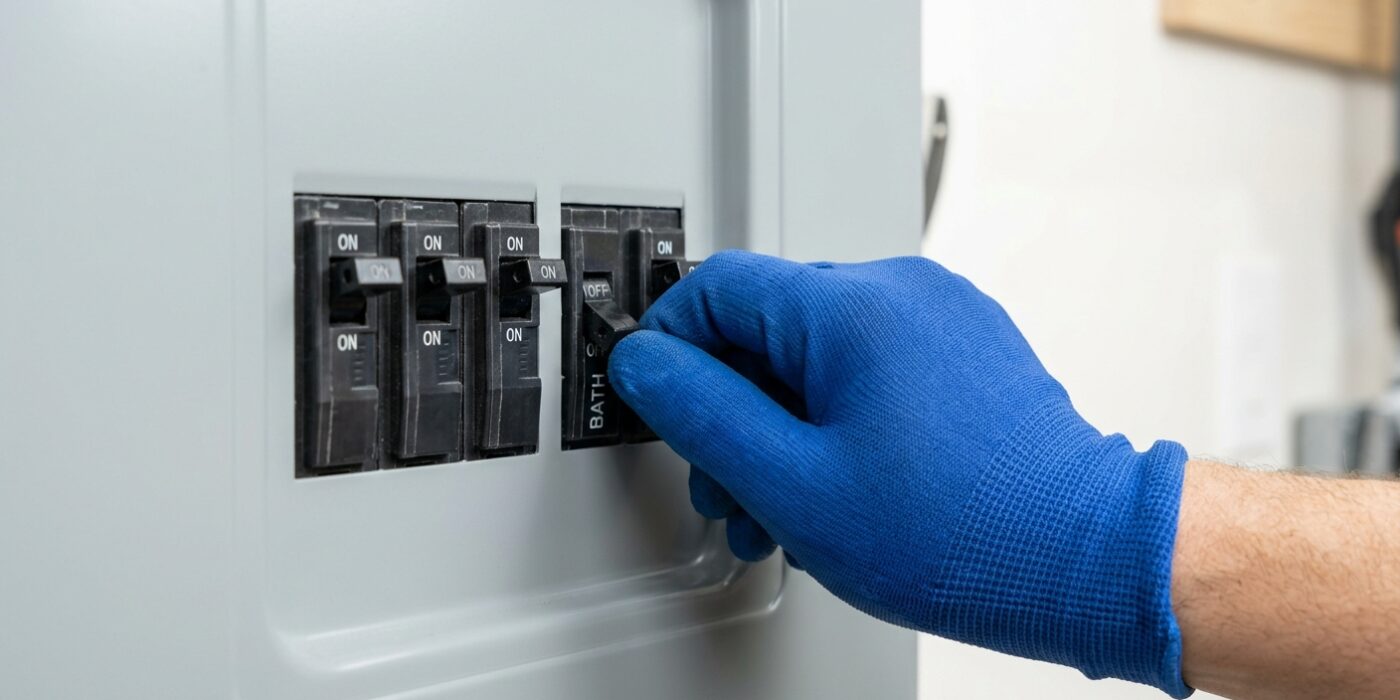
Before you touch any wires, you must ensure the power is completely off. Start by locating your home’s main electrical service panel – usually a gray metal box found in a garage, basement, or hallway. Open the door to reveal rows of switches known as circuit breakers. Scan the labels for one marked “Bathroom” or “Bath.” If the labels are missing, flip the switch that matches the amperage rating of your outlet, which is typically labeled 20A.
Once you flip the switch, head to the bathroom. Plug a hair dryer or lamp into the outlet to confirm it no longer turns on. To be absolutely certain, use a non-contact voltage tester. Hold the tip of the tester near the outlet slots; it should remain silent and dark. If it beeps or glows red, you have the wrong breaker, so return to the panel and try again. It is also wise to check your bathroom light switch to confirm the entire room is dead.
Beginner Tip: A common mistake is assuming that just because the outlet is off, the wires inside the wall are safe. Always test the wall plate and the surrounding area with your tester. If you are unsure, turn off the “Main” breaker for the entire house; while this turns off your lights and Wi-Fi, it provides the ultimate peace of mind.
Pro Tip: Place a piece of painters tape over the circuit breaker switch after you flip it off. This prevents a well-meaning family member from wandering by and accidentally flipping the power back on while you are working.
Step 2: Remove the Old GFCI
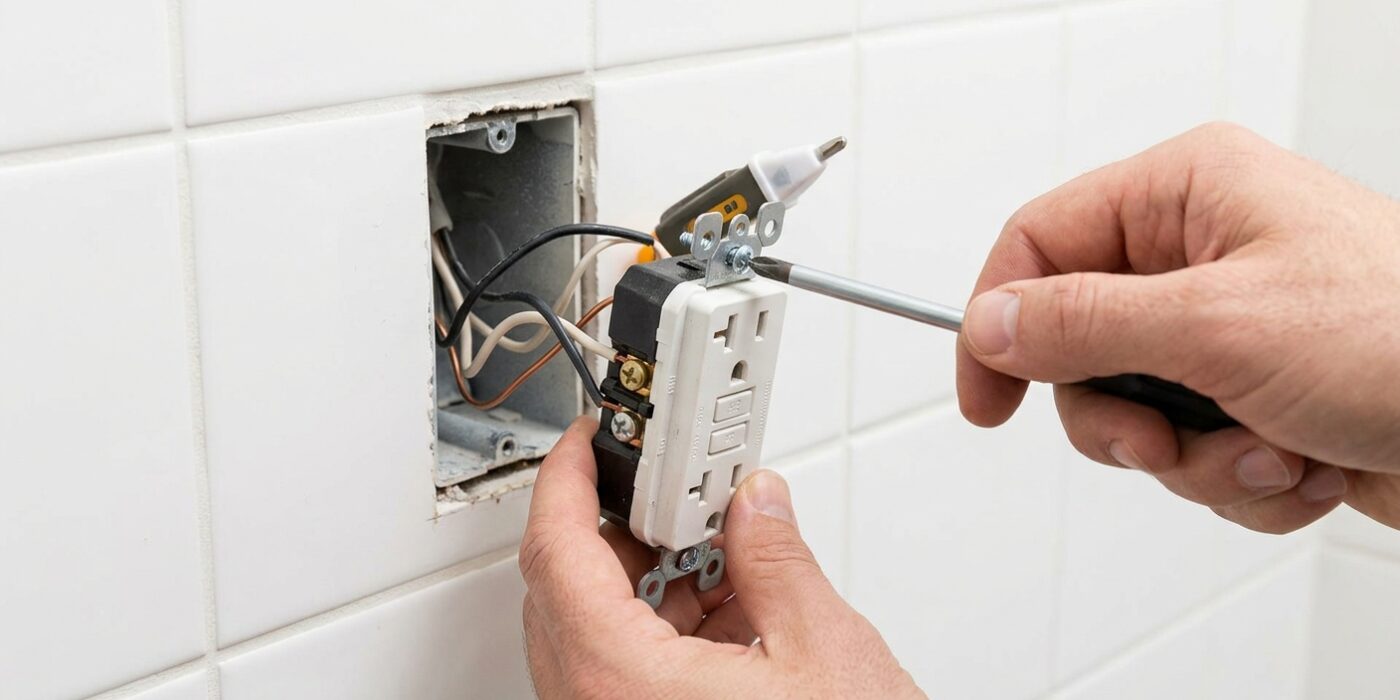
Now that you have confirmed the power is off, it is time to carefully remove the old unit. Use a flathead screwdriver to unscrew the single screw in the center of the plastic cover plate, then set the plate aside. You will see two long mounting screws at the top and bottom of the outlet; unscrew these until they are completely free from the wall box. Gently pull the outlet straight out toward you by its metal tabs. You should have about 6 to 8 inches of wire to work with, giving you enough slack to maneuver.
Before you disconnect anything, pull out your smartphone and take a clear, well-lit photo of the current wiring. This is your insurance policy. Pay close attention to which wires are connected to the terminals labeled “LINE” (the power coming from your panel) and which are on the “LOAD” terminals (the power feeding other outlets). Once you have your photo, loosen the side screws on the old outlet to release the wires. If the wires are pushed into holes in the back, insert a small flathead screwdriver into the release slot next to the hole to free the wire.
Beginner Tip: Never pull on the electrical wires with pliers to yank the outlet out. Use the metal tabs on the top and bottom of the outlet as handles to gently wiggle the unit out of the box to avoid damaging the copper wire insulation.
Pro Tip: Place a small piece of masking tape on each wire as you remove it, labeling it with its original position (e.g., “Line Hot” or “Load Neutral”). This takes all the guesswork out of the reinstallation process.
Step 3: Understand LINE vs LOAD Wiring
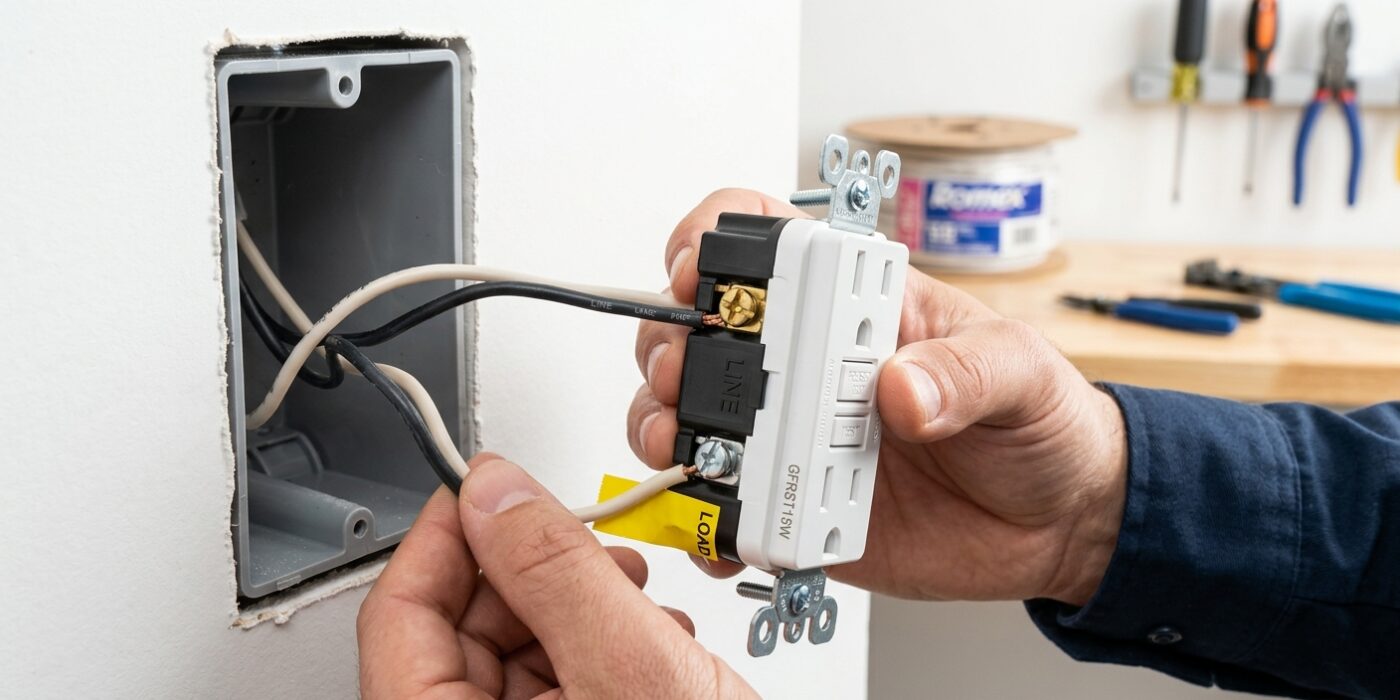
Before you attach any wires, you must identify which ones bring power from your breaker panel and which ones carry it to other outlets. The LINE terminals are your power source; these connect the hot (black) wire to the brass screw and the neutral (white) wire to the silver screw. You should see a small “LINE” label stamped directly into the plastic on the back of your new GFCI outlet to guide you.
If you see a second set of wires in your wall box, these are likely the LOAD wires. They send protected power to other outlets in your bathroom. By connecting them to the LOAD terminals, your new GFCI acts as a safety guard for everything connected to that circuit. Always ensure you strip about 5/8 of an inch of insulation off your wire ends so that the copper is long enough to wrap securely around the terminal screw, but short enough that no bare metal is left exposed outside the screw head.
Beginner Tip: Never rely on wire color alone to distinguish LINE from LOAD. Before disconnecting your old outlet, use a piece of painter’s tape to mark the wires connected to the “LINE” side so you don’t accidentally swap them with the “LOAD” wires during the installation process.
Pro Tip: When looping your wire around the terminal screw, always wrap it in a clockwise direction. This ensures that as you tighten the screw, the wire is pulled inward and gripped tighter by the head, rather than being pushed out.
Step 4: Connect the New GFCI Outlet
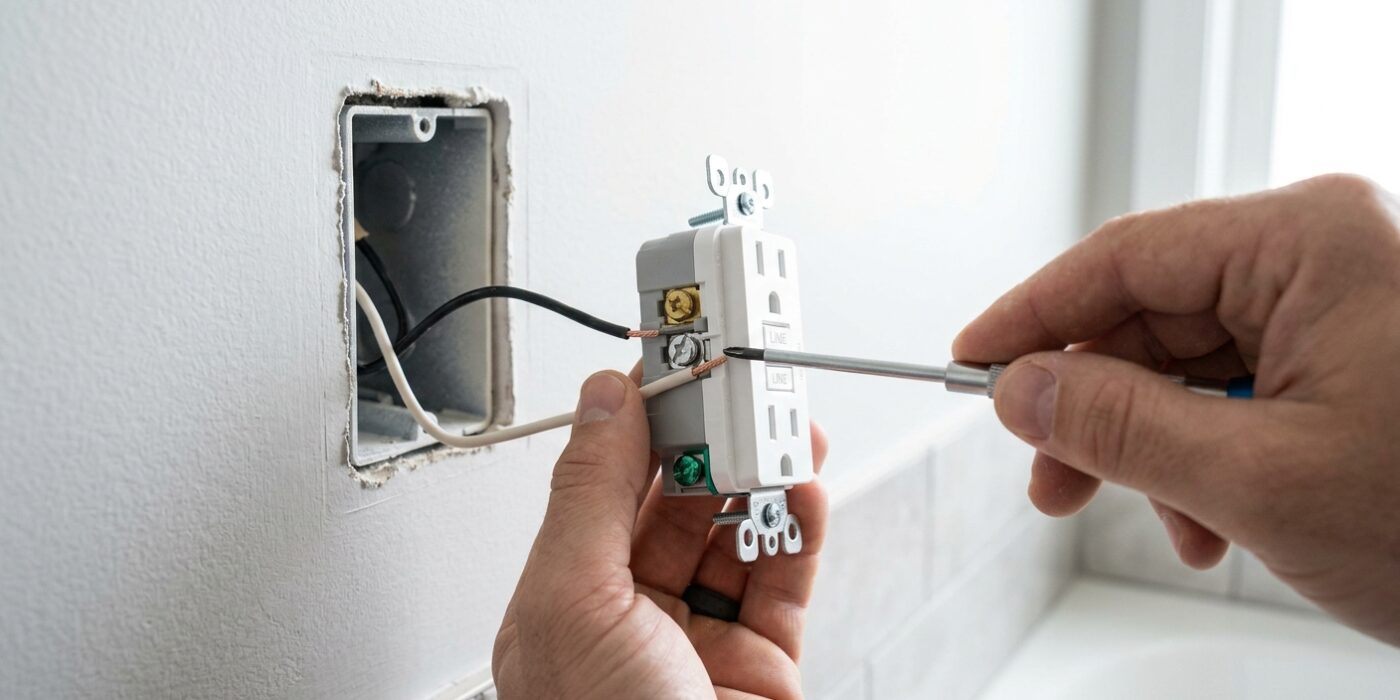
Now it is time to secure the wires to your new GFCI outlet. Start by stripping about 3/4 of an inch of insulation off the ends of your house wires if you haven’t already. Using needle-nose pliers, bend the exposed copper into a small “U” shape or a hook. Hook these wires clockwise around the terminal screws so that when you tighten the screw, it pulls the wire tighter into the connection rather than pushing it away.
Match the wires to their colored homes: the black (hot) wire goes to the brass screw marked LINE, and the white (neutral) wire goes to the silver screw marked LINE. Finally, wrap your bare copper or green grounding wire around the green hexagonal screw. Tighten every screw firmly until the wire is held fast and cannot be pulled out with a gentle tug. If you are extending power to other outlets in the room, use the LOAD terminals only after removing the protective tape covering them; otherwise, keep that tape in place to prevent accidental connections.
Beginner Tip: A common mistake is leaving too much exposed bare wire. Ensure that the plastic insulation of the wire comes right up to the screw terminal without being trapped under it. If you see more than a tiny bit of bare copper sticking out from under the screw head, trim it back to prevent a short circuit.
Pro Tip: Before tightening your screws, give each wire a slight tug to ensure the connection is solid. To make the installation neater, gently fold the wires accordion-style into the back of the electrical box before pushing the outlet in. This keeps the wires organized and prevents them from getting pinched or kinked behind the device.
Step 5: Mount and Test
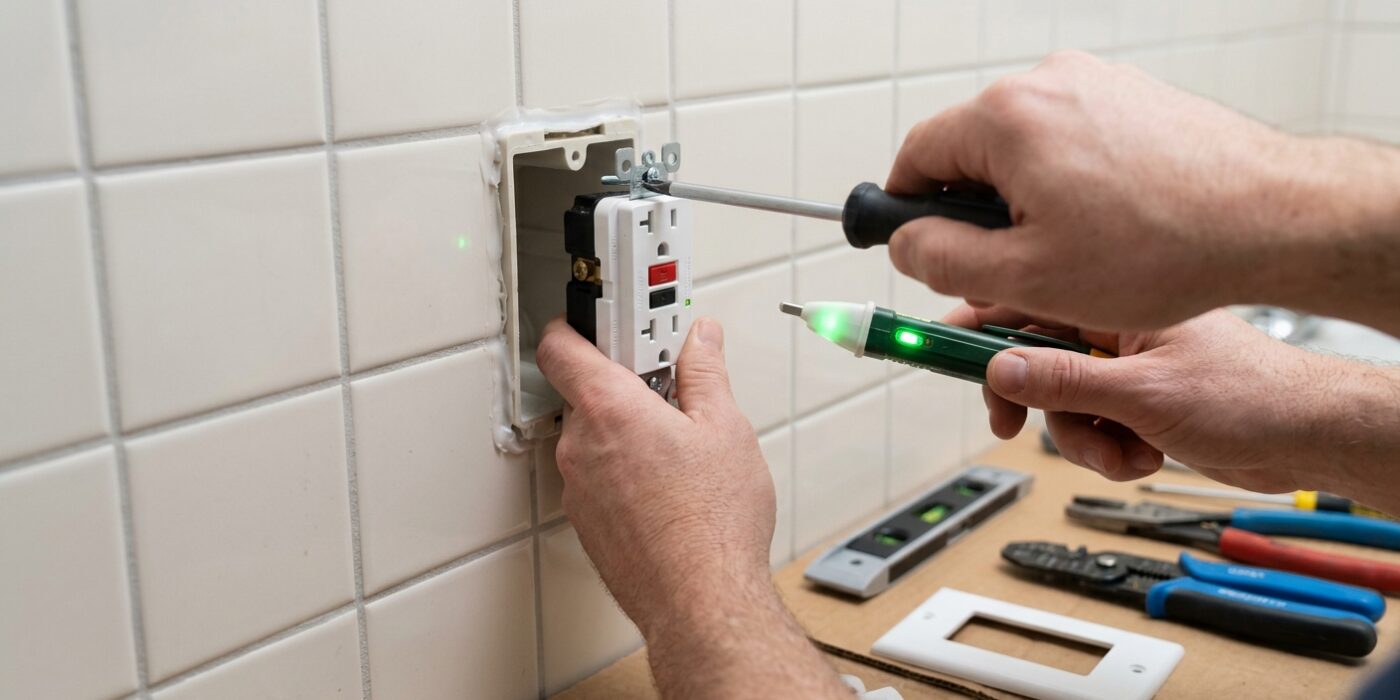
Now that your wires are secure, it is time to tuck everything away. Gently fold the wires in a concertina or “Z” pattern – avoid sharp kinks – so they sit neatly behind the device without being pinched. Push the GFCI into the electrical box until it sits flush against the wall. Insert the mounting screws into the top and bottom slots, tightening them until the outlet is level. Attach your cover plate last; tighten the center screw only until it is snug, as overtightening can crack the plastic.
To finish, flip your circuit breaker back on. Press the RESET button on the GFCI; you should hear a satisfying click. Plug in a lamp or a dedicated GFCI outlet tester. If the light comes on, you have power! Finally, press the TEST button. The device should click and kill power immediately (the light will go out). Press RESET again to restore it. If you have other outlets in the bathroom that also lost power during the test, congratulations – you have successfully protected the entire circuit.
Beginner Tip: Never force the GFCI into the box. If you feel significant resistance, pull it back out and refold your wires. Cramming the device against pinched wires is a common fire hazard and can cause the outlet to short-circuit later.
Pro Tip: Before mounting the device, wrap a single layer of electrical tape around the sides of the GFCI where the screw terminals are exposed. This creates a “safety shield” that prevents the live terminals from accidentally touching the side of a metal electrical box, which could cause a spark when you push it in.