Project Shopping List
Reclaimed wood has a character that new lumber cannot replicate – the patina of age, the texture of weathered grain, the slight imperfections that make every piece unique. A coffee table is the perfect first reclaimed wood project because the construction is simple, the tolerances are forgiving, and the final piece becomes a conversation starter in any room.
This guide builds a 48×24-inch rectangular coffee table with a reclaimed wood top and steel hairpin legs – one of the most popular modern-rustic furniture combinations. The techniques here work for any reclaimed wood: barn wood, pallet wood, old floor boards, or salvaged lumber from a renovation.
What You’ll Need
Tools
- Circular saw or miter saw
- Hand planer or belt sander
- Random orbital sander
- Drill
- Pocket hole jig (optional but helpful)
- Pipe clamps or bar clamps
- Square and tape measure
Materials
- Reclaimed wood boards – enough for a 48×24-inch top, plus extra for waste
- 4 hairpin legs, 16-18 inches tall (steel, purchased)
- Wood glue
- Dowels or pocket screws for joinery
- Sandpaper (80, 120, 150, 220 grit)
- Danish oil, tung oil, or polyurethane finish
- Wood filler (dark tone)
Step-by-Step Instructions
Step 1: Source and Select Your Wood
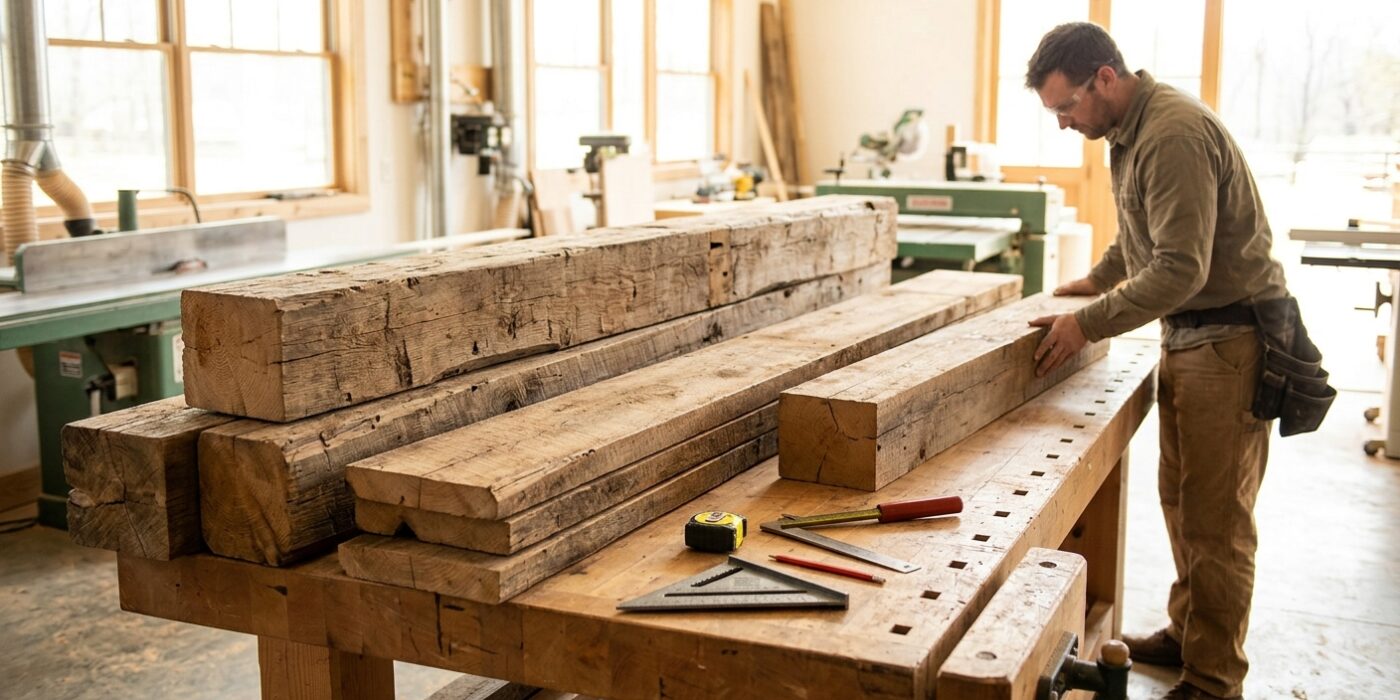
Reclaimed wood is available from architectural salvage shops, barn wood suppliers, Craigslist, and demolition sites. Look for boards that are relatively flat and free from active rot – surface checking, nail holes, and color variation are desirable character marks, not defects. Avoid wood with active mold (black or green discoloration below the surface) or extreme warping that cannot be flattened.
Step 2: Clean and Inspect the Wood
Remove all nails, screws, and metal fragments with pliers and a nail puller before any milling work. Metal in reclaimed wood will destroy saw blades instantly. Use a metal detector on any piece that might have embedded hardware. Scrub the surface with a stiff brush and water, then let dry for 48 hours before milling.
Step 3: Flatten the Boards
Reclaimed boards are rarely flat. A hand planer removes high spots and can address modest cupping. For severely warped boards, a belt sander with 60-grit paper can flatten individual pieces before glue-up. Alternatively, have a lumber yard run your boards through a thickness planer – worth the small fee for a perfect flat surface. All boards in the glue-up must be within 1/16 inch of each other in thickness or the top will telegraph every variation.
Step 4: Select and Arrange the Boards
Lay out your boards on the floor in different arrangements until you find the one that looks best. Consider: grain direction (alternating helps with seasonal movement), color variation (blending dark and light pieces looks intentional; all-dark or all-light also works), and plank width variety (mixing widths looks more authentic than uniform-width planks). Mark the arrangement with chalk before glue-up – you will not remember it.
Step 5: Joint the Mating Edges
Each joint between boards needs a clean, flat mating edge. If you have a jointer, run each edge through it. Without a jointer, clamp two boards together face-to-face and plane or sand both edges simultaneously – this produces perfectly complementary edges even if not perfectly square, because any angle on one mirrors perfectly on the other.
Step 6: Glue Up the Top
Apply wood glue to all mating edges, assemble the boards in your planned arrangement, and clamp across the width with pipe clamps spaced every 12 inches. Place cauls (straight stiff boards) across the top to prevent bowing under clamp pressure. Wipe up squeeze-out immediately with a damp cloth. Let cure fully – 24 hours minimum – before unclamping.
Step 7: Trim to Final Size
Once the glue-up is cured, trim all four edges straight and square with a circular saw and guide. Make trim cuts of no more than 1/4 inch per pass to avoid tearout at the edges. Check for square by measuring diagonals. Sand or plane the face smooth, working through grits from 80 to 220, always with the grain.
Step 8: Preserve the Character Marks
Reclaimed wood’s value is in its imperfections. Fill deep cracks and voids with dark-tinted epoxy or wood filler – this stabilizes the wood and adds visual depth while preserving the aged appearance. Leave nail holes unfilled for authentic character, or fill them with a dark stain-tinted filler. Avoid filling surface checking (thin surface cracks) – these are cosmetic and add authenticity.
Step 9: Apply Finish
Danish oil or tung oil penetrates reclaimed wood beautifully and enhances its natural character without adding a thick film. Apply two or three coats, wiping each coat on and off after 15 minutes. For more protection in a high-use living room, apply a polyurethane topcoat over the oil after it has cured. Matte or satin sheen is most appropriate for reclaimed wood – high gloss looks incongruous with aged wood.
Step 10: Attach the Hairpin Legs
Position each hairpin leg 2 inches in from each corner and mark the mounting hole locations. Drill pilot holes to avoid splitting, then drive the provided screws. Hairpin legs come in standard heights – 16 inches for a low coffee table (16-17 inches finished height) or 18 inches for a standard height. Check for level after attaching all four legs and add furniture leveler pads to the lowest legs if needed.
Pro Tips
- Barn wood often contains embedded grit from decades of use – run it through your sander with sacrificial sandpaper first to clear surface grit before moving to finishing grits.
- The glue joint between reclaimed boards will be the weakest point if the wood is very old and dry – add a biscuit or dowel joint at each board seam for reinforcement on a coffee table that will receive daily use.
- Dark tinted epoxy fills (System Three gel coat or similar) in cracks and nail holes photograph beautifully and are far more durable than wood filler for a heavily used surface.
- Hairpin legs come in dozens of finish options – raw steel, black powder coat, brushed brass, and others. Match to your hardware in the room (light switches, cabinet pulls) for a cohesive look.
Frequently Asked Questions
How do I know if reclaimed wood is safe to use indoors?
Avoid wood that was used for industrial chemical storage, pressure-treated lumber (green or brown tint, chemical smell), and wood with active mold. Old barn wood, floor boards from houses, and lumber from general construction are all safe. Sand the surface thoroughly before use – this removes surface contaminants and old finishes that you would not want airborne indoors.
My reclaimed wood boards are not the same thickness. What do I do?
Thickness variation in a coffee table top is actually desirable in moderation – a slightly uneven surface adds to the reclaimed character. For variation over 1/4 inch between adjacent boards, thickness-plane each board to a consistent thickness before glue-up. Most lumber yards will thickness-plane for a per-board-foot fee.
How do I prevent the top from warping after construction?
Seal all six faces of the top – top, bottom, and all four edges – with finish. Finishing only the top face causes differential moisture absorption and seasonal movement that eventually cups the top. Alternating the grain direction of planks in the glue-up also helps by canceling out the natural tendency of each board to cup in one direction.