Project Shopping List
A compost bin turns kitchen scraps and yard waste into free, rich fertilizer. Building your own bin from pallets or lumber costs almost nothing and can be sized for your actual output — far more practical than most retail composters. A simple three-bin system lets you add to one bin, turn into the second, and harvest finished compost from the third, giving you a continuous supply rather than one batch per season.
What You Need
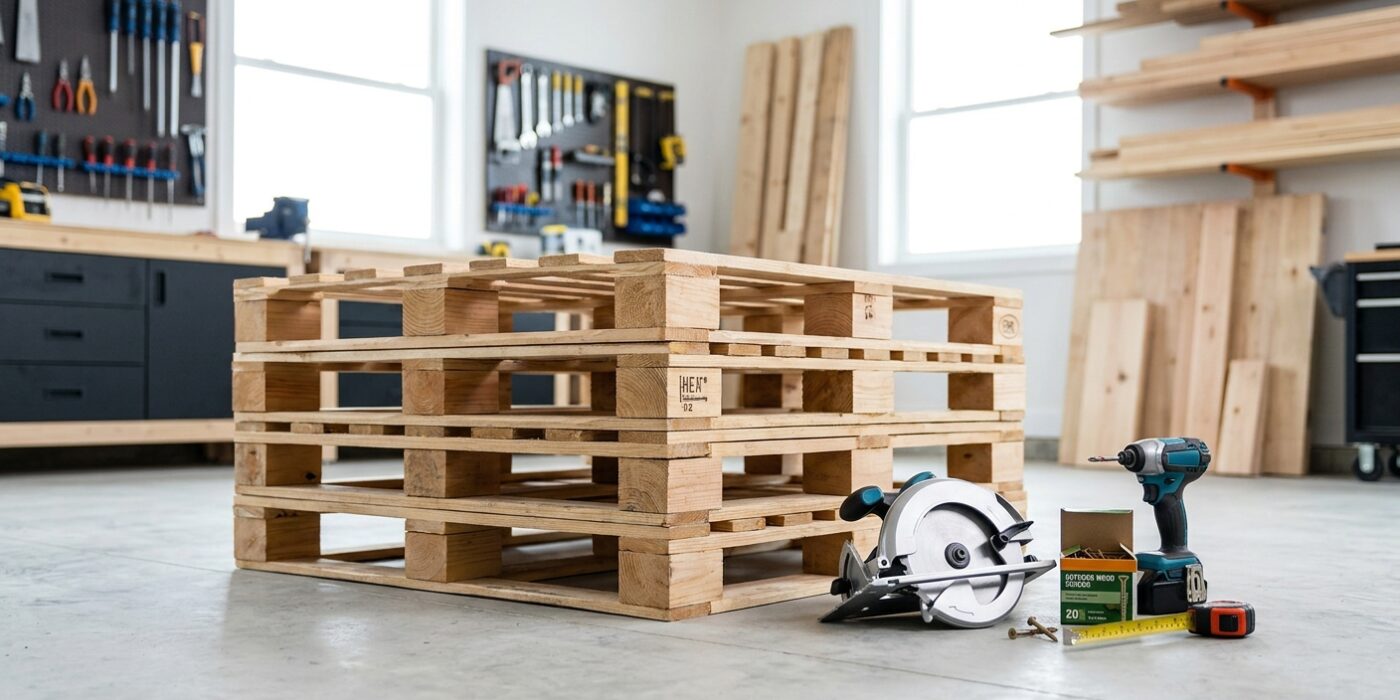
- Three wooden pallets (free from most hardware stores or shipping docks)
- OR: 2×4 lumber and 1-inch chicken wire or hardware cloth
- Screws or heavy-gauge wire for connecting pallets
- Removable front slats (2×6 boards that slide in and out for access)
- Optional: corrugated metal or plywood lid panels
Pallet Compost Bin (Simplest Version)
Step 1: Source Pallets
Find four identical heat-treated pallets (look for HT stamp — avoid MB-stamped pallets, which are treated with methyl bromide). Most grocery stores, hardware stores, and distribution centers give them away. Standard pallets are 48×40 inches — three pallets make a bin approximately 4×4 feet, which is the minimum size for efficient hot composting.
Step 2: Stand Three Pallets in a U-Shape
Stand one pallet flat on the ground as the back. Stand one pallet at each end, perpendicular to the back, forming a U. Connect the corners by driving 3-inch screws through the end pallets into the edges of the back pallet, or wire the corners together with heavy-gauge wire through the pallet slats. Make the U open toward the front for easy access with a pitchfork.
Step 3: Add Front Access
Leave the front open, or add removable boards across the front opening that you can lift out when turning the pile. Cut 2×6 boards to span the front opening and slide them into guides made from 2×4 standoffs screwed to the front edges of the side pallets. Removable boards let you add material over the top and access the pile from the front for turning.
Lumber and Wire Compost Bin (More Finished Look)
Step 1: Build Four Corner Posts
Cut four 4×4 posts at 4 feet tall. Drive them into the ground or set in post bases at the corners of a 4×4-foot square. Alternatively, screw 2×4 frame sections together as panels and stake them to the ground — no concrete or digging required.
Step 2: Attach Wire Mesh to Three Sides
Staple 1-inch chicken wire or 1/2-inch hardware cloth to three sides of the frame (back and two sides). Hardware cloth keeps out rats better than chicken wire if that is a concern. Stretch the wire tight before stapling — loose wire sags over time and looks untidy.
Step 3: Install Removable Front Slats
Create guides on the two front corner posts from 2×2 blocks screwed 1 inch apart from the post face. Slide 2×6 boards between the guides to build up the front face as the pile grows. Remove boards from the bottom to access finished compost.
Composting Tips
- Maintain a 3:1 ratio of browns (dry leaves, cardboard, straw) to greens (food scraps, fresh grass clippings). Too many greens creates a slimy, smelly pile; too many browns slows decomposition.
- Turn the pile every 2-4 weeks and add water if it feels dry — a properly active pile should feel like a damp sponge.
- Never compost meat, dairy, or cooked food — it attracts rodents and creates odors. Stick to raw vegetable scraps, coffee grounds, eggshells, and yard waste.
Frequently Asked Questions
How long does composting take?
A well-managed hot compost pile (turned regularly, correct moisture) produces finished compost in 2-3 months. A passive pile that you just add to and leave alone takes 6-12 months. Temperature inside an active pile should reach 130-160 degrees F — hot enough to kill weed seeds and pathogens.
Do I need a lid on my compost bin?
A lid is optional. It keeps the pile from becoming waterlogged in heavy rain and deters flies and odors from fresh food scraps on the top layer. A piece of plywood, old carpet, or corrugated metal works well. Remove it during dry spells to allow some rainfall to naturally moisten the pile.