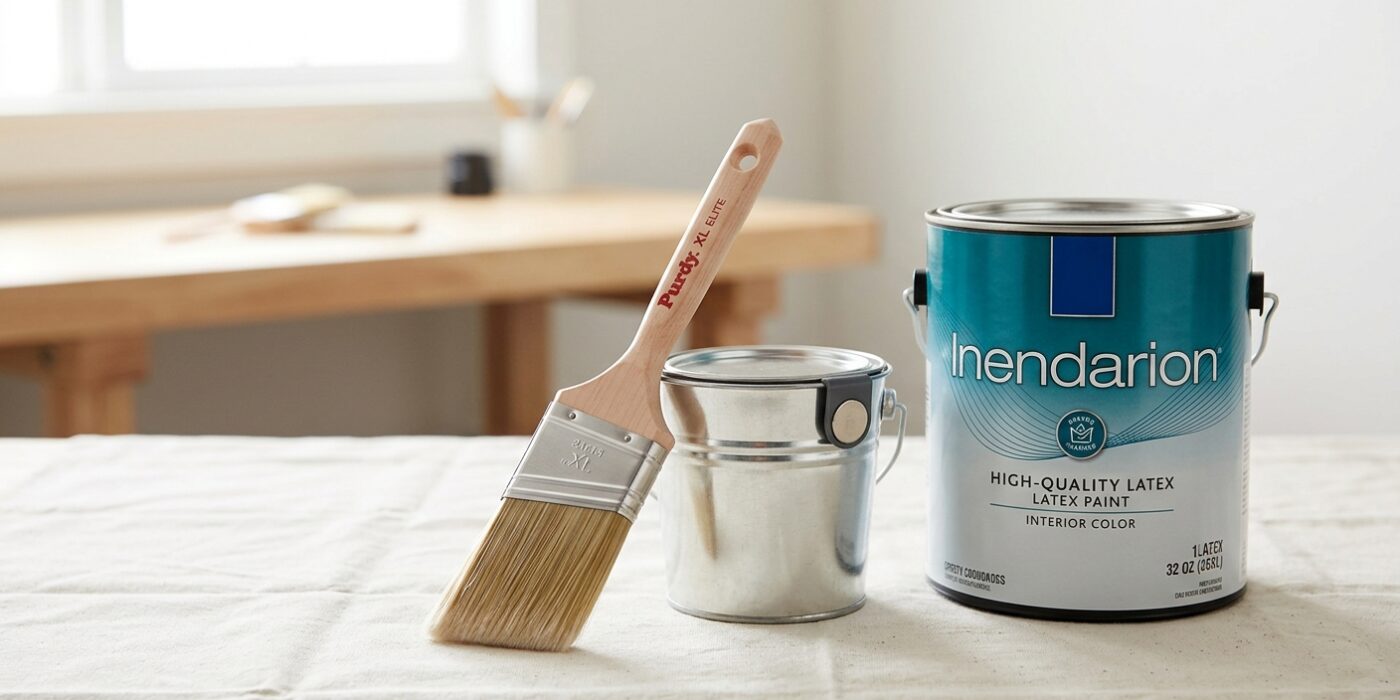
Project Shopping List
Cutting in – painting a clean line between wall and trim, between wall and ceiling, or between two paint colors – is the skill that separates professional-looking paint jobs from amateur ones. Most people reach for painter’s tape automatically. But tape actually produces inferior results on textured surfaces and takes more setup time than just learning to cut freehand. Professional painters almost never use tape because a trained hand and the right brush give cleaner, faster results.
This guide teaches you the exact brush technique, the correct loading method, and the mindset shift that makes freehand cutting possible for any skill level. Within one room, you’ll have the basics. Within three rooms, you’ll be faster with a brush than you ever were with tape.
What You’ll Need
Tools
- 2.5-inch angled sash brush – high-quality matters here. Wooster Shortcut or Purdy XL are professional standards
- Paint pail or small bucket (pour 2 to 3 inches of paint in – don’t cut from a full gallon)
- Damp rag in your non-painting hand
- Good lighting – a portable work light aimed at the work surface
Materials
- Wall paint (whatever you’re cutting in)
- No other materials required – this is pure technique
Step-by-Step Instructions
Step 1: Choose the Right Brush – This Is Non-Negotiable
A $5 chip brush cannot cut a straight line. The bristles are too irregular and the flagging (the split ends) isn’t fine enough to hold a crisp tip. A professional angled sash brush has carefully aligned bristles that taper to a fine, consistent edge. The angle of the bristles lets you see exactly where the tip is going as you paint. Buy one good brush – the Wooster Shortcut 2.5-inch or Purdy 2.5-inch XL Angular are what professional painters actually use, and they cost $12 to $18.
Step 2: Load the Brush Correctly
Dip the brush 1 to 1.5 inches into the paint – not deeper. Tap the bristles gently against the inside of the bucket (not wipe – tap) to remove excess drips without removing the paint from inside the bristles. An over-loaded brush drips and runs; an under-loaded brush drags and leaves skipped areas. The paint should be loaded inside the bristles, not just on the surface of them. You’ll feel when it’s right – the brush has weight and the bristles are full but not dripping.
Step 3: Position Yourself Properly
Get your eye level with the cut line. If you’re cutting along a ceiling, you need to see the exact angle where wall meets ceiling. Stand or crouch so the cut line is at eye level – don’t reach up and try to cut blind. This sounds simple but it’s the number one setup mistake. You cannot guide a brush accurately to a line you can’t see clearly.
Step 4: Start 1/2 Inch Away From the Line
Place the brush tip about 1/2 inch away from the actual cut line and begin a stroke, gradually moving the tip closer to the line as you build confidence and feel the brush control. The bristles should be nearly parallel to the surface, with the angled tip forming the cutting edge. Don’t try to start right at the line – approach it from an inch away, flex the bristles slightly so the tip touches the line, then stroke along it. This approach-and-flex technique is how pros consistently hit the line on the first pass.
Step 5: Use Short Overlapping Strokes, Not One Long Pull
Work in strokes of 6 to 12 inches. The brush tip will wander on long strokes because you’re changing arm position. After each short stroke, lift the brush slightly, reposition, and start the next stroke overlapping the previous one by an inch. This gives you constant visual feedback and control. Many beginners try to pull the brush three feet in one stroke and wonder why the line wanders.
Step 6: Keep a Damp Rag in Your Off Hand
Inevitably you’ll go over the line occasionally. This is fine – the key is catching it before it dries. A damp rag or wet paper towel in your non-painting hand lets you immediately wipe away any overrun. Wipe quickly while the paint is wet; dried paint on trim or ceiling requires sanding or a razor blade to remove cleanly. The rag is your safety net and it completely changes your confidence because you know errors are recoverable.
Step 7: Work Wet – Keep a Wet Edge
On longer walls, cut in a section and then immediately roll the field of the wall before the cut-in edge dries. If cut-in paint dries before you roll, you’ll see a slight ridge or sheen difference where the brush stroke meets the rolled section. Professional painters cut about 4 to 6 feet ahead of the roller and then roll immediately – this keeps the cut-in edge wet so the roller blends it seamlessly.
Step 8: Second Cut Coat After Rolling
After rolling the full wall, the first cut-in band often looks slightly uneven in sheen next to the rolled texture. Cut in a second thin coat at the very end, after rolling. This final cut-in should be 1 to 2 inches wide along the ceiling or trim – just enough to clean up any roller splatter near the edge and ensure consistent coverage right up to the line.
Pro Tips
- Condition your brush with a little water (for latex) before loading – a slightly damp brush picks up and releases paint more smoothly than a dry one.
- If you’re cutting along a textured ceiling and the paint keeps bleeding into the texture peaks above the line, let your first cut-in coat dry and apply a second cut-in coat more carefully – texture makes clean lines harder and two thin coats beat one heavy one.
- For two-color rooms (accent walls, different color ceiling), cut the lighter color first, let it dry, then cut the darker color over it – correcting a dark overrun on a light surface is much harder than correcting a light overrun on a dark surface.
- Lighting changes how well you can see your cut line – a handheld flashlight aimed along the wall at a raking angle shows the line and any paint bleeding over it clearly.
- Clean your good brush properly after every use with brush comb and warm soapy water – a $15 brush maintained properly lasts 5 to 10 years of regular use.
Frequently Asked Questions
Does this technique work on textured walls?
Cutting in freehand on textured walls is actually easier in some ways – the texture hides small variations in the line. The main challenge is keeping paint from bleeding along the texture into the adjacent surface. Let the first cut coat dry before applying the second for better control on heavily textured surfaces.
When should I still use tape?
Use tape when you’re painting against a surface that can’t be wiped (unfinished wood, wallpaper, raw brick) or when you need a perfectly geometrically straight line for a multi-color wall design. Even then, seal the tape edge with the existing color before applying the new color – this seals any small gaps in the tape adhesion so the second color can’t bleed under.
How do I improve faster?
Practice on the least visible areas of your room first – low down near base trim, inside a closet, behind a door. Cut in on cardboard boxes to practice brush loading and the flex-and-stroke technique before touching the wall. The muscle memory develops within a few hours of actual painting; don’t get discouraged in the first 30 minutes. Professional painters cut thousands of feet of line – competence comes with repetition, not with special talent.