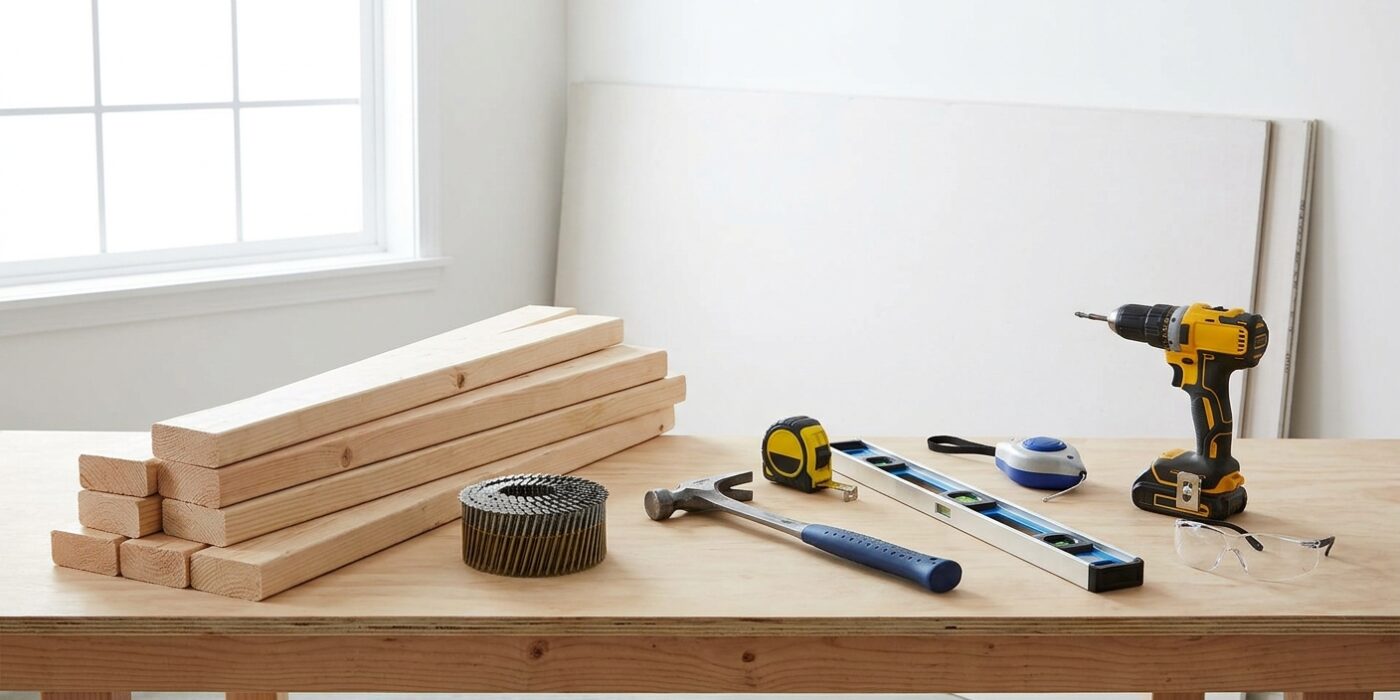
Project Shopping List
Adding a non-load-bearing interior wall lets you divide a large room, create a home office, add a closet, or enclose a utility area. A standard stud wall takes an afternoon to frame and is the foundation for all the finishing work (drywall, trim, doors) that follows. Getting the frame square, plumb, and properly fastened makes everything downstream easier.
What You Need
- 2×4 lumber (studs, top plate, bottom plate)
- Framing nails (16d) or structural screws (3-1/2 inch)
- Framing nailer or hammer
- Level (4-foot) and plumb bob
- Chalk line and tape measure
- Stud finder (for locating existing framing to attach to)
- Circular saw or miter saw
Step-by-Step Instructions
Step 1: Plan the Wall Location
Mark the wall position on the floor with chalk or masking tape. Check that the location does not conflict with ceiling joists or existing ductwork. For a wall running perpendicular to joists, the top plate will attach directly to joists above. For a wall running parallel to joists, either position it directly under a joist or install blocking between joists for the top plate to fasten to. Determine where the door opening will be if applicable.
Step 2: Install the Bottom Plate
Cut the bottom plate to the full length of the wall from one existing wall to the other. For a wall with a door, cut the bottom plate in one piece initially and cut out the door rough opening section after the wall is framed and standing — this keeps the plate as a guide during layout. Snap a chalk line and fasten the bottom plate to the subfloor with 3-inch screws into the floor joists below, or use a powder-actuated nailer to pin it to a concrete slab.
Step 3: Install the Top Plate
Cut the top plate to the same length as the bottom plate. Using a plumb bob or a level set against a reference mark on the bottom plate, establish the exact position of the top plate on the ceiling. The top plate must be directly above the bottom plate — any offset causes the wall to lean. Fasten the top plate to the ceiling joists or blocking with 3-inch screws.
Step 4: Install the King Studs and Corner Studs
Cut king studs (the end studs) to fit between the top and bottom plates (ceiling height minus 3 inches for both plates’ combined thickness, typically 8 feet 9 inches for a 9-foot ceiling room). Toenail or screw king studs into the top and bottom plates and fasten the ends to existing adjacent walls. Corner studs allow drywall to have a nailing surface in the corner — install two studs oriented at 90 degrees to each other in each corner if the new wall meets an existing wall.
Step 5: Lay Out and Cut Studs
Mark stud locations on the top and bottom plate at 16-inch on center from one end of the wall. The layout marks ensure drywall sheets (which are 48 inches wide) always land on a stud center. Cut all studs to the same length as the king studs. For a standard 8-foot ceiling, all studs will be the same length — measure one, check the fit, then cut the rest to match.
Step 6: Install Studs
Set each stud at its layout mark and drive two 16d nails or 3-inch structural screws through the top and bottom plates into each stud end. Face-nailing through the plates into the stud end is faster than toenailing and provides adequate strength for non-load-bearing walls. Check each stud for plumb as you go and nudge slightly before driving the last fastener to correct any twist. A crowned stud should be installed crown-up so it is pushed flat by the weight of the materials above.
Step 7: Frame the Door Opening
A non-load-bearing door opening requires: two full-height king studs, one on each side of the opening; two jack studs (trimmer studs) inside the king studs, cut to the rough opening height; a header spanning the opening above the jack studs; and cripple studs above the header filling to the top plate. For a non-load-bearing wall, a single 2×4 or 2×6 on-edge header is adequate — no structural header needed. Cut the bottom plate out of the doorway opening with a reciprocating saw after the wall is framed and standing.
Pro Tips
- Use a single-piece top plate for non-load-bearing walls — the double top plate required for load-bearing walls is unnecessary and wastes material.
- If any stud is twisted or bowed badly, pull it from the wall and replace it before drywalling — a bad stud causes a visible wave in the finished wall surface that cannot be corrected with joint compound.
Frequently Asked Questions
Is a building permit required to add an interior wall?
Most jurisdictions require a permit for adding interior walls, even non-load-bearing ones, because electrical and HVAC work often accompanies the framing. A permit ensures the work is inspected and code-compliant. Unpermitted work discovered during a home sale can require expensive remediation. Check with your local building department before starting.
How do I know if a wall is load-bearing?
Non-load-bearing walls typically run parallel to the floor joists above. Load-bearing walls typically run perpendicular to floor joists and sit above a beam, foundation wall, or another load-bearing wall below. When in doubt, consult a structural engineer or a licensed contractor before removing any existing wall or cutting into one.