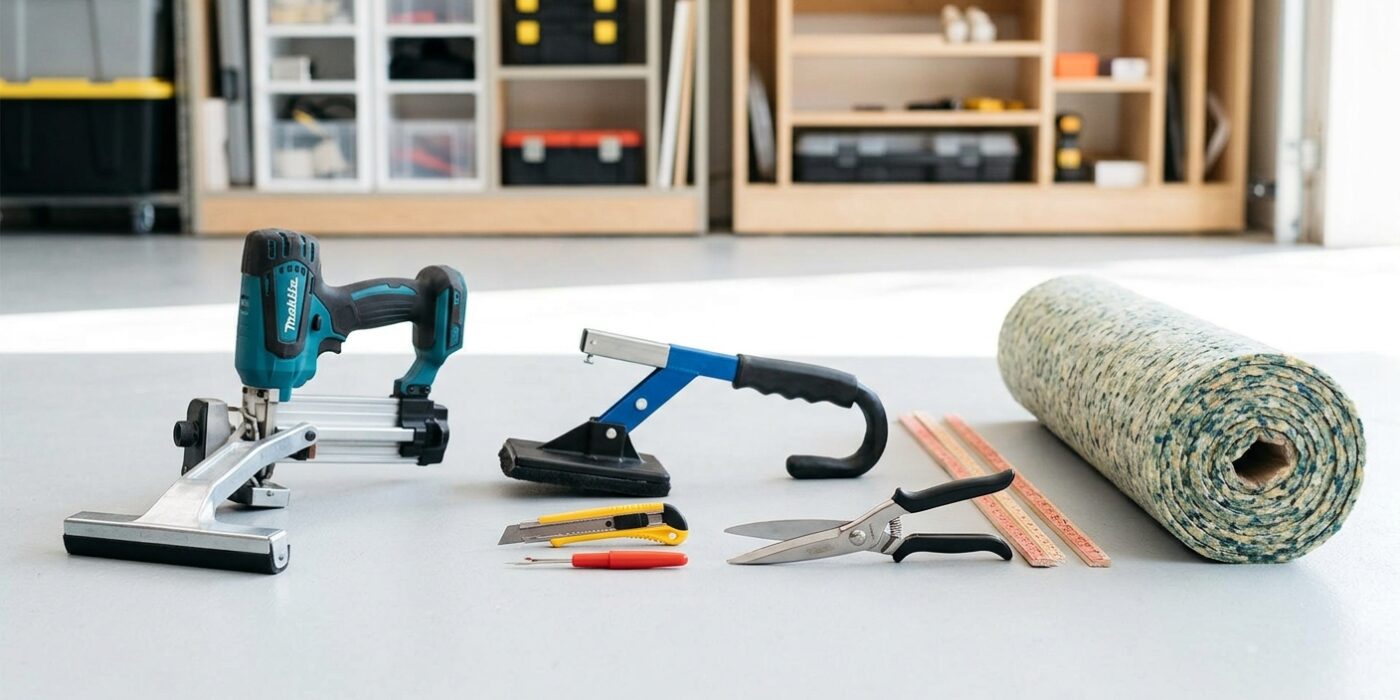
Project Shopping List
Carpet installation looks intimidating, but the stretch-in method – where the carpet is stretched tight over tack strips and tucked along the walls – is the standard technique professionals use in millions of homes every year. If you can rent a knee kicker and a power stretcher, you can do this yourself and save hundreds of dollars on labor.
By the end of this project, you’ll have wall-to-wall carpet that lies flat, won’t buckle or wrinkle over time, and looks professionally installed. The key is proper subfloor prep, correct tack strip placement, and using a power stretcher – not just a knee kicker – to get the tension right.
What You’ll Need
Tools
- Power stretcher (rent from hardware store – essential)
- Knee kicker
- Carpet tucker / stair tool
- Utility knife with extra blades
- Carpet seaming iron and seam tape
- Chalk line
- Tape measure
- Hammer
- Staple gun
Materials
- Carpet (measure room + 6 inches extra per wall)
- Carpet padding – 6 lb density, 7/16-inch thick minimum
- Tack strips (enough for full perimeter minus doorways)
- Seam tape (hot-melt type)
- Transition strips for doorways
Step-by-Step Instructions
Step 1: Remove Old Flooring and Prep the Subfloor
Pull up any old carpet, padding, and tack strips. Sweep and vacuum the subfloor thoroughly. Drive down any protruding nails or screws – high spots will telegraph through the new carpet and padding. Fill any low spots or gouges with floor leveling compound and let it cure completely before continuing.
Step 2: Install Tack Strips
Nail tack strips around the entire perimeter of the room, placing them approximately 3/8 inch from the wall (a gap roughly equal to the carpet’s thickness). The angled pins point toward the wall. Skip doorway openings – you’ll use transition strips there. In corners, cut strips at 45 degrees with tin snips for a clean fit.
Step 3: Lay and Staple the Padding
Roll out the carpet padding perpendicular to the direction you’ll lay the carpet. Butt seams tightly together but do not overlap. Staple every 6 inches along the edges and across the field every 12 inches. Use a utility knife and straightedge to trim the padding flush with the inside edge of the tack strips – padding should not cover the strips or the carpet won’t hook properly.
Step 4: Plan Your Seams (If Needed)
For rooms wider than your carpet roll (typically 12 feet), you’ll need seams. Position seams so they run parallel to the main light source from windows – seams perpendicular to light are nearly invisible. Never place a seam in a high-traffic walkway if you can avoid it. Mark seam lines with chalk on the padding before cutting any carpet.
Step 5: Cut and Position the Carpet
Roll out the carpet in the room and let it relax for 30 minutes – this releases tension from being rolled up. Rough-cut to fit, leaving 3–4 inches running up each wall. For seams, cut both pieces with a straightedge and sharp utility knife, then align them carefully with edges touching but not overlapping. Use hot-melt seam tape underneath and a seaming iron to fuse the seam from underneath.
Step 6: Attach One Side with the Knee Kicker
Start in a corner. Use the knee kicker at a slight angle toward the wall to push carpet onto the tack strip pins along one wall. Work along that wall in 18-inch increments, using the carpet tucker to push the edge down into the gap between the tack strip and the wall. The knee kicker handles short, initial attachment – it is not adequate for final stretching.
Step 7: Power Stretch to the Opposite Wall
This step is what separates a professional result from a wrinkled mess. Place the power stretcher’s tail block against the wall you just attached, pad it with scrap wood to protect the baseboard, and extend the head to within a few inches of the opposite wall. Pump the lever to stretch the carpet 1–2% beyond its natural length, then hook it onto the tack strips on that wall. Work across the wall in 18-inch sections.
Step 8: Stretch and Attach the Remaining Two Walls
With the two long walls attached, repeat the power stretching process for the two short walls. Always stretch from an attached wall toward an unattached one. By the end, all four walls are hooked and under tension. The carpet should feel drum-tight and spring back slightly when you press it down in the center of the room.
Step 9: Trim and Tuck the Edges
Use a wall trimmer tool or utility knife to cut the carpet so approximately 3/4 inch folds down into the gap between the tack strip and the wall. Use the stair tool (a flat chisel-like tool) and a rubber mallet to push the edge firmly into the gap – this hides the raw edge and locks it in place. Work systematically around the entire room.
Step 10: Install Transition Strips
At doorways, install the appropriate transition strip – a tack-bar style for carpet-to-hard-floor transitions. Tuck the carpet edge under the lip of the strip, then fold the lip down with a mallet or transition tool. For carpet-to-carpet transitions, use a seam iron and appropriate seam tape.
Pro Tips
- Rent the power stretcher – skipping it is the single most common DIY carpet mistake. A knee kicker alone will leave the carpet loose, and it will wrinkle within months.
- Run the carpet pile in the same direction for all pieces – pile direction affects how light reflects and two pieces with opposing pile will look noticeably different even after seaming.
- Keep extra blades handy and change them often. A dull blade tears carpet backing instead of cutting cleanly, which frays seams.
- On stairs, work top to bottom, stapling the back of each tread and using the knee kicker to stretch each riser section down before tucking.
- Let the room sit at normal temperature for 24 hours after installation before moving furniture back – carpet stretches slightly as it acclimates.
Frequently Asked Questions
How much extra carpet should I buy?
Add 10% to your square footage for waste from trimming, plus account for pattern matching if the carpet has a repeat. For a room with seams, add more – you need extra to position seams correctly. It’s better to have leftover carpet for future repairs than to come up short.
Do I need to remove the baseboards before installing carpet?
No – this is actually not the professional method. Installers tuck carpet behind existing baseboards using the tucker tool. However, if your baseboards are thick and sit tightly on the floor, you may need to temporarily remove them to get the tack strips in position first.
Why is my carpet buckling after installation?
Buckling almost always means inadequate stretching. High humidity can also cause temporary buckling. If it persists, the carpet needs to be re-stretched – pull it off the tack strips on the buckled side, re-stretch with a power stretcher, and re-attach. This is much easier than it sounds if the tuck gaps are accessible.