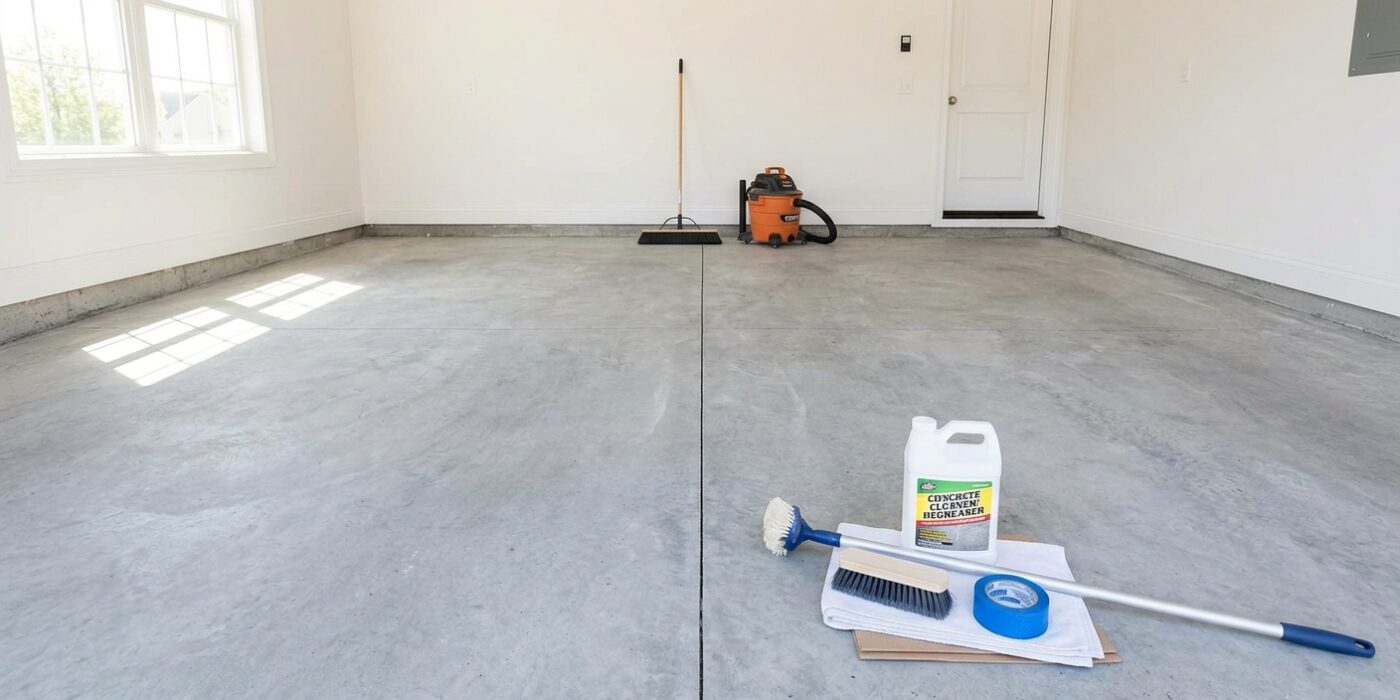
Project Shopping List
Painting a concrete floor is one of the highest-impact upgrades you can do to a basement or garage – it transforms a dusty, grimy slab into a clean, finished surface that’s easy to mop and dramatically brightens the space. But concrete paint fails constantly because most people skip the prep. The paint peels within a year, and they assume the product was bad. The product was fine; the surface wasn’t ready.
This guide covers the full process from testing your concrete for moisture and sealer issues, through mechanical prep, applying the right primer, and rolling on a durable finish. Done correctly, a painted concrete floor lasts 5 to 10 years before it needs refreshing.
What You’ll Need
Tools
- Floor grinder or rental drum floor sander with 40-grit diamond pads (for large areas)
- Angle grinder with diamond cup wheel (for edges and corners)
- Shop vacuum with fine-dust filter
- Stiff-bristle scrub brush or auto scrubber
- 9-inch paint roller with 3/4-inch nap sleeve
- Paint tray, extension pole
- Squeegee
Materials
- Concrete degreaser/etcher (muriatic acid or phosphoric acid-based)
- Concrete primer/sealer (100% acrylic masonry primer)
- Concrete floor paint: porch-and-floor enamel, epoxy paint (two-part), or 100% solids epoxy for heavy-use garages
- Concrete patch compound for cracks and spalls
- Anti-slip additive (shark grip or silica sand) for broadcast into topcoat
- Plastic sheeting and tape
Step-by-Step Instructions
Step 1: Test for Moisture and Existing Sealer
Tape a 12-inch square of plastic sheeting to the floor with all four edges sealed and leave it for 24 hours. If you see condensation or wet concrete underneath, you have a moisture problem – standard paint won’t bond over active moisture transmission. You’ll need a moisture-vapor barrier coating before paint. For sealer testing, tape down a small piece of plastic and check whether water beads or soaks in on the bare concrete – if it beads, the concrete has been sealed and must be mechanically ground before new paint will bond.
Step 2: Clean the Floor Thoroughly
Oil is paint’s worst enemy on concrete. Any grease, motor oil, or tire marks must be fully removed before you etch. Apply a commercial degreaser full-strength to any stained areas, scrub aggressively with a stiff brush, let it dwell 10 to 15 minutes, then rinse. Repeat for stubborn stains. One missed grease spot becomes a visible fish-eye failure point in the final paint job.
Step 3: Etch or Mechanically Profile the Surface
Paint needs something to grab onto. New or sealed concrete is too smooth. Acid etching with diluted muriatic acid (1 part acid to 10 parts water) opens up the pores – apply with a watering can, scrub with a stiff brush until the bubbling stops, then rinse thoroughly and neutralize with a baking soda solution. Alternatively, rent a floor grinder with diamond pads – mechanical profiling is more consistent and doesn’t raise pH concerns. The surface should feel like fine sandpaper when properly prepared.
Step 4: Patch Cracks and Spalls
Fill cracks with a polyurethane caulk or hydraulic cement – standard patch compounds fail because the concrete moves slightly. For larger spalls (chunks knocked out of the surface), use a vinyl concrete patch compound mixed to a stiff consistency and feather the edges flat. Let all patches cure fully before proceeding – at least 24 hours for patch compounds, 48 for hydraulic cement.
Step 5: Vacuum and Let the Floor Dry
After etching and rinsing, give the floor a minimum of 24 hours to dry completely – 48 hours if your basement is humid. Shop vac the entire floor to remove all dust and grit. Even small amounts of dust or loose concrete particles prevent adhesion. Do not walk on the floor without clean socks or booties after vacuuming.
Step 6: Apply the Primer Coat
A masonry primer is not optional – it penetrates the concrete pores, bonds tightly, and gives the topcoat a stable base. Cut in along the edges with a brush, then roll the field with a 3/4-inch nap roller. Apply thin and even – concrete primers aren’t meant to build thickness, they’re meant to bond. Let dry per manufacturer instructions (typically 4 hours minimum) before topcoat application.
Step 7: Apply the First Topcoat
For a garage with car traffic, use a two-part epoxy coating. For a basement utility room, a good-quality porch-and-floor enamel works well and is easier to apply. Roll in sections, working from the far corner toward the exit. For two-part epoxy, mix the full batch per the pot life instructions and work quickly – once mixed, you have about 30 minutes before the epoxy starts gelling. Broadcast anti-slip aggregate (shark grip or fine silica sand) into the wet coat immediately after rolling each section.
Step 8: Apply the Second Topcoat
Let the first coat cure per manufacturer specs – not just dry to the touch, but fully cured (usually 24 hours for enamel, 12 to 18 hours for epoxy). Apply the second coat the same way. Two coats give you significantly better abrasion resistance and depth of color. Don’t bring cars or heavy equipment onto the floor for at least 72 hours after the final coat, even if it feels dry – full cure for epoxy takes up to a week.
Pro Tips
- Temperature matters enormously: don’t apply concrete paint below 55°F or above 90°F – coating adhesion fails at temperature extremes.
- If your basement floor shows white powdery deposits (efflorescence), scrub them off with a stiff brush and diluted muriatic acid before painting – efflorescence is mineral salts migrating through concrete from water pressure, and painting over it causes immediate delamination.
- For a cleaner look, apply painter’s tape at the wall-floor junction and remove it within 15 minutes of rolling the final coat – removing tape after the coat fully dries often pulls it off in chunks.
- A squeegee is faster than a roller for spreading the first coat of thin epoxy primer on large garage floors.
- Rent rather than buy a floor grinder – a single-day rental runs $60 to $90 and does far better prep work than hand tools alone.
Frequently Asked Questions
How long will painted concrete last in a garage?
A properly prepped two-part epoxy coating lasts 5 to 10 years under typical residential garage use. Porch-and-floor enamel on a properly prepped surface typically lasts 3 to 5 years. The single biggest factor in longevity is surface preparation – prep determines everything.
Do I need to etch concrete that’s already been etched before?
If the old coating is fully removed and bare concrete is exposed, light etching or mechanical scuffing is still beneficial to open the pores and remove any oxidation layer. If there are patches of old coating remaining, you need to either remove all of it or grind the whole floor to create a uniform surface.
Can I paint over an existing concrete sealer?
Not without mechanical prep. Paint and sealer are chemically incompatible – sealer is designed to repel penetration, which is the opposite of what paint needs. Grind or sand the sealer off completely, then clean, etch, and prime as normal.