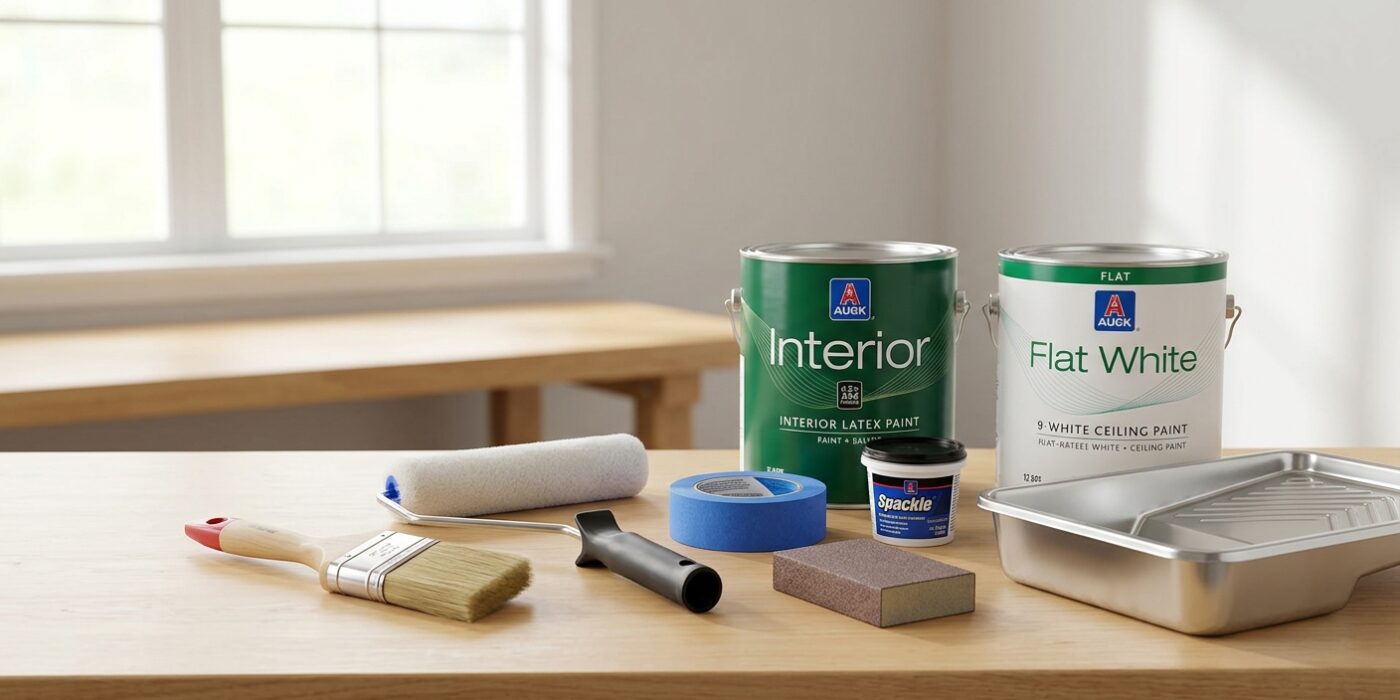
Project Shopping List
Prep Work Is Everything
Professional painters spend 70% of their time on prep and 30% painting. Homeowners do the opposite and wonder why their results look amateur.
Step 1: Clean the Walls
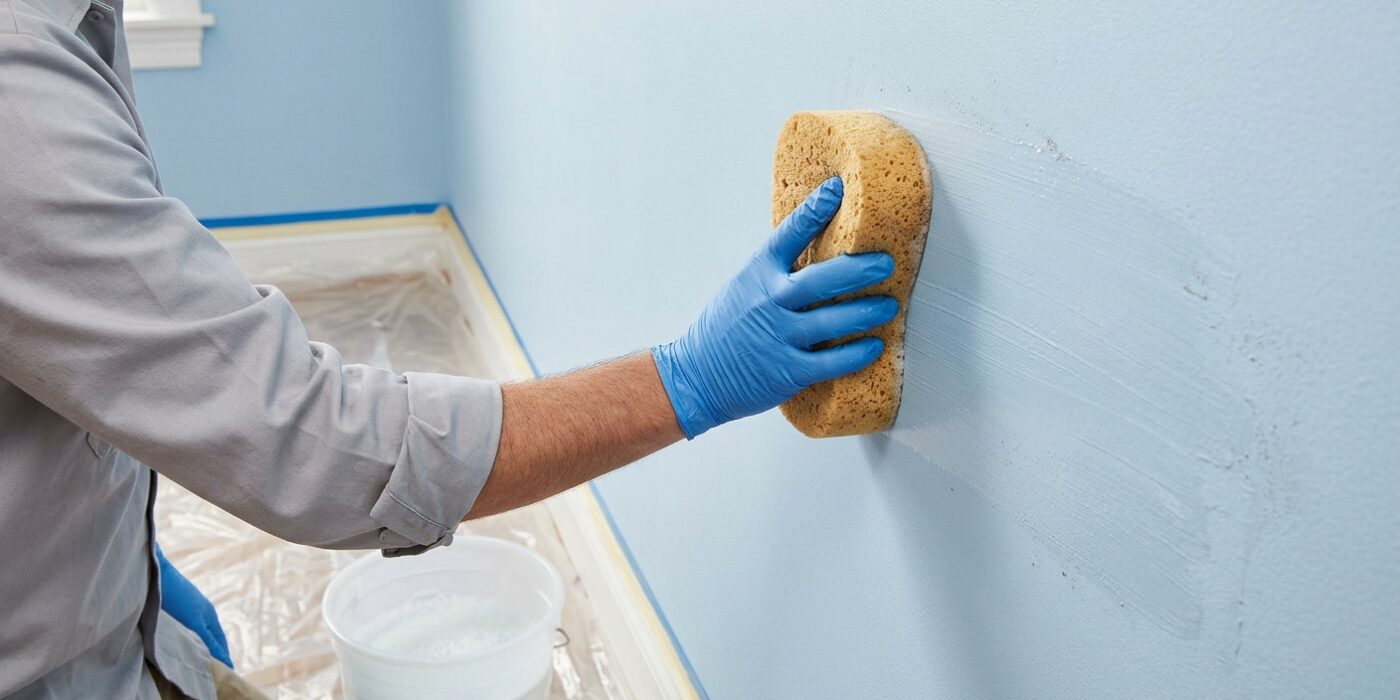
Before you even open a can of paint, you must prepare your canvas. Even if your walls look clean, they are likely covered in invisible layers of dust, cooking grease, and fingerprints that will prevent your new paint from sticking properly. To get the best results, mix one part TSP (Trisodium Phosphate) substitute with the amount of warm water specified on the product label in a large bucket. Dip a clean sponge into the mixture, wring it out so it is damp but not dripping, and wipe the walls down using firm, overlapping vertical strokes. Focus specifically on high-traffic areas, like around light switches and baseboards, where oils from hands and feet tend to accumulate. Once you have wiped everything down, leave the room completely undisturbed for at least 24 hours. Ensuring the wall is bone-dry is the most critical step to prevent bubbling or peeling paint later on.
Beginner Tip: Avoid the urge to rush this process. If you start painting while the wall is even slightly damp, the moisture will get trapped under the new layer of paint, leading to an uneven finish or premature peeling that is difficult to fix.
Alternative Method: If you don’t have access to TSP substitute, you can use a mixture of one cup of white vinegar per gallon of warm water. It is a gentler, more natural option that still effectively cuts through surface grime and prepares the surface for a fresh coat.
Pro Tip: Keep a second bucket filled with plain, clean water nearby. Use this to do a final “rinse” wipe over the walls after you have scrubbed them with the cleaning solution; this removes any leftover residue, leaving a pristine surface for your primer or paint.
Step 2: Fill Holes and Sand
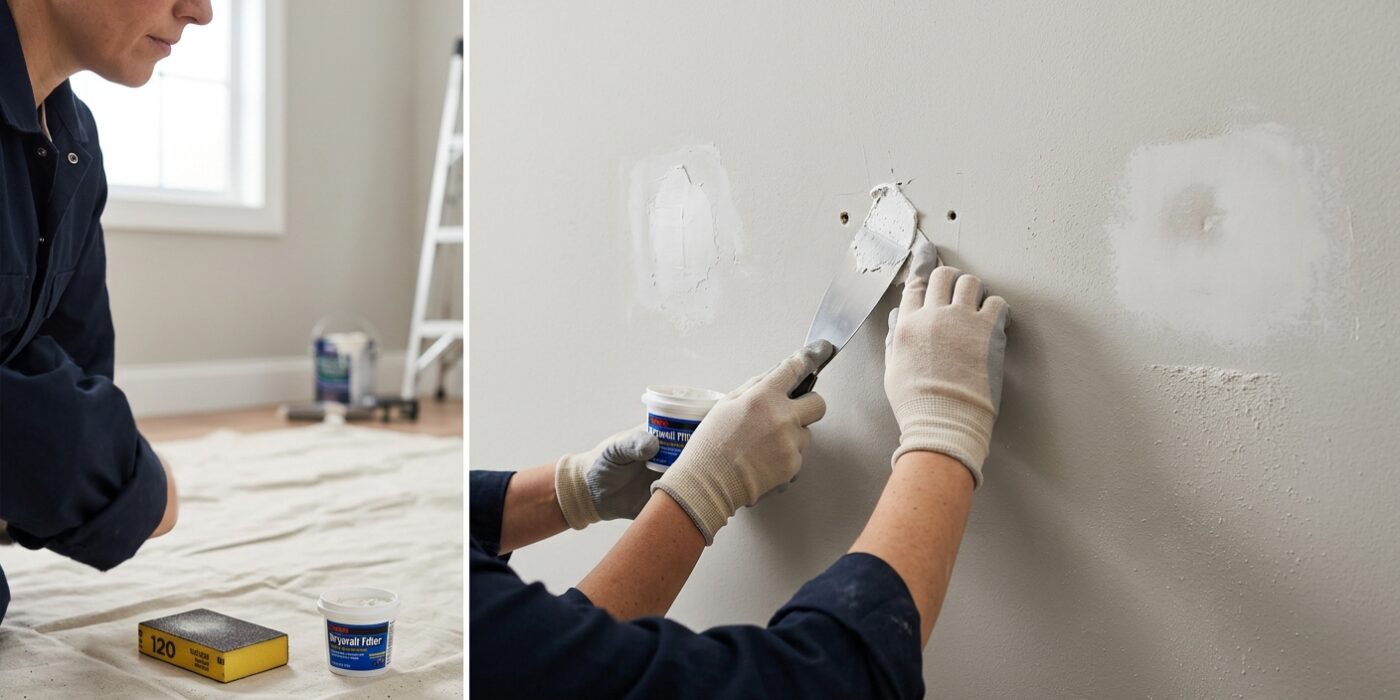
Before you open your paint cans, you need a smooth surface. Even the best paint won’t hide a dent or a hole; in fact, a glossy finish often makes imperfections stand out more. Take a small tub of lightweight spackling compound and a 2-inch putty knife. Scoop a pea-sized amount onto the blade and press it firmly into the hole, then swipe across once to level it. Don’t worry about being perfect; just make sure it is flush with the wall. Once the compound turns from pink to white or feels completely dry to the touch – usually within 30 minutes – use a piece of medium-grit sandpaper (around 120-grit). Lightly rub the patch in a circular motion until it feels perfectly smooth. The goal is to “feather” the edges, meaning you should run your fingers over the spot and be unable to feel where the patch ends and the wall begins.
Beginner Tip: Avoid the urge to overfill the holes. A common mistake is piling on too much spackle, which creates a visible hump that is difficult to sand down later. Less is truly more; you only need enough to fill the void.
Pro Tip: To ensure you haven’t missed any hidden dings, hold a flashlight against the wall at a sharp angle. The side-lighting will cast long shadows, revealing every tiny dent or imperfection that you might otherwise overlook in standard room lighting.
Step 3: Tape and Prime
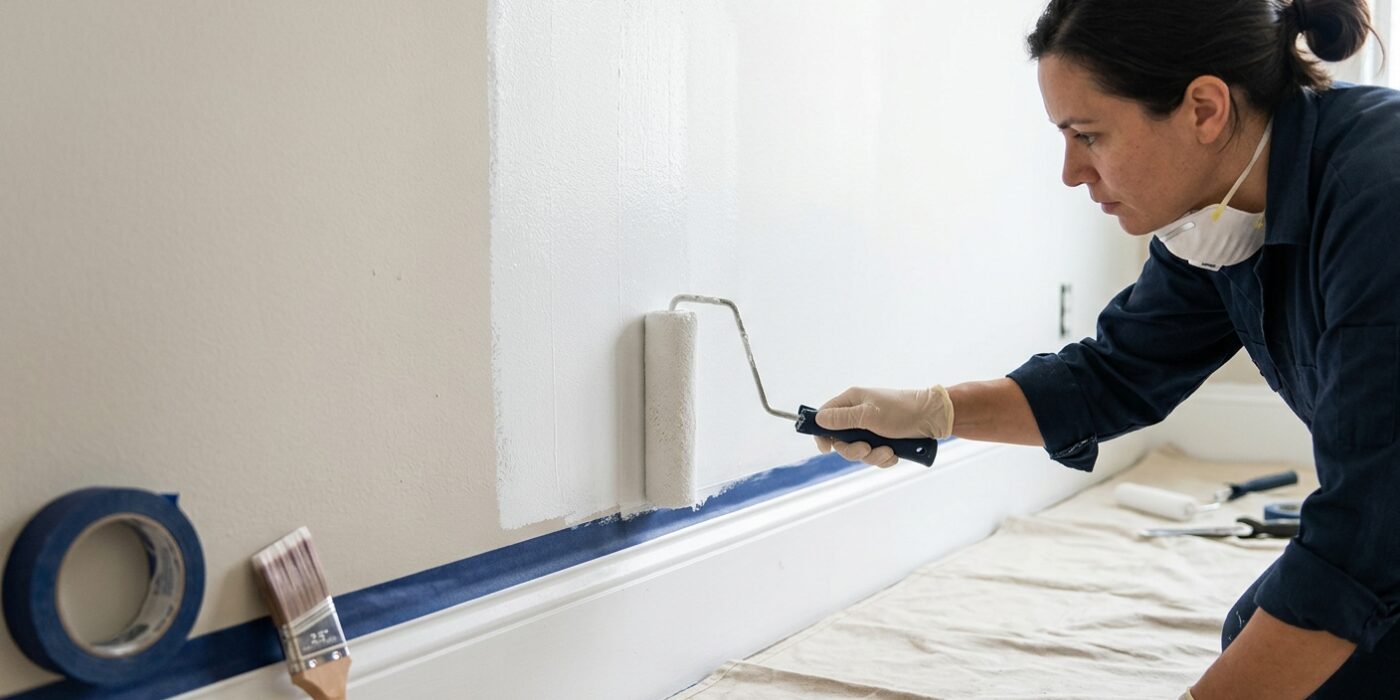
Now that your walls are clean, it is time to protect your trim and prepare the surface. Start by applying painter’s tape along the edges of your baseboards, door frames, and window casings. Press the tape down firmly with your thumb or a putty knife to create a tight seal; this prevents paint from seeping underneath and creating messy, uneven lines. If you have repaired drywall holes or are covering a dark, vibrant color with a lighter shade, apply a coat of primer first. Primer acts as a bonding agent that creates a uniform base, ensuring your topcoat color looks true and vibrant. Use a two-inch angled brush for corners and edges, applying the primer in smooth, even strokes. This extra layer ensures your final paint job is durable and hides imperfections.
Beginner Tip: Do not stretch the painter’s tape as you pull it from the roll. If you pull it too tight, it will naturally try to shrink back into its original shape once applied, which causes it to peel away from the wall and allows paint to leak behind it.
Pro Tip: To get the crispest lines possible, wait for the primer to dry completely, then paint a thin layer of your wall color over the edge of the tape. Once that dries, paint the wall as normal; this seals the tape edge so that only your wall color bleeds under, leaving a flawless line.
Step 4: Cut In and Roll
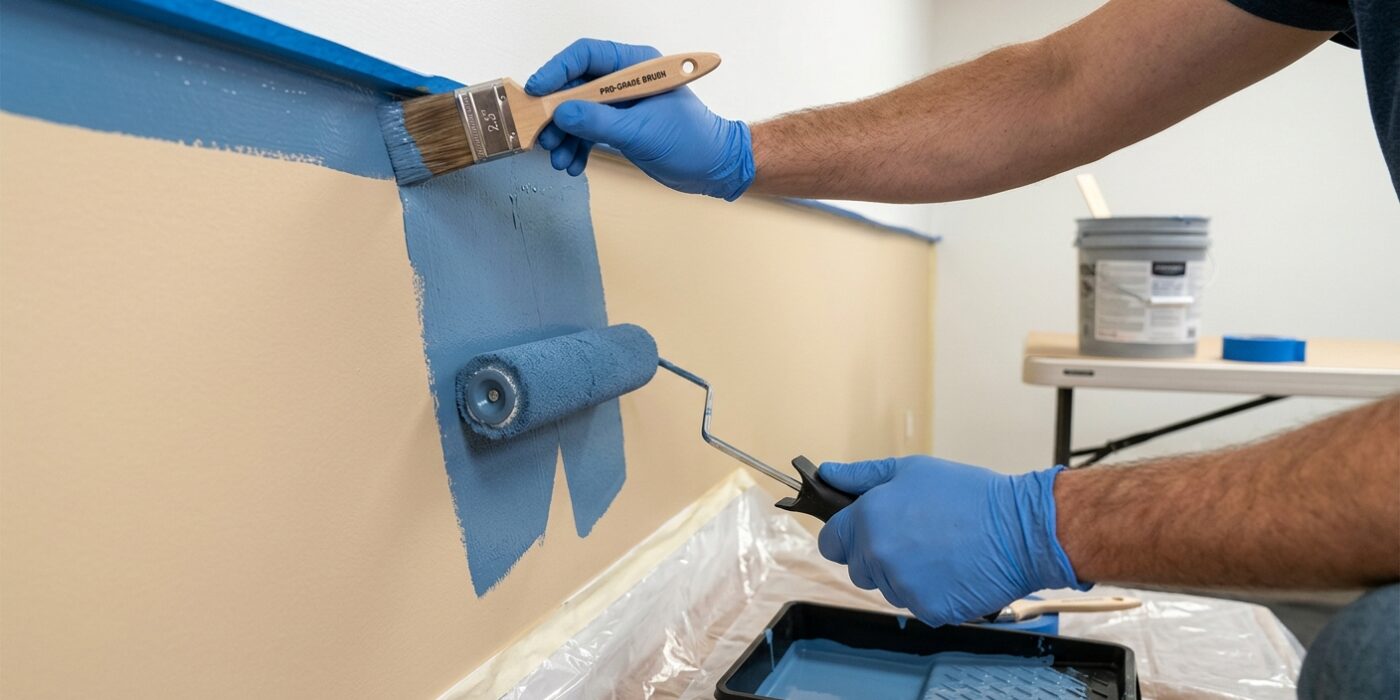
Now it is time to bring your room to life. Start by “cutting in,” which means painting the edges where the wall meets the ceiling, corners, and trim. Use your 2-inch angled brush to paint a 3-inch wide border around these areas. By doing this first, you create a “frame” that your roller can safely overlap without hitting the woodwork. Next, pour paint into your tray and load your roller until it is evenly coated but not dripping. Apply the paint to the main wall in a large “W” shape, then fill in the gaps without lifting the roller. This technique ensures an even distribution of paint across the entire surface.
Beginner Tip: Avoid the urge to overload your brush or roller. Beginners often think more paint equals better coverage, but thick layers lead to drips, sags, and uneven textures. Two thin, smooth coats will always look more professional and last longer than one heavy, messy coat.
Pro Tip: Keep a “wet edge” while you work. Try to complete one full wall before taking a break, and always start your next roller stroke slightly back into the previous, still-wet paint. This prevents lap marks, which are those unsightly streaks that appear when paint dries at different times.