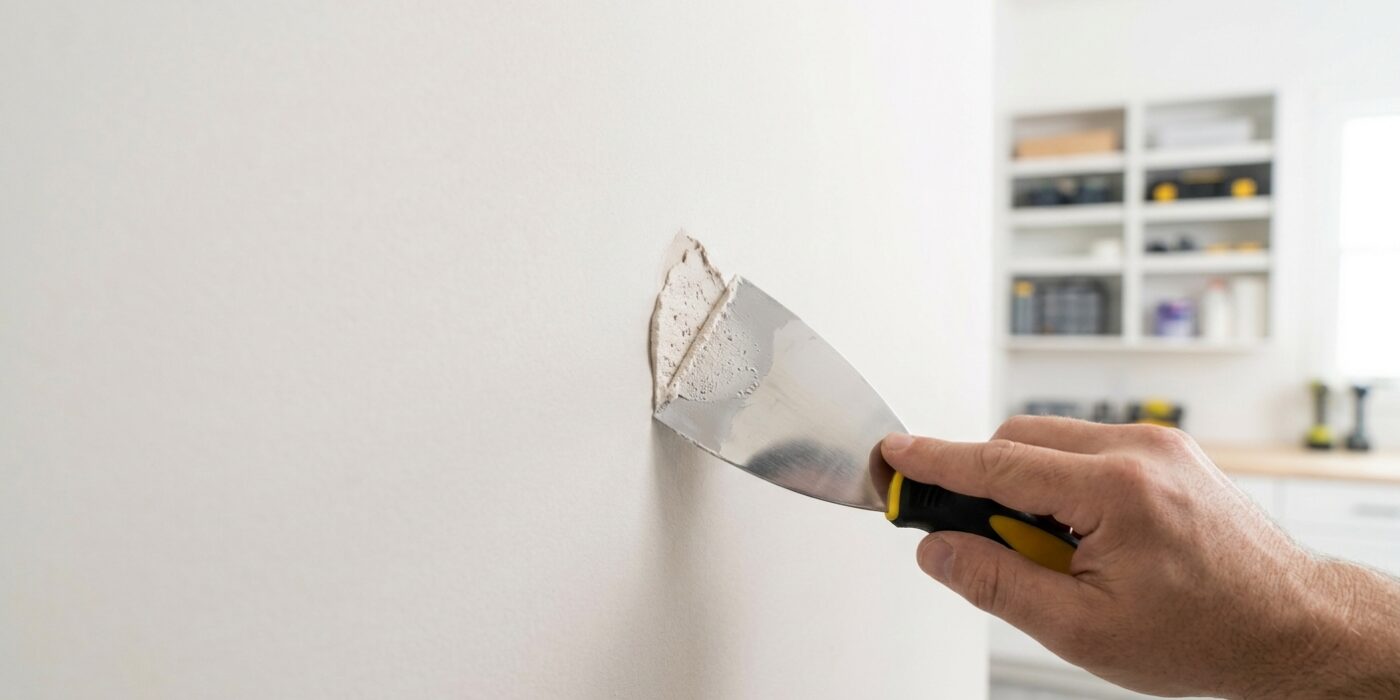
Project Shopping List
The difference between a paint job that looks amateur and one that looks professional is almost entirely in the prep work done before the first coat is rolled on. Paint is not a filler — it reveals every imperfection in the surface beneath it rather than hiding them. This guide covers the complete wall prep sequence: filling, sanding, cleaning, and priming, so that the paint coat on top looks its best.
What You Will Need
Tools
- Putty knife (6-inch and narrow)
- Pole sander with 120-grit and 220-grit sandpaper sheets
- Shop vacuum or vacuum with brush attachment
- Tack cloth or slightly damp cloth
- Roller and brush for primer
Materials
- Lightweight spackling compound (for small holes and dings)
- Joint compound (for larger repairs)
- Drywall primer or PVA primer
Step 1: Inspect the Walls in Raking Light
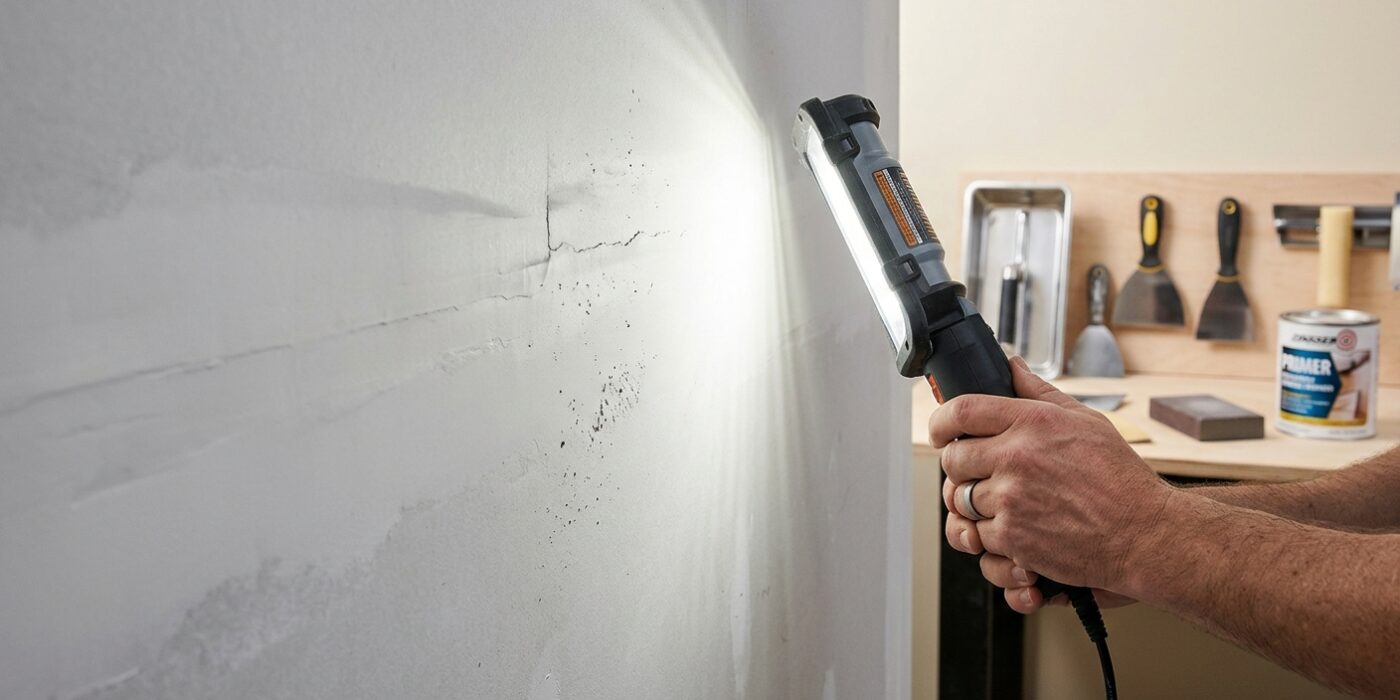
Before you open a single can of paint, you need to see your wall the way a professional painter does. Turn off the overhead lights and grab a bright LED flashlight. Hold the light flat against the wall, pointing it parallel to the surface – this is called “raking light.” By skimming the beam across the plaster, the light will cast long shadows behind even the tiniest bumps, dents, or nail holes that are invisible under standard lighting. Walk slowly along the perimeter of the room, keeping the flashlight about 2 to 4 inches away from the surface. As you spot these imperfections, mark them lightly with a pencil. Don’t worry about making the wall look messy; these marks are your roadmap for a flawless finish.
Beginner Tip: Avoid using a heavy marker or pen to circle your imperfections. Ink can bleed through your new paint, leaving a ghostly smudge behind. Always use a standard #2 pencil, and use a light touch so you don’t accidentally create new grooves in the drywall that you will have to fix later.
Pro Tip: If you are working in a large room, try using a headlamp instead of a handheld flashlight. This keeps your hands free to mark the wall immediately as you move, turning the inspection process into a much faster and more efficient one-person job.
Step 2: Fill All Holes and Dings
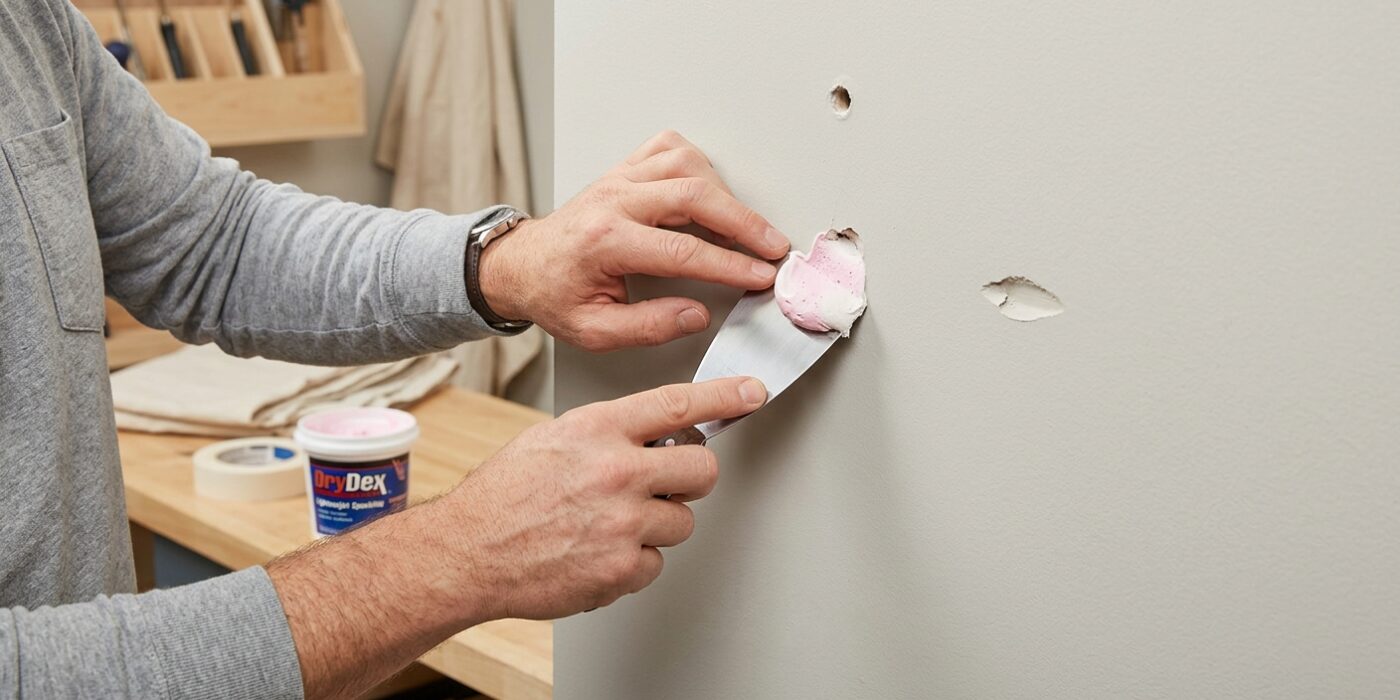
Before you can paint, your walls need to be perfectly smooth. Start by inspecting the surface for nail holes, scuffs, or dents. For small spots, scoop a pea-sized amount of lightweight spackling compound onto your putty knife. Press the compound firmly into the hole and swipe the knife across at a 45-degree angle to level it out. Leave just a tiny bit of extra material – often called “overfilling” – because the compound will shrink slightly as it dries.
For larger gouges, such as those left by heavy drywall anchors, use joint compound. Apply a thin layer, let it dry for a few hours, and then add a second, slightly wider coat. Never try to fill a large hole in one thick glob; it will almost certainly crack as it dries, undoing all your hard work.
Beginner Tip: Don’t try to get the patch perfectly flush with the wall while the compound is still wet. It is much easier to remove the extra material with a quick sanding once it has turned completely dry and white. Trying to over-smooth wet mud usually just results in pulling the material back out of the hole.
Pro Tip: Hold your putty knife at a sharper angle – closer to 90 degrees – for the final swipe. This keeps the blade from digging into the hole and helps leave the compound perfectly level with the surrounding wall surface, which saves you significant sanding time later.
Step 3: Address Cracks
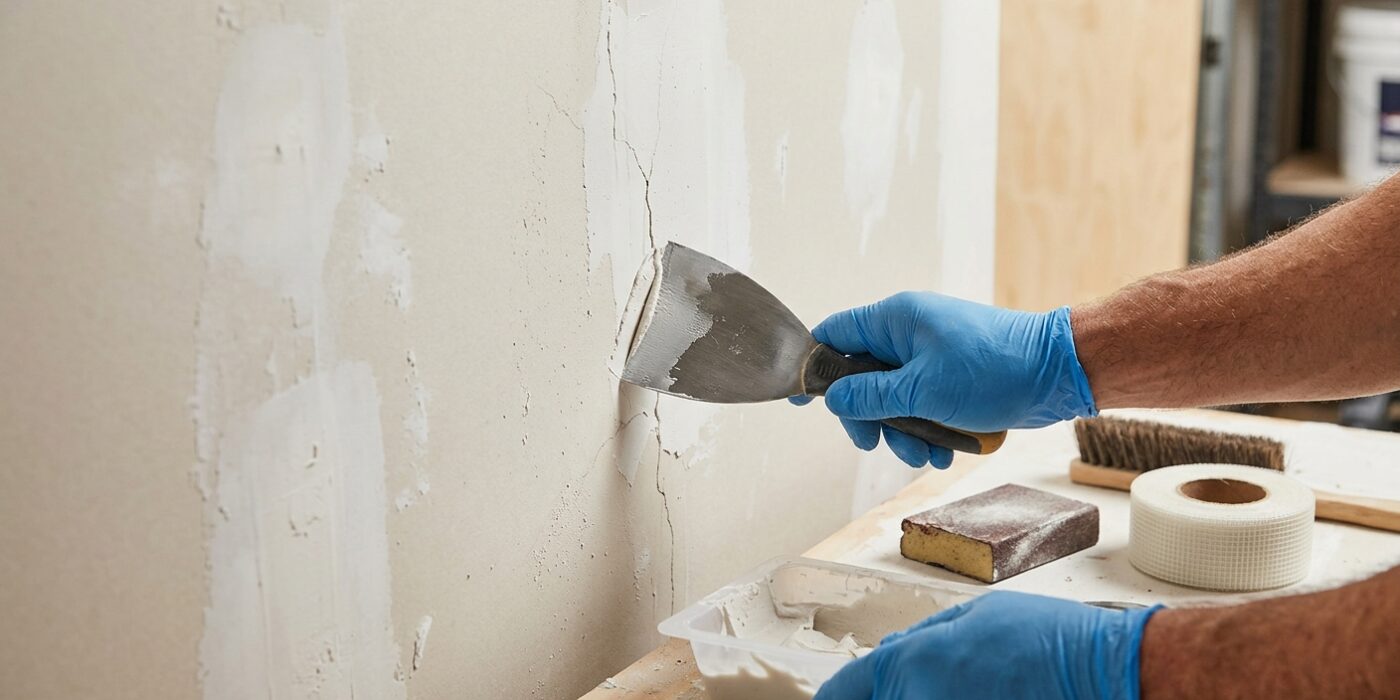
Now that your walls are clean, it is time to tackle those pesky cracks. Even tiny hairline fissures can become eyesores once you roll on a fresh coat of paint, so we want to bridge them properly now.
For small cracks, use the corner of your putty knife to gently widen the crevice into a tiny V-shape, about 1/8-inch deep. This gives the joint compound a “shelf” to grip onto. Blow away any loose dust, then press a small amount of lightweight joint compound into the gap with your knife. Use a single, firm stroke at a 45-degree angle to smooth it flush with the wall. If you notice a crack running along a corner or a long seam, it likely signals a bit of house settling; in this case, press a piece of adhesive mesh tape over the crack before applying your compound to prevent the split from reappearing later.
Beginner Tip: Avoid the urge to over-fill. Beginners often glob on too much compound, which creates a large hump that is difficult to sand down later. Aim to keep your patch thin and level with the surrounding wall surface.
Pro Tip: Before you begin, take a damp sponge and lightly wipe the area around the crack. Clearing away the invisible layer of drywall dust ensures your patch sticks permanently rather than flaking off the moment you start painting.
Step 4: Sand Smooth
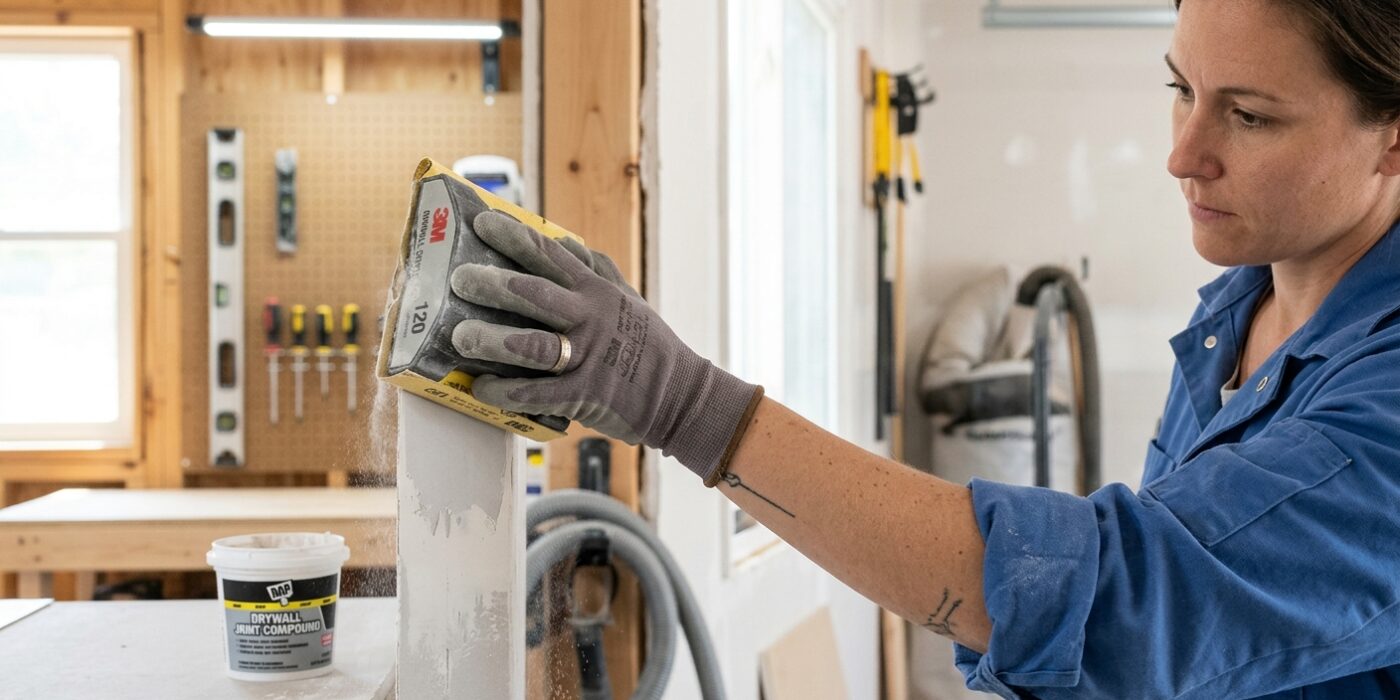
Now that your filler is completely dry, it is time to create a surface so smooth that no one will ever know there was a hole there. Start by using a piece of 120-grit sandpaper to gently knock down any high spots or “proud” edges – areas where the filler sticks out further than the wall. Once the surface is level, switch to 220-grit sandpaper to refine the area. Use a light, circular motion to create a “feather-edge,” which is essentially a smooth transition where the filler blends invisibly into the surrounding paint.
Here is a secret from the pros: always sand a larger area than the repair itself. If you only sand the tiny spot you filled, you will likely create a flat, shiny patch that catches the light differently than the rest of the wall once you paint. By extending your sanding radius outward by a few inches, you create a gentle slope that hides the repair perfectly.
Beginner Tip: Avoid pressing too hard. Many beginners think more pressure equals faster results, but you risk gouging the filler or creating a divot in your wall. Let the sandpaper do the work. If you feel like you are struggling to get it flat, you probably just need to switch to a fresh sheet of sandpaper.
Pro Tip: Use a bright flashlight held at a sharp, low angle against the wall. This “raking light” will cast deep shadows on any bumps or imperfections, making it incredibly easy to see exactly where you need to sand more and where the wall is already perfectly smooth.
Step 5: Clean the Walls
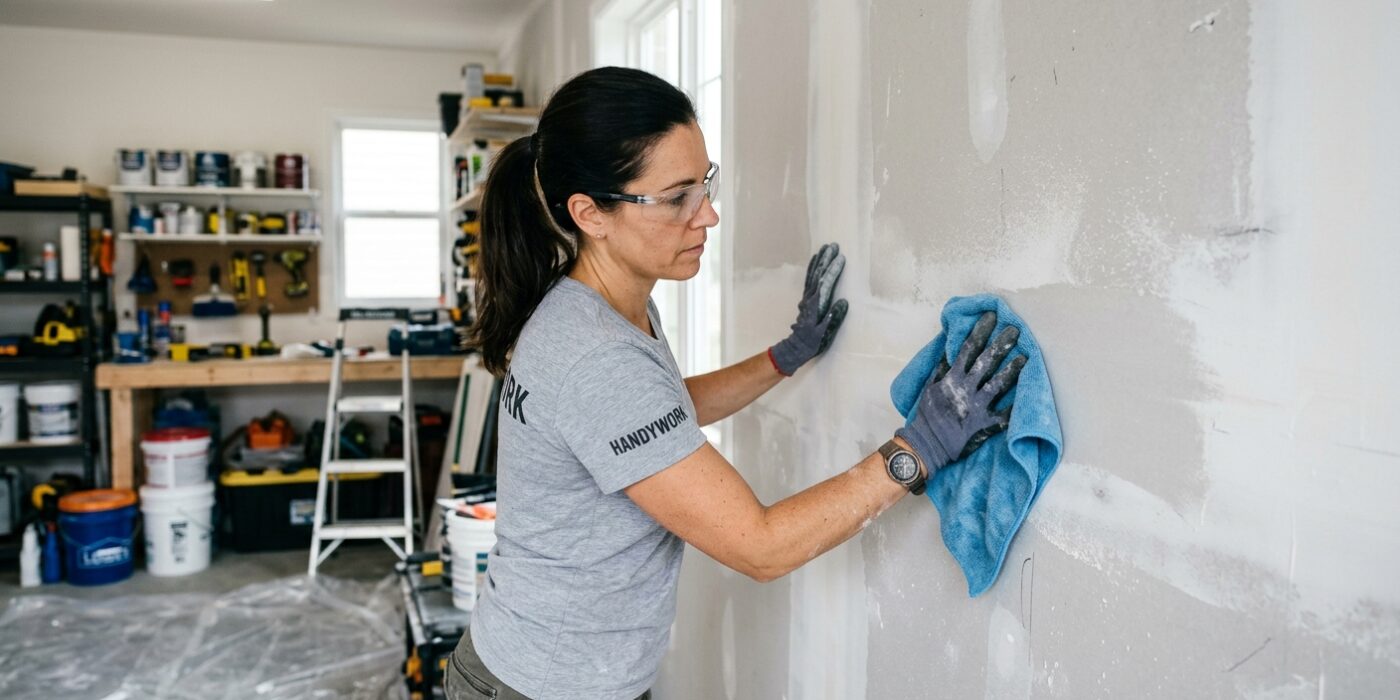
Before you open that can of paint, you must ensure your walls are perfectly clean. Any leftover sanding dust or hidden grease acts as a barrier that prevents primer from sticking, which leads to peeling paint later. Start by using a vacuum with a soft brush attachment to remove dust from the ceiling corners, baseboards, and the walls themselves. Once the bulk of the dust is gone, wipe the walls down with a microfiber cloth that is only slightly damp – you want it to pick up residue, not soak the drywall.
In kitchens, grease is your enemy. Mix a TSP substitute according to the package directions (usually about one-quarter cup per gallon of warm water) and wipe the walls thoroughly. In bathrooms, inspect for dark spots; if you find mildew, scrub it with a solution of one part bleach to three parts water. Most importantly, allow your walls to dry completely for at least two hours before moving to the priming stage.
Beginner Tip: Avoid using an overly wet rag. If your cloth is dripping, it can soften the drywall paper or leave streaks in the remaining dust, creating a muddy mess that is difficult to sand away.
Alternative Method: If you do not have a specialized tack cloth, an old, clean white t-shirt works perfectly. It is lint-free and soft enough to pick up fine dust without scratching the surface you just prepared.
Pro Tip: Use a long-handled dust mop or a clean microfiber floor sweeper to reach high spots. It saves your shoulders from strain and ensures you do not miss hidden dust patches near the ceiling.
Step 6: Prime
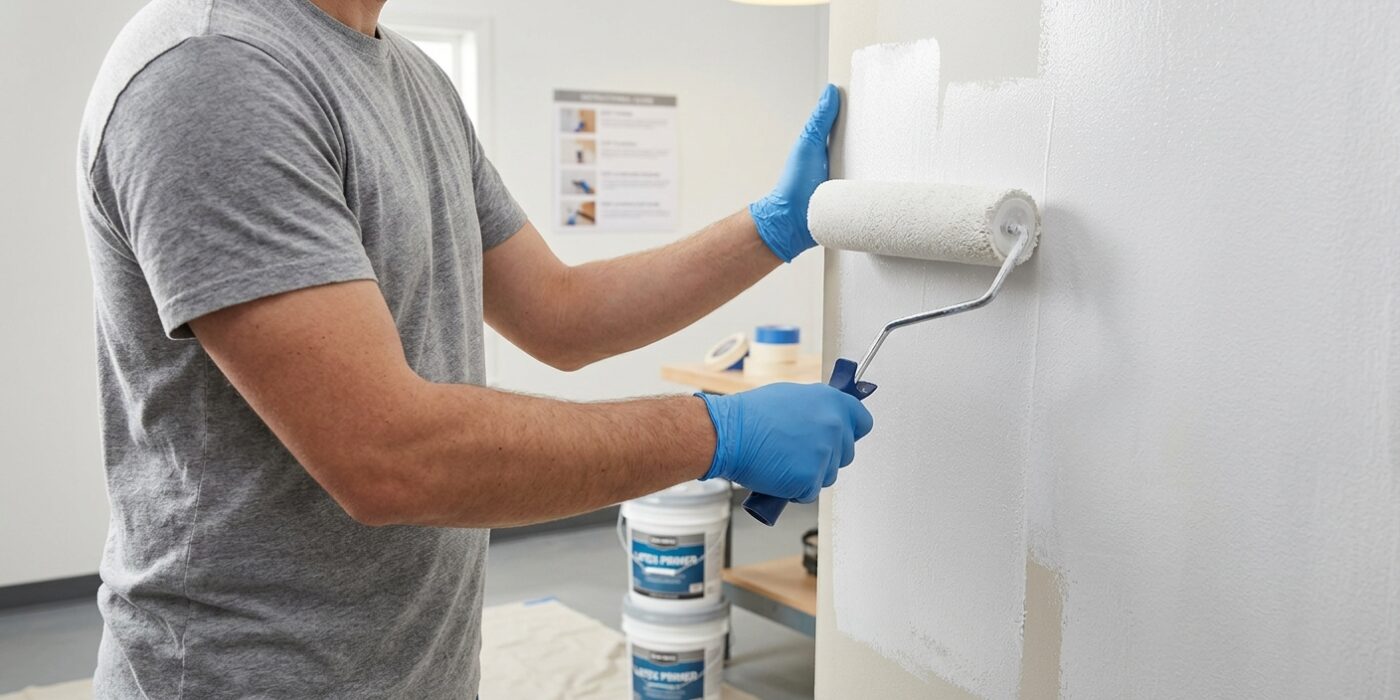
Now that your walls are smooth, it is time to prime. Priming acts as a bridge between your wall and your final paint color, ensuring everything looks uniform. If you skip this, your patched spots will soak up paint differently than the rest of the wall, resulting in dull, flat circles known as “flashing.”
Use a high-quality roller to apply a drywall or PVA primer over all repaired patches. For the best, most professional-looking finish, we recommend priming the entire wall surface. If you are dealing with stubborn water or smoke stains, use a specialized stain-blocking primer, which seals off imperfections so they do not bleed through your fresh coat of paint. Always check your primer container for the recommended “recoat time” – this is how long you must wait before you can safely apply your finish paint.
Beginner Tip: A common mistake is overloading your roller with too much primer. This leads to heavy drips or “curtains” of liquid running down your wall. Dip your roller into the tray and roll it back and forth on the textured ridges of the tray until the roller is evenly coated but not dripping. Your goal is a smooth, thin layer, not a thick, wet mess.
Pro Tip: If you are unsure if you have missed a spot, shine a bright work light at an angle against the wall. The texture of the wet primer will stand out against the dry wall, making it easy to spot any missed patches or thin areas before they dry.