Project Shopping List
A drywall water stain or water-damaged section does more than look bad – it can harbor mold, the weakened gypsum provides little structural value, and paint will not hide a water stain without the right primer. The repair process depends on the extent of the damage: a small stain on otherwise solid drywall can be treated in place; soft, crumbling, or mold-affected drywall must be cut out and replaced. This guide covers both scenarios.
Before starting any repair, confirm that the source of the water intrusion has been fixed. Repairing drywall while the leak is still active is pointless.
What You’ll Need
Tools
- Utility knife and drywall jab saw
- Stud finder
- Drywall screws and drill
- 6-inch and 10-inch drywall knives
- Sanding sponge
Materials
- Stain-blocking primer (shellac-based is most reliable for water stains)
- Joint compound
- Paper drywall tape
- Replacement drywall panel (same thickness as existing)
- Drywall clips or wood backing (for patches not landing on studs)
- Mesh tape (for small patches)
- Mold-killing primer or bleach solution (if mold is present)
Step 1: Identify the Extent of the Damage
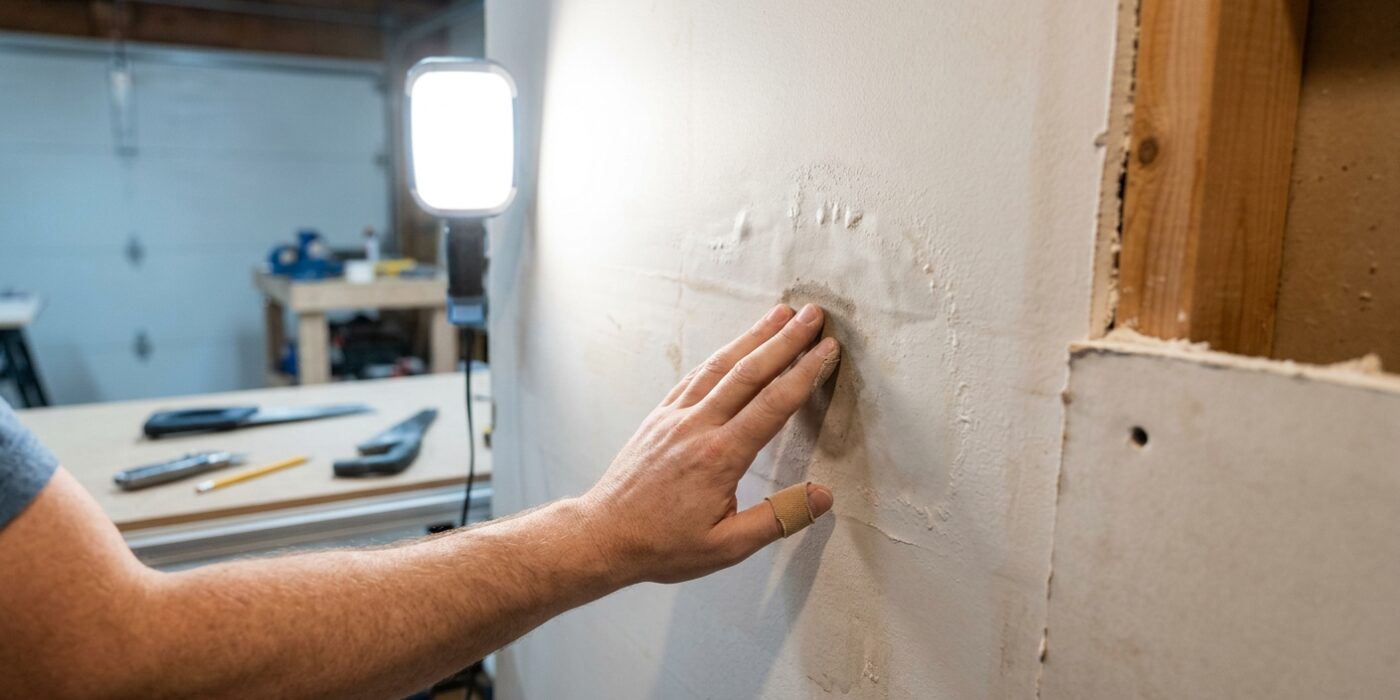
Before you dive into repairs, you need to map out exactly how much drywall is compromised. Start by pressing your palm firmly against the stained area. Healthy drywall should feel as solid and unyielding as a wooden door. If the surface feels spongy, soft, or crumbles under light pressure, the gypsum core has deteriorated and must be replaced. Use your fingers to probe a 12-inch radius around the visual stain, checking for hidden discoloration, fuzzy mold growth, or a damp, musty odor. Because water travels behind the wall, the actual damage is often much larger than the visible spot on the surface. Identifying the full perimeter now ensures you do the job once and do it right.
Beginner Tip: Avoid the mistake of only repairing the area that looks stained. If you leave behind soft or damp drywall, the moisture will eventually ruin your new paint or patches, forcing you to start the entire project over.
Pro Tip: Use a high-powered flashlight held at a sharp angle against the wall surface. This “raking light” trick will cast shadows that make even the smallest dents, ripples, or sagging sections of the drywall stand out, helping you pinpoint the exact boundaries of the damage that might be invisible under normal room lighting.
Step 2: Address the Stain-Only Case
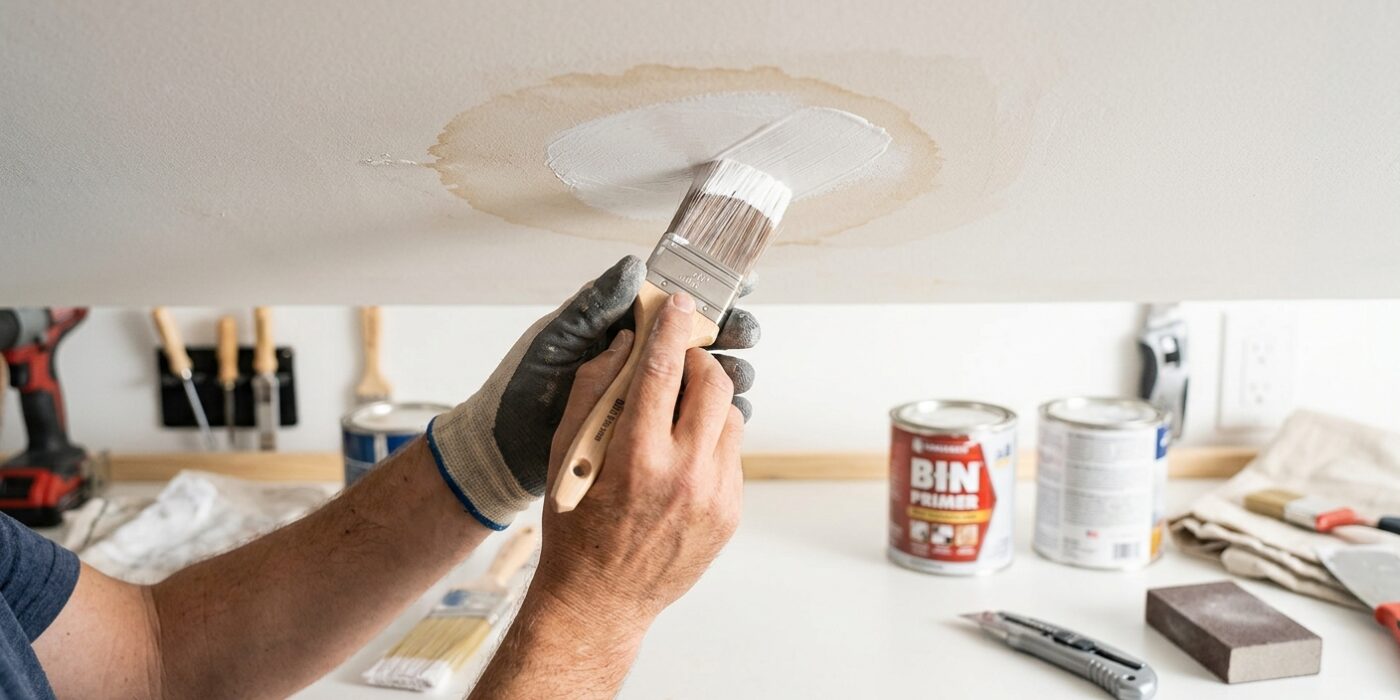
If your drywall feels solid – meaning it doesn’t give or crumble when you press on it – you’ve lucked out! You only need to address the discoloration. First, ensure there is no lingering mold by scrubbing the area with a solution of 1 cup bleach mixed into 1 gallon of water. Use a soft sponge, and be sure to let the area dry completely before proceeding.
Next, you must seal the stain. Because water stains are notorious for “bleeding” through paint, you cannot use a standard water-based primer. Instead, use a shellac-based primer like BIN or a dedicated oil-based stain-blocker. Apply a thin, even coat using a 2-inch synthetic brush, extending just past the edges of the stain. Once dry, if the surface feels bumpy or uneven, apply a very thin “skim coat” of pre-mixed joint compound with a putty knife. Hold the knife at a 45-degree angle to keep the layer thin, sand it smooth with 120-grit sandpaper, and you are ready for paint.
Beginner Tip: Don’t try to hide a dark stain by piling on extra coats of regular wall paint. The water stain will simply soak through and reappear within hours. Always use a dedicated stain-blocking primer first; it is the only way to permanently lock that stain away.
Pro Tip: When sanding your joint compound, don’t press hard. Use a light, circular motion with your sandpaper and let the abrasive do the work. If you feel like you are sanding away all the compound, you are pressing too hard!
Step 3: Cut Out Damaged Drywall
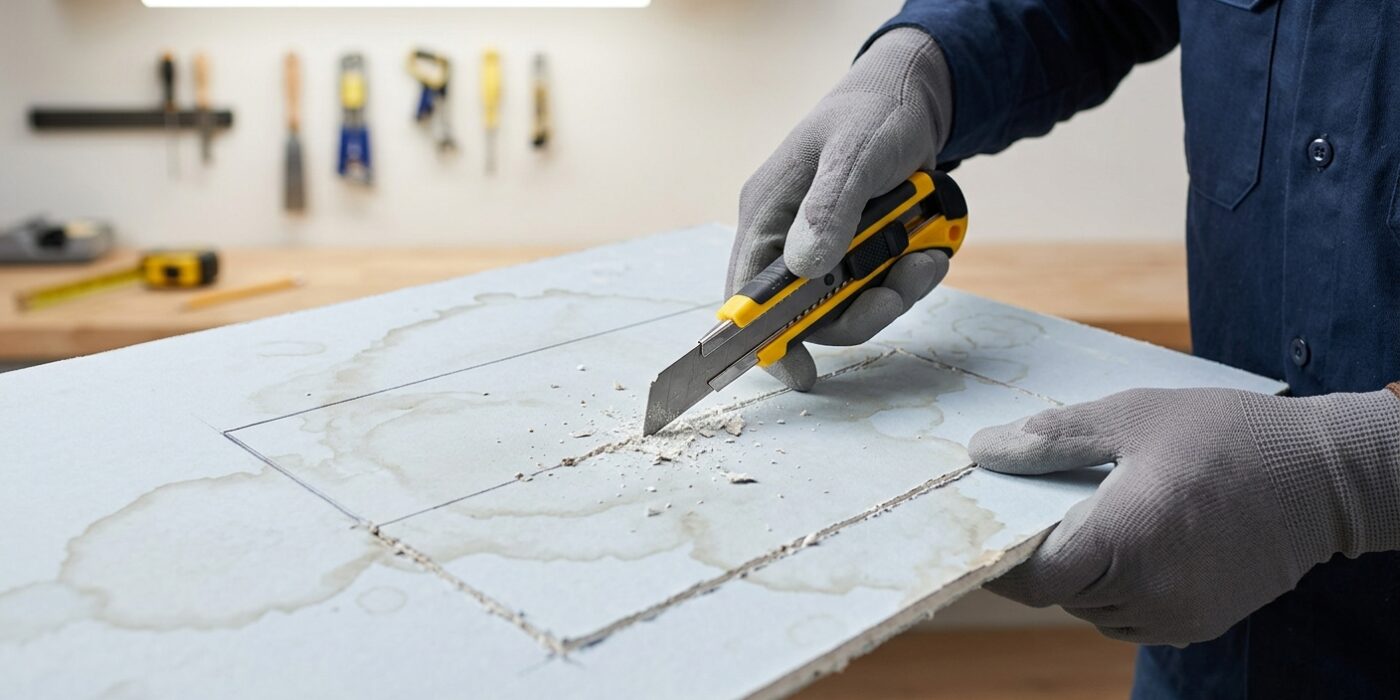
Now it is time to remove the damaged area so we can start fresh. Using a stud finder, slide it slowly across the wall on both sides of the damage to locate the vertical wooden studs hidden behind the drywall. Mark these stud locations with a pencil. You need to create a clean-edged rectangle that extends to the center of these studs; this ensures your new piece of drywall has a solid wooden “anchor” to be screwed into later.
Place your T-square against the wall to act as a straightedge guide. Hold your utility knife firmly and score the drywall along the square, repeating the motion until you cut through the paper and gypsum. Once your lines are scored, use the jab saw – a small, pointed hand saw – to finish the cuts and pop the damaged piece out. After removing the chunk, peer into the wall cavity. If you see wet insulation or dark patches of mold on the wooden studs, remove the wet insulation and let the wall dry out completely before proceeding. It is okay to take your time here; a clean, square hole makes the patching process much easier.
Beginner Tip: Be very careful when pushing the jab saw into the wall. You only want to cut through the half-inch thickness of the drywall. If you push the saw in too deep, you might accidentally slice through electrical wires or water pipes hidden in the wall cavity. Insert the blade slowly and keep the tip angled toward you.
Pro Tip: To get a perfectly straight cut without the drywall paper tearing, press down firmly on your T-square while scoring. Make three or four light passes with your utility knife rather than trying to cut through it all in one aggressive stroke.
Step 4: Treat the Framing if Needed
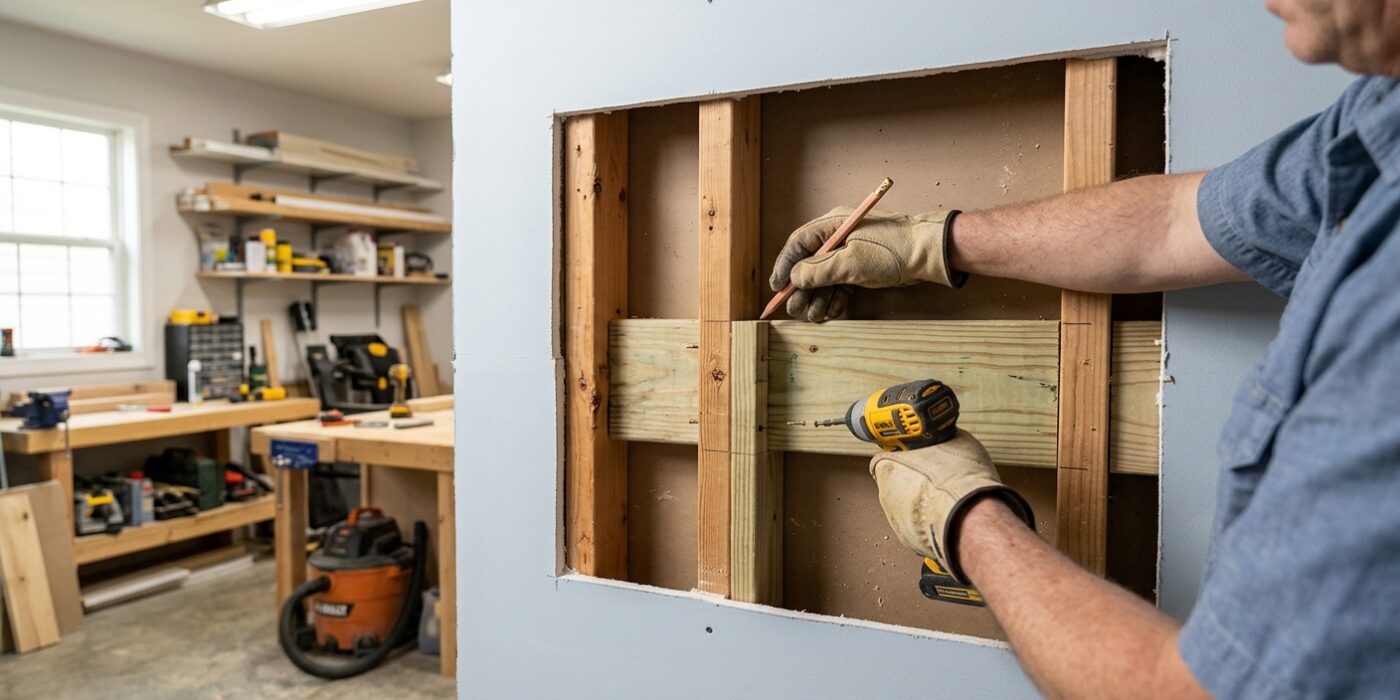
Before you seal up your wall, take a close look at the wooden studs behind the drywall. If you see dark spots or fuzzy growth, that is mold. It is vital to stop this now; otherwise, it will just grow behind your new wall. If the wood feels soft, crumbly, or has holes you can push a screwdriver into, the rot is too deep and that section of wood must be replaced. If the wood is firm but stained, use a stiff wire brush to scrub away surface debris, then apply a mold-killing primer or an encapsulating spray. Use a paintbrush to coat all sides of the wood, ensuring you cover every crack.
If you find that your drywall patch will hang in thin air without a wooden edge to screw into, you need to install blocking. Cut a scrap piece of 2×4 lumber to fit snugly between your existing studs, position it flush with the front face of the studs, and drive two 3-inch wood screws through the stud into the end of your new board at a slight downward angle.
Beginner Tip: A common mistake is closing the wall while the wood is still damp. Always wait at least 24 hours for the primer to dry completely. If you trap moisture inside, you are essentially inviting mold to come back.
Pro Tip: Use a flashlight held at a sharp angle against the side of the studs. This “raking light” trick makes mold spores and deep wood texture pop, helping you spot hidden damage you might otherwise miss.
Step 5: Install the Patch Panel
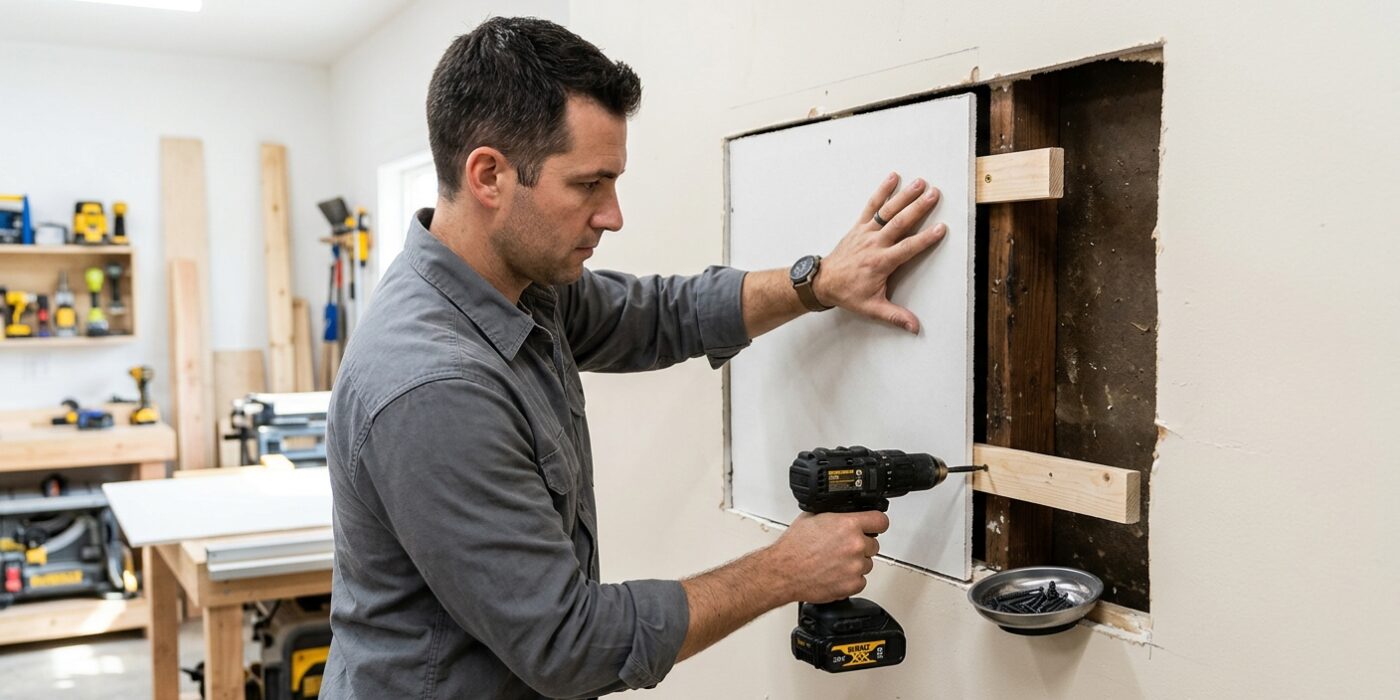
Now that you have your opening prepared, it is time to install your new piece of drywall. First, measure your opening carefully and cut a replacement piece to match those exact dimensions. It is vital to use drywall of the same thickness as your wall – usually 1/2-inch for most interior rooms – so the surface remains uniform.
Place the patch into the hole and secure it using 1-5/8-inch drywall screws. Drive your screws directly into the wooden studs or the backing boards you installed earlier. Space them about 8 inches apart along the edges and 12 inches apart in the center of the panel. You want the screw heads to dimple the paper slightly without breaking through it; if the paper tears, the screw won’t hold the panel firmly. Your goal is for the patch to sit perfectly flush with the wall. If it sticks out or feels sunken, gently adjust your backing boards or shims until the transition is smooth to the touch.
Beginner Tip: A common mistake is driving the screw too deep. If the head punches through the paper layer of the drywall, it loses its holding power. Stop turning the drill the moment the screw head creates a small, shallow crater in the surface.
Pro Tip: Before you start screwing, use a utility knife to lightly chamfer – or bevel – the factory edges of your patch. By shaving off a tiny amount at a 45-degree angle, you create a small gap that makes it significantly easier to fill with joint compound later.
Step 6: Tape, Mud, and Finish
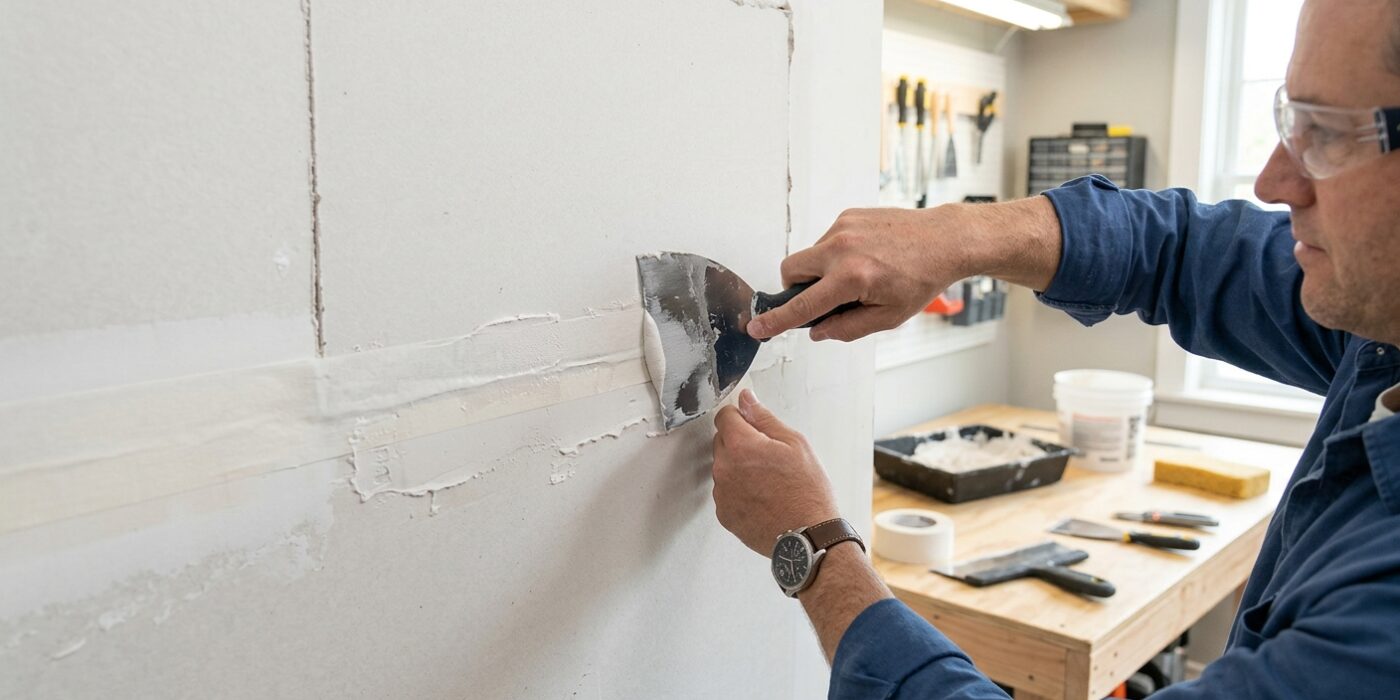
Now that your drywall patch is secure, it is time to blend it into the wall. Start by applying a thin layer of joint compound over the seams, then press your paper tape firmly into the wet mud. Once that dries, apply two more coats of compound. The secret here is to “feather” the edges: use a wide drywall knife to spread the compound further out with each coat, making the transition from the wall to the patch so gradual that it becomes invisible to the eye. After the final coat dries, gently sand it smooth with 120-grit sandpaper until you cannot feel a bump. Finally, seal the area with a shellac-based primer. This acts as a barrier, preventing old stains from bleeding through your fresh paint and ensuring your new wall looks perfectly uniform.
Beginner Tip: A common mistake is applying the compound too thick. Think of it like icing a cake – apply thin, smooth layers rather than one heavy glob. If you leave it too thick, you will spend hours sanding, which creates a lot of unnecessary dust.
Alternative Method: If you don’t have a large drywall taping knife, use a 4-inch wide putty knife. It will take longer to feather the edges, but by using short, overlapping strokes, you can still achieve a professional-looking, flat finish.
Pro Tip: Before you start, check your compound’s consistency. It should feel like smooth peanut butter. If it is too stiff, add a tiny splash of water and stir it well; this makes it much easier to spread thinly and evenly.