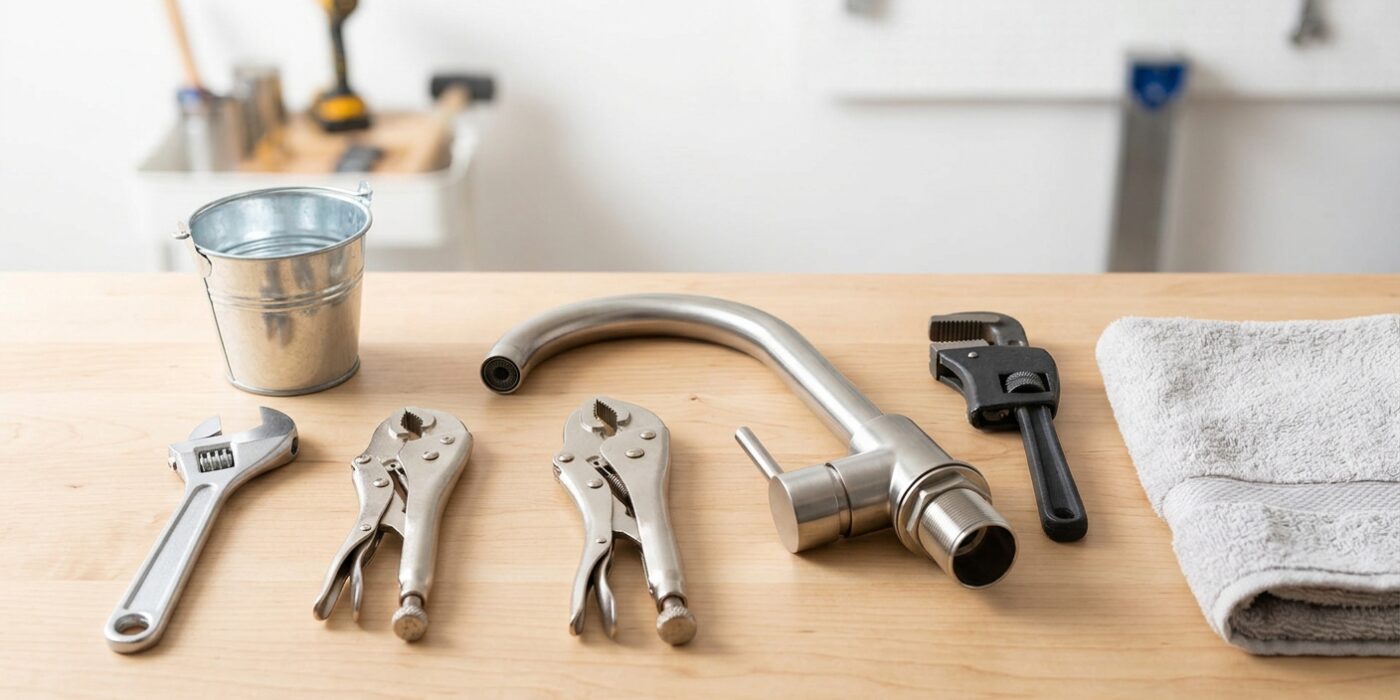
Project Shopping List
Replacing a kitchen faucet is one of the most rewarding intermediate plumbing jobs – the visual and functional upgrade is immediate, and once you understand the process, the mechanical work is straightforward. The challenge is mostly working in an awkward, confined space under the sink and dealing with corroded supply line connections. Plan for 2–3 hours the first time, and have plenty of towels on hand.
This guide covers removing the old faucet, preparing the sink for the new one, and installing a single or three-hole faucet with pull-down or standard spray. It applies to most modern kitchen faucets installed in a stainless steel, cast iron, or cultured marble sink.
What You’ll Need
Tools
- Basin wrench (essential – allows working in tight spaces under the sink)
- Adjustable wrench and channel-lock pliers
- Bucket and towels
- Putty knife or scraper
- Flashlight or headlamp
- Utility knife
Materials
- New kitchen faucet (with all required parts; read the spec sheet for hole requirements)
- Plumber’s putty or silicone sealant (for faucet base, per manufacturer)
- New flexible supply lines – 3/8 inch compression x 1/2 inch FIP, 12 or 16 inch length
- Teflon tape
- Penetrating oil (for corroded nuts)
Step 1: Choose the Right Faucet for Your Sink
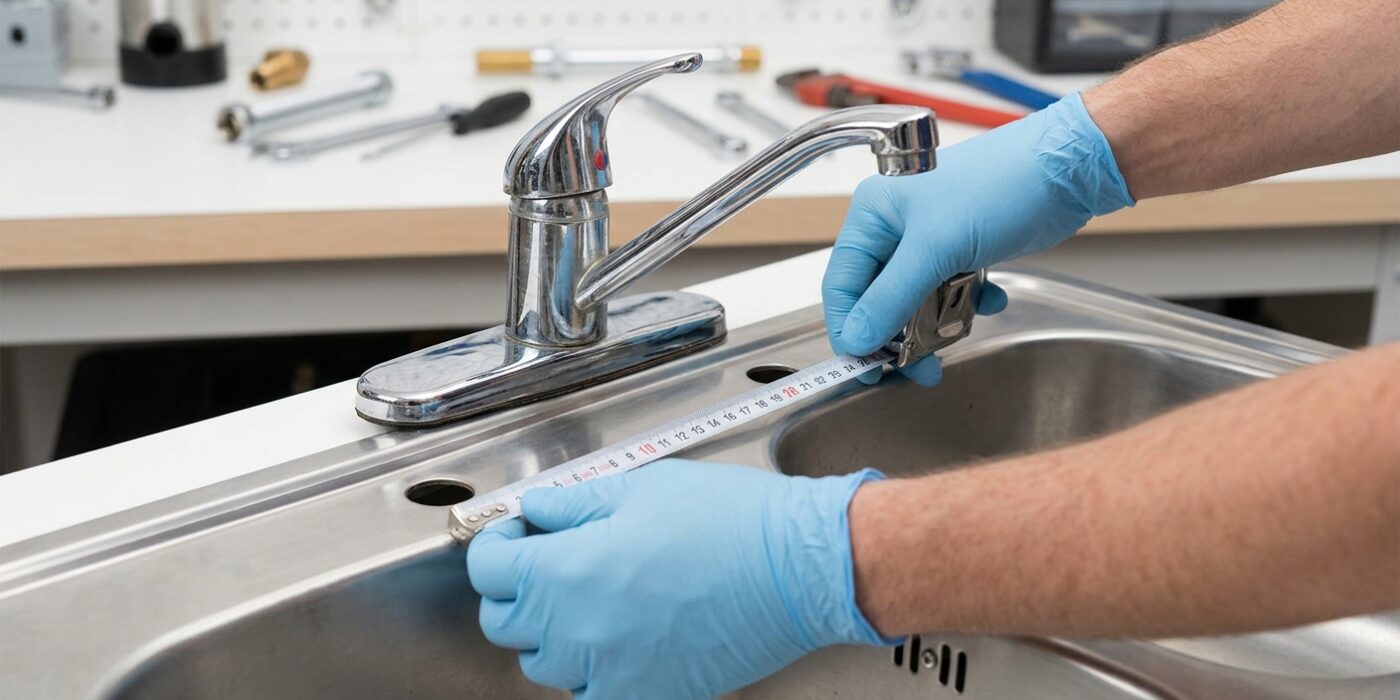
Before you purchase a new faucet, you must ensure it will physically fit your current sink setup. The most important step is to count the mounting holes on your sink deck – the area directly behind your basin. If you have a single hole, look for a single-hole faucet. If you have three holes, you need a faucet designed for a three-hole installation, which usually comes with a matching base plate (called an escutcheon) to hide the extra holes.
Use a tape measure to check the distance between the center of the first hole and the center of the third hole; this is your “spread.” Standard spreads are 6 or 8 inches. Finally, peek underneath your sink to check the thickness of the material. While most modern faucets work on standard countertops, thick materials like cast iron or tile might require a “long-shank” faucet to ensure the hardware can reach through and tighten securely.
Beginner Tip: Don’t just eyeball the hole spread. Measure carefully from the exact center of one hole to the next. Buying a faucet that doesn’t align with your existing holes is the most common reason for frustrating returns, so take a photo of your current setup to show a hardware store associate if you are still feeling uncertain.
Pro Tip: If your sink has an extra hole you aren’t planning to use, such as one previously occupied by a separate sprayer, you can install a matching soap dispenser or a hole cover cap. This makes the finished project look professionally finished rather than leaving an unsightly gap.
Step 2: Shut Off Water and Remove Supply Lines
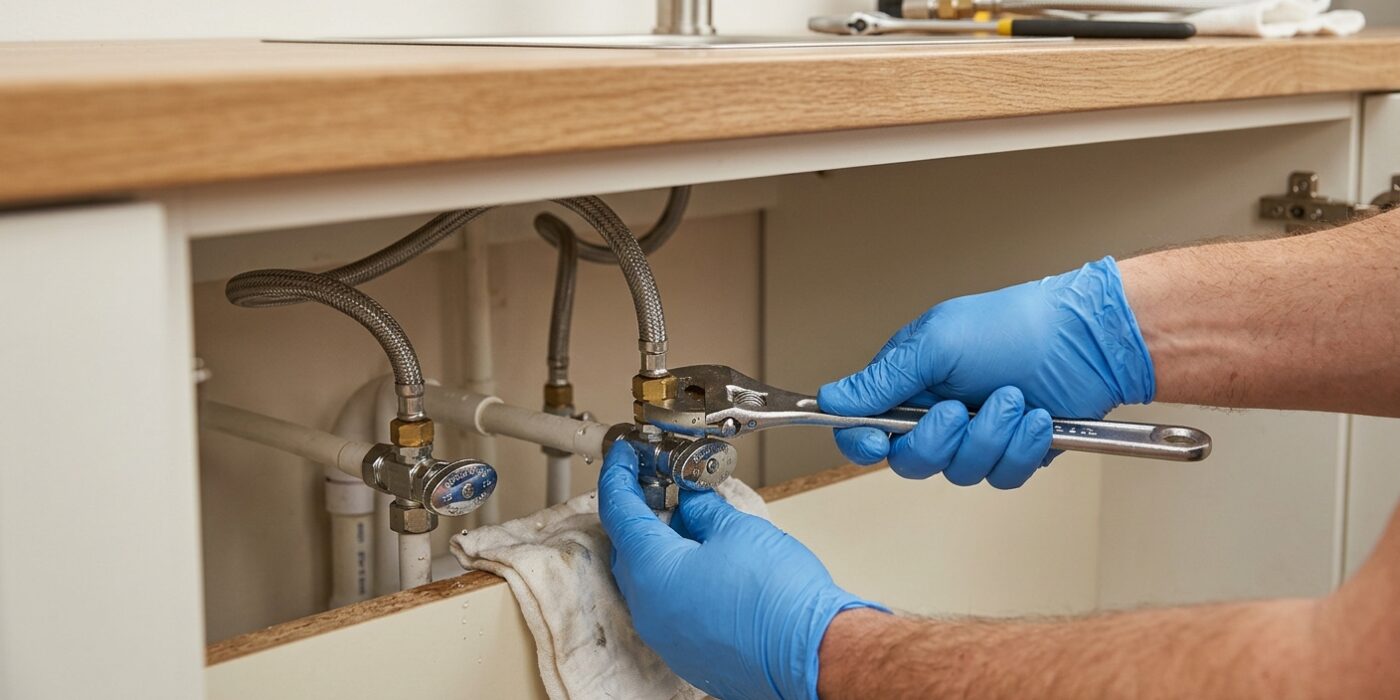
Before you get started, look under your sink for two oval or round handles attached to the pipes against the wall. These are your shut-off valves. Turn them clockwise until they stop; this prevents water from spraying everywhere once you disconnect the lines. Next, turn on your faucet handles to release any remaining pressure and let the trapped water drain out. Place a small bucket or a folded towel directly beneath these valves to catch the water that will inevitably spill when you loosen the connections.
Use your channel-lock pliers to grip the nuts securing the supply lines to the valves and the underside of the faucet. Turn counter-clockwise to loosen them. If the connections feel stuck or stiff, do not force them, as this can damage the pipes. Instead, spray a little penetrating oil onto the threads, wait 10 minutes, and try again. Finally, if your faucet includes a pull-out sprayer, locate the quick-connect clip or threaded nut on the hose and disconnect it from the faucet body.
Beginner Tip: Never use excessive force when turning the nuts. If the connection isn’t budging, you are likely turning it the wrong way. Remember: “righty-tighty, lefty-loosey.” If you pull toward the right, you are loosening; pulling toward the left is tightening.
Pro Tip: Snap a clear photo of how the lines are currently connected before you remove anything. Having a visual reference will save you immense frustration when you are ready to install your new faucet and need to remember which line goes where.
Step 3: Remove the Old Faucet
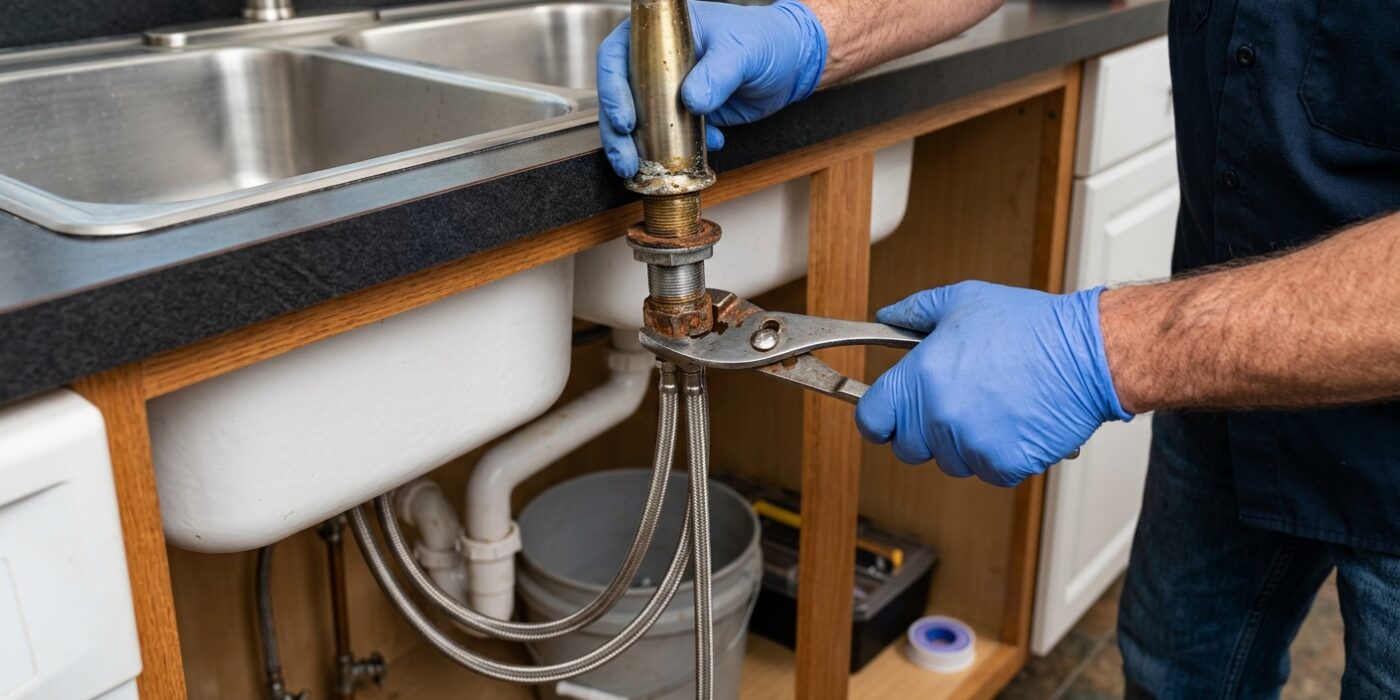
Now that the water is off and the supply lines are detached, it is time to free the faucet from the sink. Reach underneath the basin to locate the mounting nuts – the hardware securing the faucet base against the underside of the sink deck. Because this space is tight and dark, use a flashlight to get a clear view. Place your basin wrench around the nut; the tool’s pivoting head allows you to grip the nut even at an awkward upward angle. Turn the wrench counterclockwise to loosen the hardware. Once the nuts and washers are removed, head back above the sink and gently pull the faucet straight up to lift it out. If it feels stuck, it may be held by old plumbers’ putty or a rubber gasket. Use a plastic putty knife to carefully scrape away any remaining residue until the sink surface is smooth and clean, then wipe it down with a damp rag to ensure the new seal sits perfectly flat.
Beginner Tip: Be careful when using the putty knife; while it is a great tool for removing stubborn gunk, pushing too hard can scratch the finish of your sink. Keep the blade at a shallow angle to “glide” under the debris rather than digging into the metal.
Pro Tip: If the mounting nuts are rusted tight and won’t budge, spray them with a penetrating oil like WD-40 and let it sit for ten minutes. This lubricates the threads and makes a difficult, frustrating job significantly easier.
Step 4: Prepare the New Faucet
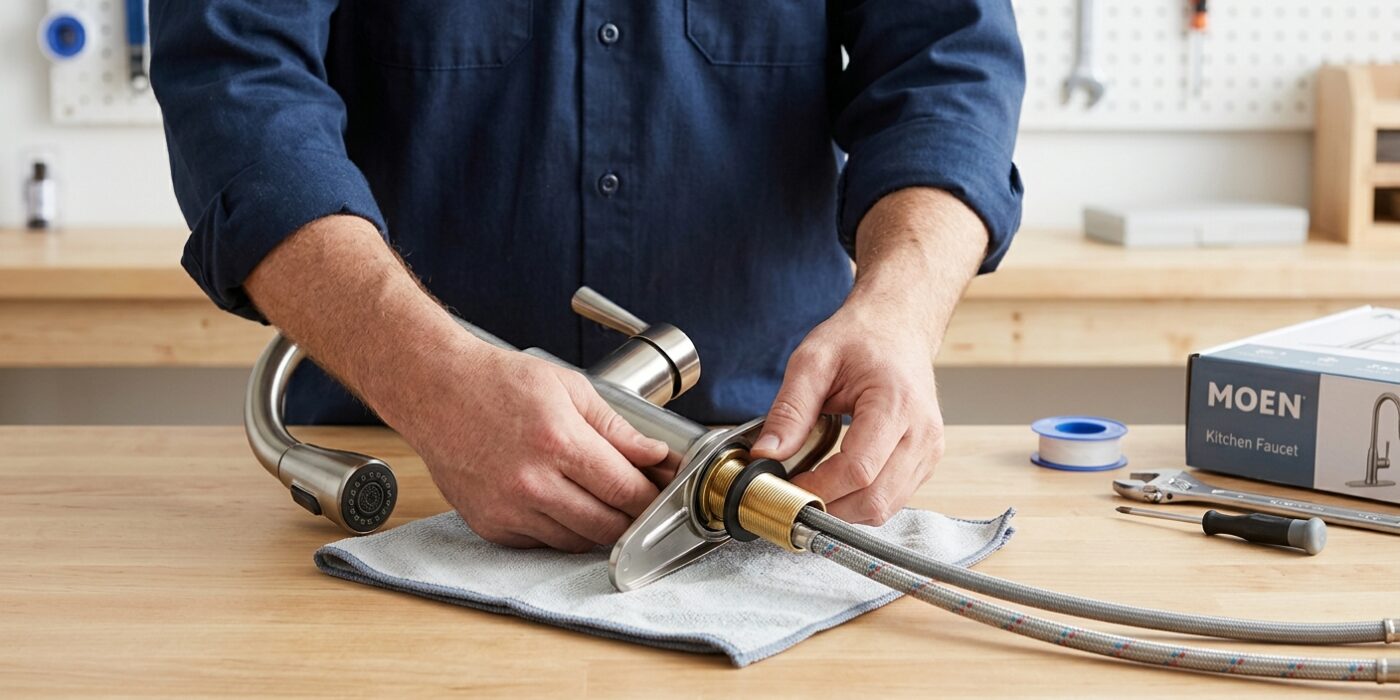
Before you lift your new faucet into place, take a moment to read the manufacturer’s manual cover-to-cover. Every faucet model is unique, and getting these details right now prevents leaks later. Most modern faucets come with a rubber gasket, which acts as a watertight seal between the metal faucet base and your sink. Simply peel the backing off and press this gasket firmly onto the underside of the faucet body. If your faucet uses a pull-down spray head, thread the flexible hose through the central shank of the faucet body now, before you mount it. This is much easier to do while the unit is still on the counter rather than reaching underneath your sink later.
Beginner Tip: The most common mistake is forgetting to pull the supply lines through the sink hole before tightening the mounting hardware. Ensure the hoses are hanging straight down through the center of the sink hole so they don’t get kinked or pinched when you secure the faucet to the deck.
Pro Tip: If your sink surface is uneven or you have a drop-in sink with a slight gap, apply a small, uniform bead of clear silicone caulk around the base of the faucet before lowering it into the hole. To get a perfectly smooth finish, spray a little bit of glass cleaner on your finger after pressing the faucet down; this prevents the silicone from sticking to your skin, allowing you to wipe away the excess for a professional, factory-sealed look.
Step 5: Mount the Faucet from Below
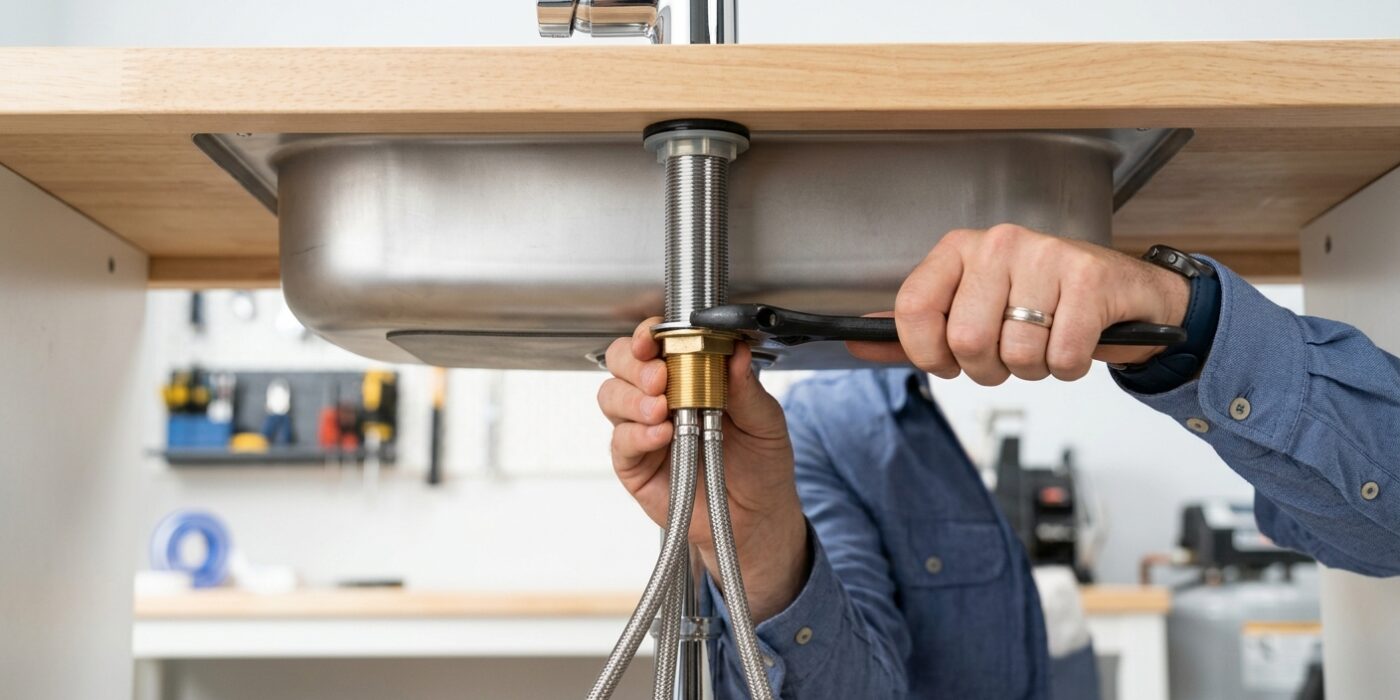
Now that your faucet is resting in the sink hole, it is time to secure it from underneath. This step is crucial because it keeps your faucet from wobbling or shifting during daily use. Reach underneath the sink and slide the mounting hardware – usually a gasket, a metal washer, and a large nut – onto the faucet shanks. Thread the nut upward by hand until it touches the underside of the countertop. Use a basin wrench to tighten the nut until it feels firm. As you do this, have a helper hold the faucet steady from above to ensure the spout remains perfectly centered and pointing straight forward. If your hardware is plastic, use caution; these materials are durable but can crack if you apply too much force. “Snug plus a quarter turn” is the golden rule here.
Beginner Tip: The most common mistake is failing to verify the alignment before fully tightening. Once you tighten the nut completely, the faucet becomes very difficult to rotate. Always perform a final check from the top before you lock the nut into its final position.
Pro Tip: Tight spots under the sink can make it difficult to see what you are doing. Use your smartphone to take a short video or a high-flash photo of the underside of the sink before you begin. This helps you visualize the orientation of the mounting holes and hardware without needing to crane your neck in the dark.
Step 6: Connect the Supply Lines
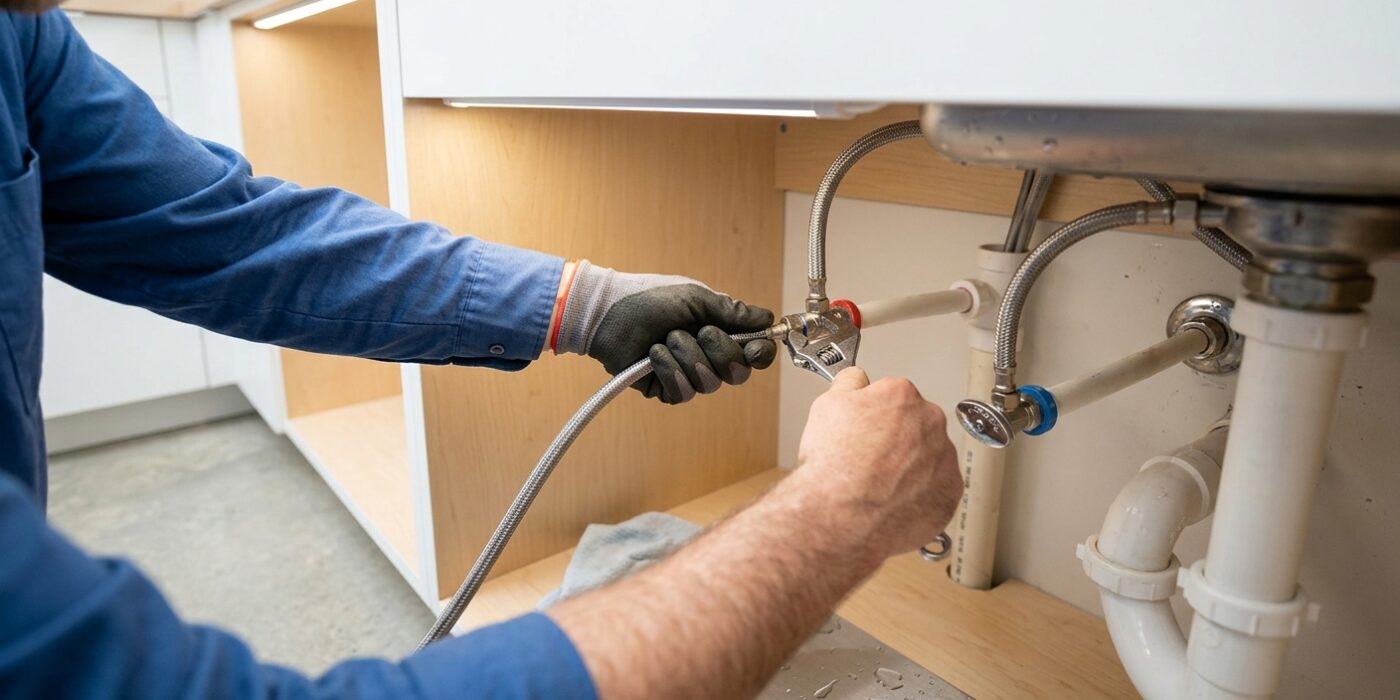
Now that your faucet is secured, it is time to connect the water. Locate your two flexible supply lines hanging from the faucet. Typically, the hot line goes to the left valve and the cold line to the right. First, apply two wraps of Teflon (plumber’s) tape around the threads of each shutoff valve in a clockwise direction; this ensures a watertight seal.
Thread the supply line nuts onto the valves using only your fingers until they are snug. Once they are finger-tight, use pliers to turn the nut just another 1/4 to 1/2 turn. Do not force them further. Because many modern supply lines feature plastic or nylon nuts, overtightening will cause them to crack or strip, leading to leaks later on. If your faucet has a pull-down sprayer, verify the hose connection point at the center of the faucet body according to your specific instruction manual; these often use a quick-connect click mechanism that requires no tools at all.
Beginner Tip: A common mistake is crossing the threads. If the nut feels difficult to turn right from the start, stop immediately! Unscrew it and try again. It should spin onto the valve threads smoothly like a bottle cap. If you force it, you will ruin the threads, which necessitates replacing the entire shutoff valve.
Pro Tip: Before turning the water back on, place a dry paper towel directly underneath your new connections. After you slowly open the shutoff valves, check the paper towel. If it stays bone-dry for ten minutes, you know your seal is perfect without having to crawl back under the sink later.
Step 7: Connect the Spray Head Hose and Counterweight
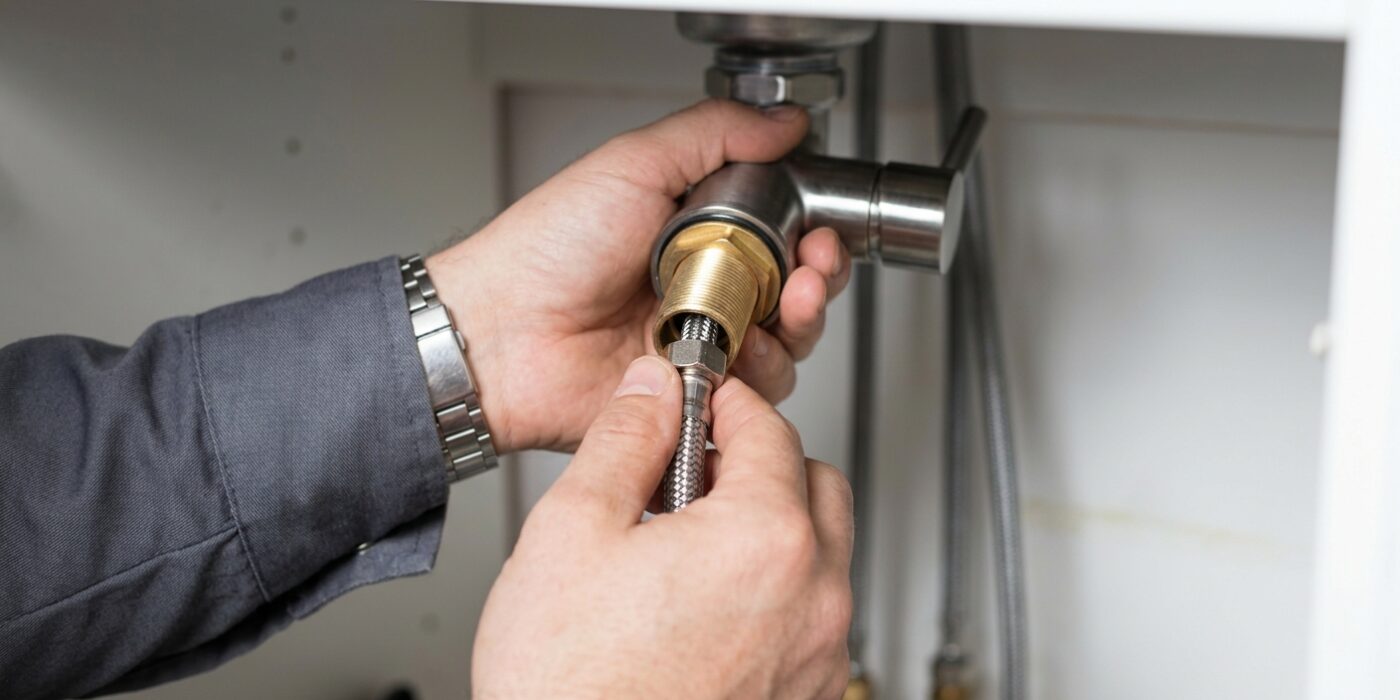
Now that your faucet is secure, it is time to set up the pull-down spray hose. First, locate the spray hose that hangs down through the faucet body. You will notice a small, modular plastic fitting at the end of this hose. Simply push this fitting firmly onto the matching outlet on the faucet body underneath your sink until you hear a distinct “click.” This sound confirms that the connection is locked and watertight.
Next, install the counterweight. This heavy piece ensures your sprayer retracts smoothly every time you use it. Consult your manual for the exact distance, but typically, you should clamp the weight onto the hose about 8 to 12 inches below the bottom of the sink cabinet. Position it on the “loop” of the hose, ensuring there is enough slack so the sprayer can reach the back of the sink without pulling against the pipes.
Beginner Tip: Ensure that the hose can move freely behind your cabinet. A very common mistake is installing the weight where it will snag on shut-off valves or stored cleaning supplies. Test the movement by pulling the sprayer out fully and watching the hose retract; if it catches on anything, simply reposition the weight or move the items under your sink.
Pro Tip: Before snapping the hose into place, wrap a small piece of painter’s tape around the area where you plan to attach the counterweight. This provides extra grip for the plastic, preventing the weight from sliding down the hose over time.
Step 8: Restore Water and Test for Leaks
Now that your new faucet is installed, it is time to bring the water back. Slowly turn the handles on your shutoff valves counter-clockwise until they are fully open. Next, turn on your faucet to the middle position. You will likely hear some sputtering – this is just air escaping the lines, which is completely normal. Let the water run for about one full minute to flush out any trapped air or debris.
Now, grab a dry paper towel and inspect every connection point: where the supply line meets the wall valve, where it meets the faucet, and around the base of the faucet. Run the paper towel over each joint; if the paper stays dry, you are leak-free. If you see even a tiny bead of moisture, tighten the connection just a quarter-turn more with your wrench. Finally, toggle between hot and cold settings to ensure they are properly connected, and test the sprayer functionality to make sure the hose retracts smoothly.
Beginner Tip: Don’t rush the leak check. Even a tiny, slow drip can cause significant cabinet damage over time. Keep those dry paper towels pressed against every fitting for at least three minutes while the water is running at full pressure to be absolutely certain your seal is airtight.
Pro Tip: Place a dry, bright-colored towel on the bottom of the cabinet before you turn the water back on. Any leaks will show up instantly against the color of the towel, making it much easier to pinpoint exactly which connection needs a little extra tightening.