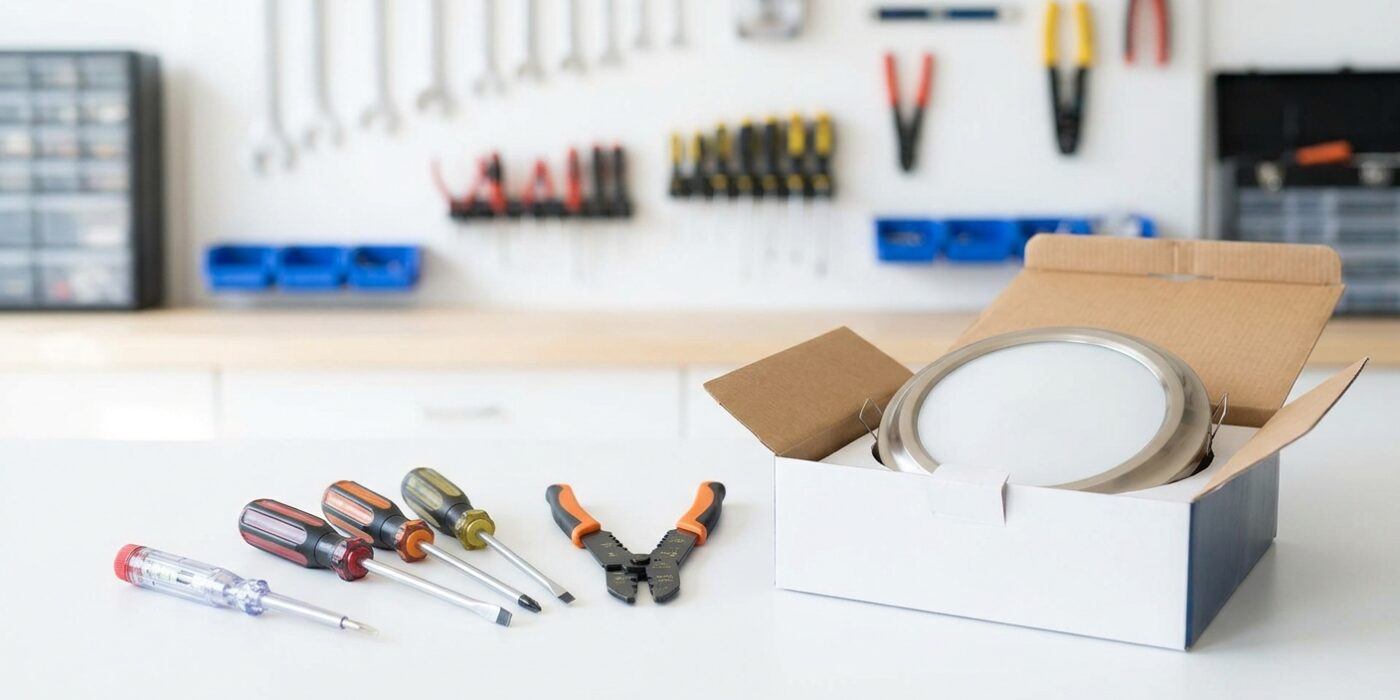
Project Shopping List
Replacing a light fixture is one of the most confidence-building electrical projects because the result is immediately visible and the process is genuinely simple. Whether you’re swapping a dated ceiling globe for a modern flush mount, adding a chandelier where there was a boring builder basic, or replacing a burned-out fixture, the fundamental steps are the same. Plan for 30–60 minutes from start to finish.
This guide covers the complete process for a standard ceiling fixture replacement, including how to handle the different box types and mounting brackets you’ll encounter.
What You’ll Need
Tools
- Non-contact voltage tester
- Phillips and flathead screwdrivers
- Wire stripper
- Stepladder
- Needle-nose pliers
Materials
- Replacement light fixture
- Wire nuts (usually included with fixture)
- Mounting hardware (usually included)
Step 1: Turn Off the Circuit Breaker
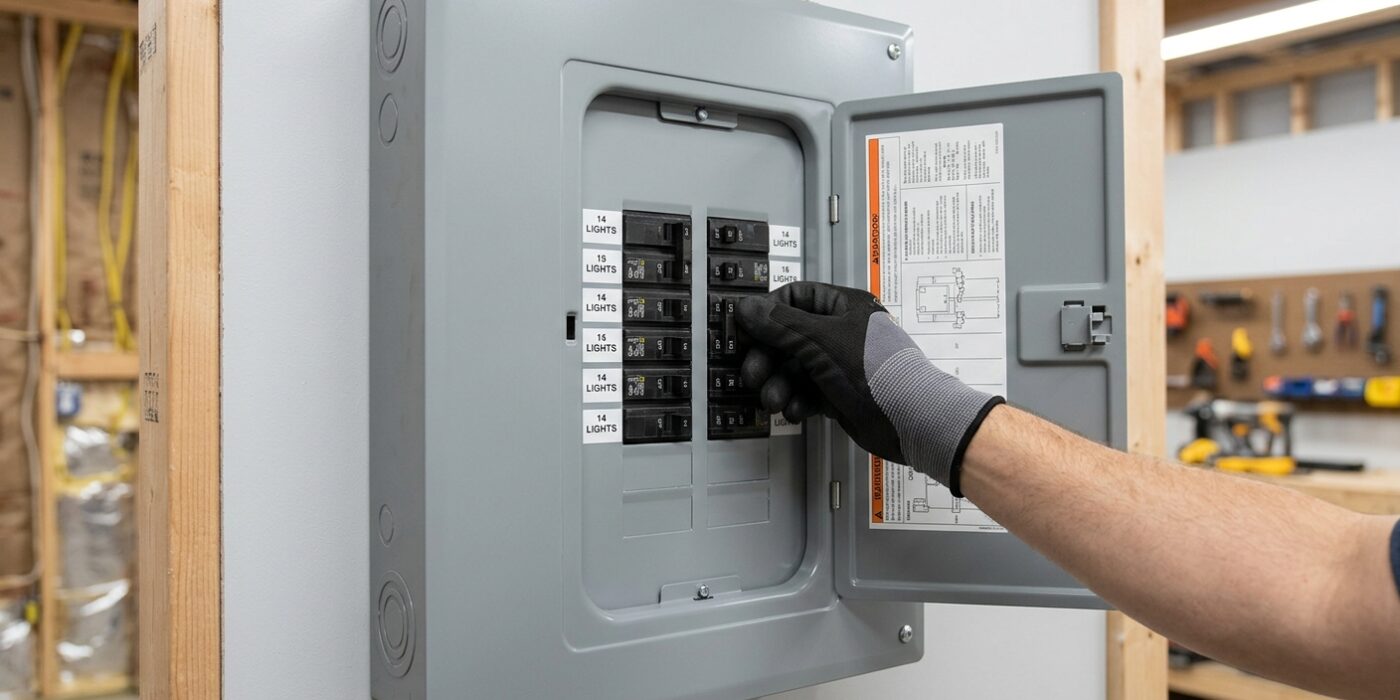
Before you even touch a screwdriver, you must eliminate the flow of electricity to your light fixture. Locate your home’s main electrical panel – usually a metal box in the garage, basement, or hallway – and open the door to reveal the rows of switches. Find the circuit breaker labeled for your room or lighting, and flip it to the “Off” position. This ensures that no electricity can reach the wires you are about to handle, protecting you from accidental shock.
Once the power is off, return to your light fixture and grab your non-contact voltage tester. Turn the wall switch to the “On” position, then hold the tip of the tester near the light switch plate; it should remain silent or show a green light. Next, remove the fixture’s glass cover or canopy to expose the wires. Hold the tester tip right next to the wire nuts connecting the light to your home’s wiring. If the tester beeps or flashes red, power is still present, and you must return to the panel to flip the correct breaker. Never proceed until you have confirmed zero voltage.
Beginner Tip: A common mistake is assuming the breaker labeled “Lights” controls every room. If the tester still beeps at the fixture, try flipping breakers one by one until you find the exact one that cuts the power, then use a sticky note to label it clearly for future reference.
Pro Tip: To verify your tester is working correctly, test it on a light switch or outlet you know is currently live before checking your fixture. This confirms the tool is powered and functioning, giving you total peace of mind before you begin your work.
Step 2: Remove the Old Fixture
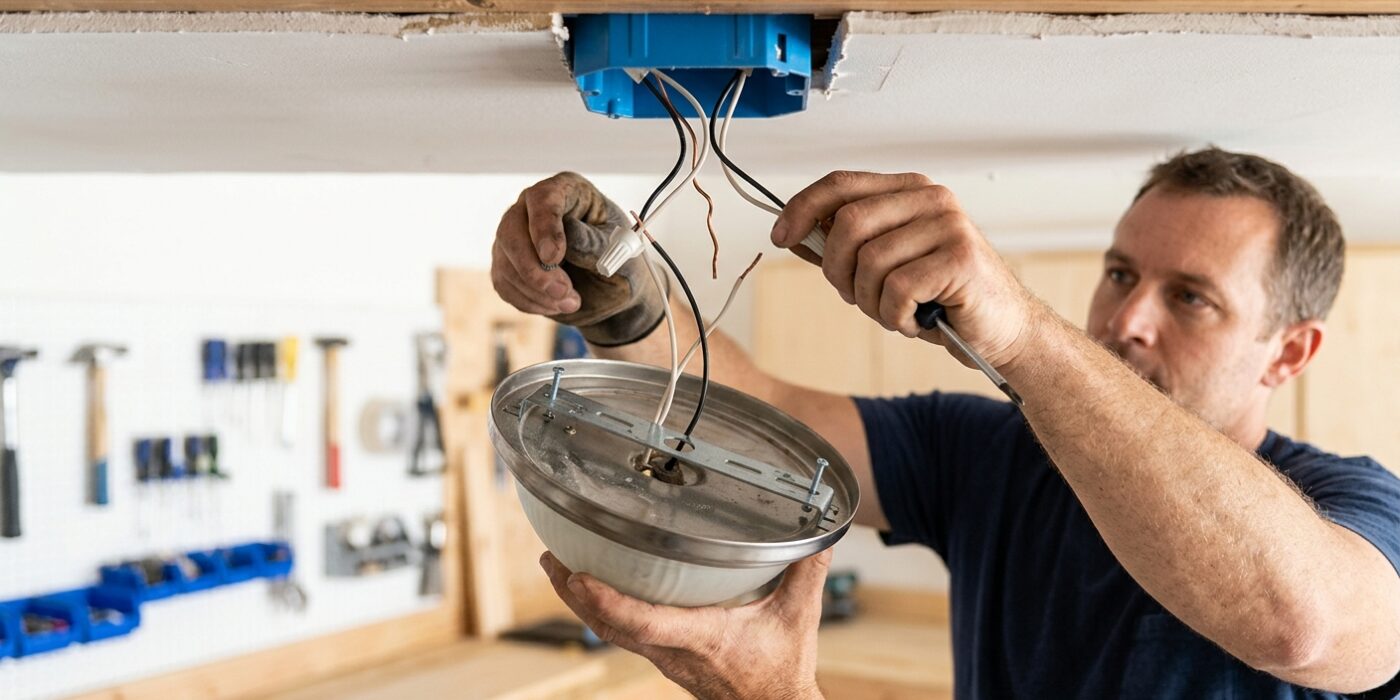
Now that your power is off, it is time to take down the old fixture. Most ceiling lights are held in place by two screws located on the sides of the canopy, which is the decorative base plate against the ceiling. Using a screwdriver that fits the screw head snugly, slowly unscrew these two fasteners. As you remove the second screw, the fixture will want to fall, so be sure to support the weight of the light with one hand.
Once you have lowered the canopy just enough to see the electrical box inside the ceiling, stop. Before you touch any wires, take a clear, well-lit photograph of how the wires are connected. This “map” is your safety net for the next phase. Look for plastic caps called wire nuts; twist these counter-clockwise to remove them, then gently separate the fixture wires from the house wires. Once disconnected, set the old fixture safely on a table or the floor.
Beginner Tip: A common mistake is letting the fixture dangle by its wires while you struggle to unscrew things. This puts unnecessary stress on the connections and can even damage the plaster or drywall around your electrical box. Always keep the fixture supported with your hand or have a helper hold it until you are ready to disconnect the wires completely.
Pro Tip: If the decorative screws are painted over or feel stuck, do not force them with a drill, as you might strip the metal. Instead, use a utility knife to gently score the paint around the edge of the canopy. This breaks the seal and allows the screws to turn freely without damaging your ceiling finish.
Step 3: Inspect the Electrical Box
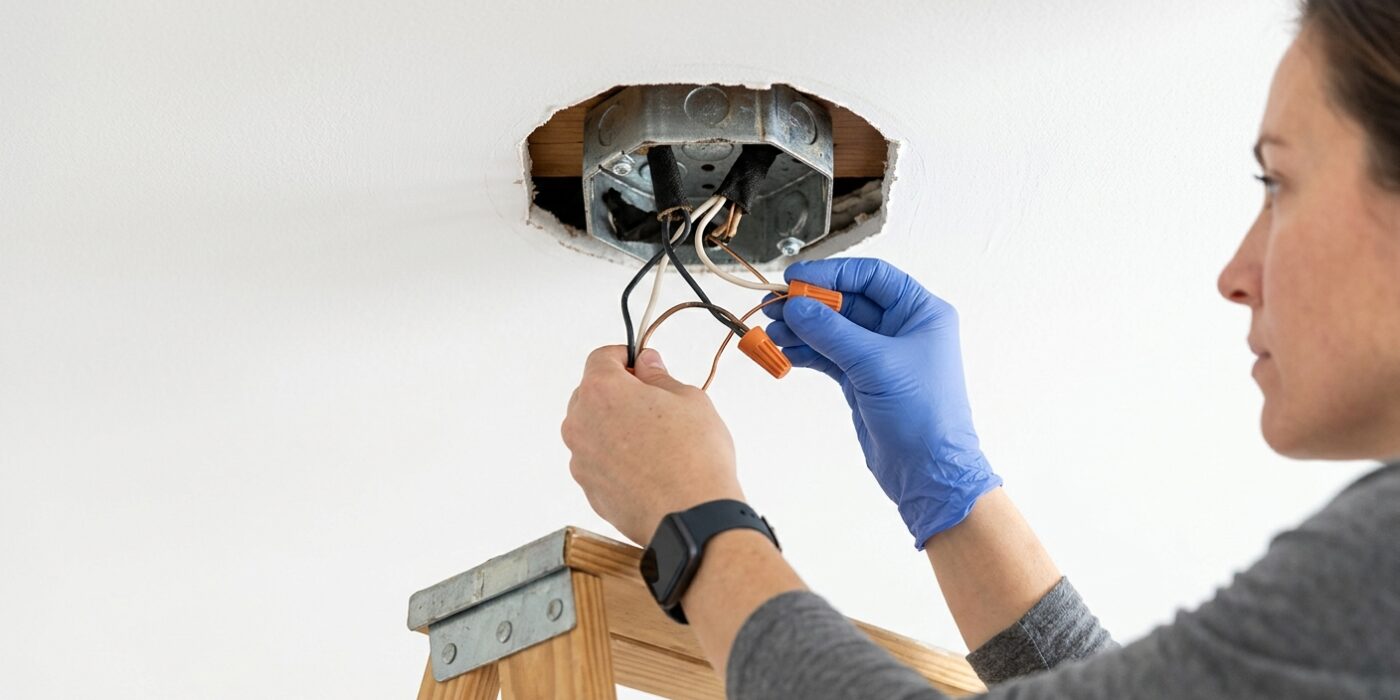
Now that the old fixture is removed, look closely at the electrical box – the metal or plastic housing embedded in your ceiling. This box is the backbone of your light, and its health is vital for safety. Most standard boxes are designed to hold light fixtures weighing up to 50 pounds. You can typically find a stamp or embossed text inside the box indicating its weight rating. If you are installing a standard light, a basic ceiling-rated box is perfect. However, if you are hanging a heavy chandelier or a ceiling fan weighing more than 50 pounds, you must ensure the box is specifically rated for that weight. If you have any doubt, look for a “fan-rated” box, which is reinforced to prevent the fixture from pulling away from the ceiling over time.
Beginner Tip: Never assume the existing box is sturdy enough just because it held the old light. Give the box a gentle, firm tug with your hand. If it wiggles or feels loose in the ceiling, do not mount your new fixture until you have tightened the mounting screws or reinforced the box, as even a small amount of movement can cause the new light to sag.
Pro Tip: If the screw holes in your electrical box are stripped or damaged, you do not need to replace the entire box. You can purchase an inexpensive electrical box repair kit or “rework plate” at any hardware store, which allows you to create new, secure anchor points without having to tear into your ceiling drywall.
Step 4: Install the New Mounting Bracket
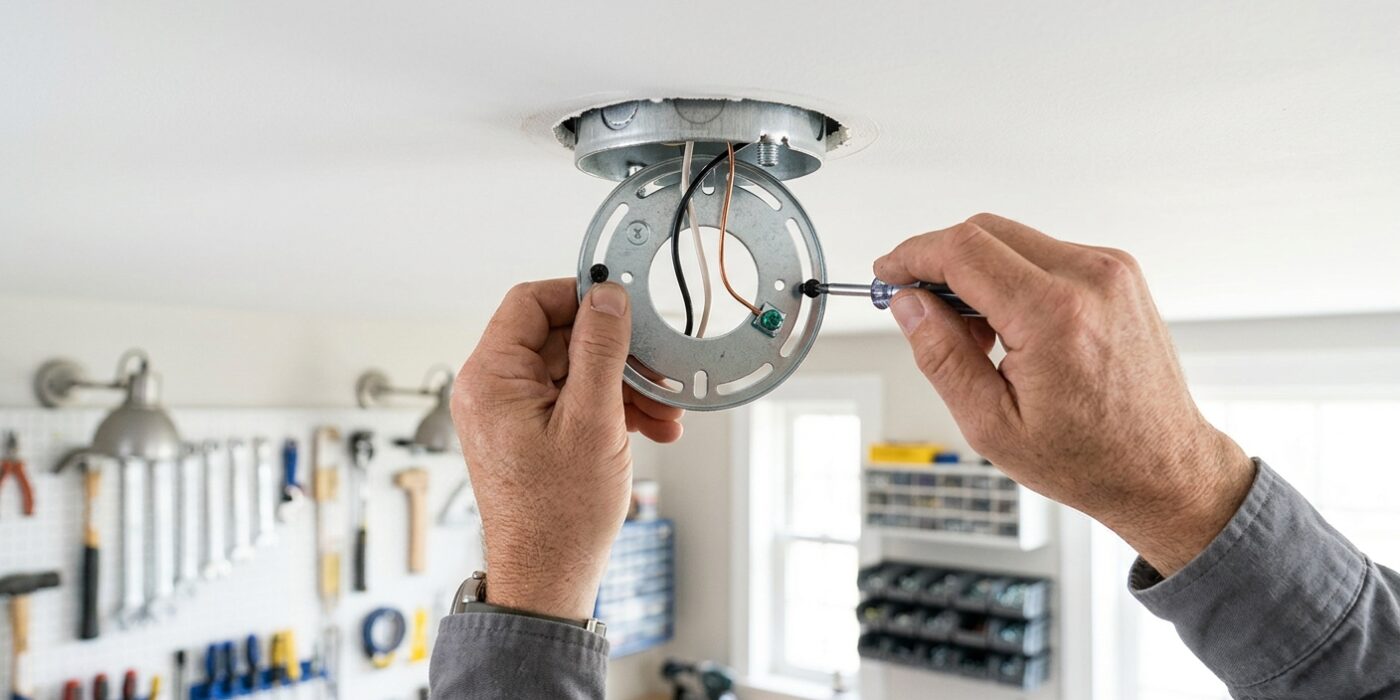
Now that your old fixture is gone, it is time to set the foundation for your new one. Your new kit includes a metal mounting bracket, often shaped like a flat bar or a circle, designed to bridge the opening of your ceiling’s electrical box. Take the two long, machine-thread screws included in your kit and thread them into the bracket. Position the bracket over the electrical box, aligning the slots so the screws hang straight down, then secure the bracket to the box using the two provided short mounting screws. Ensure these are tightened firmly so the bracket does not wiggle; a stable base is essential for a fixture that won’t sag over time.
Beginner Tip: A common mistake is tightening the bracket so hard that the metal bends or warps. Tighten the screws until they are snug and the bracket is flush against the ceiling, but stop turning once you feel firm resistance. Over-tightening can strip the threads in the electrical box or prevent the fixture canopy from sitting perfectly flat against the wall later.
Pro Tip: Before you climb the ladder, hold your new fixture up to the ceiling to test the length of the mounting screws. If the screws are too long, the fixture will leave an unsightly gap between the ceiling and the canopy; if they are too short, you will struggle to reach them with the cap nuts. Use a pair of wire cutters to trim excess length if necessary, ensuring about 1/2 inch of the screw threads remains visible.
Step 5: Make the Wire Connections
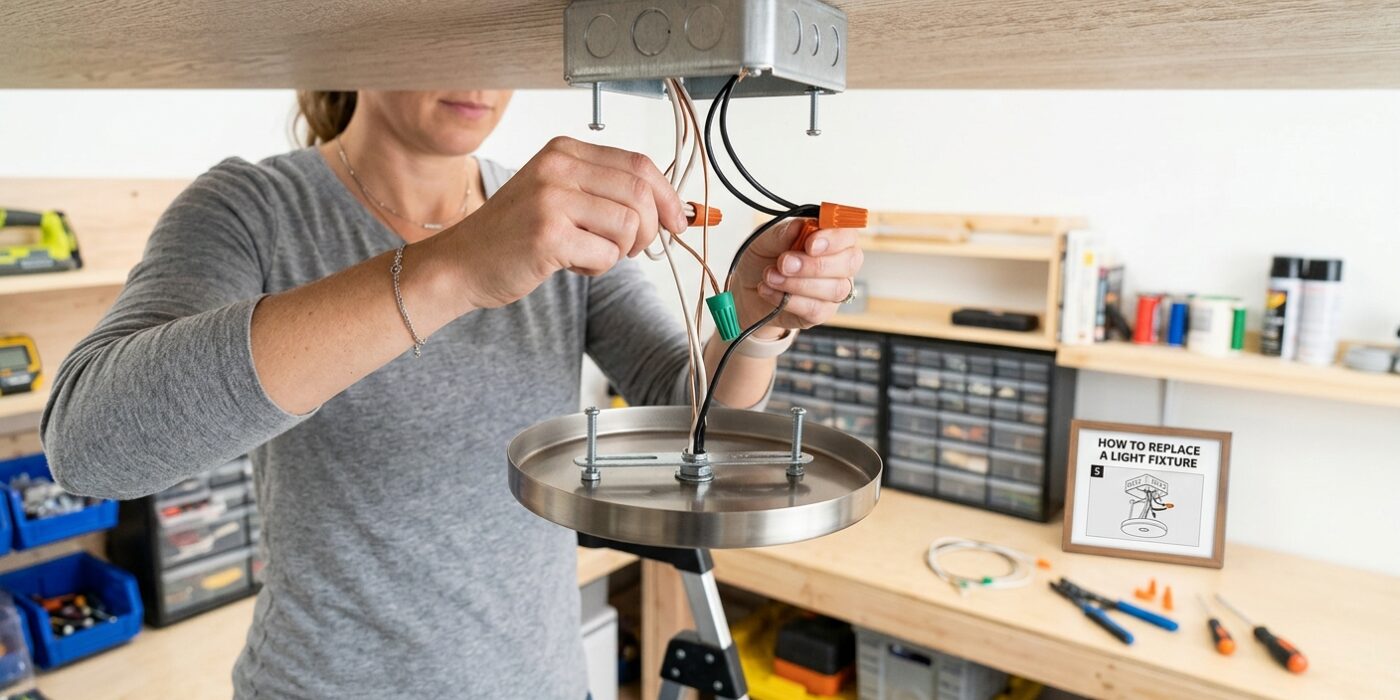
Now it is time to connect your new light fixture to your home’s electrical wires. First, ensure about 3/4-inch of insulation is stripped from the ends of all wires. Hold the two wires you are connecting side-by-side, with the copper tips perfectly even. Take your wire nut, place it over the ends, and twist it clockwise firmly. You should feel the nut “grab” the wires and pull them slightly into a twist; continue turning until it feels snug and secure. Always give each wire a firm, gentle tug – none of them should slide out of the nut. Connect black to black (hot), white to white (neutral), and connect any bare copper or green wires together. If your home has an older metal box without a dedicated ground wire, secure the fixture’s ground wire to the metal box using the provided green grounding screw.
Beginner Tip: A very common mistake is leaving too much exposed bare wire sticking out below the wire nut. If you see more than a tiny bit of copper, unscrew the nut, trim the excess wire with your wire strippers, and try again. Exposed wire creates a fire hazard if it touches the metal box or other components.
Pro Tip: After you have secured the wire nuts, use a small piece of electrical tape to wrap around the base of the nut and the wires. This provides an extra layer of insulation and ensures the wire nuts won’t vibrate loose over time.
Step 6: Mount the Fixture and Install Bulbs
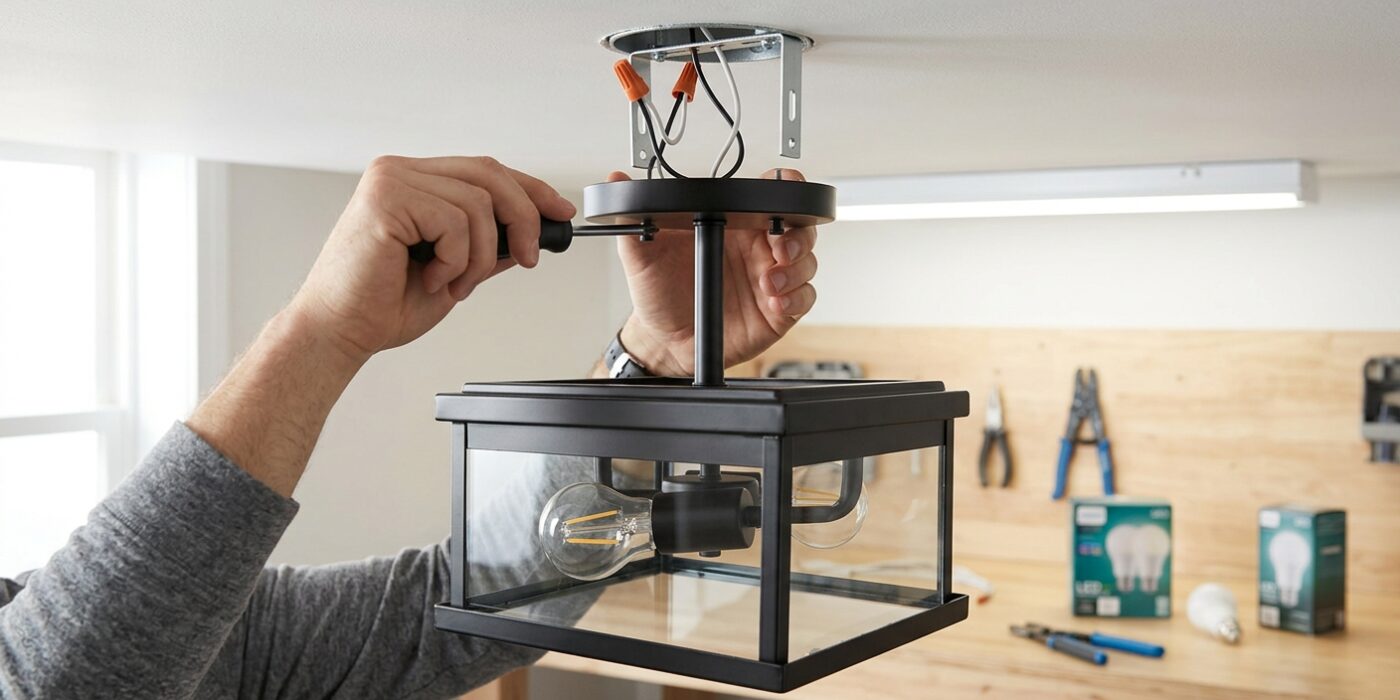
Now that your wires are safely secured with wire nuts, it is time to give your fixture its home. Gently fold the wires in a circular motion and tuck them back into the electrical box. Avoid cramming them in a tight ball; folding them accordion-style helps them fit without tension. Lift the fixture canopy toward the ceiling, guiding the mounting screws through the pre-drilled holes in the fixture base. Once aligned, screw the decorative nuts or caps on by hand until they feel firm. Aim for the canopy to sit perfectly flush against the ceiling. If you encounter a gap because your ceiling texture is uneven, stop turning the screws once the fixture is secure; forcing them can crack the canopy or damage the drywall.
Finally, check the label inside the fixture for the maximum wattage rating. Screw in your light bulbs, ensuring they do not exceed this limit to prevent overheating. If you are using LED bulbs, you can generally use any wattage as long as the base fits, but always verify the fixture’s specific safety sticker first.
Beginner Tip: The most common mistake is letting the wires get pinched between the metal canopy and the ceiling. Before you tighten the nuts, double-check around the perimeter to ensure no stray copper or plastic insulation is peeking out from behind the fixture.
Pro Tip: If your mounting screws are slightly too short to reach through the canopy, do not panic. Loosen the two screws on the mounting bracket by a half-turn. This gives you just enough extra length to easily catch the threads of your decorative nuts.
Step 7: Restore Power and Test
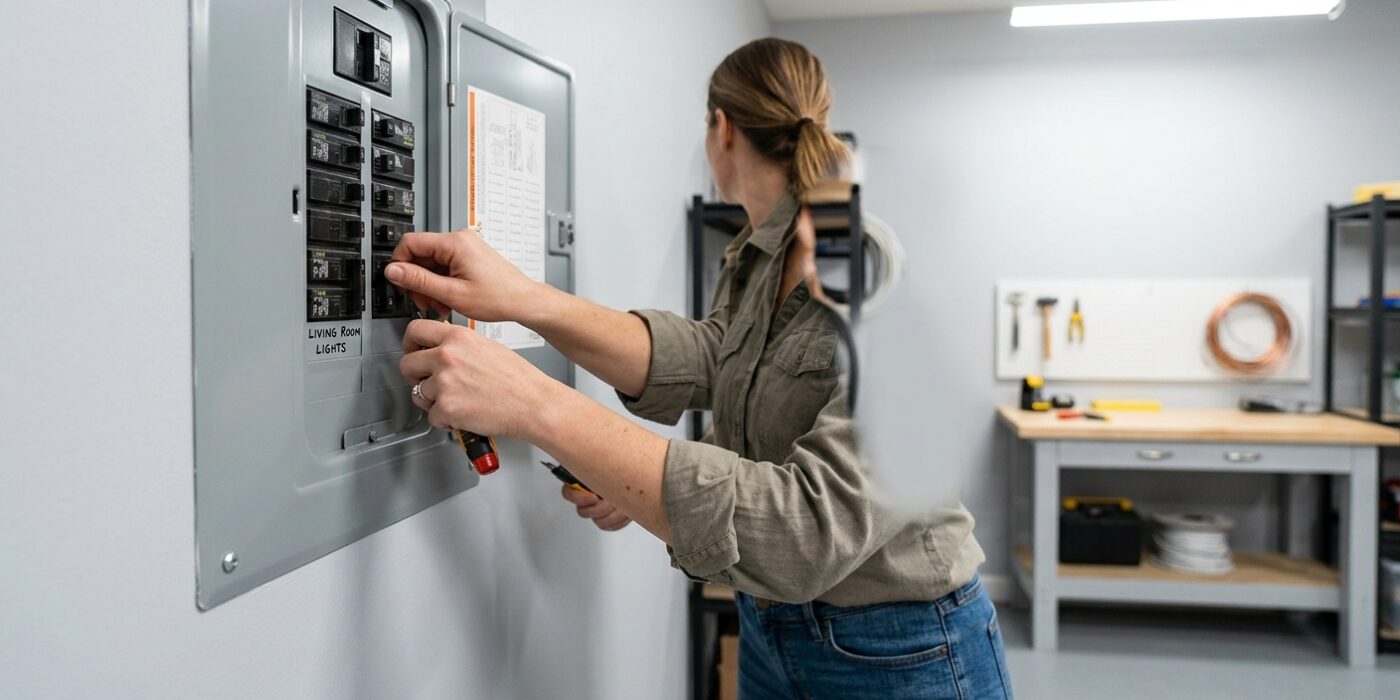
Now for the satisfying part: restoring the power. Head back to your electrical panel and flip the circuit breaker back to the ON position. Return to the room and gently toggle your wall switch. If your new light glows steadily, you have successfully completed your project! If the bulb flickers, hums, or fails to turn on entirely, turn the breaker back to OFF immediately. This usually means a wire nut has worked loose or a connection isn’t quite tight enough. Simply go back, re-twist your wire connections firmly, and verify that no bare copper is peeking out from beneath the plastic caps.
Beginner Tip: Avoid the urge to leave the power on while troubleshooting. Even if the switch is in the off position, there is still live current running to the fixture. Always return to the breaker panel to kill the power before adjusting any wiring, regardless of how minor the change may seem.
Pro Tip: Before you screw the canopy cover flush against the ceiling, take a moment to tuck your wires neatly into the corners of the electrical box. If you leave them bunched in the center, they will press against the fixture base, making it difficult to get a perfectly level, gap-free fit against the ceiling. Using your fingers to push the wires toward the outer edges creates a clear path for the fixture hardware to seat properly, giving your work a clean, professional finish.