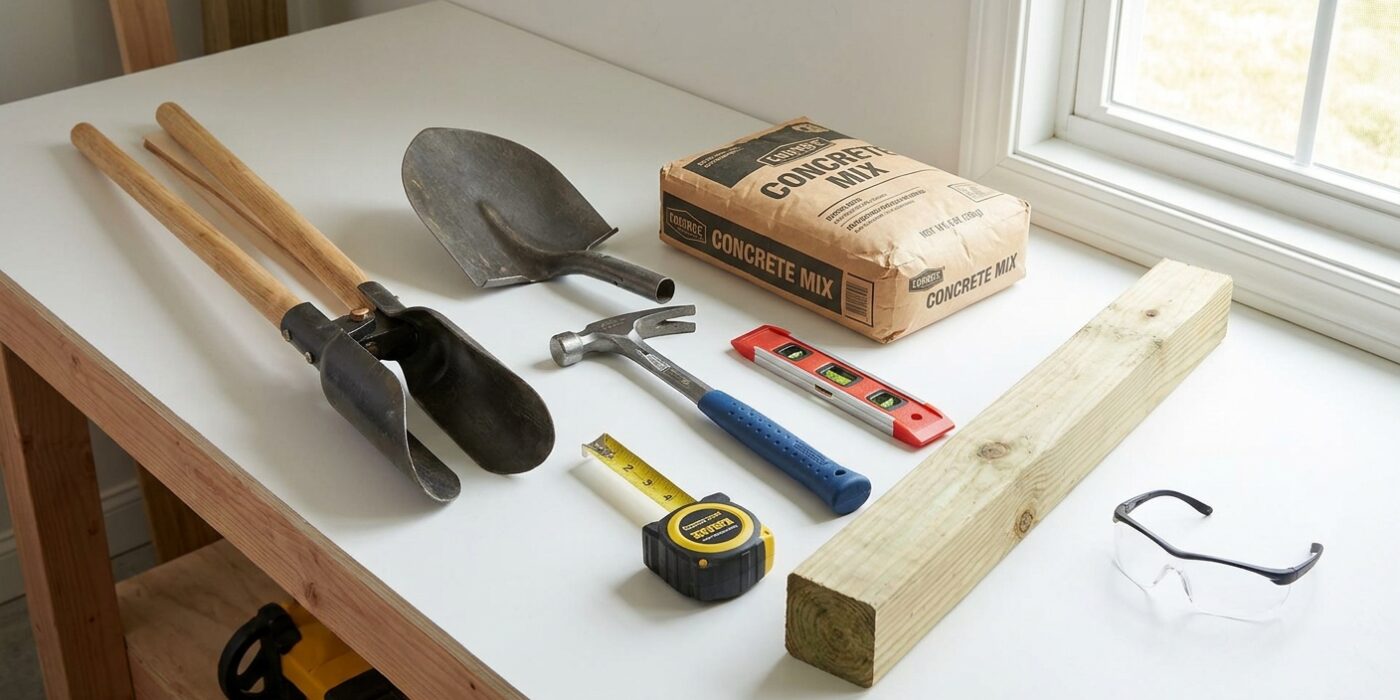
Project Shopping List
A rotted or broken fence post is the most common wood fence repair. The post is the structural anchor for the entire panel – when it fails, the fence leans, sags, and eventually falls. Replacing the post while keeping the fence panels intact is a manageable DIY repair if you work methodically. This guide covers removing the old post and concrete footing, setting a new pressure-treated post, and reattaching the fence panels.
The most labor-intensive part is extracting the old concrete footing. Plan for that to take 30 to 60 minutes of digging and leverage work. The rest of the job moves quickly.
What You’ll Need
Tools
- Post hole digger or digging bar
- Shovel
- Level (4-foot)
- Circular saw or reciprocating saw
- Drill and driver
- Clamps or temporary braces
- Wheelbarrow for mixing concrete
Materials
- Pressure-treated 4×4 post (same size as existing)
- Fast-setting concrete mix (2 to 3 bags per post)
- Post cap (galvanized, to cap the top of the new post)
- Galvanized deck screws or nails
- Gravel (a few inches for drainage at the bottom of the hole)
Step 1: Assess and Support the Fence Panels
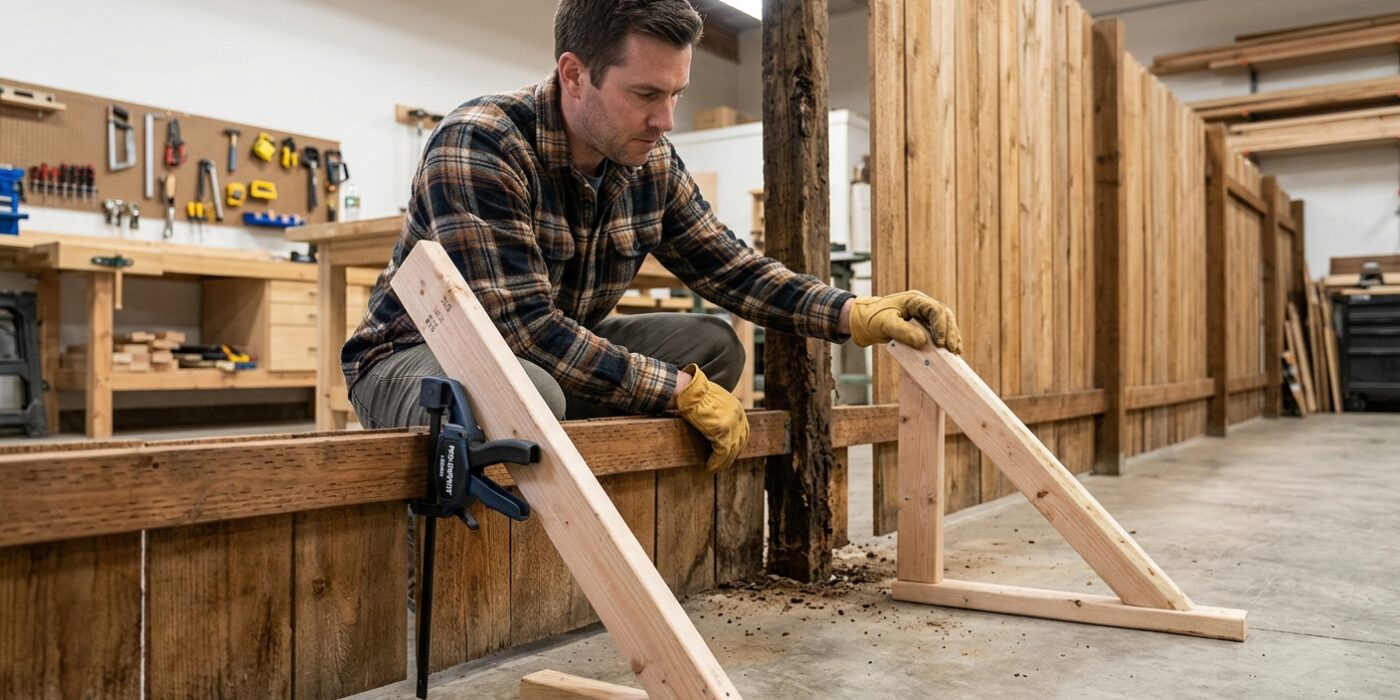
Before you dig up that rotted post, you must stabilize the fence sections attached to it. Because fence panels are surprisingly heavy and lose their structural integrity once a post is removed, they can easily collapse or pull down neighboring sections. To brace them, place a scrap 2×4 board vertically against the face of the fence panel, about 12 inches away from the damaged post. Use a sturdy C-clamp to secure this board to the fence rail, then angle a second 2×4 (the “kickstand”) firmly against the ground at a 45-degree angle to hold the weight. Repeat this on both sides of the post. While you are securing these, take a close look at where the horizontal fence rails meet the post; if the wood feels soft or crumbles when poked with a screwdriver, those rails are likely rotted and will need to be replaced along with the post.
Beginner Tip: Avoid the mistake of relying on “good enough” bracing. If the ground is soft, your support boards will sink. Place a flat brick or a thick scrap piece of plywood under the bottom of your kickstand 2×4 to distribute the weight and keep the panel perfectly level while you work.
Pro Tip: Use a long level against your bracing boards before you tighten the clamps. Ensuring your fence panels are perfectly vertical (plumb) while they are braced will make installing the new post significantly easier, as everything will line up perfectly when you are ready to reattach the rails.
Step 2: Remove the Fence Rails from the Post
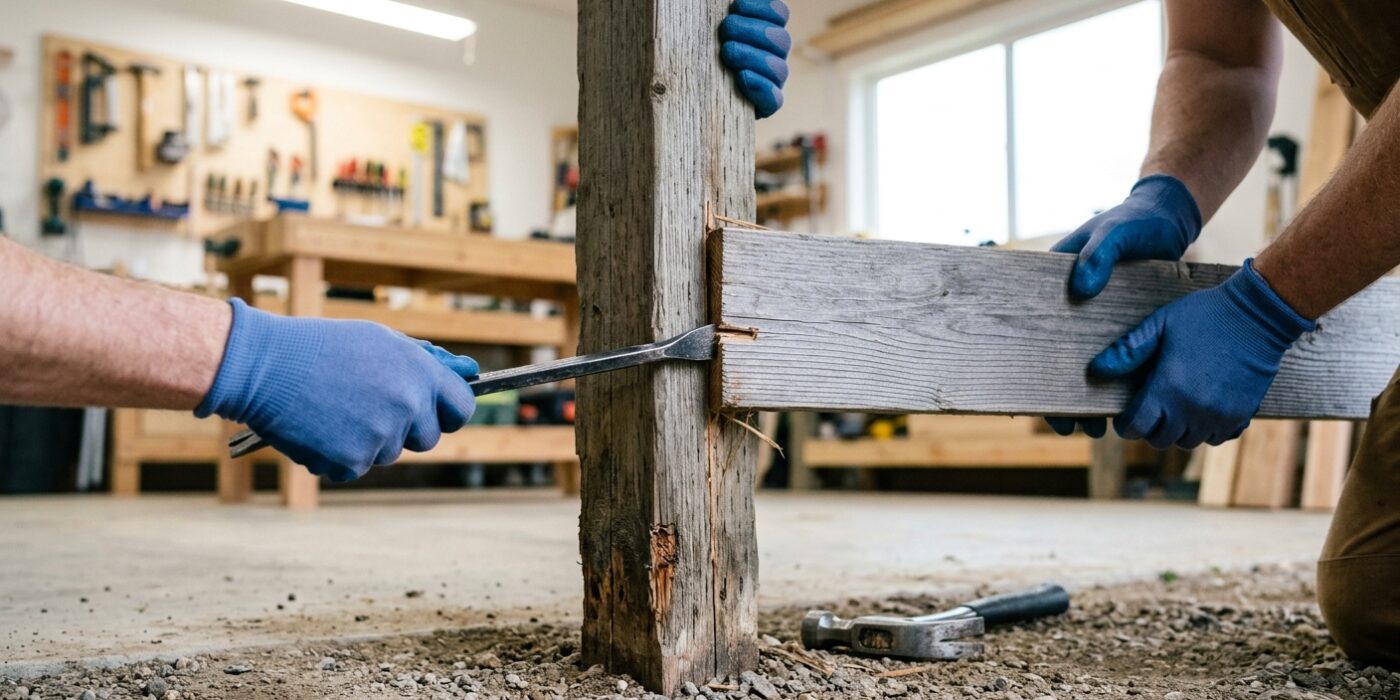
Now that your temporary braces are supporting the fence panels, it is time to detach the rails from the rotted post. Since the wood is likely soft or decaying, avoid the urge to use a hammer or crowbar to pry the rails away; this often splinters the wood and ruins the structural integrity of your fence rails. Instead, use a reciprocating saw equipped with a metal-cutting blade. Gently insert the blade into the gap between the fence post and the rail. Carefully cut through the nails or screws holding the two pieces together. Take your time, keeping the saw blade flush against the post to ensure you do not accidentally notch the rail itself.
Beginner Tip: The most common mistake is hitting the wood with the saw blade rather than the metal fastener. If you feel excessive vibration or see wood flying, stop immediately. Reposition the blade so it is biting only into the metal, not the surrounding timber, to keep your rail ends clean and smooth.
Alternative Method: If you do not own a reciprocating saw, you can use a hacksaw blade by hand. Simply remove the handle from a standard hacksaw and slide the blade into the narrow gap between the post and rail. It takes more elbow grease, but it offers maximum control and prevents damage to the surrounding wood.
Pro Tip: Before you begin cutting, spray a small amount of lubricant on the metal fasteners. This helps the saw blade slide through the metal much faster and significantly reduces the friction and heat that can dull your blade prematurely.
Step 3: Extract the Old Post and Footing
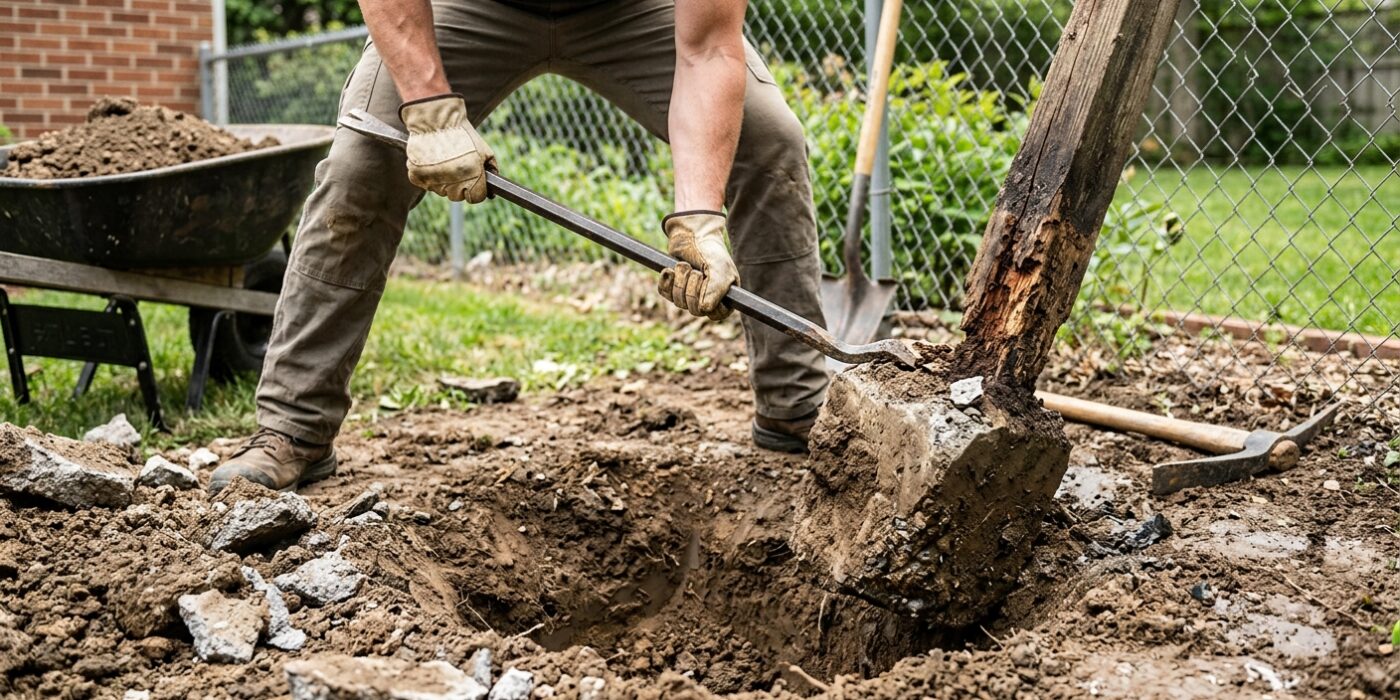
Now it is time to remove the old post and its concrete base. Begin by using your shovel to dig a hole around the existing concrete footing. You will need to reach about 2 to 3 feet deep to fully expose the concrete mass. The goal is to clear enough soil away so you can see the bottom edge of the footing.
Once exposed, the cleanest approach is to remove the concrete entirely. Insert a heavy steel digging bar deep under the edge of the footing and use it as a lever to pry the concrete upward. If the footing feels stuck, dig a narrow “escape channel” on one side of the hole; this allows you to tilt the concrete block onto its side, making it much easier to lift out with your hands or by using a chain and lever.
Beginner Tip: Avoid the mistake of trying to pull the post straight up by hand immediately. Rotted wood is weak and will likely snap, leaving you with a stubborn stump still buried in the concrete. Always focus your energy on moving the concrete footing itself, rather than yanking on the wood post.
Pro Tip: If you are working alone, use a high-lift jack or a simple tripod frame built from scrap lumber to create a pulley system. By securing a rope around the base of the concrete, you can use mechanical advantage to lift the weight out of the hole without straining your back.
Step 4: Prepare the New Hole
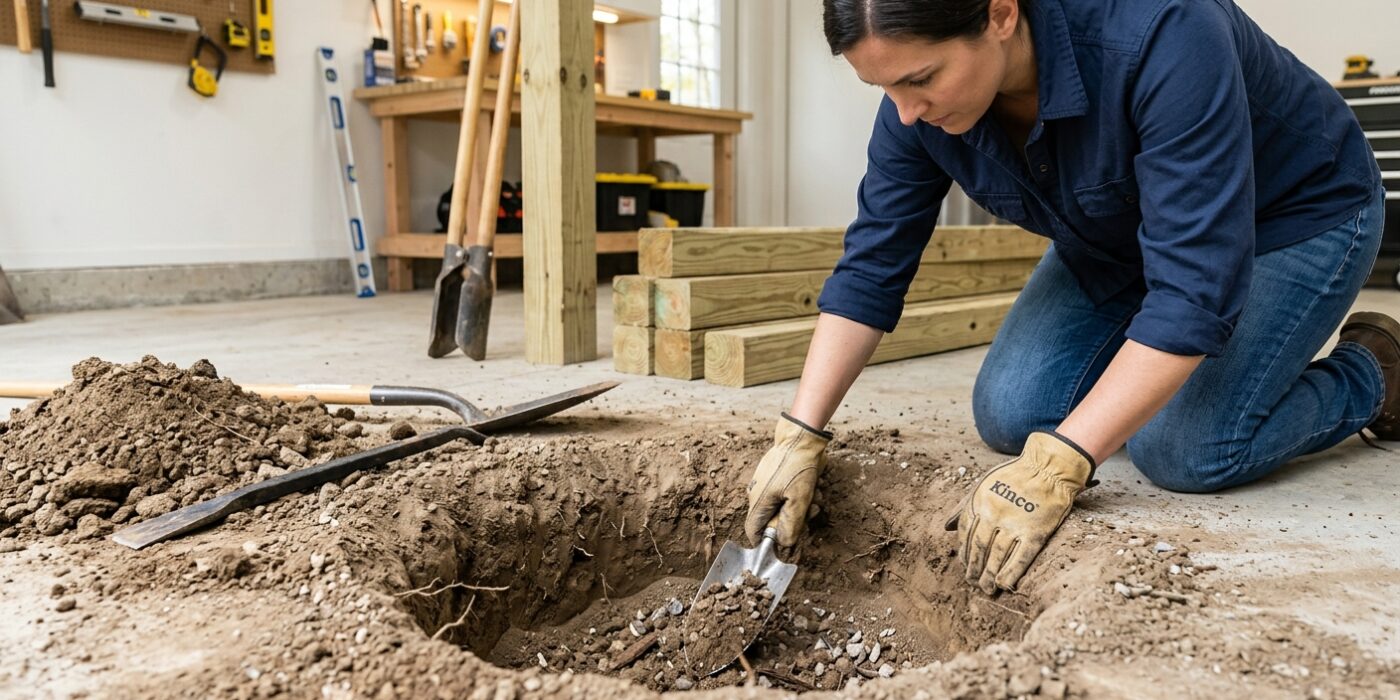
Now that the old post is removed, it is time to prepare the foundation for your new post. Dig a hole that is 10 to 12 inches wide and at least 2.5 to 3 feet deep. As a general rule, the depth of your hole should be one-third the height of the post above ground; this ensures the fence remains sturdy during high winds. Once you have reached the proper depth, pour 4 to 6 inches of gravel into the bottom of the hole. This layer is crucial because it allows water to drain away from the wood. If a post sits directly on dirt, it will absorb moisture like a sponge, leading to premature rotting even if you use pressure-treated lumber.
Beginner Tip: A common mistake is digging a hole that is too narrow at the bottom. Aim for a straight, cylinder-like shape rather than a funnel. If the base of your hole is too small, there won’t be enough room for the concrete to surround the post base properly, which weakens your fence’s stability.
Alternative Method: If you find manual digging difficult, you can rent a power auger from a local hardware store. This gasoline-powered tool removes the heavy lifting by drilling the hole for you, which is a fantastic way to save your back and save time if you are replacing several posts at once.
Pro Tip: Use a scrap piece of wood to firmly pack down the gravel at the bottom of the hole before you insert the post. This creates a solid, level base that prevents the post from sinking or shifting after the concrete has cured.
Step 5: Set the New Post
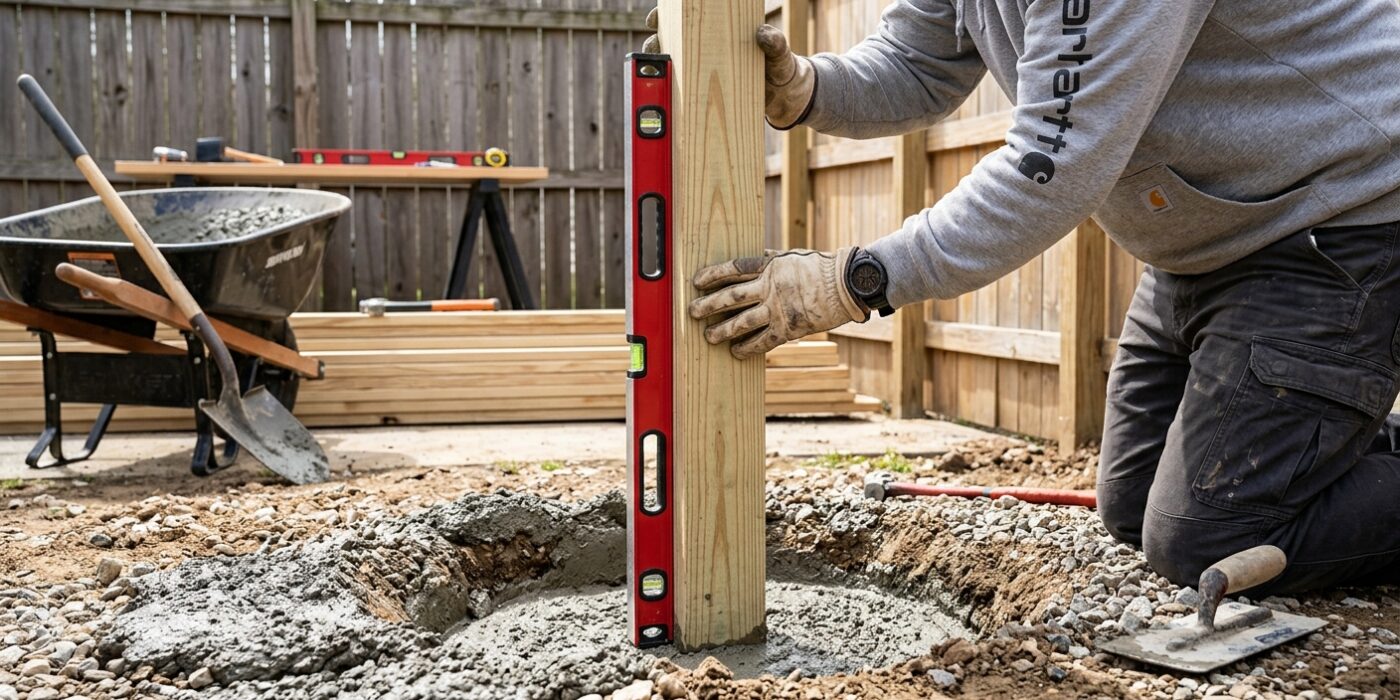
Now it is time to secure your new post. Place the post into the center of the hole. To ensure it stands perfectly vertical, or “plumb,” use a 4-foot level against two adjacent sides of the wood. Once the bubble is centered, drive temporary wooden stakes into the ground about two feet away from the hole and screw scrap wood boards from these stakes to the post to lock it in place.
With your helper holding the post steady, pour your fast-setting concrete mix directly into the hole until it reaches about 3 to 4 inches below ground level. Add the amount of water specified on the bag, stirring slightly with a stick if needed. Using the “dry-pour” method saves you the mess of a wheelbarrow and allows the concrete to cure firmly in roughly 30 minutes. As the concrete begins to set, re-check your level one last time. Finally, use a trowel to mound the top of the concrete, sloping the edges away from the post like a tiny roof; this prevents water from pooling at the base and causing future rot.
Beginner Tip: Avoid the temptation to use too much water. If the mixture looks like soup, it will take hours to harden and may weaken the structural integrity of the base. It should have the consistency of wet oatmeal.
Pro Tip: Before pouring, drop a few inches of gravel into the bottom of the hole. This creates a drainage layer that keeps the bottom of your post from sitting in standing water, effectively adding years to the life of your fence.
Step 6: Reattach the Fence Rails and Cap the Post
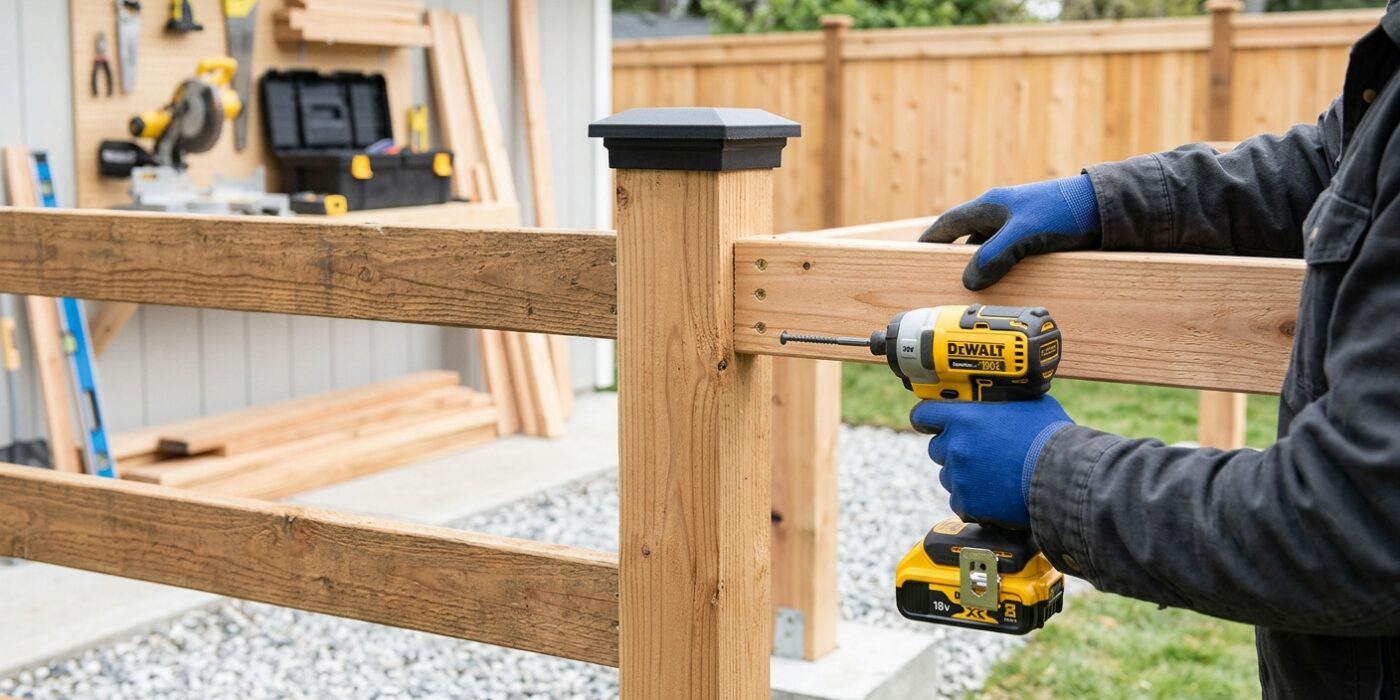
Now that your concrete has set, it is time to bring your fence back to life. Wait at least four hours – though leaving it overnight is best – to ensure the concrete is rock-solid. First, reposition your fence rails against the new post. Use a level to ensure the rail is perfectly horizontal before securing it with two galvanized deck screws per rail. Using galvanized hardware is essential because it resists rust, which would otherwise bleed into the wood and weaken your fasteners over time.
Next, install a galvanized or plastic post cap on the top of the post. Think of this as an umbrella for your wood; by covering the exposed end grain, you prevent rainwater from soaking into the center of the post, which is the fastest way for rot to take hold. Finally, remove your temporary support braces and give the fence a gentle shake to ensure everything is sturdy.
Beginner Tip: A common mistake is using standard interior screws. These will corrode quickly in pressure-treated wood. Always double-check your box of screws to ensure they are labeled “Exterior,” “Deck,” or “Hot-Dipped Galvanized” to keep your fence standing for years.
Pro Tip: Before driving your screws, drill small “pilot holes” about an inch deep into the post using a drill bit slightly smaller than your screw shank. This prevents the wood from splitting, which is especially common when working near the ends of boards.