Project Shopping List
Taping drywall joints is the step that separates a rough, visible seam from a wall that looks perfectly smooth. The process has three coats — tape coat, fill coat, and finish coat — each requiring the previous one to dry completely. Rushing between coats is the main cause of cracking and shrinkage in finished joints. The tools are simple, but the technique takes practice.
What You Need
- Paper tape (preferred) or fiberglass mesh tape
- Pre-mixed joint compound (all-purpose or lightweight)
- 6-inch, 10-inch, and 12-inch drywall knives
- Corner bead (for outside corners) and corner knife
- Mud pan or hawk
- Sanding sponge and 120-grit pole sander
Paper vs. Mesh Tape
Paper tape is the professional choice for flat joints — it is stronger than mesh, does not stretch, and produces fewer cracks over time. Mesh tape is self-adhesive and faster to apply for beginners but is weaker and more prone to cracking at butt joints. Use paper tape for all flat and inside corner joints. Mesh tape is acceptable for small repairs and areas with no structural movement.
Step-by-Step Instructions
Step 1: Coat 1 — The Tape Coat
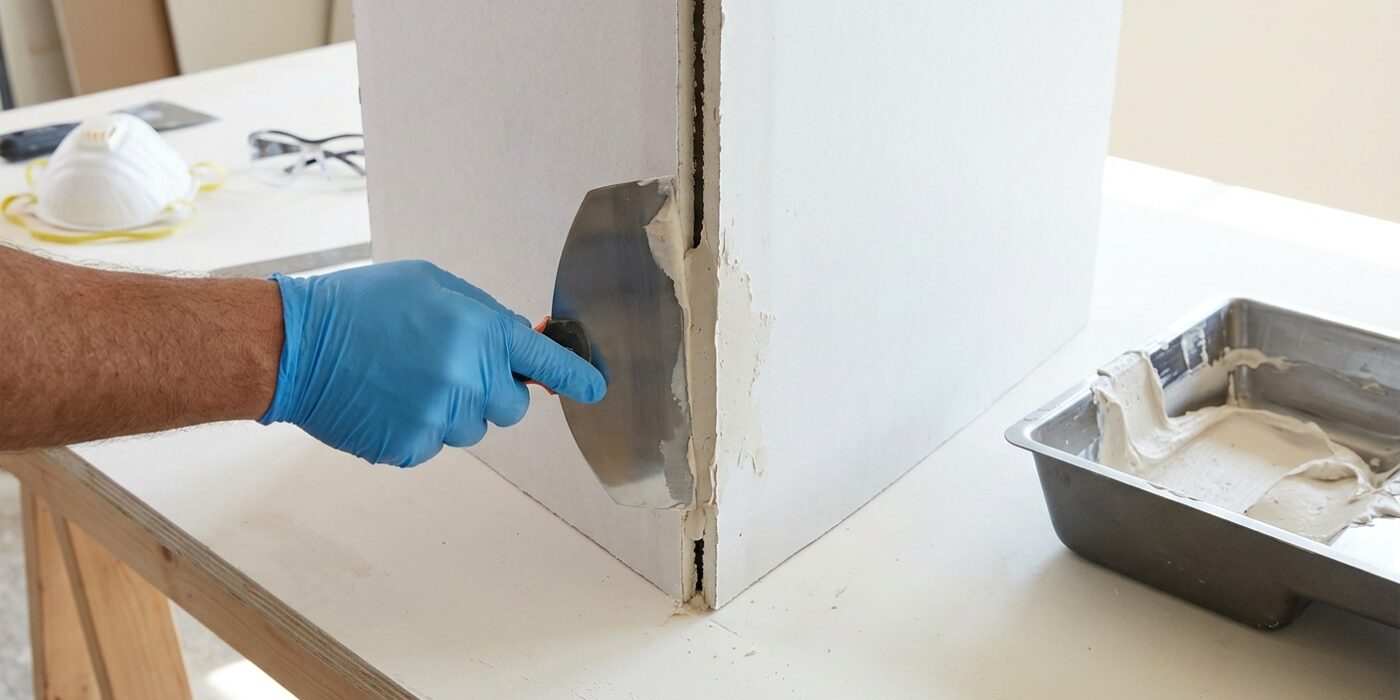
Apply a thin bed of joint compound over the joint with a 6-inch knife. Press paper tape into the wet compound, centered on the joint. Smooth the tape with the knife, applying light pressure to embed it in the compound without tearing through it. Apply a thin skim coat over the tape to fill the tape texture. The goal is to have the tape fully embedded with a thin, even layer of compound over it. Let dry completely — 24 hours minimum in normal conditions, longer in humid weather.
Step 2: Coat 2 — The Fill Coat
Apply a wider coat with a 10-inch or 12-inch knife, feathering 4-6 inches beyond the tape edges on both sides. The wider the feathering, the shallower the slope and the less visible the joint will be. Smooth the coat as flat as possible with the knife held at a shallow angle. Fill any screw dimples with a dab of compound and a single swipe. Let dry completely.
Step 3: Coat 3 — The Finish Coat
The finish coat uses a 12-inch knife and applies the thinnest layer yet, feathered 8-10 inches beyond the joint center. Any ridges or tool marks in this coat show through paint. Hold the knife at a very shallow angle and apply minimal compound — just enough to fill any remaining low spots and smooth any texture from the previous coat. Let dry completely before sanding.
Step 4: Inside Corners
Fold paper tape along its center crease (it is pre-creased for inside corners). Apply compound to both sides of the corner, press the tape in, and smooth each side with a 6-inch knife. A corner knife (a knife with a 90-degree bend) makes inside corners faster. Apply subsequent coats the same as flat joints, but work one side at a time to avoid disturbing the wet compound on the other side.
Step 5: Outside Corners
Metal or vinyl corner bead installs over outside corners, providing a hard, straight edge. Snap it onto the corner and fasten with drywall screws or crimp it with a corner bead crimper. Apply compound over the bead in two or three coats, feathering out 6-10 inches from the corner on each face. The bead edge guides the knife and ensures a straight, durable corner.
Step 6: Sand
Sand dried compound with 120-grit on a pole sander in long, even strokes. The goal is to blend the compound edges into the drywall surface — you should not be able to feel where the joint is with your hand. Do not oversand — you can easily sand through the paper face of the drywall, which requires a fresh skim coat to repair. Wear a dust mask; drywall dust is a significant respiratory irritant.
Pro Tips
- Wetting the knife slightly reduces drag and produces smoother compound pulls.
- Let each coat dry until it is uniformly white — no gray or dark areas which indicate wet spots. A hair dryer or fan speeds drying on humid days.
- Apply a skim coat of compound over the entire wall surface for the smoothest possible finish before painting — this hides any slight texture differences between the compound and the drywall paper.
Frequently Asked Questions
How many coats of joint compound are needed?
Three coats is the professional standard: tape coat, fill coat, and finish coat. Some professionals apply a fourth skim coat over the entire wall before painting on projects requiring the highest finish quality. Never try to build up thickness in one coat — thick compound cracks as it dries and shrinks.
Why is my compound cracking?
Cracking is almost always caused by applying compound too thick in one coat, by finishing over compound that has not fully dried, or by a high-shrinkage compound applied in a thick bed. Use lightweight compound (it shrinks less than all-purpose), apply thin coats, and allow full drying time between coats.