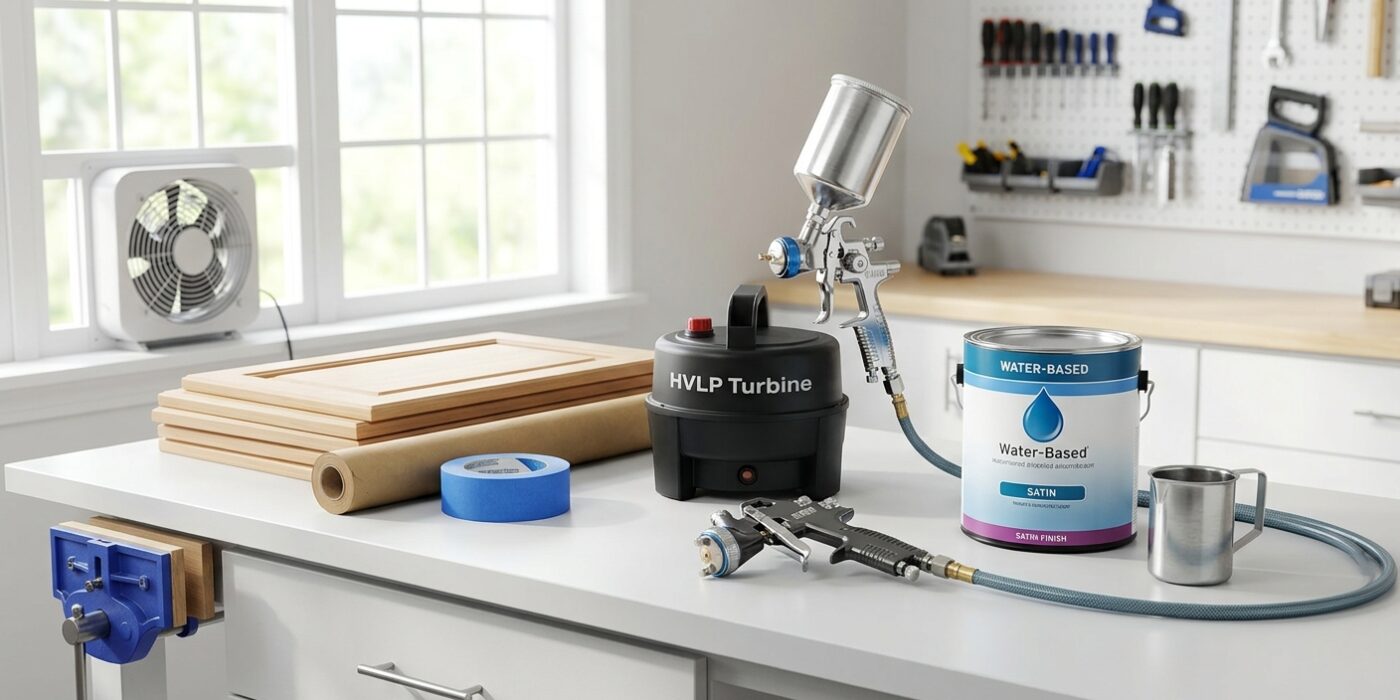
Project Shopping List
An HVLP (High Volume, Low Pressure) paint sprayer delivers a finish quality that brushes and rollers cannot match on furniture, cabinets, and large interior surfaces — no brush marks, no roller stipple, uniform film thickness. The learning curve is real: gun distance, fluid control, air pressure, and spray pattern all affect the result. This guide gives you the setup and technique to get it right on the first practice session.
What You Will Need
Tools
- HVLP spray gun (gravity-feed or turbine HVLP system)
- Air compressor (minimum 40 PSI, 4+ CFM) or turbine HVLP unit
- Viscosity cup to test paint thinning
- Paint strainer
- Respirator rated for organic vapors (P100 plus OV cartridges)
Materials
- Paint thinned to appropriate viscosity
- Mineral spirits or water for thinning (match to paint type)
- Cardboard for test spraying
- Cleaning solvent
Step 1: Choose the Right Gun
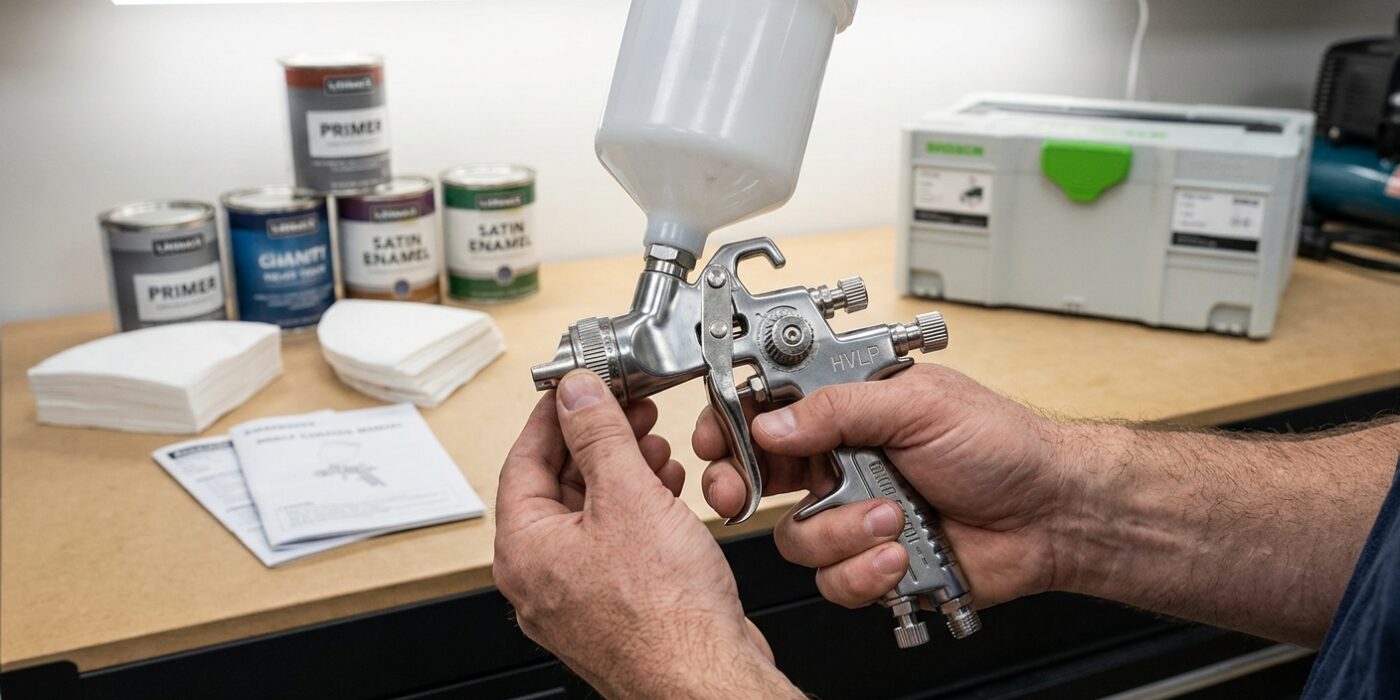
Selecting the right spray gun is the most important step for a professional-looking finish. For your first project, we recommend a gravity-feed HVLP (High Volume, Low Pressure) gun. The paint cup sits on top, which uses gravity to pull the liquid down, making it perfect for smaller tasks like furniture, cabinets, and trim. Because these guns operate at lower pressures, you will experience significantly less “overspray,” meaning less paint floats into the air and more lands exactly where you want it.
When selecting your setup, look for a turbine-based system. Unlike standard compressors that can lose air pressure as they run, turbines provide a constant, steady stream of air. This consistency is your best friend when you are still learning to control your hand speed and spray distance.
The “needle size” determines how much paint comes out. If you are using thin materials like water-based paints or stains, choose a 1.0mm to 1.4mm tip. For thicker materials like primers or heavy topcoats, upgrade to a 1.4mm to 1.8mm tip to prevent clogging.
Beginner Tip: Avoid buying an “all-purpose” spray gun that claims to do everything. Beginners often struggle because cheap, multi-purpose guns have poor seals and erratic spray patterns. Stick to a basic, dedicated furniture gun to ensure your first experience is smooth and frustration-free.
Pro Tip: Before you fill your gun with expensive paint, fill the cup with plain water and test it on a piece of cardboard. Adjusting your settings with water lets you master the trigger pull and spray width without wasting a single drop of paint.
Step 2: Thin the Paint Correctly
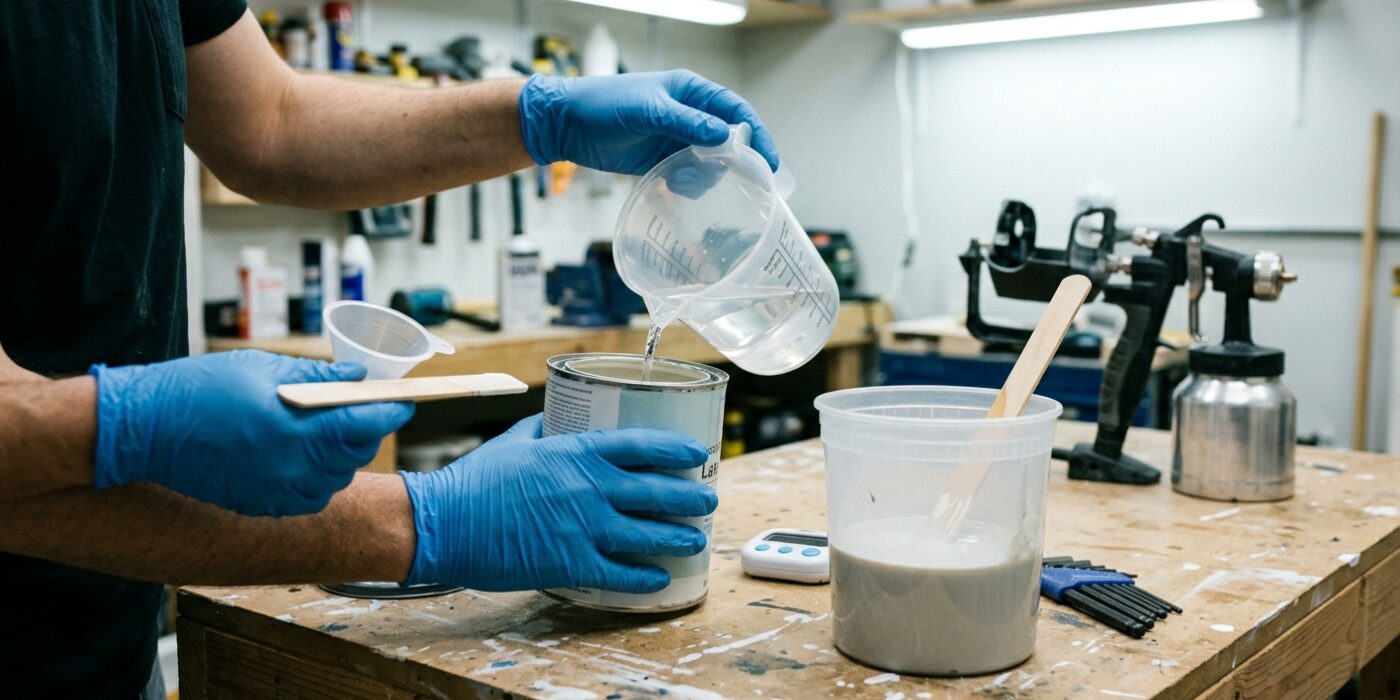
Think of your paint like a smoothie; if it is too thick, your spray gun simply cannot push it through the nozzle. If the paint is too thin, it will pour out like water, causing messy drips and “sags” on your beautiful project. To get that perfect, professional finish, you must achieve the right viscosity.
Start by pouring your paint into a clean bucket. If you are using latex paint, add water in small 10% increments; for oil-based paints, use mineral spirits. Stir thoroughly after each addition. To test the consistency, dip your viscosity cup into the paint, lift it out, and start a stopwatch. You are looking for a steady, continuous stream that breaks into individual drops between 25 and 35 seconds. Once you hit that target, pour the mixture through a mesh strainer into your spray gun cup to remove any clumps that might clog the nozzle.
Beginner Tip: Never dump all your thinning agent into the bucket at once. Once the paint is too thin, you cannot easily thicken it back up. Always add your water or spirits in small splashes, testing as you go to maintain full control over the process.
Pro Tip: Keep a dedicated logbook for your paint mixtures. Write down the specific paint brand, the amount of thinner used, and the final drain time. This takes the guesswork out of your future projects and ensures your finish looks consistent every single time you pick up the sprayer.
Step 3: Set Up the Gun
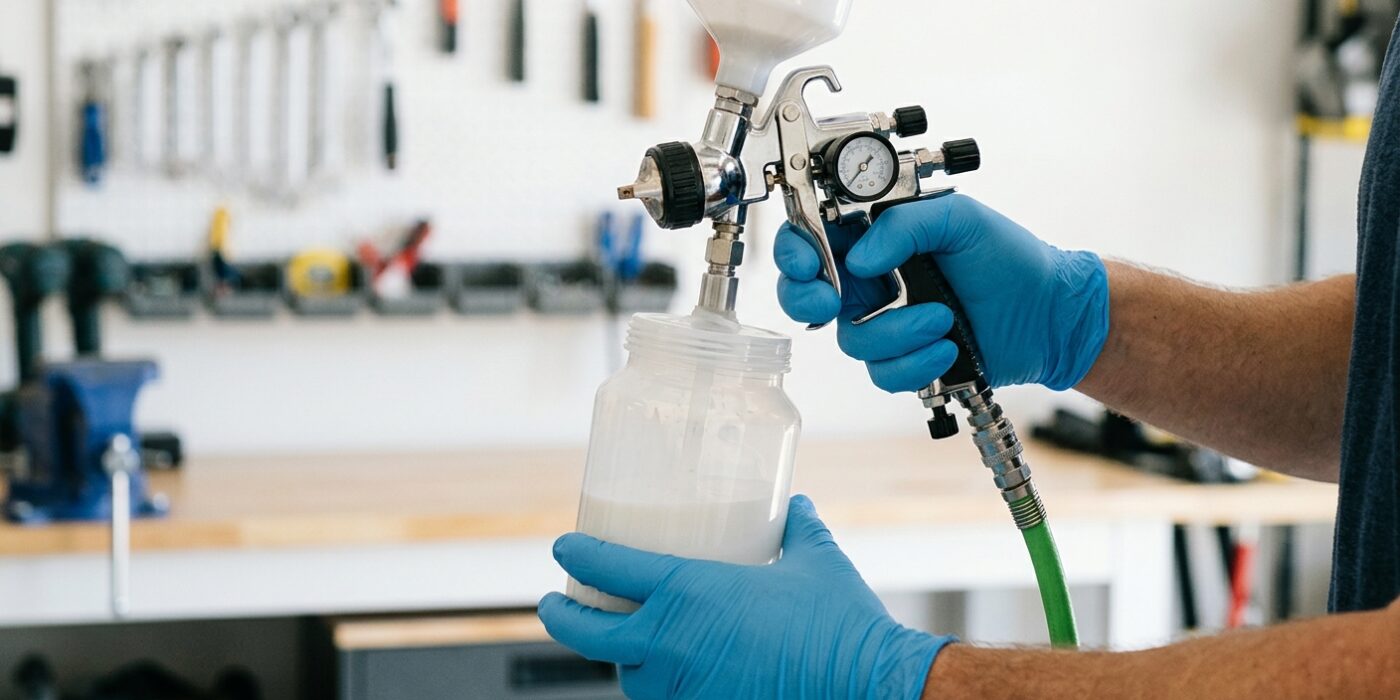
Now that your sprayer is prepped, it is time to calibrate the gun. Think of this as tuning a musical instrument; small adjustments change the entire outcome. Most HVLP guns feature three primary knobs: the fluid control (at the back), the air pressure (at the inlet), and the fan pattern (usually on the side).
Start with these universal settings to find your sweet spot: turn your fluid control knob until it is about 70% open, set your compressor or turbine to the manufacturer’s recommended PSI – usually between 25 and 40 – and set the fan pattern to maximum width. Always perform your first test spray on a large piece of scrap cardboard. You are looking for a perfectly uniform oval or ellipse. If you see a heavy concentration of paint in the center or a “spitting” effect, adjust your pressure or fluid flow until the mist looks like a smooth, even cloud.
Beginner Tip: Avoid the temptation to crank the fluid control wide open right away. Too much paint will cause dreaded “runs” and drips on your project. Start light; it is much easier to add a second thin coat later than it is to sand down a thick, globby mistake.
Pro Tip: To get a perfect oval pattern, rotate the air cap on the front of the nozzle before you tighten the retaining ring. If you are spraying a table leg, rotate it to a vertical fan; if you are spraying a flat tabletop, rotate it to a horizontal fan. Matching your fan orientation to the shape of the surface will save you massive amounts of wasted paint.
Step 4: Spray Technique
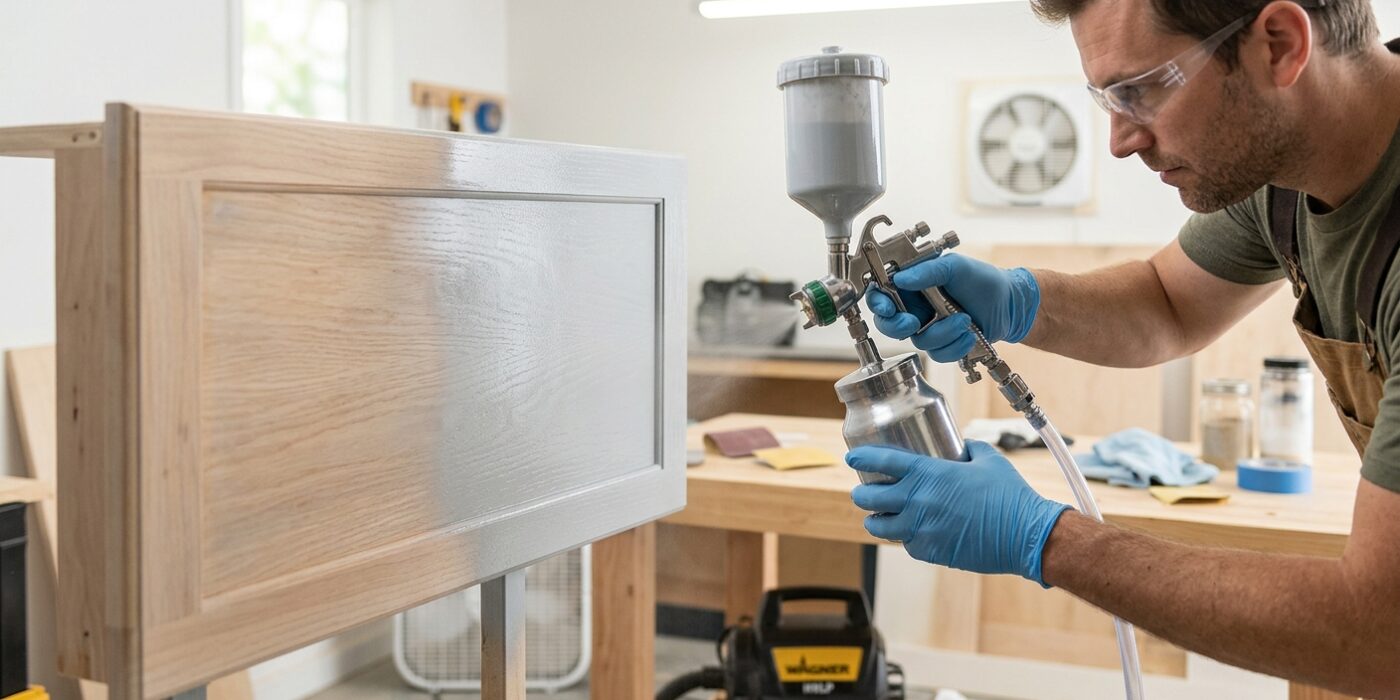
Mastering your spray technique is the secret to a professional-looking finish. Think of your arm as a robot; keep it stiff and move from your shoulder, not your wrist. Hold the sprayer exactly 6 to 8 inches from your surface. Keeping this distance consistent ensures the paint lands evenly without creating dry spots or drips. As you move, keep the gun parallel to the project. If you tilt your wrist, you create an arc that sprays too much paint in the middle and too little at the edges.
Move your hand at a steady pace, roughly 12 to 14 inches per second. To get the perfect coat, trigger the gun just before you reach the edge of your project, and keep moving until you clear the opposite side before releasing. This “triggering” technique prevents heavy blobs of paint from forming at the start and stop points. Finally, aim to overlap each pass by 50 percent, covering half of the previous wet strip. It is always better to apply two or three thin, light coats than one thick, heavy layer, which is prone to sagging.
Beginner Tip: Avoid the “pivoting” mistake. Many beginners accidentally rotate their wrist as they move across the surface, which causes an uneven fan pattern. Remember to keep your arm locked and move your entire body along with the sprayer to maintain that perfect parallel distance.
Pro Tip: Practice on a large piece of cardboard before starting on your actual project. This allows you to dial in your speed and pressure without stress, ensuring you have the rhythm down before you touch your final piece.
Step 5: Apply Coats and Clean Properly
Now it is time to bring your project to life. Start by holding your spray gun 6 to 8 inches from the surface, keeping your wrist locked and moving your entire arm in a smooth, steady motion. Avoid swinging your wrist, which causes uneven application. Apply thin, overlapping coats; imagine you are painting a stripe that covers 50 percent of the previous one. Allow each coat to “flash dry” – meaning the finish looks dull and is no longer tacky – usually taking 15 to 30 minutes for water-based products. Two to three light coats are much better than one heavy, dripping coat.
Beginner Tip: A common mistake is stopping your arm motion while still pulling the trigger. This creates a blob of paint at the end of your stroke. Always start the spray movement before you pull the trigger, and keep moving until after you have released it to ensure a clean, consistent finish.
Pro Tip: To master corner spraying, approach the corner with the gun perpendicular to the surface and about 2 inches away. Spray past the corner so the overspray naturally dusts the adjacent side. This prevents the paint from pooling or “puddling” in the crevice, giving you a professional-grade result without extra effort.
Cleaning is non-negotiable. Immediately dump remaining paint back into your can, then fill the cup halfway with the appropriate solvent or water. Spray it through the gun until the stream runs clear. Finally, remove the air cap, fluid tip, and needle to scrub them gently with a soft brush, ensuring no dried residue remains for your next project.