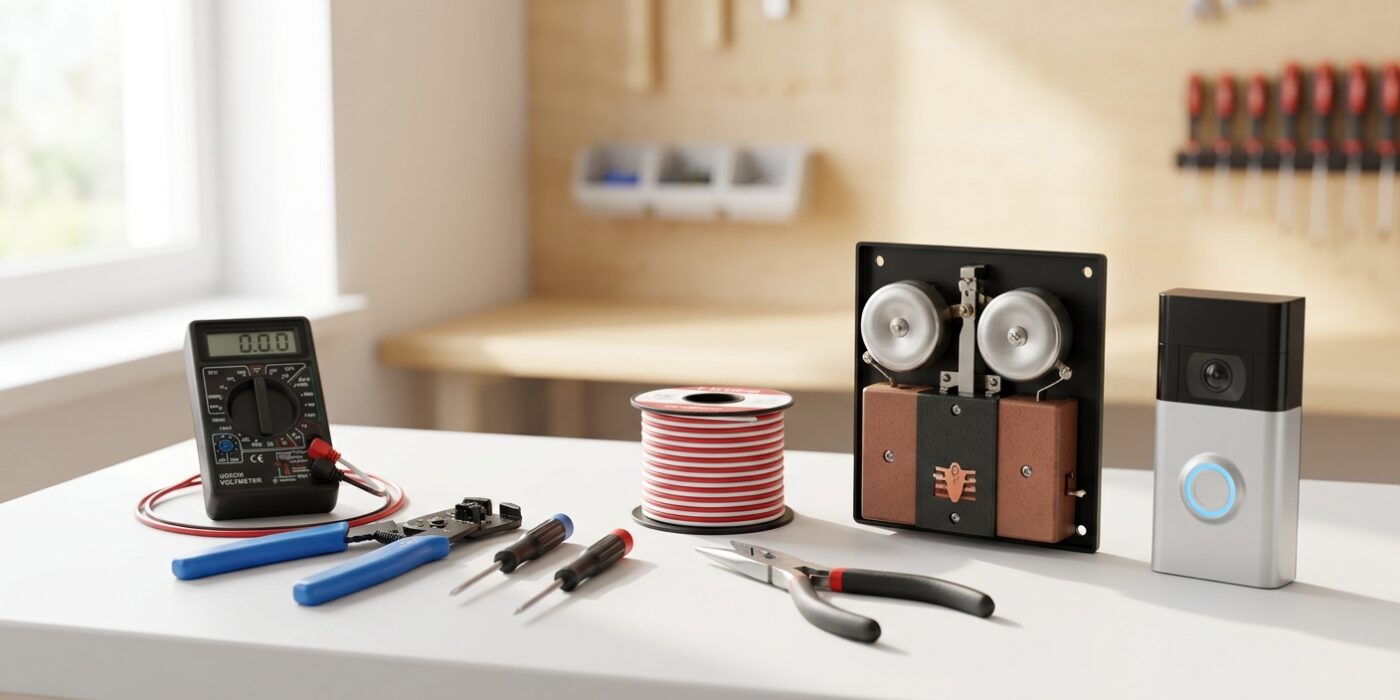
Project Shopping List
Wiring a doorbell – whether installing a traditional chime doorbell or replacing it with a smart video doorbell – is a beginner-friendly electrical project because doorbells operate on low-voltage (typically 16–24VAC from a small transformer), making the wiring work safe and simple. Understanding the existing doorbell wiring also helps when troubleshooting a dead doorbell or adding a second chime location.
This guide covers both: wiring a traditional wired chime system from scratch, and replacing a wired doorbell with a smart video doorbell (Ring, Nest, Arlo, Eufy, etc.).
What You’ll Need
Tools
- Flathead and Phillips screwdrivers
- Voltage tester (non-contact, or multimeter for low-voltage work)
- Drill and small bits
- Wire stripper
- Fish tape (if running new wire)
Materials
- Doorbell transformer (16V, 30VA minimum for smart doorbells)
- 18/2 or 18/3 doorbell wire (18 AWG, 2 or 3 conductors)
- Doorbell chime unit (for traditional)
- Smart video doorbell (for smart installation)
Step 1: Understand the Doorbell System
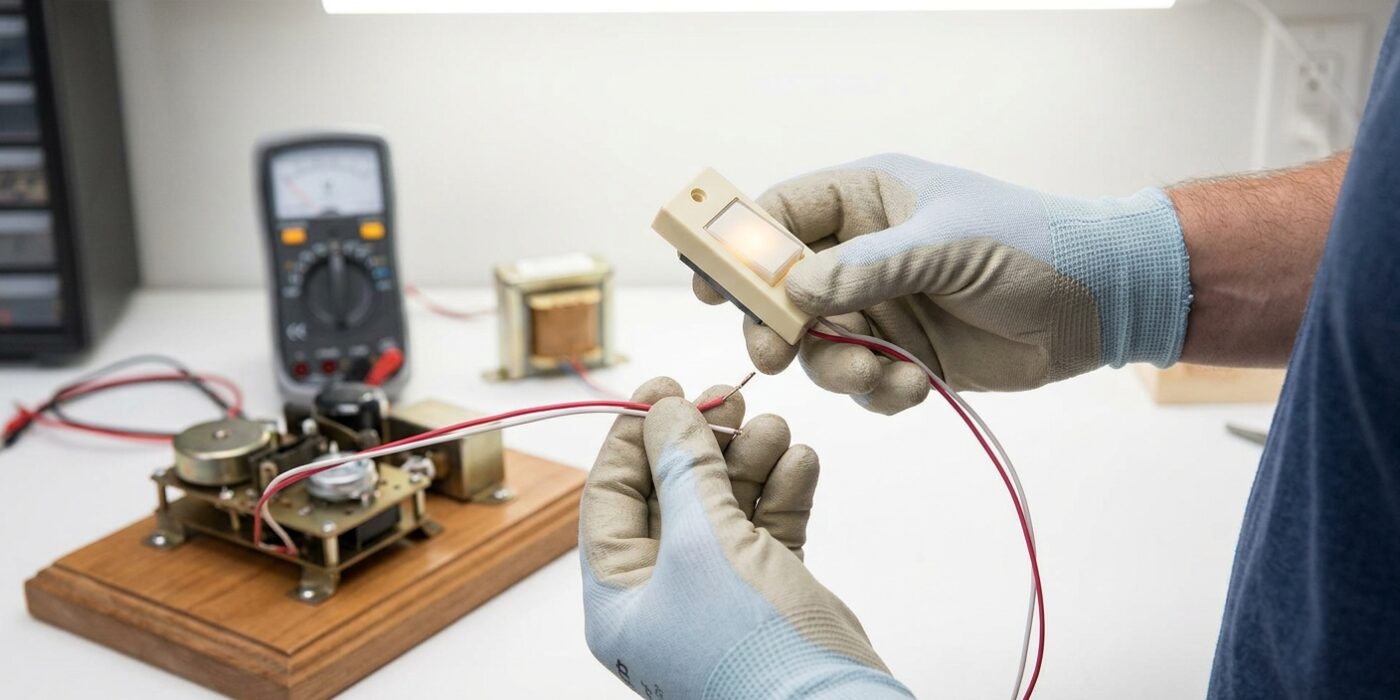
Before you pick up a screwdriver, it is important to visualize how your doorbell actually works. Think of your doorbell as a simple loop of wire that is normally broken at the button. When you push the button, you close that loop, allowing the low-voltage electricity from the transformer to flow to the chime, creating the sound. Because the system runs on low voltage – usually 16 volts – it is much safer than standard household outlets, but it still requires careful handling.
Your goal is to locate these three parts: the transformer (a small metal box often found near your electrical panel), the chime (the box on your wall), and the doorbell button. Most systems use thin, 18-gauge wire. You are simply swapping the button or chime, so understanding this path ensures you don’t accidentally pull a wire loose inside the wall, which would make your job much harder.
Beginner Tip: Never assume the power is off just because the doorbell isn’t ringing. Even if the chime is broken, the transformer is likely still sending electricity through the wires. Always identify and flip the correct circuit breaker at your main panel before touching any wires.
Pro Tip: Use your smartphone to take a high-resolution photo of the existing wiring configuration before you disconnect a single wire. This acts as a perfect visual map, ensuring that when you install your new hardware, you can replicate the exact connection pattern that already works.
Step 2: Find and Test the Existing Transformer
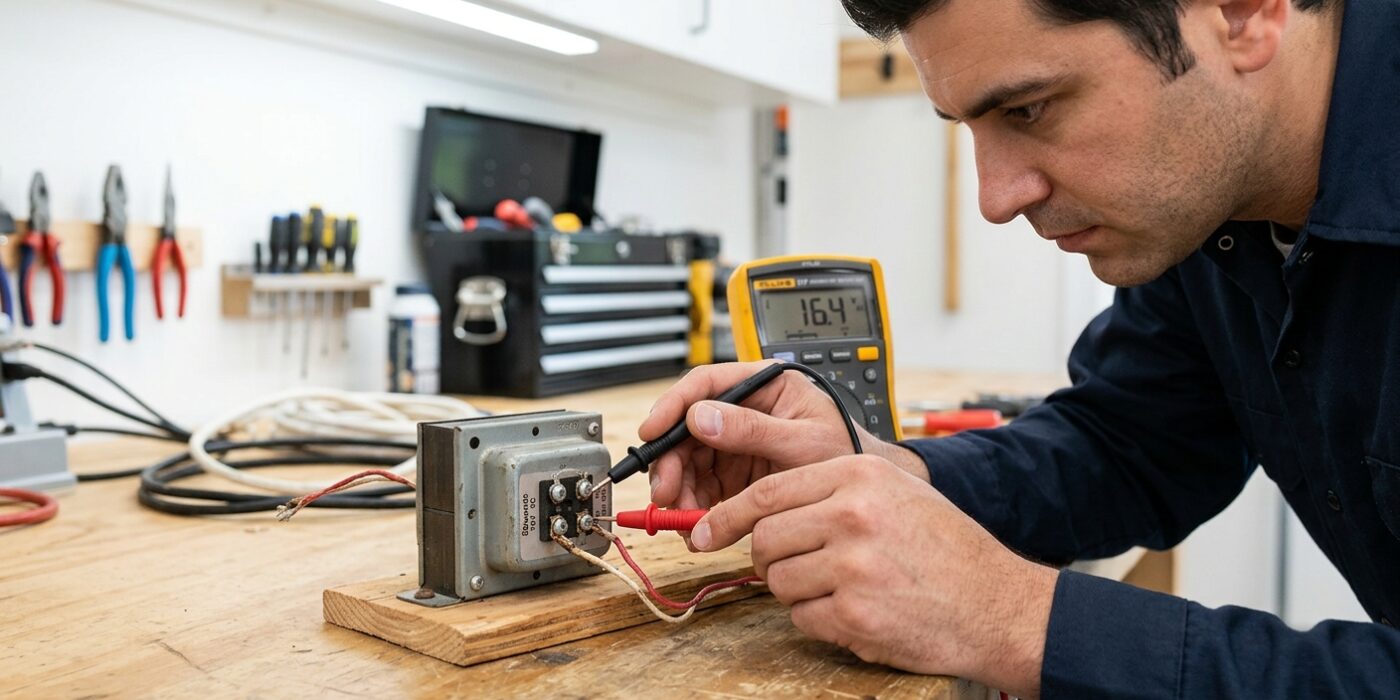
Before you begin, you need to locate your doorbell’s “power source,” known as the transformer. Think of this as a converter that takes the high-voltage electricity from your house and steps it down to a safe, low-voltage level for your doorbell. You will typically find this small, rectangular metal box clamped to the side of your main electrical panel, tucked away in the basement ceiling joists, or sometimes hidden inside the wall cavity behind your indoor chime unit.
To verify it is working, set your digital multimeter to the AC Voltage setting (often denoted by a V with a wavy line). Carefully touch one probe to each of the two low-voltage screw terminals on the transformer. You are looking for a reading between 16VAC and 24VAC. If your meter displays a number lower than 16VAC – or if you see a rating of “10VA” on the transformer’s label – it is likely too weak to power a modern smart doorbell and will need to be replaced.
Beginner Tip: Do not worry if your probes do not have a positive or negative side; because doorbell transformers use alternating current (AC), you will get the same correct reading regardless of which probe touches which screw.
Pro Tip: If you are struggling to find the transformer in a dark basement, use a bright LED headlamp. Look for a pair of thin, low-voltage wires traveling together along the wooden rafters; if you follow these wires backward, they will lead you directly to the transformer like a breadcrumb trail.
Step 3: Traditional Doorbell Installation
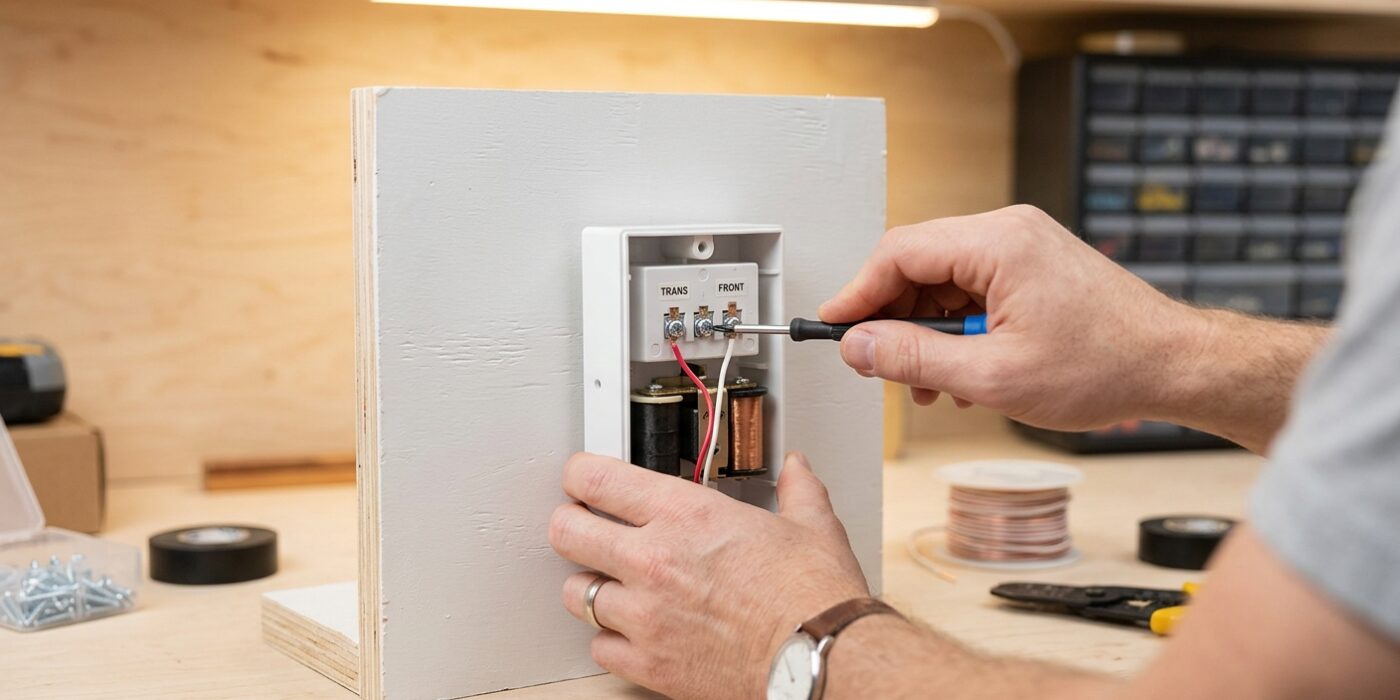
Now that your transformer is mounted, it is time to connect the electrical path. Think of your doorbell system as a continuous loop: electricity leaves the transformer, travels to the chime, flows out to the button, and returns to complete the circuit. Start by running your 18/2 doorbell wire from the transformer to your chime location, leaving about six inches of extra wire at each end to make stripping the insulation easier. Secure the wire along studs using insulated cable staples every 12 to 18 inches, ensuring you do not pierce the internal copper wiring.
At the chime, you will see screw terminals labeled “Trans” and “Front.” Connect one wire coming from the transformer to the “Trans” terminal. Take the wire running to your button and connect one of its strands to the “Front” terminal. Finally, connect the remaining wire from the button directly to the second terminal on the transformer. At the button, simply wrap one wire around each of the two screw terminals. Since standard doorbells use low-voltage alternating current, it does not matter which wire goes on which screw.
Beginner Tip: A common mistake is overtightening the terminal screws. Only turn them until they feel snug against the wire; cranking them too hard can snap the small copper wires or strip the threads on the chime housing.
Pro Tip: Use a wire stripper tool with a gauge setting specifically for 18-gauge wire. When stripping the plastic casing, gently rotate the tool around the wire rather than pulling hard, which prevents you from accidentally nicking the copper core, which is the most common cause of future connection failure.
Step 4: Smart Doorbell Replacement
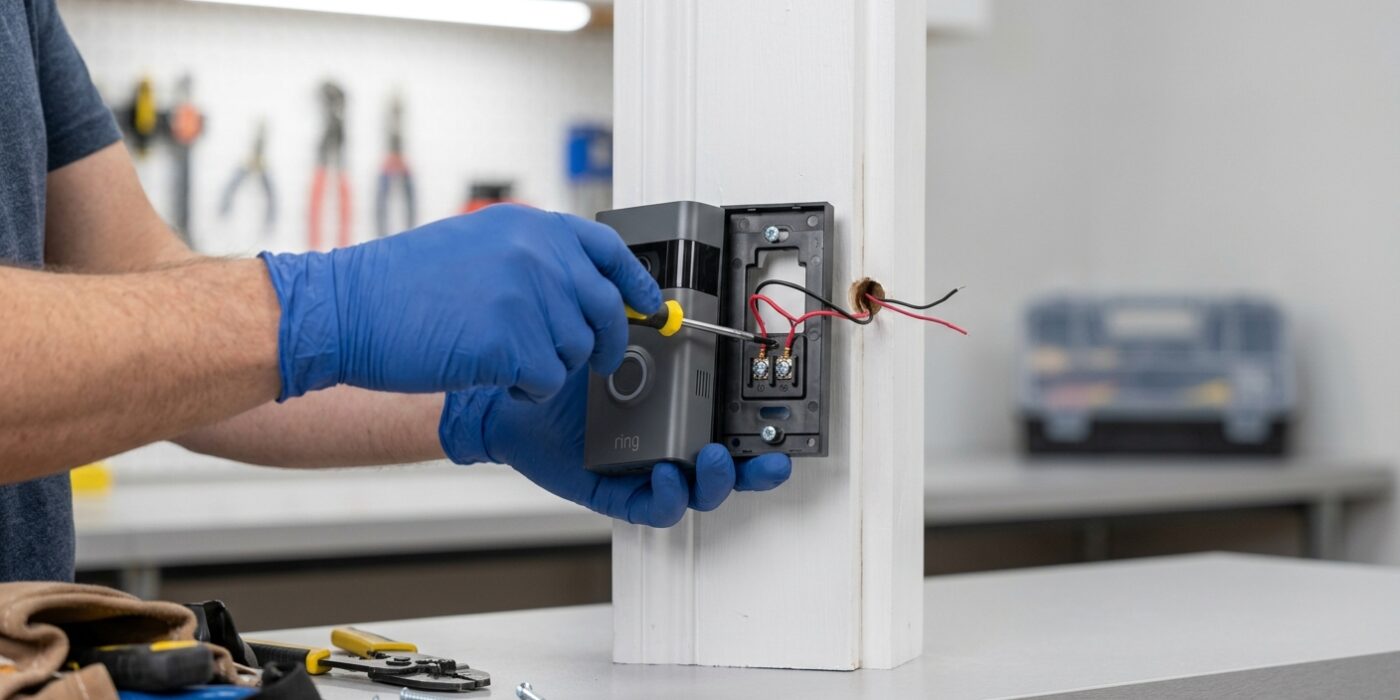
Before you begin, head to your electrical panel and flip the circuit breaker labeled “Doorbell” or “Front Door” to the OFF position. Your safety is the priority, even with low-voltage wiring. Once the power is cut, unscrew your old doorbell button from the wall. You will see two small wires attached to the back; take a clear photo of these connections before loosening the screws to release them. This reference image is your best friend during reassembly.
Hold the smart doorbell’s mounting bracket against the wall where the old one sat. Use a level to ensure it is perfectly horizontal, as crooked doorbells are difficult to align. Use the included wall anchors and screws to secure the bracket; if the screw holes don’t align with the old ones, you may need to drill new pilot holes. Next, wrap the two doorbell wires around the terminals on the back of the device. It does not matter which wire goes to which terminal, as the doorbell handles the electrical current regardless of orientation. Tighten the terminal screws firmly so the wires cannot wiggle.
Beginner Tip: The most common mistake is letting the wires slip back into the wall hole before you attach them to the device. Before you unscrew the old button, wrap a piece of masking tape around the wires to prevent them from sliding out of reach inside your wall.
Pro Tip: If your doorbell wires are brittle or frayed at the ends, use wire strippers to trim off the damaged portion and expose about half an inch of fresh copper. This ensures a solid electrical connection and prevents your smart doorbell from losing power intermittently.
Step 5: Add or Replace the Chime (Smart Doorbell)
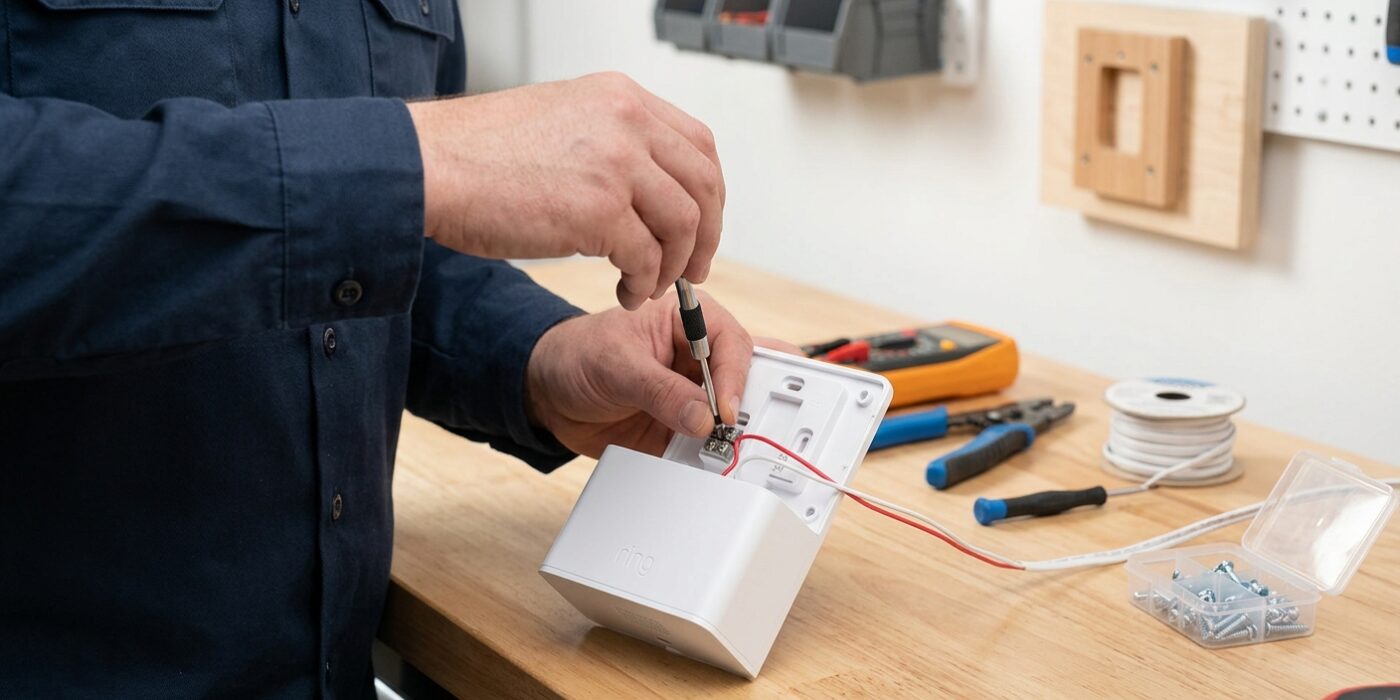
Now that your doorbell button is installed, it is time to address the indoor chime. Many smart doorbells require a small device often called a “Pro Power Kit” or “Chime Connector.” This component is essential because it balances the electrical flow, ensuring your smart doorbell stays powered without causing your old chime to hum or buzz constantly. To install it, remove the cover of your wall-mounted chime unit. You will see small screw terminals labeled “Front” and “Trans.” Loosen these screws just enough to slide the connector wires underneath, then tighten them back down until they are snug. The connector box itself is usually small enough to tuck inside the chime housing, out of sight.
Beginner Tip: A common mistake is accidentally loosening the wrong wires. Before you touch anything inside the chime, take a quick photo with your phone. This gives you a clear map to reference if you get confused about which wire goes to which terminal, ensuring you can restore the original setup if needed.
Pro Tip: If the wires inside your chime are short or difficult to reach, use a pair of needle-nose pliers to guide them into place. Bending the very tip of the wire into a small “U” shape allows it to hook securely around the screw terminal, preventing it from slipping out while you tighten the fastener.
Alternative Method: If the wiring feels too intimidating, or if your home lacks a wired chime, simply skip the internal modification entirely. Most smart doorbell manufacturers offer a plug-in wireless chime that syncs via your home Wi-Fi. You simply plug it into any standard wall outlet, and it will alert you when someone rings the bell.
Step 6: Test and Adjust
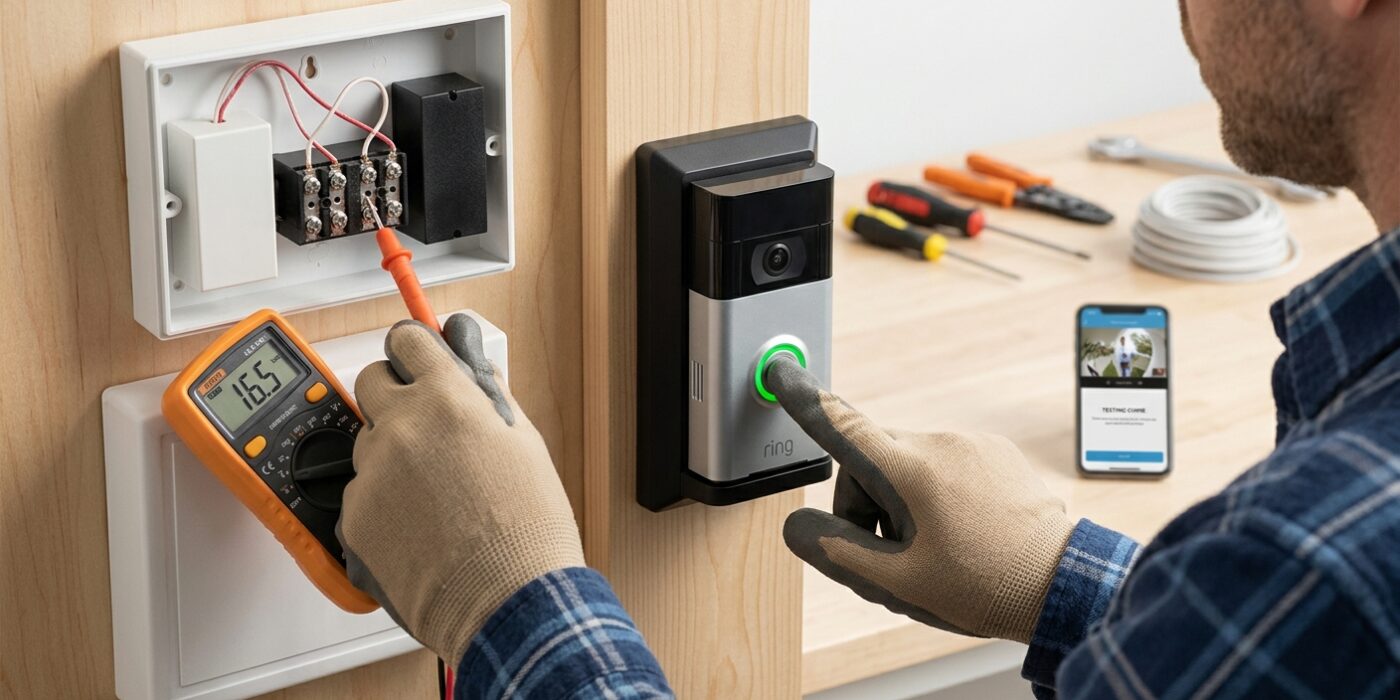
Now that your wiring is secured, it is time to bring your doorbell to life. First, flip your circuit breaker back to the “On” position. Press your doorbell button firmly; you should hear your chime ring immediately. If you installed a smart doorbell, open the companion app on your phone. You should receive a “Motion Detected” or “Button Pressed” notification within seconds. If the camera feed loads, congratulations – you have successfully powered the system.
Use the app to fine-tune your settings. Walk in front of the camera to test the motion zones, ensuring you are capturing the walkway but not constant street traffic, which saves battery and prevents annoying false alarms. Adjust the video quality to “High” if your Wi-Fi signal is strong, or “Balanced” if the video takes too long to load.
Beginner Tip: A common mistake is closing the doorbell housing or drilling it into the wall before testing the Wi-Fi connection. Always hold the doorbell in its final position and check the app’s “Signal Strength” meter first. If the signal is weak, you may need a Wi-Fi extender before you permanently screw the unit to your home.
Pro Tip: If your smart doorbell isn’t powering on, don’t panic. Many older homes have “underpowered” transformers that cannot handle modern cameras. If you see a flashing light on the unit, a 16V/30VA transformer is the industry gold standard; it provides the consistent, clean power needed to keep your camera stable during night vision and video recording.