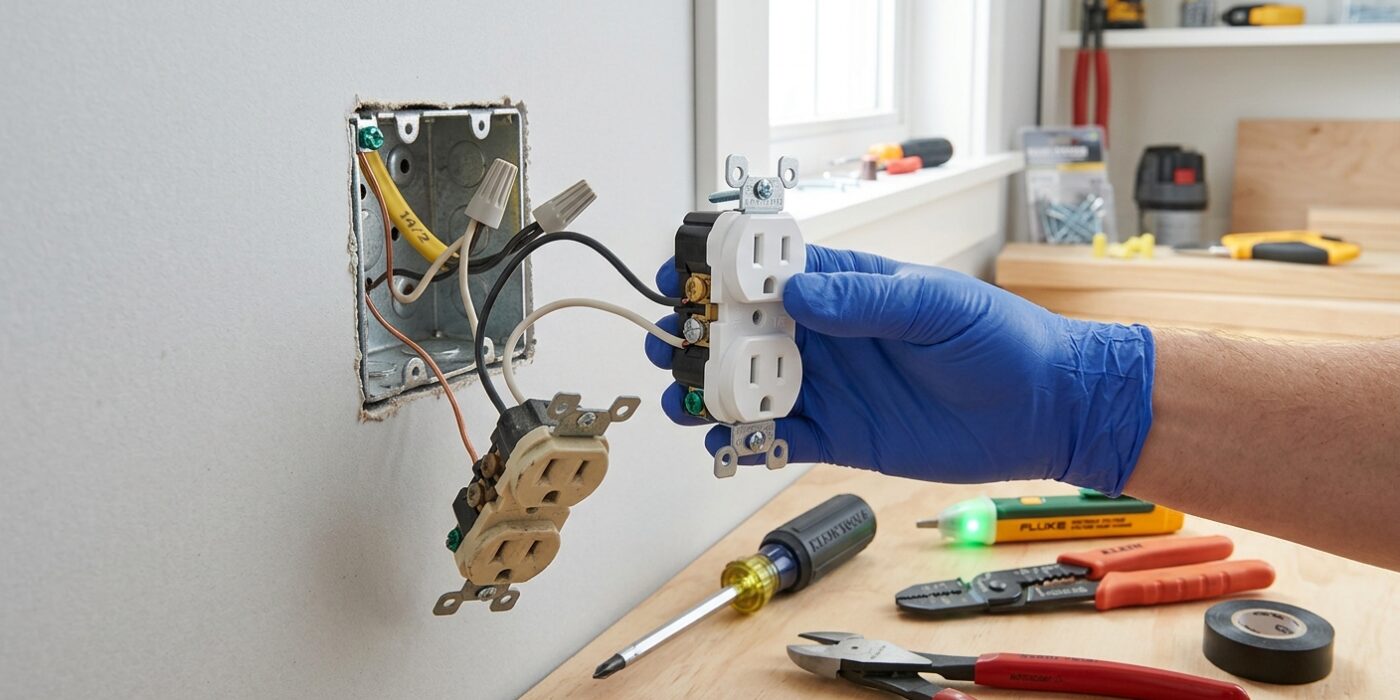
Project Shopping List
Safe for Beginners
Replacing an electrical outlet is one of the safest DIY electrical jobs. No panel work, no new wiring. As long as you turn off the breaker and confirm power is off, this is a beginner project.
Step 1: Kill the Power
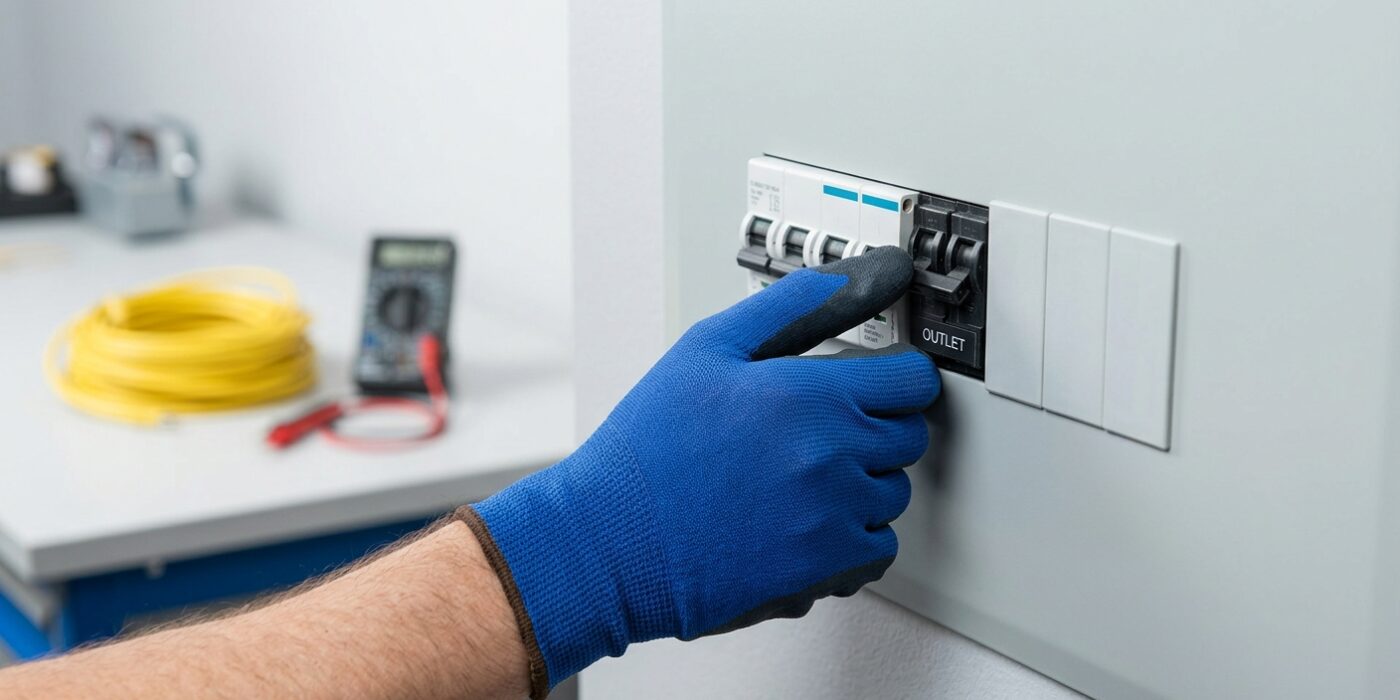
Before you even touch a screwdriver, your first priority is safety. You need to cut the electricity to the specific outlet you are working on. Head to your home’s main electrical panel – usually a metal box in the garage, basement, or hallway – and look for the row of switches called circuit breakers. Turn off the breaker that controls the room you are working in. If you aren’t sure which one it is, flip them until the outlet stops working.
Once you believe the power is off, use a non-contact voltage tester. This is a small wand-like tool. Hold the tip right against the outlet’s faceplate or insert it slightly into the slots. If the tester glows red or beeps, there is still active electricity flowing – go back to your panel and try a different breaker. You are looking for a solid green light or complete silence. Test every slot and the screws on the sides multiple times to be absolutely certain the power is dead.
Beginner Tip: Never assume a single switch is correct just because it is labeled. Labels in electrical panels are often outdated or incorrect. Always verify with your tester, even if you are certain you flipped the right switch.
Pro Tip: Plug a small lamp or a phone charger into the outlet before you turn off the breaker. Leave it plugged in while you flip switches at the panel; the moment the light turns off or the phone stops charging, you will know instantly that you have found the correct circuit.
Step 2: Remove Old Outlet
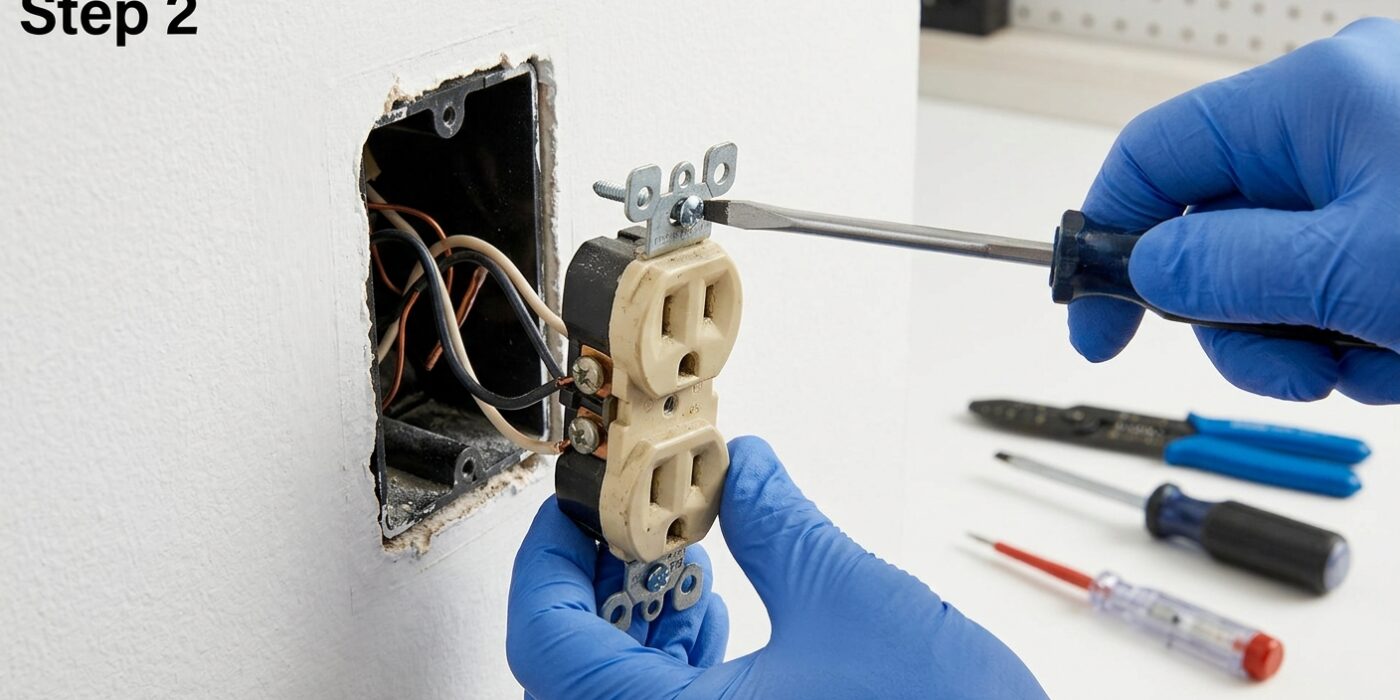
Now that your power is confirmed off, it is time to reveal the wiring hidden behind the wall. First, use a flat-head screwdriver to remove the screw holding the cover plate in place; set the plate and screw aside in a small bowl so they do not disappear. Next, locate the two long mounting screws at the top and bottom of the outlet itself. Use a Phillips-head screwdriver to turn these counter-clockwise until the outlet is completely free from the metal box inside the wall.
Gently grip the sides of the outlet and pull it straight toward you. Do not yank it, as the wires are stiff and connected to the back or sides. You should see three types of wires: a black wire (hot), a white wire (neutral), and a bare or green wire (ground). These are attached to specific color-coded screws: black goes to the brass screw, white to the silver screw, and bare/green to the green grounding screw.
Beginner Tip: Never disconnect all the wires at once. It is easy to forget which wire goes where. Instead, take a clear photo of the current connections before loosening any terminals, or move one wire at a time to the new outlet to ensure you do not mix them up.
Pro Tip: If the wires are tucked tightly into the back of the box, gently fold them into an accordion shape. This prevents the wire insulation from rubbing against the sharp edges of the metal box, which keeps your electrical system safer for years to come.
Step 3: Connect New Outlet
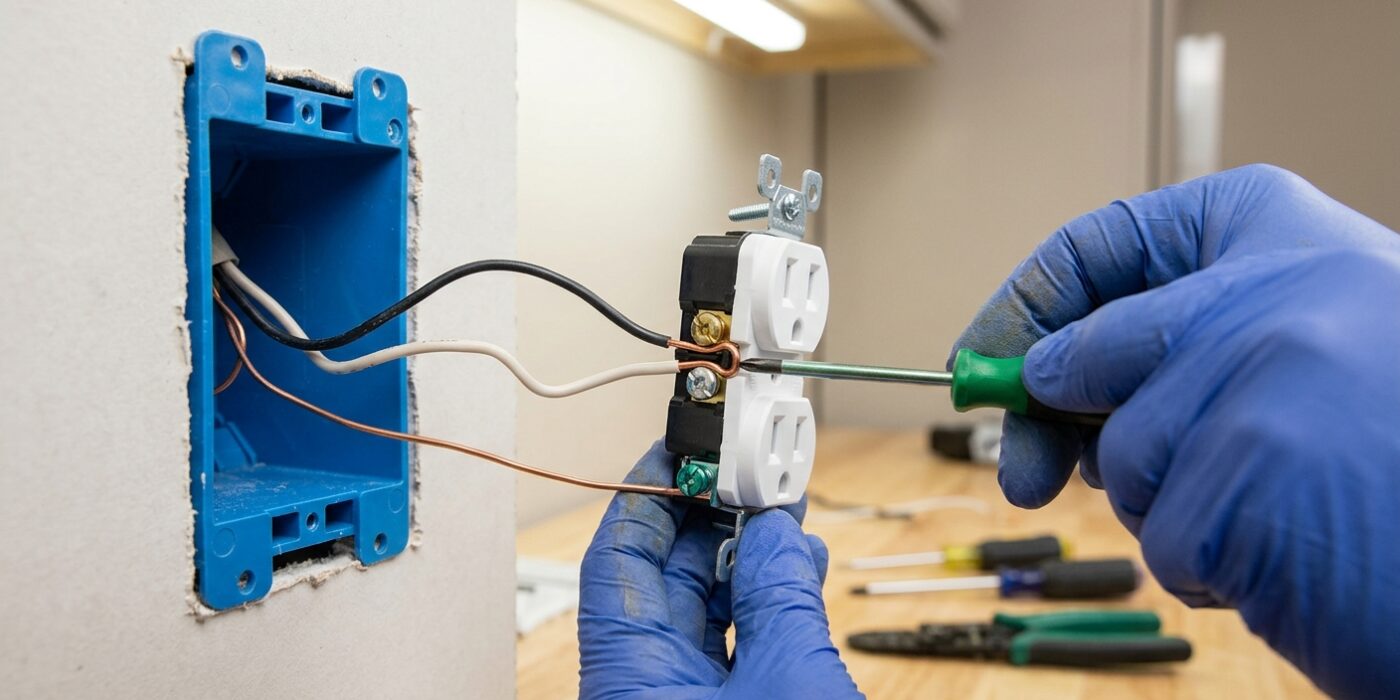
Now that your wires are exposed, it is time to attach them to your new outlet. Look at the back or side of the outlet; you will see gold-colored screws for the hot (black) wires and silver-colored screws for the neutral (white) wires. The green or bare copper wire always attaches to the green screw. To connect the wires, use your needle-nose pliers to bend the exposed metal into a small “J” hook. Hook the wire clockwise around the screw so that when you tighten the screw with your screwdriver, the motion pulls the wire tighter into the connection rather than pushing it away.
Insert the hooked wire around the screw shank and tighten firmly until the wire is snug. You do not need to use excessive force; simply ensure the wire is held securely and does not wiggle. Avoid overtightening, as applying too much torque can strip the screw threads or damage the outlet housing, making it unusable.
Beginner Tip: A very common mistake is wrapping the wire counter-clockwise around the screw. If you do this, tightening the screw will cause the wire to open up and slip out from under the head. Always hook the wire clockwise so the closing screw pulls the wire loop shut.
Pro Tip: Before pushing the outlet back into the wall box, fold the excess wire neatly behind the outlet in an accordion or “Z” pattern. This keeps the wires organized and prevents them from crowding the space, making it much easier to push the outlet flush against the wall.
Step 4: Test
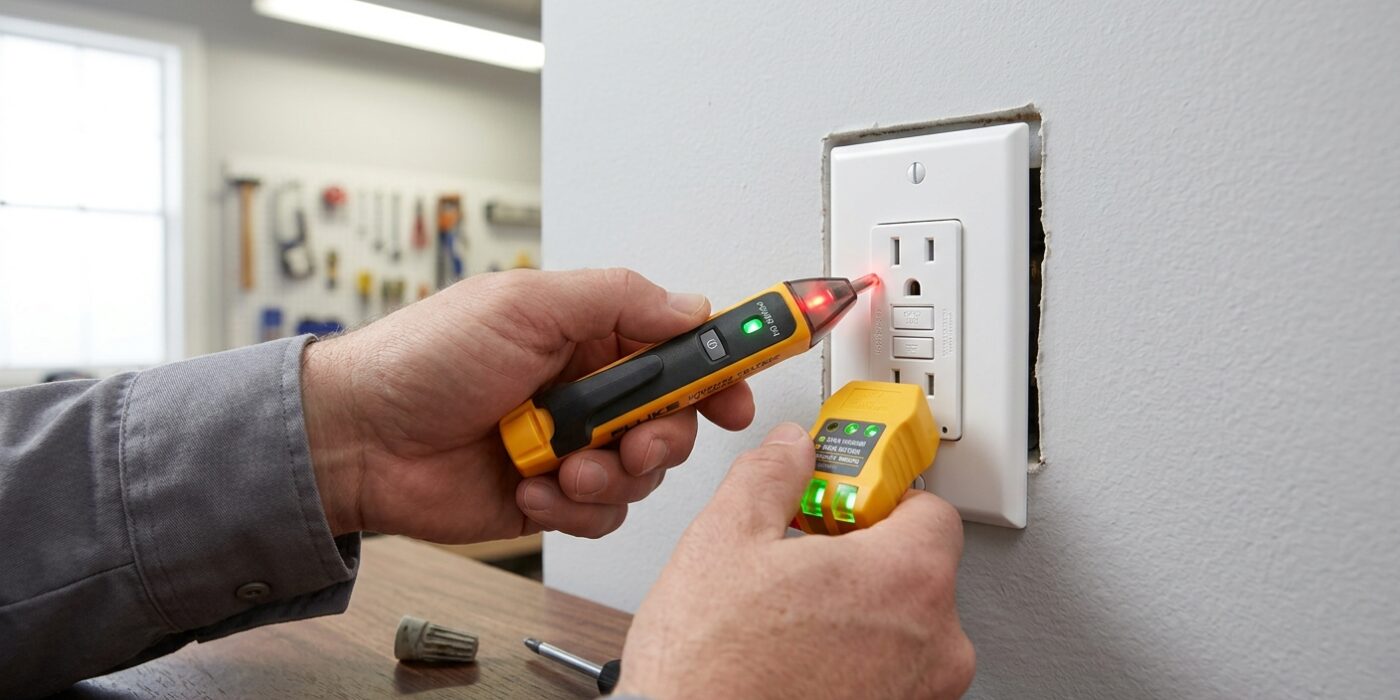
Now that your wiring is secure, it is time to tuck everything away. Gently fold the wires in an accordion-style pattern so they sit neatly behind the outlet, rather than forcing them into a cramped bundle. Push the outlet firmly into the electrical box, ensuring it sits flush against the wall. Thread the two mounting screws through the top and bottom slots; tighten them until the outlet is snug, but be careful not to overtighten, as this can crack the plastic mounting tabs. Once secure, snap your faceplate over the outlet and tighten the center screw until it just makes contact with the cover.
Head back to your breaker panel and flip the circuit breaker back to the ON position. Finally, plug a simple lamp into the new outlet to confirm it functions correctly. If the light turns on, you have successfully completed the project!
Beginner Tip: A common mistake is leaving a loose connection or a wire sticking out of the side of the outlet. If you feel the outlet wobbling or it does not sit flat against the wall, turn the power off again, remove the faceplate, and ensure no wires are bunched up behind the device.
Pro Tip: To get the outlet perfectly straight, use a small bubble level held against the face of the outlet before you fully tighten the mounting screws. If it looks crooked, simply loosen the screws slightly, shift the outlet until the bubble is centered, and then finish tightening the screws.