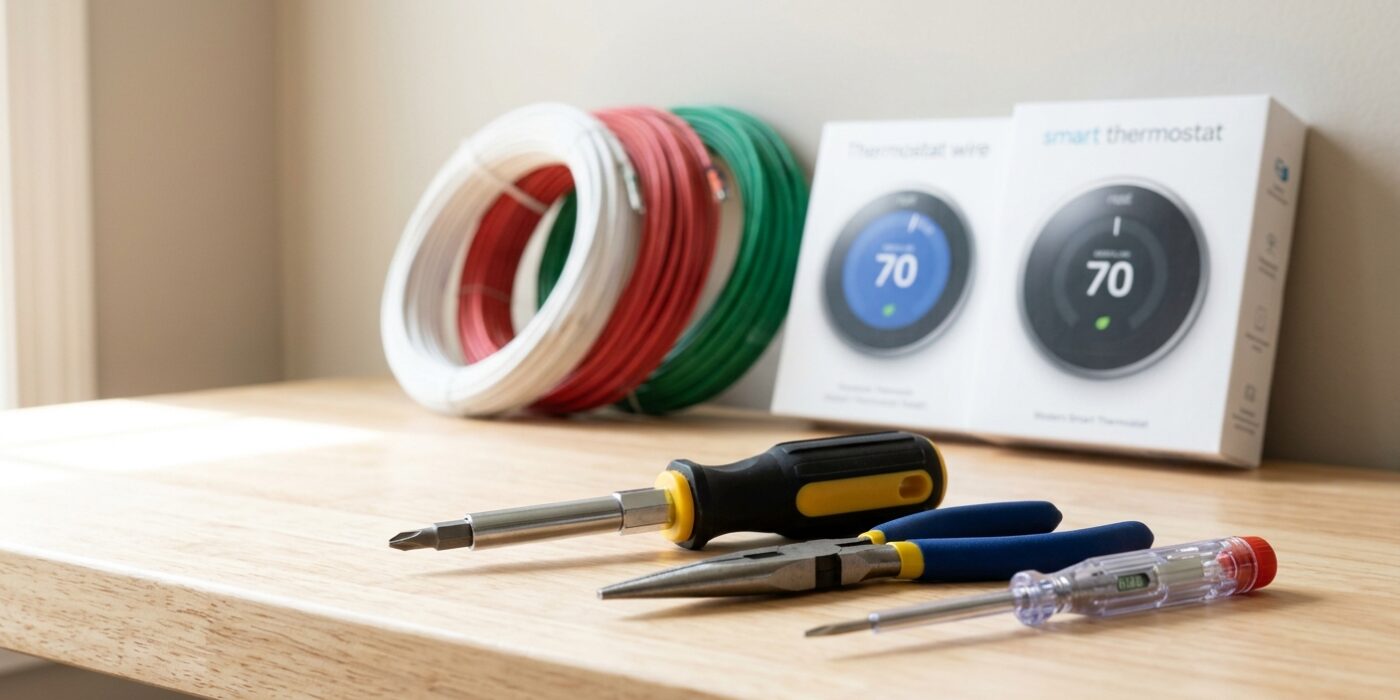
Project Shopping List
Installing a smart thermostat is one of the most accessible smart home upgrades – it pays for itself in energy savings within 1–2 years and gives you scheduling, remote control, and usage insights that a traditional thermostat simply cannot provide. Most installations take 30–45 minutes if you photograph the existing wiring and follow the setup guide included with the thermostat.
The only complexity is the “C wire” (common wire) question, which this guide addresses clearly – because it’s the source of most smart thermostat installation problems and it’s not hard to resolve once you understand it.
What You’ll Need
Tools
- Phillips and flathead screwdrivers
- Voltage tester (optional, for verifying wires)
- Pencil and level
- Drill (for mounting)
Materials
- Smart thermostat (Nest, Ecobee, Honeywell Home T9, Emerson Sensi, etc.)
- C-wire adapter (included with some thermostats or purchased separately)
Step 1: Check Your System Compatibility
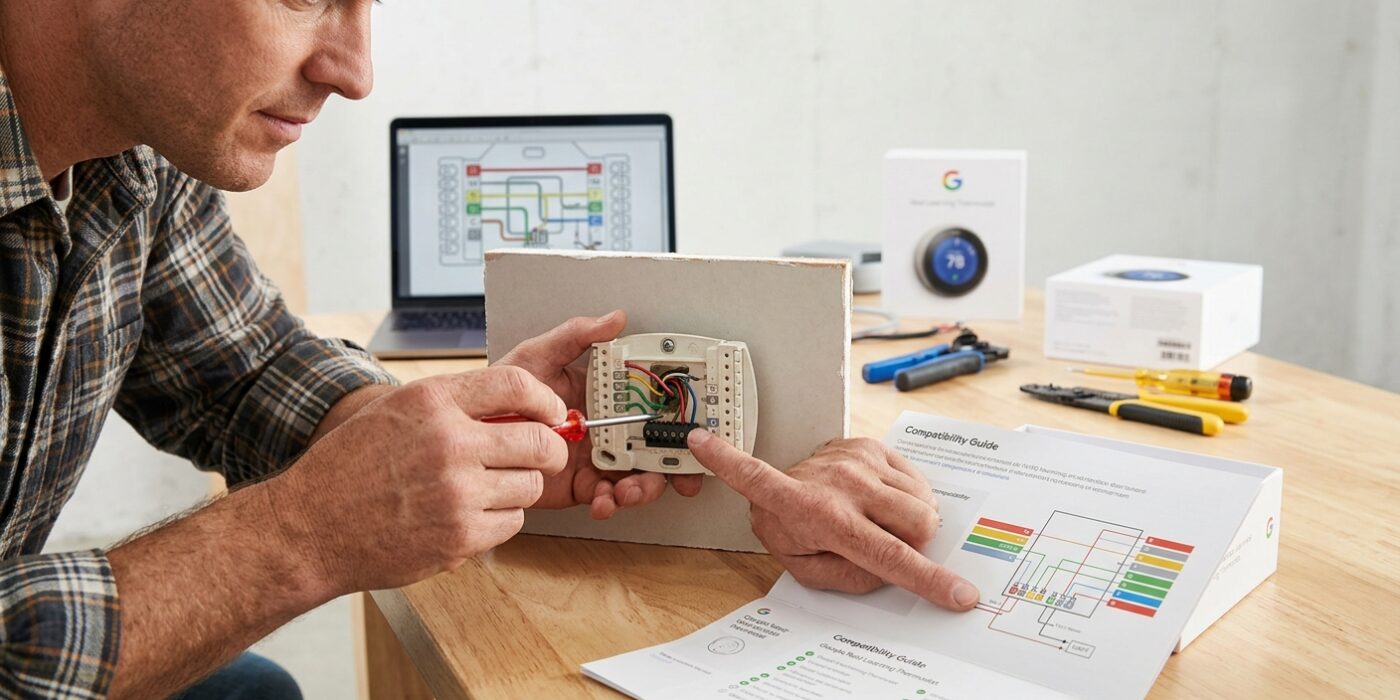
Before you purchase your smart thermostat, it is essential to verify that your home’s heating and cooling system can “talk” to the new device. Think of this as checking if your phone charger fits the outlet before buying the phone. Most modern homes with forced-air systems (gas, electric, or heat pumps) are fully compatible, but older systems like electric baseboards or high-voltage steam radiators usually are not. To get started, gently pull your current thermostat cover off the wall – usually, it pops off with a light tug or a firm pull toward you.
Once the cover is off, look at the wall plate. You need to identify two things: how many individual colored wires are connected to the terminals and what letters are printed next to those wires (such as R, W, Y, or G). Most manufacturer websites feature an online compatibility tool; simply type in those letter labels to get a green light for your upgrade. If you see thick, heavy-gauge wires (like those found in your wall outlets), stop immediately, as these are high-voltage and require a professional.
Beginner Tip: Never assume the color of the wire corresponds to its function. Always look at the letter printed on the terminal block next to the wire itself. Relying on color rather than the labeled letter is the most common reason installations fail.
Pro Tip: Before you disconnect anything, take a clear, high-resolution photo of the existing wiring setup. Having this “before” picture on your phone will be a lifesaver if you forget which wire went where later in the project.
Step 2: Identify and Label Your Wires
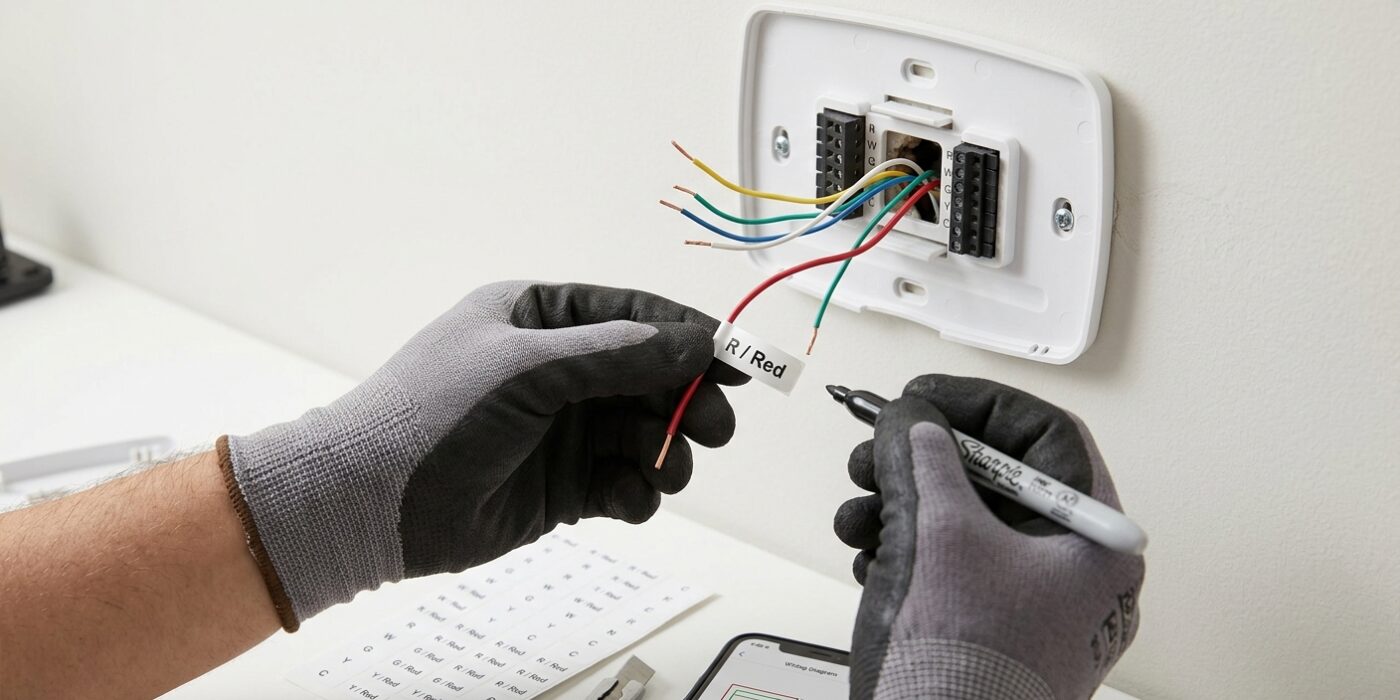
Before you remove your old thermostat, ensure your HVAC system is completely powered down at the main breaker panel. Once the power is off, gently pop off the plastic cover. You will see a cluster of thin, colorful wires attached to small terminals. It is vital that you do not pull anything yet. Grab your smartphone and take a clear, high-resolution photo of how the wires are currently connected. This is your “map” for later.
Identify the letters printed on the plastic base right next to each wire – these are the terminal labels. Common connections include R for power, Y for cooling, W for heating, G for fan, and the all-important C for constant power. Most smart thermostats require that C-wire to stay powered up. If you don’t see a wire in the C terminal, don’t panic; just note it down now so you can plan for a power adapter later.
Beginner Tip: Never rely on your memory. Even if you think a pattern is obvious, wires can be tucked away or colors can be misleading. Always verify your photo matches the actual setup before loosening a single screw, as mixing up a Y wire with a W wire can cause your furnace to run when it should be cooling.
Pro Tip: Use small pieces of masking tape to create little “flags” on each wire, labeling them with their terminal letter before you unscrew them. This prevents the wires from slipping back into the wall cavity, which can be a real headache to fish out!
Step 3: Address the C Wire Situation
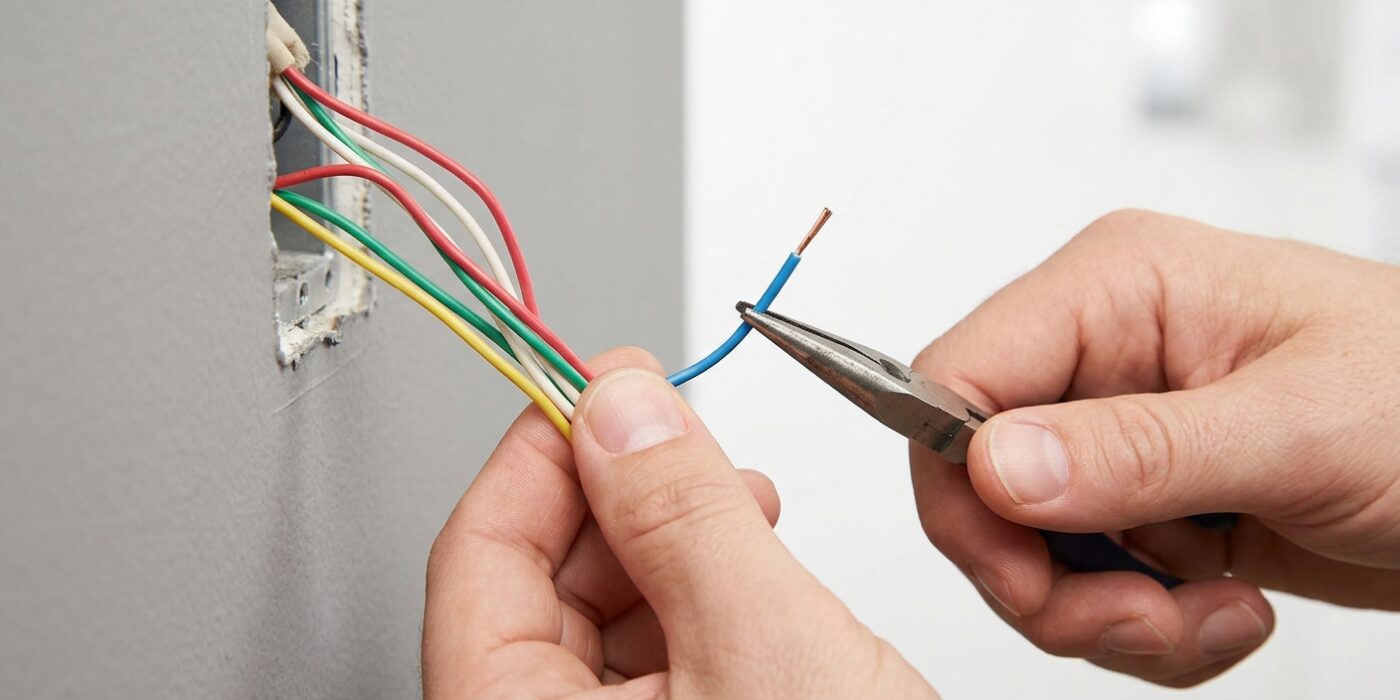
Now that your old thermostat is off the wall, look at the colorful bundle of wires poking out of the drywall. You are looking for a wire connected to the terminal labeled “C.” The C wire acts as a constant power source, ensuring your smart thermostat stays awake without disrupting your furnace or air conditioner. If you don’t see a wire connected to C, don’t worry – this is very common in older homes.
If the C wire is missing, you have three paths forward:
- Run new wire: You can pull a new, multi-strand cable from your HVAC unit, though this is a significant project.
- Use a C-wire adapter: Many smart thermostats, like Ecobee, include a “Power Extender Kit.” This small box installs at your furnace and cleverly repurposes your fan wire (G wire) to provide power.
- Adapter check: Check your specific thermostat manual to see if it supports “power stealing” or a separate plug-in transformer, which avoids internal wiring work entirely.
Beginner Tip: Never rely on wire colors alone. While standards exist, installers often deviate from them. Always look at the letters stamped or printed directly next to the terminal screws on your old thermostat base to confirm which wire does what.
Pro Tip: Before you disconnect any wires, take a clear, well-lit photo of the existing connections with your phone. This simple reference image is a lifesaver if you second-guess yourself later or need to show a technician exactly how the original system was configured.
Step 4: Remove the Old Thermostat
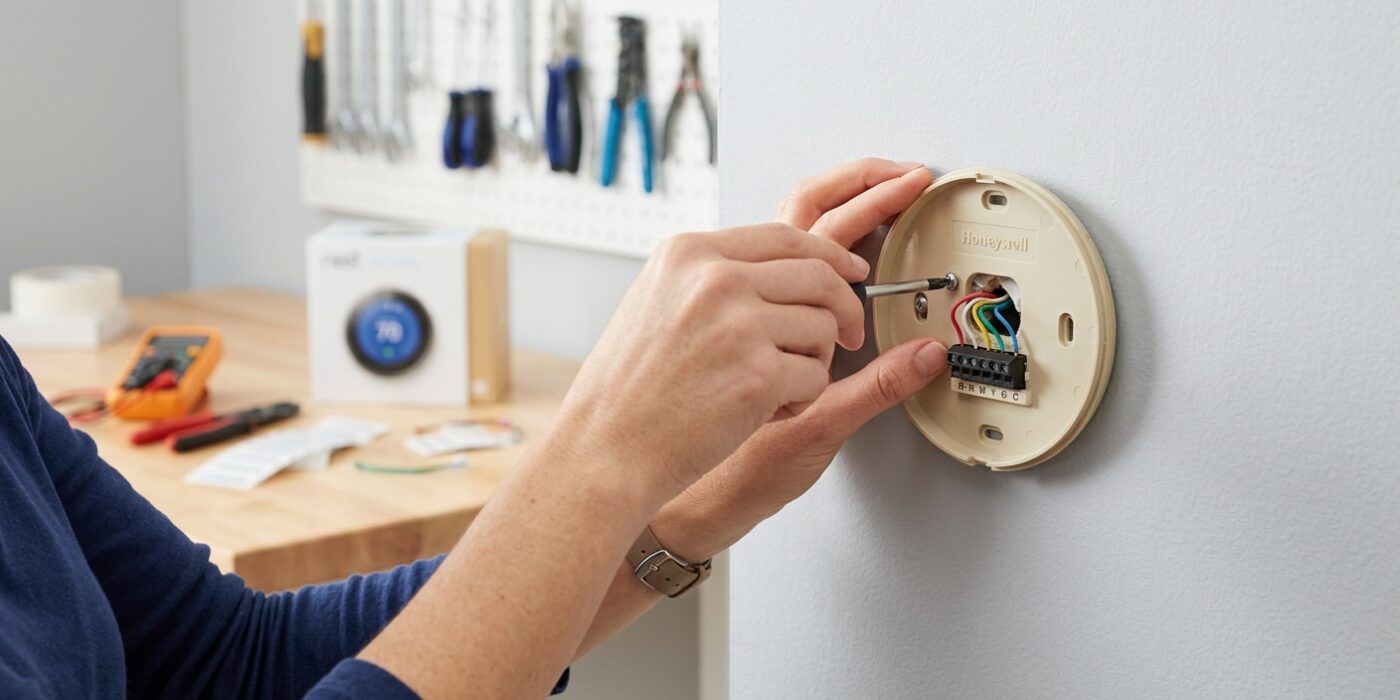
Now that your wires are safely labeled and documented, it is time to detach the old unit. Use a small screwdriver to loosen the screws on the terminal block, which are the little metal fasteners holding your wires in place. Gently pull each wire free. As you release them, immediately fold each wire back against the wall and secure it with a small piece of painter’s tape. This is critical because if a wire slips back into the hole in your wall, fishing it out later can be a difficult, frustrating process.
Once all wires are clear, unscrew the base of the thermostat from the wall. You might find anchors in the drywall; if you do not plan to reuse the holes, you can gently push them inward or patch them with a bit of spackle. Finally, take a damp cloth and wipe away any dust or old paint residue around the area. A clean surface ensures your new smart thermostat will sit perfectly flush against the wall.
Beginner Tip: Never pull on the wires themselves to get them out of the terminal. If a wire is stuck, loosen the screw an extra half-turn. Pulling can snap the copper wire, which would then require you to strip the insulation to expose fresh metal.
Pro Tip: Wrap the end of each wire around a pencil or a small screwdriver to create a tiny “hook” or curl. This weight helps keep the wire from sliding back into the wall opening even if your tape doesn’t hold perfectly.
Step 5: Mount and Wire the New Thermostat
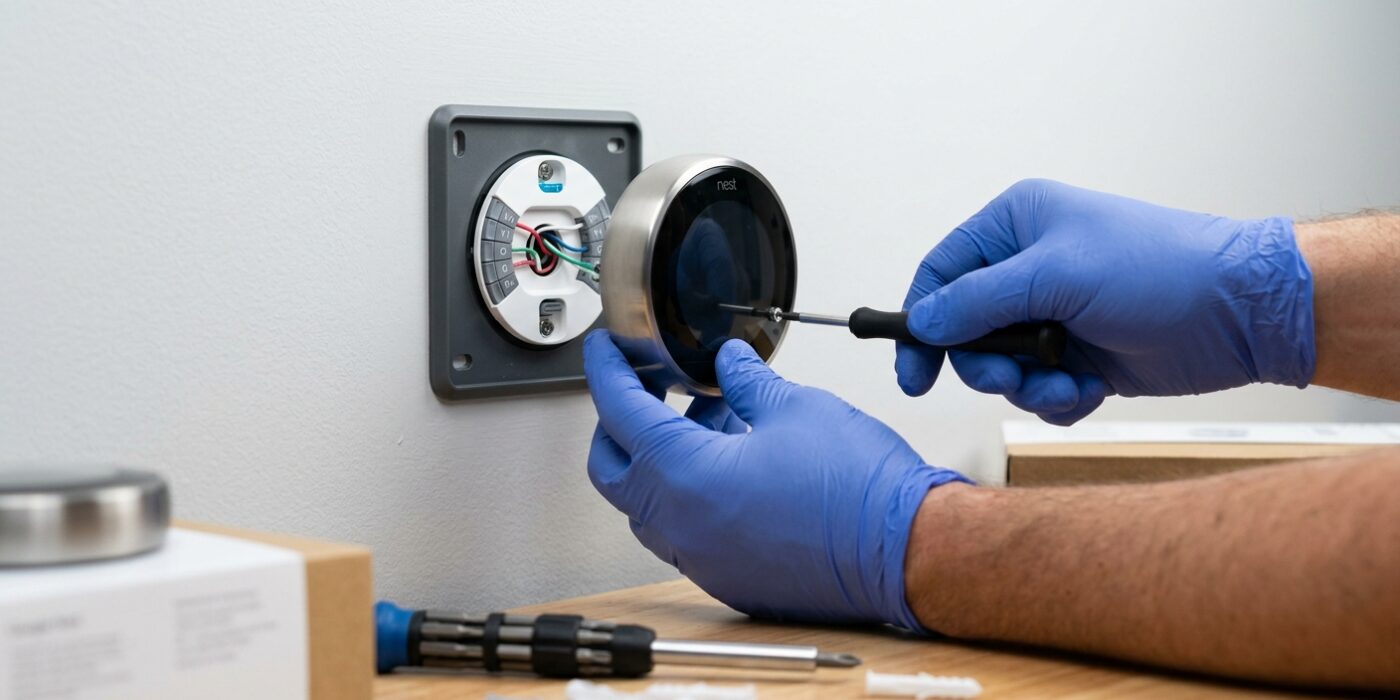
Now that your old thermostat is off, it is time to give your new one a permanent home. Place the new thermostat base against the wall, ensuring the wires pull through the center opening. Use the built-in level – usually a small bubble indicator on the base – to ensure it sits perfectly straight. If it is crooked, even by a few degrees, your digital display will look off-center. Mark the screw holes with a pencil, then secure the base to the wall. Do not overtighten these screws, as you want to avoid stripping the drywall.
Next, connect your wires to their matching lettered terminals. Push the bare end of each wire into its corresponding slot until you feel it lock in place. Double-check each connection by giving the wire a gentle tug; if it slips out, it is not fully seated. A loose connection is the most common reason for system errors, so take your time here. Finally, snap the display screen onto the base until you hear a satisfying click.
Beginner Tip: Never force a wire into a terminal. If it resists, press the small release tab or button near the terminal – this opens the metal clamp inside and allows the wire to slide in effortlessly. Forcing it can bend the delicate internal pins.
Pro Tip: Before snapping the display on, take a clear photo of your wiring. If you ever need to troubleshoot your system in the future, having a reference photo of how the wires sit in the terminals saves a massive amount of headache.
Step 6: Configure and Test
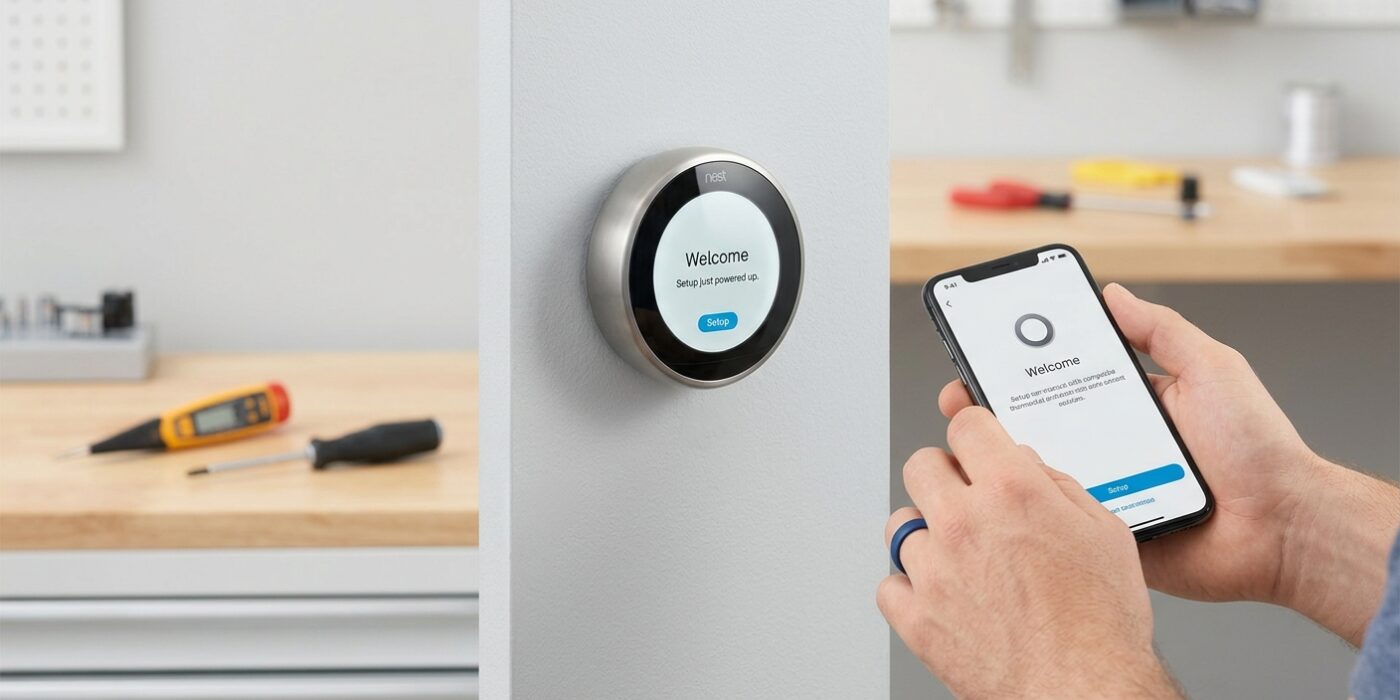
Now that your thermostat is securely mounted, it is time to bring it to life. First, flip the power switch on your HVAC unit or reset the circuit breaker you turned off earlier. Your thermostat screen should glow to life, initiating a setup wizard. Follow the on-screen instructions closely. You will be asked to identify your system type, such as gas heat or a heat pump; if you aren’t sure, look for the model number on your furnace or refer to your old thermostat’s wiring labels. Once connected to your home Wi-Fi, test the system by switching to “Cool” and listening for the outdoor compressor, then “Heat” to ensure the furnace ignites. Confirming these mechanical responses ensures every wire is making a solid connection.
Beginner Tip: Avoid the temptation to rush through the digital setup. If the thermostat asks you to confirm your wiring configuration, double-check your labels. Selecting the wrong equipment type – like choosing a heat pump when you have a standard furnace – can cause the system to blow cold air when you want heat, which is frustrating to troubleshoot later.
Pro Tip: Smart thermostats are sensitive. After installation, place a standard kitchen or wall thermometer right next to your new thermostat for an hour. If the readings differ by more than two degrees, use the “Temperature Correction” or “Calibration” feature in your thermostat’s advanced settings to align them. This ensures your home reaches the exact comfort level you desire rather than just the level the thermostat thinks it is sensing.