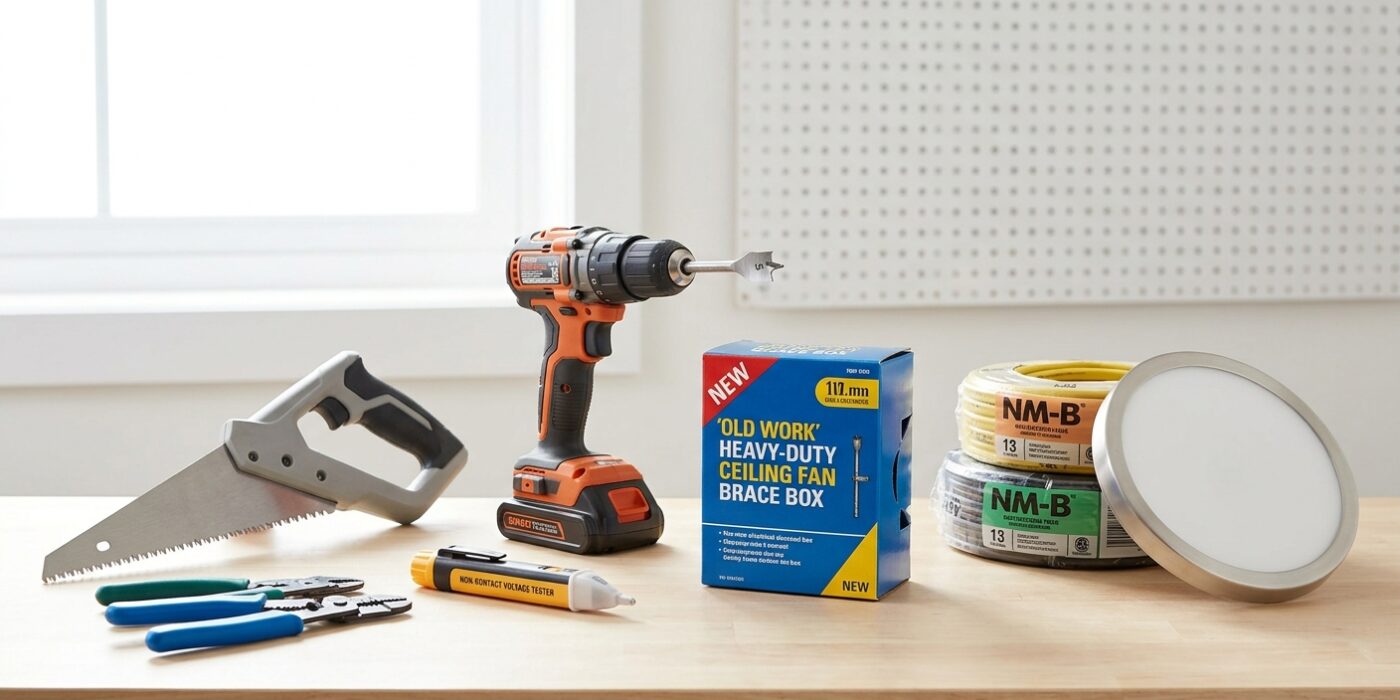
Project Shopping List
Adding a ceiling light where there’s no existing electrical box is one of the most requested home electrical projects – that bare ceiling with nothing but a wall switch or just ambient light from lamps is a common source of frustration. This project involves cutting a hole in the ceiling, fishing wire from a source circuit, and installing the box and fixture. It’s intermediate work primarily because of the wire fishing through finished ceilings and walls.
This guide covers the most common scenario: adding a ceiling light with a new switch, connecting from a nearby outlet circuit with adequate capacity.
What You’ll Need
Tools
- Non-contact voltage tester
- Drill with flex bit and hole saw
- Stud finder
- Drywall jab saw
- Fish tape and fish sticks
- Screwdrivers and wire stripper
Materials
- Brace-mount ceiling electrical box (spans between joists, no attic access needed)
- Light fixture
- Single-pole switch and old-work switch box
- 14/2 NM-B cable
- Old-work outlet box (if using existing outlet as source)
Step 1: Plan Source and Switch Location
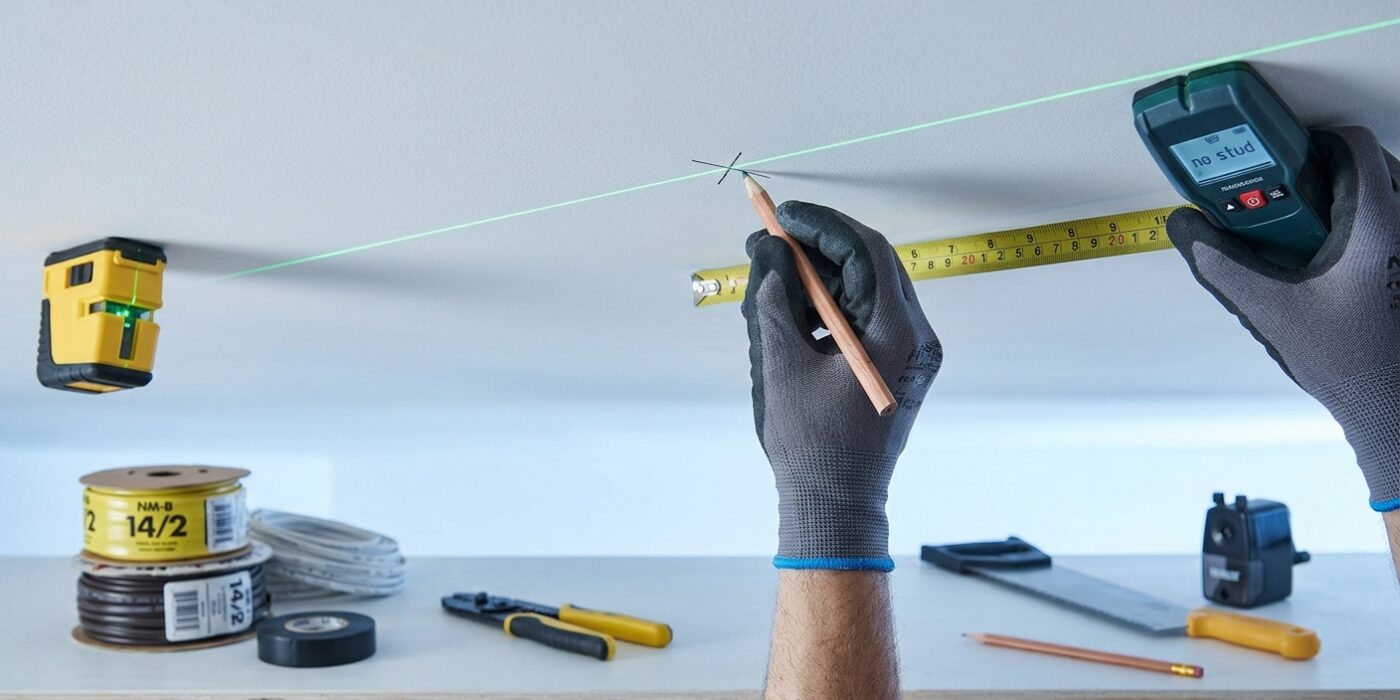
Before you pick up a drill, take a moment to map your path. You need to find a power source, which is usually a nearby wall outlet. It is important to ensure your circuit isn’t overloaded; if you have a vacuum and a space heater running on the same breaker, adding a light might trip it. Check your home’s electrical panel to see your breaker’s amperage, and keep your total load well below that limit.
Next, pick a spot for your light. Use a stud finder to locate the ceiling joists, which are the wooden beams supporting your ceiling. Your new light fixture must be mounted to a specialized ceiling box that sits securely between these joists. Finally, plan your switch location. Placing it on the wall near the door at about 48 inches from the floor is the industry standard, making it natural to reach when entering the room.
Beginner Tip: Avoid the mistake of mounting your light box directly onto a joist if you aren’t using a side-mount bracket. If you accidentally cut your hole right on top of a stud, you won’t be able to fit the electrical box inside the ceiling cavity.
Pro Tip: Use painter’s tape to mark the exact outline of your light fixture on the ceiling. This gives you a clear visual guide to ensure the light is centered in the room before you commit to cutting any holes.
Step 2: Cut the Ceiling Opening
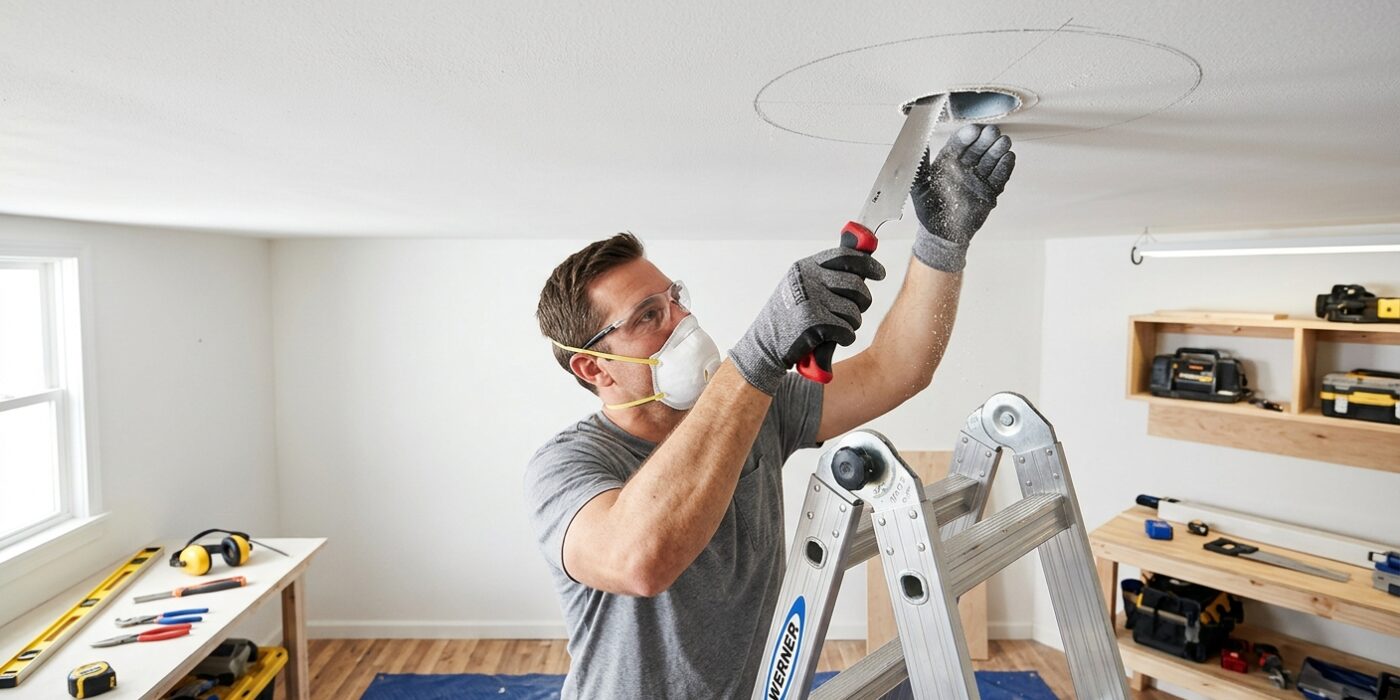
Now that you have your center mark, it is time to create the opening for your new light fixture. You will need a hole saw attachment for your power drill, specifically sized to match the dimensions on your new electrical box – typically 3-3/4 inches. Place the center drill bit exactly on your pencil mark and hold the drill perpendicular to the ceiling. Apply steady, firm pressure to cut through the drywall. If you are lucky enough to have an open attic space above this room, you can skip the brace-mount box and use a standard nail-in box, which attaches directly to the wooden joists.
For those working from below, you will be installing a specialized brace-mount box. Once the hole is cut, feed the folded metal brace into the ceiling cavity. As you twist the center of the brace, it expands until the metal teeth bite into the ceiling joists, creating a solid, secure anchor for your light. Finally, thread the electrical box onto the center post until it is snug against the ceiling surface.
Beginner Tip: Before you start cutting, use a stud finder to ensure there are no hidden electrical wires or plumbing pipes directly behind your mark. Cutting into a live wire can be dangerous and costly, so always double-check the area first.
Pro Tip: To keep your workspace clean, tape an open plastic bag to the ceiling directly under your cutting area. This will catch the majority of the heavy drywall dust and debris, saving you a lengthy cleanup later.
Step 3: Cut the Switch Box Opening
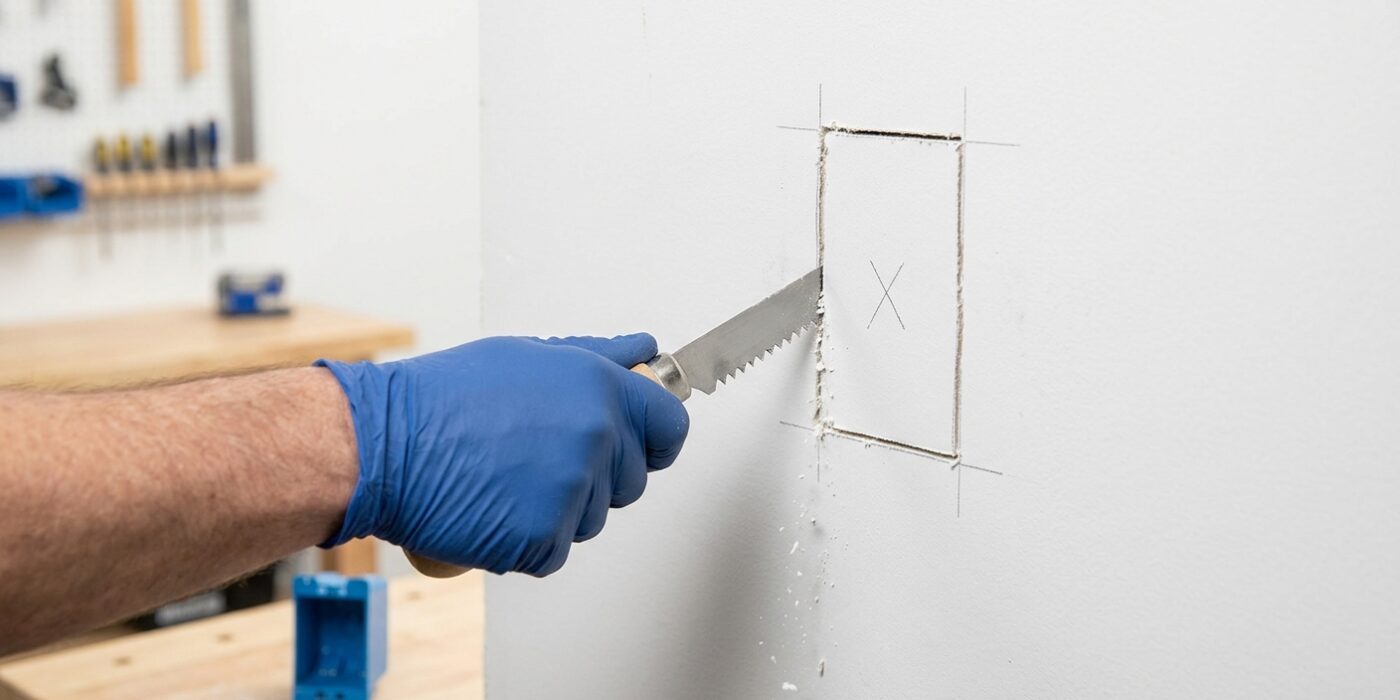
Now it is time to create the home for your light switch. You will be installing an “old-work” electrical box, which is designed to grip the drywall from the back once inserted. First, choose a spot on the wall that is comfortable to reach, typically 48 inches from the floor. Hold the plastic box against the wall, ensuring it is level, and use a pencil to trace around its outer edge. This rectangle is your cut line.
Carefully insert your jab saw into the drywall inside your traced lines. Cut slowly, keeping the saw blade perpendicular to the wall. The goal is to make the opening as tight as possible; if you cut outside your lines, the box will not have enough drywall to grip, and it will wobble. Once the hole is cut, push the box into the opening. Tighten the screws on the inside of the box; this causes the “wings” to swing out and clamp firmly against the back of the drywall.
Beginner Tip: Before you start cutting, use a stud finder to ensure you are not cutting directly over a wooden stud. If you hit wood, you will have to patch the hole and start over. Always poke a small nail through the drywall first to confirm you have hollow space behind it.
Pro Tip: If your drywall is older and feels crumbly, place a strip of painter’s tape over your pencil lines before you start cutting. This prevents the edges of the hole from chipping or tearing while the saw teeth are moving.
Step 4: Fish Wire – Switch to Ceiling Fixture
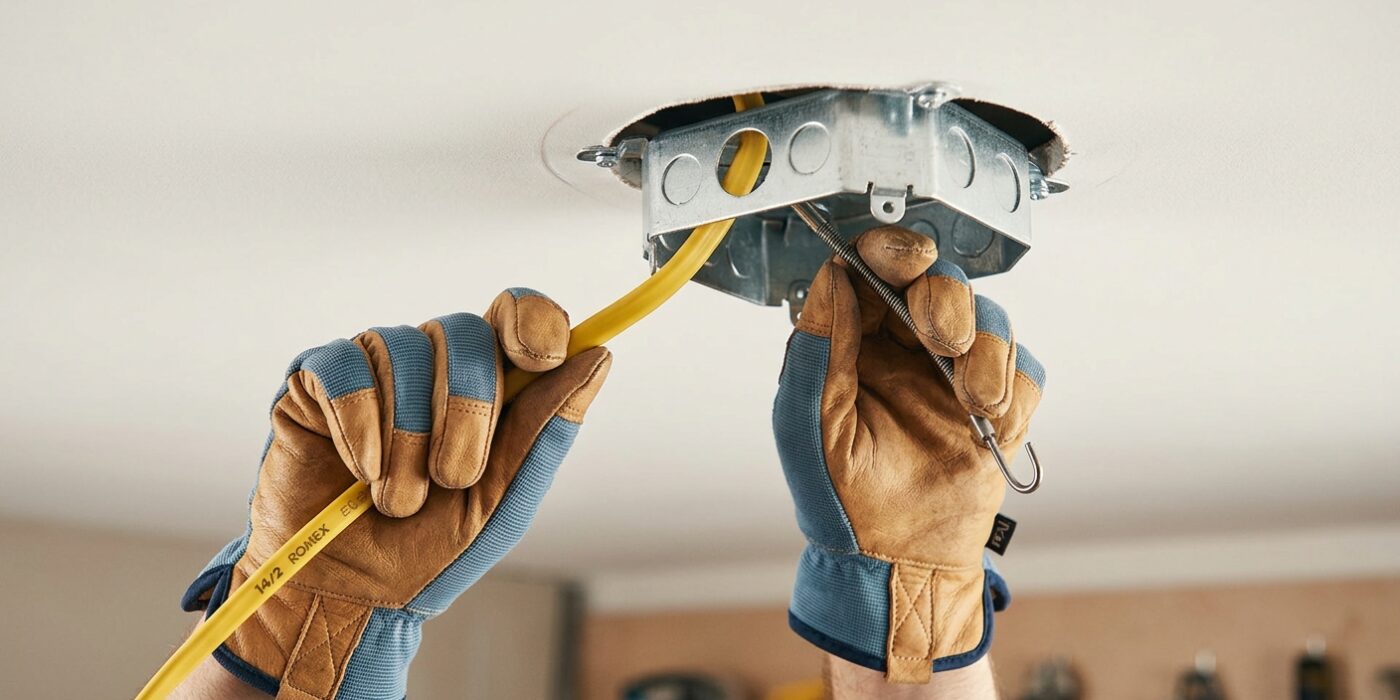
Now it is time to connect your switch to your new light. This step requires a bit of finesse as you navigate the hidden space inside your ceiling. First, insert your fish tape into the hole where your ceiling fixture will sit and push it toward the wall where your switch will be located. Meanwhile, at the switch location, use a long, flexible drill bit (a “flex bit”) to drill upward at a slight angle through the top plate – the wooden beam at the very top of your wall – to break through into the ceiling cavity.
Once you see the opening, guide the fish tape through it. Securely attach your electrical cable to the end of the tape using electrical tape, making sure the connection is slim and won’t snag. Gently pull the tape back through the ceiling hole until your cable reaches the switch box. Take your time here; if you feel resistance, pull back slightly and try again rather than forcing it.
Beginner Tip: Do not drill your hole too close to the edge of the wall stud. If you drill into the center of the top plate, you are less likely to hit existing wires or plumbing, and you provide enough wood to securely mount the cable staple later.
Pro Tip: To make the “fishing” process much easier, use a piece of stiff, weighted string (like a heavy-duty fishing line with a small nut attached) to drop through the hole first. It is much more flexible than metal tape and acts as a pilot to help you snag the wire on the other end.
Step 5: Fish Wire – Source Outlet to Switch
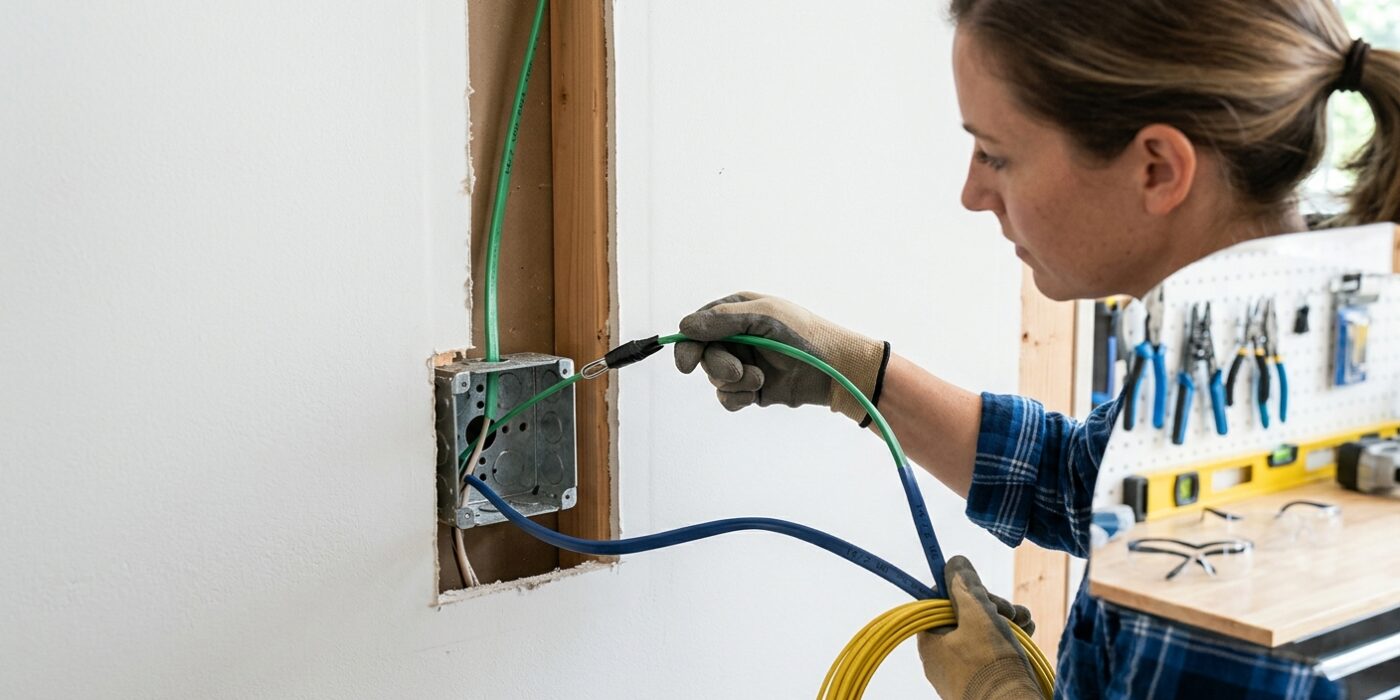
Now that you have your power source identified, it is time to get the electricity from that outlet to your new switch location. You are essentially creating a new pathway for your wire behind the drywall. If you are working through the wall, use a “fish tape” – a long, flexible steel coil – to guide your electrical cable. Push the fish tape into the hole where the switch will go and maneuver it upward until you can grab it through the hole where the outlet was. Once you have a connection, attach your new Romex cable to the tape using electrical tape, and gently pull it through the wall cavity.
Beginner Tip: Never pull the wire aggressively. If you feel sudden resistance, stop immediately. You have likely caught the wire on a wooden fire block or an internal stud. Simply back the wire up a few inches, wiggle it, and try a slightly different angle to slide past the obstruction.
Alternative Method: If you are nervous about fishing wires through walls, use surface-mounted conduit (like Wiremold). Instead of cutting holes and fishing cables behind the drywall, you can run the cable through sleek, paintable plastic channels that stick directly to the surface of your wall. It saves you from complex wall repairs while keeping the project looking clean and professional.
Pro Tip: Before you start, use a stud finder with an integrated voltage detector. This helps you identify exactly where the wooden studs are located so you don’t drill into them, and ensures there isn’t hidden wiring already in the path you’ve chosen.
Step 6: Wire the Switch and Fixture
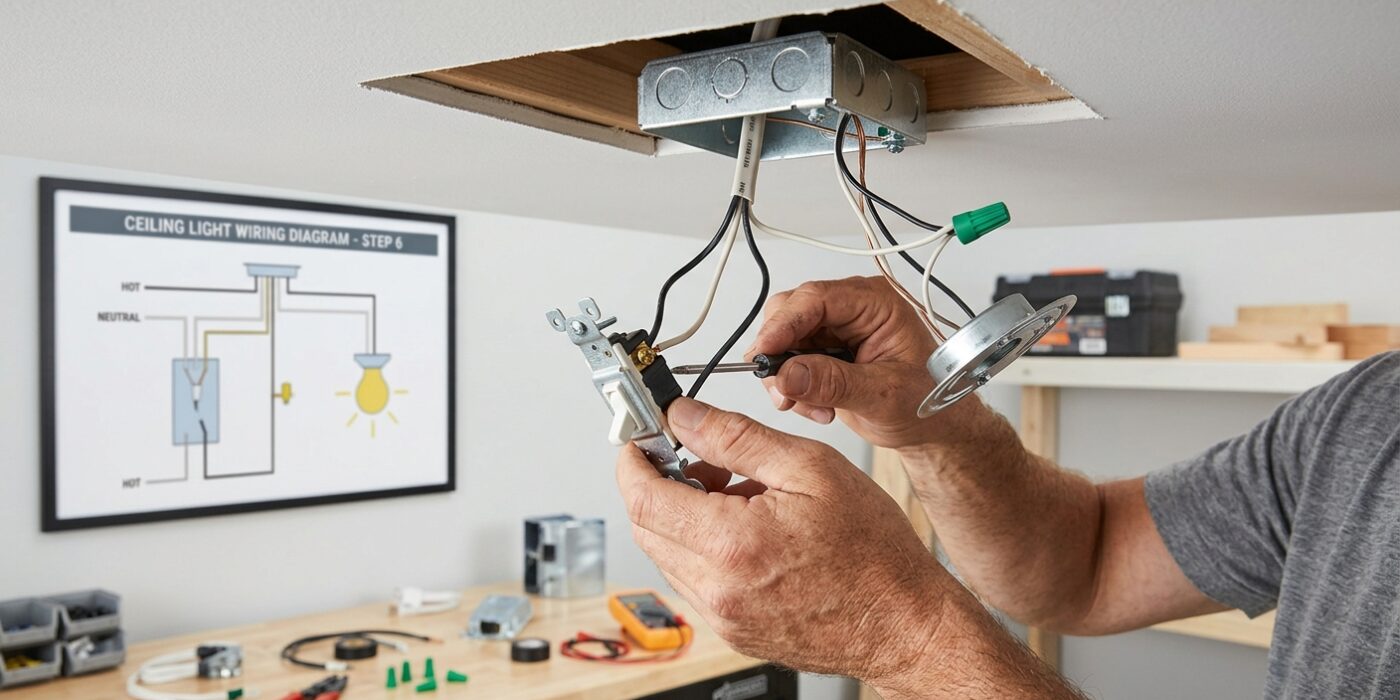
Now that your wires are run, it is time to make the connections. First, at the switch box, take your incoming black power wire and attach it to one side-terminal on the switch. Attach the other black wire (the one leading to your ceiling light) to the remaining terminal. The white wires should never touch the switch; instead, connect them together using a wire nut so the circuit remains continuous. Finally, wrap your bare copper ground wire around the green screw on the switch.
At the ceiling fixture, match color-to-color: black to black and white to white. Use wire nuts to twist these pairs together securely until they feel firm. If your fixture has a green or bare ground wire, connect it to the copper wire coming from your ceiling box. At the power source, connect your new cable to the existing outlet wires using wire nuts, maintaining the same color-matching pattern.
Beginner Tip: A common mistake is leaving too much bare wire exposed under the screw terminals. Aim for about 3/4-inch of stripped insulation. If copper is visible beyond the terminal, it creates a risk of a short circuit. If you strip too much, simply trim the excess with your wire cutters before tightening.
Pro Tip: Before pushing the wires into the boxes, give each connected wire a firm, gentle tug. If a wire slides out of the wire nut or terminal, it isn’t tight enough. A solid connection should feel locked in place, ensuring your lights won’t flicker later.
Step 7: Mount Fixture and Test
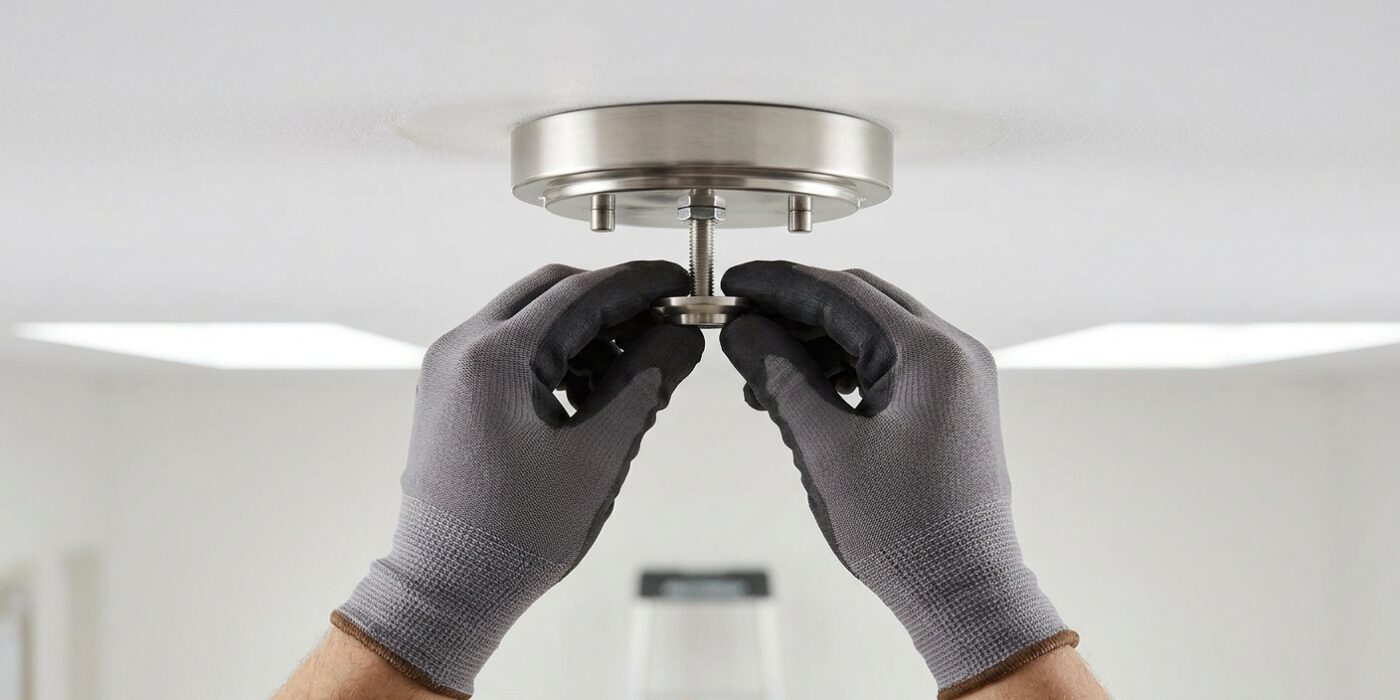
You are at the finish line! Now that your electrical box is secure and your wires are connected, it is time to attach the fixture. Carefully tuck the connected wires back into the electrical box, ensuring they are neatly folded and not pinched. Align the fixture’s canopy or base plate with the mounting holes on the box. Use the provided machine screws to secure the fixture firmly against the ceiling. Once it is snug, install your light bulbs. Finally, go to your breaker panel, flip the circuit breaker back to the “ON” position, and toggle your light switch. Your new light should turn on and off smoothly, signaling a successful installation.
Beginner Tip: A common mistake is letting wires get pinched between the fixture canopy and the ceiling. If the fixture doesn’t sit perfectly flush, don’t force it with the screws. Instead, take it down and gently push the wires further into the box to create more space. Forcing a tight fit can nick the wire insulation, which is a major safety hazard.
Pro Tip: Before mounting the fixture, use a piece of painter’s tape to mark exactly where the screw holes are on the ceiling around the box. This acts as a visual guide, allowing you to quickly line up the fixture base without fumbling blindly and scratching your ceiling paint with the screws.
Alternative Method: If your fixture base has awkward, tiny screws that are hard to reach, use a bit of chewing gum or a tiny dab of putty on the tip of your screwdriver to hold the screw in place. This prevents the screw from dropping while you try to align it with the mounting hole.