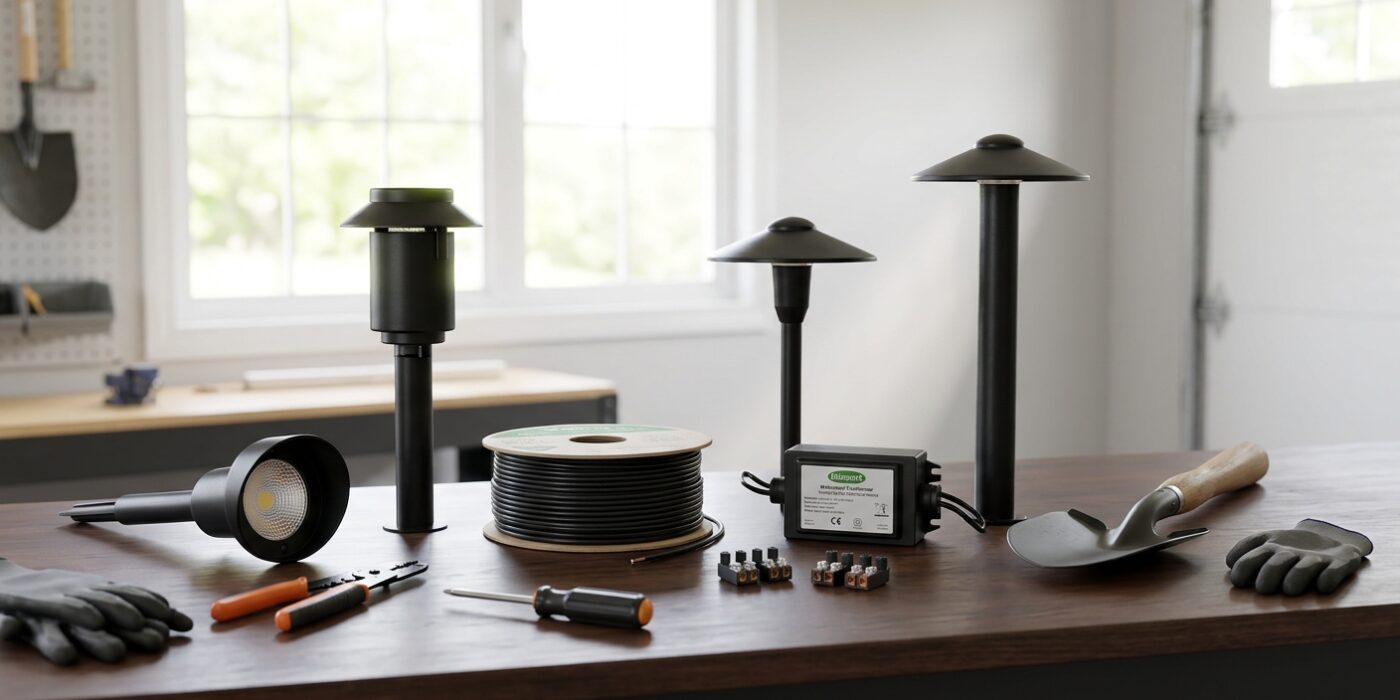
Project Shopping List
Low-voltage outdoor landscape lighting transforms a yard after dark – illuminating walkways, highlighting trees and plantings, and extending the usable outdoor hours. Unlike line-voltage outdoor lighting, low-voltage landscape systems (typically 12V) are genuinely beginner-friendly: the wiring is safe to handle at all voltages, the connections are simple twist-or-clamp types, and installation requires no electrical permit in most jurisdictions.
This guide covers planning the layout, running the wire, connecting fixtures, and setting up the transformer – everything from a 6-fixture front walk to a 30-fixture full-yard system.
What You’ll Need
Tools
- Flat spade or edging tool (for burying cable)
- Screwdrivers
- Wire stripper (optional – most fixtures use pierce-connectors)
- Mallet or rubber hammer (for driving path stakes)
Materials
- Low-voltage landscape transformer (sized for total wattage: add all fixture watts + 20% headroom)
- Low-voltage LED landscape lights (path lights, spotlights, well lights, flood lights)
- 12/2 or 16/2 direct-burial landscape wire (12 AWG for long runs; 16 AWG for short runs under 50 feet)
Step 1: Plan the Layout on Paper

Before you purchase any equipment, grab a piece of graph paper and sketch a bird’s-eye view of your yard. Mark the location of your house, trees, walkways, and the outdoor GFCI outlet where your transformer will live. The transformer must be mounted to an exterior wall, so ensure your chosen spot is within a few feet of that power source.
Once you have your layout, place a dot for every light fixture. Think about the effect you want: path lights should be spaced roughly 8 to 10 feet apart to create a soft, overlapping glow rather than a harsh runway look. Next, calculate your total wattage by adding up the bulbs for every fixture. If you are using 5W LED path lights, a 150W transformer will easily handle 30 lights while leaving a safe “headroom” buffer to prevent overloading. Always aim to use only about 80% of your transformer’s total capacity to ensure a long lifespan for your equipment.
Beginner Tip: A common mistake is buying a transformer that is exactly the size of your current light wattage. Always purchase a transformer with more capacity than you think you need; this allows you to add extra fixtures in the future without having to rewire your entire system.
Pro Tip: Use colored landscaping flags or simple wooden stakes to mark your light locations in the actual yard before you buy anything. Looking at the markers at night will help you visualize the final result and ensure your spacing creates the atmosphere you desire.
Step 2: Calculate Wire Run Length
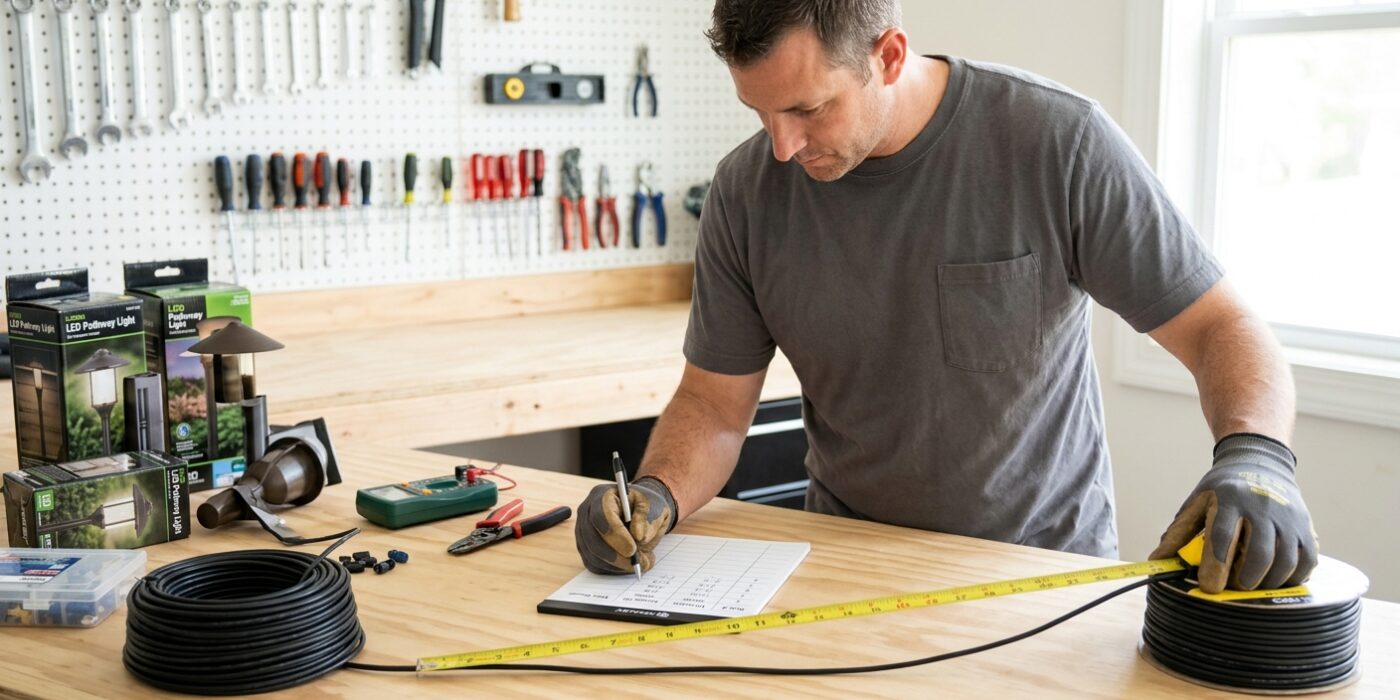
Before you unspool your wire, you need to map out the path from your transformer to your furthest light fixture. Think of your wire like a garden hose; the longer the hose, the less pressure reaches the end. In lighting terms, this is called voltage drop. If your wire is too long or too thin, the lights at the end of the line will look weak and yellow compared to the ones near the transformer.
Use a measuring wheel or a standard tape measure to determine the exact distance of your path. If your run is under 50 feet, 14 AWG wire is perfectly fine. For anything between 50 and 100 feet, you must upgrade to 12 AWG wire to ensure enough power reaches the final bulb. If your yard is large and the total distance exceeds 100 feet, do not try to stretch one long wire. Instead, create two separate “home runs” – two distinct wires starting at the transformer that head in different directions through your landscape.
Beginner Tip: Avoid the mistake of measuring in a perfectly straight line from point A to point B. Your wire needs to wind through flower beds, around corners, and under pavers. Always measure the path the wire will actually take, adding an extra five feet of slack for curves and final connections.
Pro Tip: Before burying anything, lay your wire out along the planned route and connect the lights temporarily. Turn on the system at dusk to visually confirm that the brightness is consistent across all fixtures. It is much easier to swap to a thicker wire or adjust your run layout now than it is after you have buried the cable under mulch or soil.
Step 3: Mount the Transformer
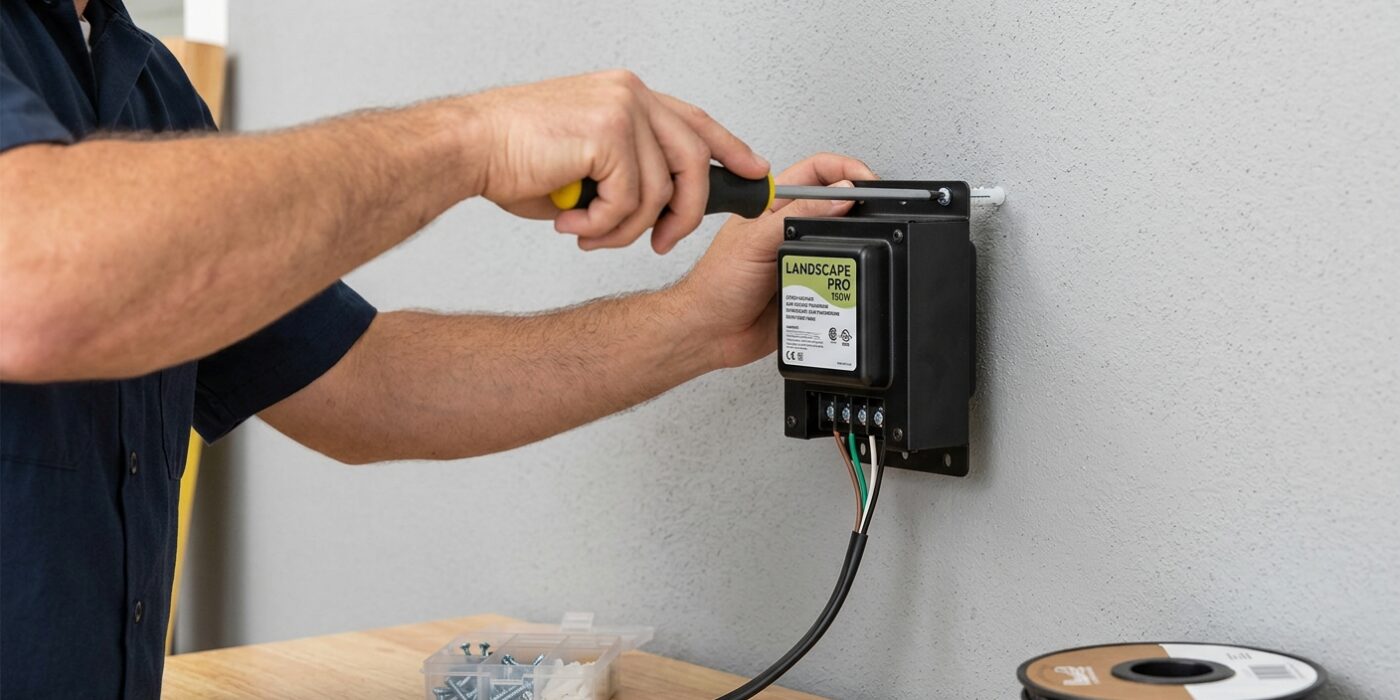
Now that you have your materials, it is time to mount the transformer. Think of this box as the “brain” of your lighting system; it converts your home’s high-voltage electricity into safe, low-voltage power for your yard. Choose a spot on an exterior wall that is within a few feet of your outdoor GFCI outlet. It is crucial to mount the transformer at least 12 inches above the ground. This elevation protects the unit from pooling water, snow buildup, or splashes from a garden hose.
Most transformers come with a mounting bracket or pre-drilled holes. Simply hold the unit against the wall, use a pencil to mark your drill points, and secure it using exterior-grade screws. Before you move on, plug the transformer into the outlet and set your preferred timer schedule or photocell sensitivity. It is much more comfortable to program these settings while you are standing at eye level than after you have run all your wires through the garden.
Beginner Tip: A common mistake is mounting the transformer in an area that receives direct, bright sunlight or is too close to a porch light. If the transformer’s photocell sensor is exposed to other artificial lights, it may think it is still daytime and refuse to turn your garden lights on at dusk.
Pro Tip: If you are mounting to a masonry or brick wall, use a masonry drill bit and plastic wall anchors. Before you start drilling, use a small piece of painter’s tape to mark the depth on your drill bit so you don’t drill too deep into the wall.
Step 4: Lay Out the Wire
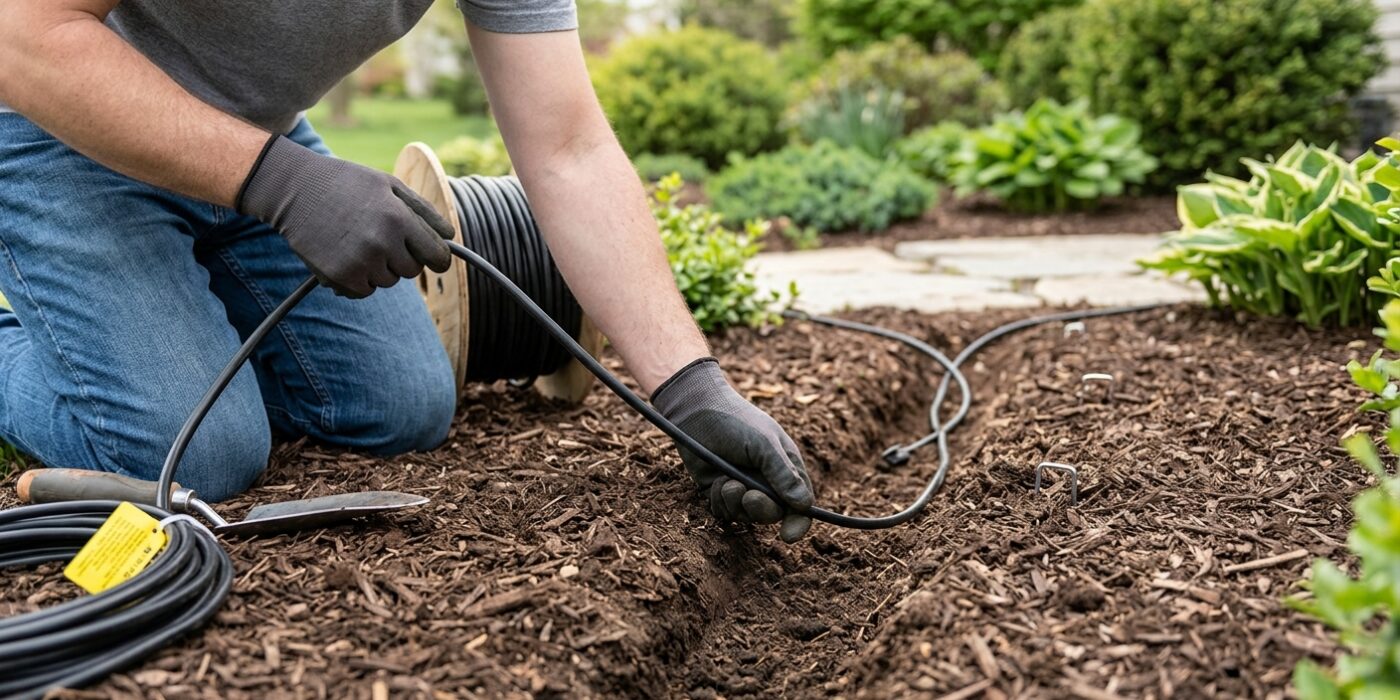
Now that your transformer is mounted, it is time to map out your lighting path. Unspool your low-voltage cable and lay it along the ground, following the perimeter of your garden beds or pathways. Think of this wire as the backbone of your project. Keep the cable tucked behind your intended fixture spots rather than directly underneath them; this creates a buffer zone that makes connecting your lights much easier later on.
As you move along, leave a generous loop – about 12 to 18 inches of extra slack – at every spot where you plan to install a light. This extra length ensures that if you decide to nudge a fixture a few inches left or right for better coverage, you won’t pull the entire system taut or disconnect your main wire. Do not worry about burying the wire yet; keeping it visible on the surface allows you to adjust your layout and test your lights once they are connected.
Beginner Tip: Avoid pulling the wire tight around corners or tight angles. Landscape wire is durable, but tension can cause it to pull away from your fixtures or create trip hazards. Give it a loose, natural flow as it follows the contours of your yard.
Pro Tip: Use plastic landscape stakes or heavy-duty garden staples to pin the wire against the ground every few feet. This keeps the cable exactly where you want it while you work and prevents it from being accidentally kicked or moved during the installation process.
Step 5: Connect the Fixtures
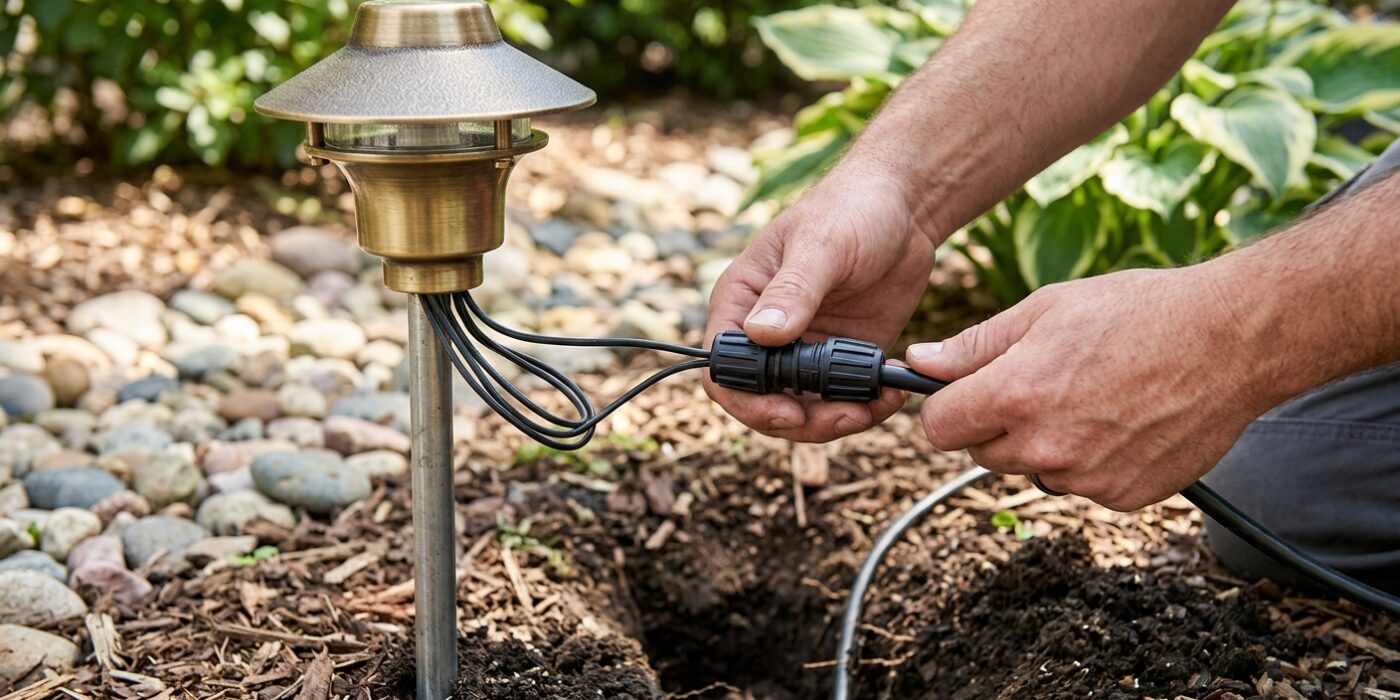
Now that your main wire is laid out, it is time to connect your lights. Most modern landscape lighting kits use “quick-connect” saddle connectors. These clever devices are designed to pierce the thick protective jacket of your low-voltage cable and make an electrical connection without the need for stripping wires or using wire nuts.
To begin, place the main landscape wire into the groove of the connector base. Position the fixture exactly where you want it. Once the wire is seated firmly, place the top half of the connector over the wire and squeeze the two halves together. You will likely hear or feel a satisfying “snap” as the metal teeth inside pierce the insulation to touch the copper wire. Use a pair of pliers to ensure the clamp is completely closed and locked into place. If there is a small gap, the connection might be loose, which can cause your lights to flicker or stay dim.
Beginner Tip: The most common mistake is failing to ensure the connector is fully snapped shut. If your light does not turn on once you plug the system in, go back and use your pliers to press down on the connector again. Often, it just needs that extra bit of force to pierce the insulation deep enough to create a solid electrical path.
Pro Tip: To keep your connections weather-proof and prevent corrosion, apply a tiny dab of dielectric grease to the metal prongs of the connector before snapping it onto the wire. This simple step creates a water-tight seal that protects your connection from rain and soil moisture for years to come.
Step 6: Drive Stakes and Test the System
Now that your lights are connected, it is time to bring your garden to life. Take each light fixture and firmly press the stake into the ground at your pre-planned spots. If the soil is hard, avoid hitting the top of the fixture with a hammer, which can crack the plastic; instead, dampen the area with water first to soften the earth.
Once all fixtures are secured, plug your transformer into a GFCI-protected outdoor outlet. If the system doesn’t turn on immediately, check the settings – your transformer might have a built-in photocell that only triggers at dusk. Walk the entire length of your layout to inspect the brightness. If the lights at the end of a long wire run look dim, you are experiencing “voltage drop,” which means the electricity is struggling to reach the end of the line. To fix this, consider using a thicker 12 AWG wire, moving the transformer closer to the center of the run, or splitting the fixtures into two separate circuits.
Beginner Tip: Never bury your wires before you have tested the entire system. It is much easier to troubleshoot a loose connection or a faulty bulb when the wire is still sitting on top of the grass than it is to dig it back up later.
Pro Tip: To hide your wire without heavy digging, use a flat-head shovel or a garden spade. Simply push the blade straight into the ground at a slight angle to create a narrow “V” shaped slit, tuck the wire deep into the opening with your fingers, and step on the grass to seal it shut.
Step 7: Set the Timer and Final Adjust
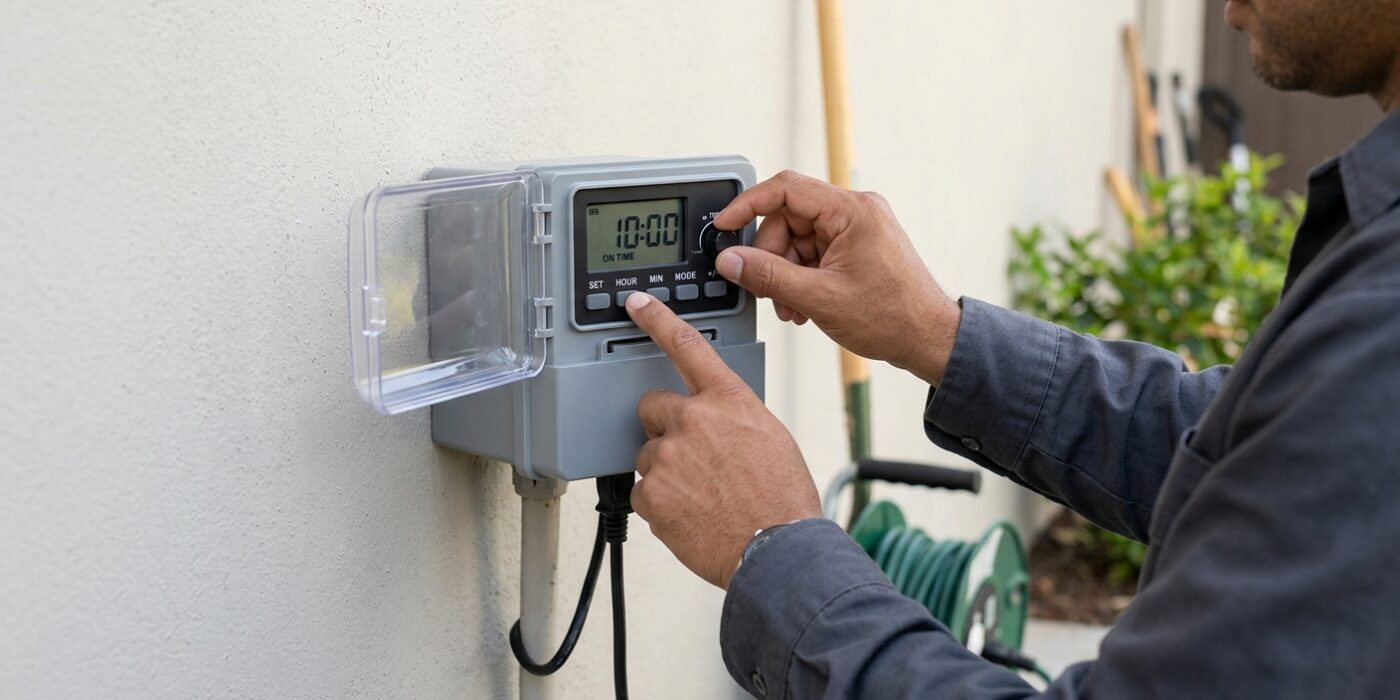
Now that your lights are connected, it is time to bring your vision to life. Start by programming your transformer. Most digital timers have a mode called “Photocell + Timer.” This is the best setting for beginners because it uses a built-in light sensor to turn your system on automatically at dusk, then shuts it off after a set number of hours (such as 4 or 6). This saves electricity and keeps your home looking great without you needing to manually adjust for the changing seasons.
Next, head outside at night to aim your fixtures. For path lights, ensure they point downward to avoid glare in your eyes. For spotlights, loosen the screw on the stake or the swivel head to point the light toward your intended feature, such as a tree trunk or architectural detail. A 45-degree angle is usually the “sweet spot” for washing a tree with light, creating a professional, dramatic silhouette rather than a flat, washed-out look.
Beginner Tip: Avoid aiming your spotlights directly toward windows or neighboring properties. Test your aim while standing in your house looking out the window; if the light creates a distracting glare, tilt it a few degrees away until only the object is illuminated, not the glass.
Pro Tip: When adjusting your lights, bring a small piece of dark fabric or an old towel with you. If you are struggling to see where the light is landing because the fixture is too bright, gently drape the fabric over the light head to pinpoint exactly where the beam originates while you fine-tune the angle.