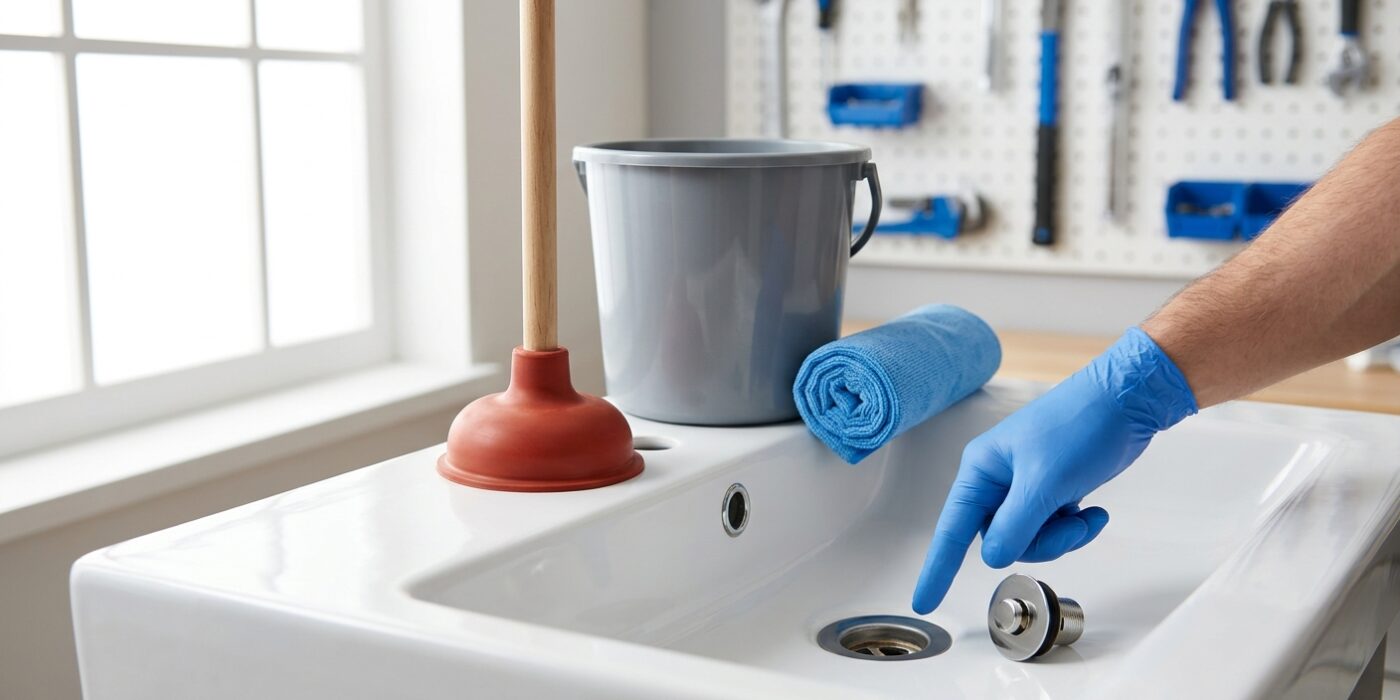
Project Shopping List
Why Skip the Chemicals
Drain-O and similar products work by generating heat that dissolves clogs. They also soften PVC pipes and corrode metal ones. After a few uses, you are trading a clog for a slow leak.
Step 1: Try the Drain Snake First
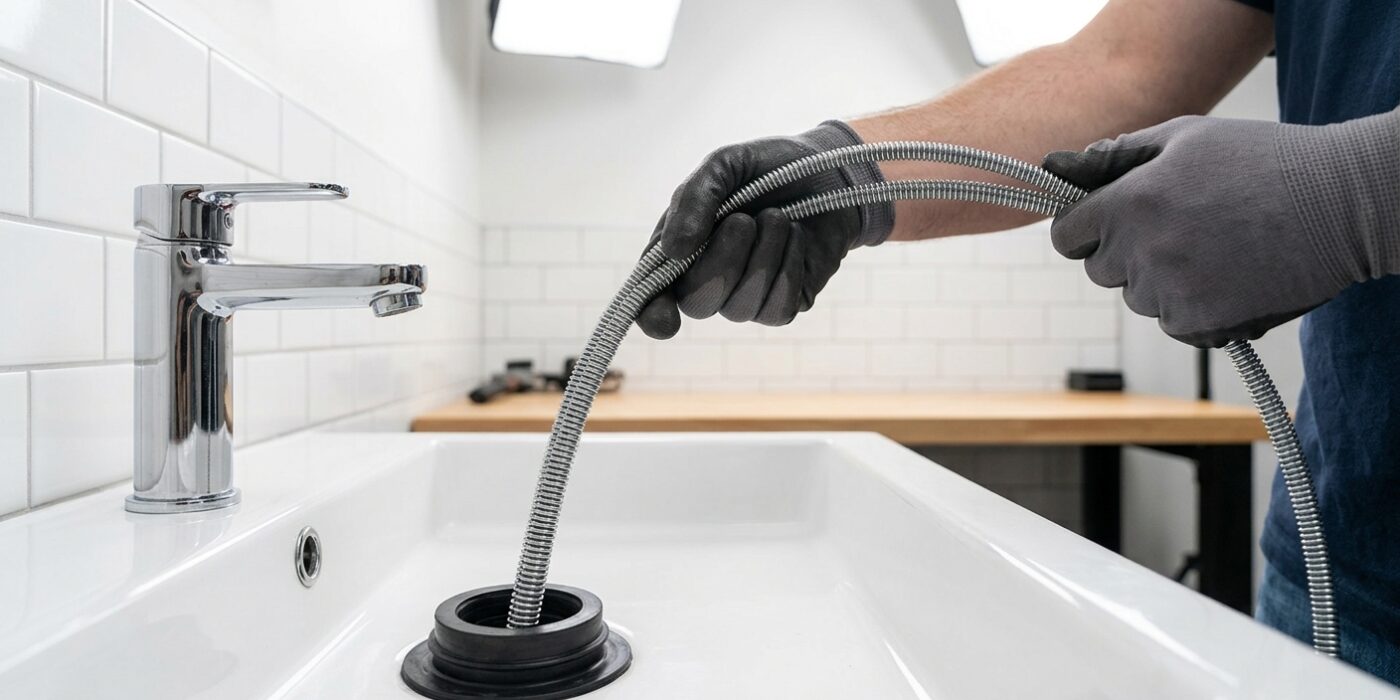
For most bathroom sink or shower clogs, a plastic drain snake – often called a Zip-It tool – is your best friend. These are thin, flexible plastic strips with tiny barbs along the edges. To use one, simply feed the pointed end of the tool directly into the drain opening. You do not need to remove the drain cover unless it has a pop-up stopper. Once inserted, push it down until you feel a bit of resistance, then gently twist the handle back and forth. This motion allows the barbs to hook into hair and soap scum. Slowly pull the tool back up, moving at a steady pace to ensure the gunk stays attached to the barbs. You will likely pull out a clump of hair and debris; have a paper towel ready to wipe it off immediately so you can reuse the tool if the drain still seems slow.
Beginner Tip: Avoid pulling the tool out with a fast, jerking motion. If you pull too hard, the debris may snag on the drain grate or catch on a pipe joint, causing the hair clump to fall back down into the depths of the pipe.
Pro Tip: Before you begin, shine a flashlight down the drain. If you can see the clog clearly, you can aim the snake directly at the debris, which saves you from pushing the mess further down the pipe and makes the extraction much more effective.
Step 2: Use a Plunger Properly
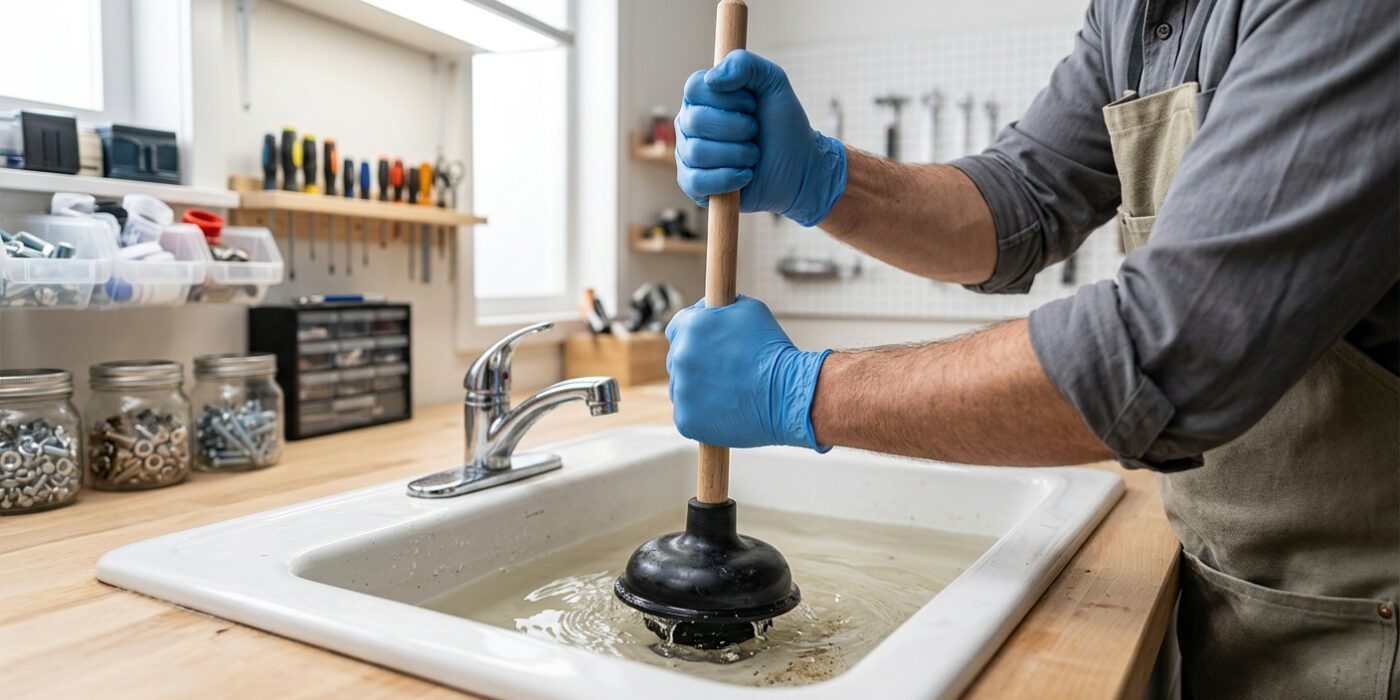
For most kitchen sink clogs, a standard cup plunger – the one with a flat rubber bottom – is your best friend. Start by locating the overflow hole, usually a small opening near the top rim of your sink basin. This hole allows air to escape, which ruins your plunger’s suction. Take a damp cloth or a piece of duct tape and seal it shut completely. Next, fill the sink with about 2 inches of warm water. This water helps create a tighter seal around the rubber cup and ensures that the pressure you create pushes against the clog rather than just air.
Place the plunger cup directly over the drain opening, ensuring it is centered. Push down firmly and steadily to remove any air from inside the cup, then pull up and push down in a quick, rhythmic motion. You want to focus on the downward force to dislodge the debris. Repeat this aggressive motion 15 to 20 times, then pull the plunger away quickly to see if the water begins to drain.
Beginner Tip: A common mistake is plunging only the water. If the plunger isn’t fully submerged or if you haven’t sealed the overflow hole, you will just be pushing air back and forth. Always check your seal before you start!
Pro Tip: Before you begin, coat the rim of the rubber plunger cup with a thin layer of petroleum jelly. This creates a much stronger, airtight vacuum against the sink surface, making your efforts significantly more effective with less physical strain.
Step 3: Clean the P-Trap
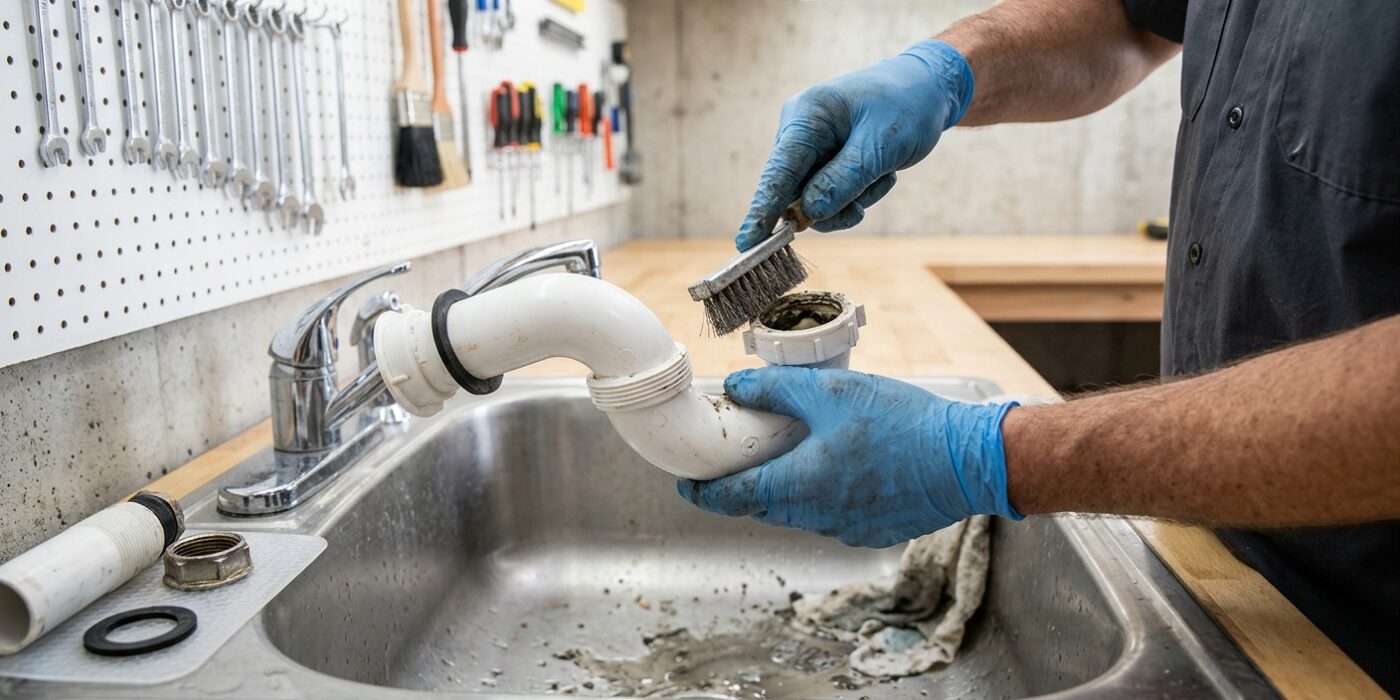
The P-trap is the U-shaped pipe located directly beneath your sink. Its purpose is to hold a small amount of water to prevent sewer gases from entering your home, but this curve also catches hair, soap scum, and debris that cause clogs. Start by placing a bucket or a small plastic container directly underneath this bend to catch the residual water trapped inside.
Locate the two large plastic nuts holding the pipe in place at both ends of the U-bend. Using your hands, try to grip and turn them counter-clockwise to loosen. If they are stuck, gently use your channel-lock pliers, gripping the nuts firmly but carefully to avoid cracking the plastic. Once the nuts are unscrewed, the pipe will slide down and release. Carefully pour the contents into your bucket, clear out any physical debris by hand, and rinse the pipe in another sink or bathtub before reattaching it. Ensure the washers are properly seated at the pipe joints before tightening the nuts back into place by hand.
Beginner Tip: A common mistake is overtightening the nuts once you are finished. Plastic threads are delicate; tighten them by hand until they feel snug, then give them just a quarter-turn more with pliers if needed. If you force them, the plastic can crack, leading to leaks.
Pro Tip: Before you begin, take a quick photo of the P-trap with your smartphone. It is a simple trick, but having a visual reference makes reassembling the pieces in the correct order much less stressful.
Step 4: Prevent Future Clogs
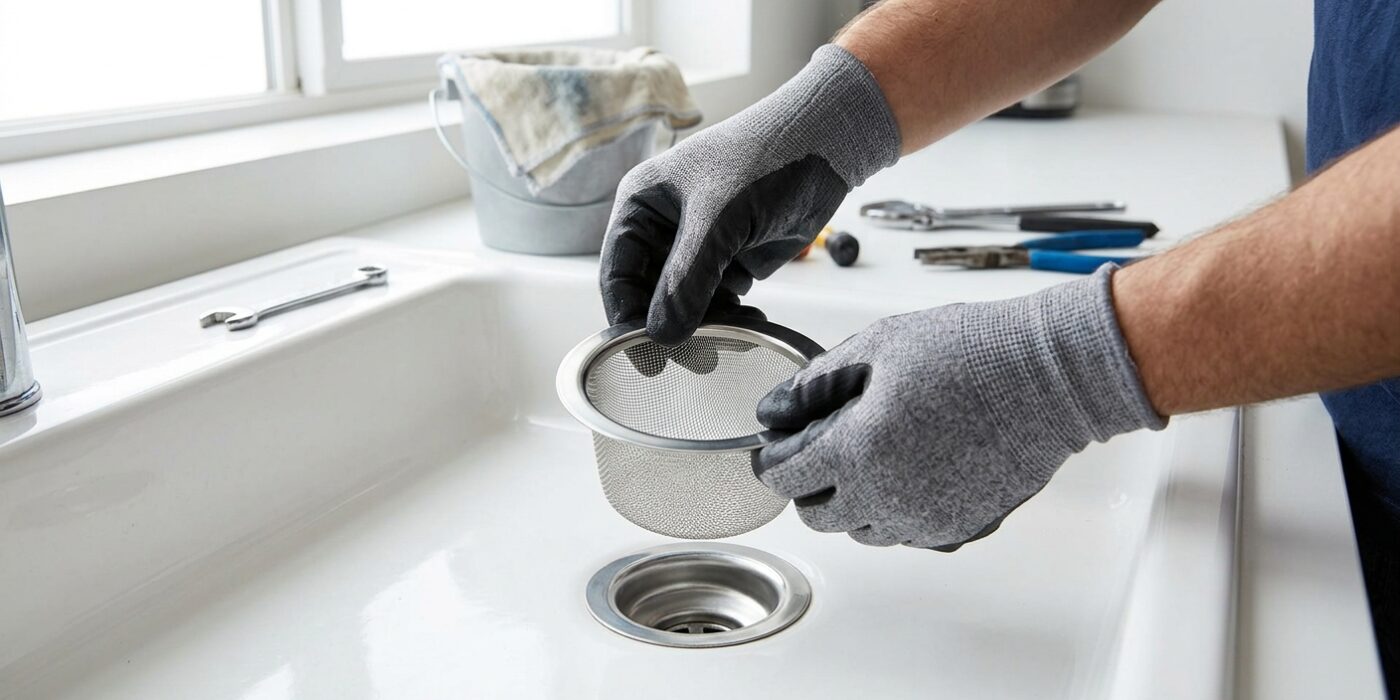
Now that your drain is flowing freely, let’s make sure it stays that way. The single most effective way to prevent future clogs is to install a simple mesh drain strainer. You can find these at any hardware store for about three dollars. Simply place the strainer directly over your sink or shower drain opening; it acts as a physical barrier that catches hair, soap scum, and food particles before they ever enter your pipes. Aim to empty the contents of the strainer into your trash can once a week. By keeping these materials out of your plumbing system, you can eliminate approximately 80% of all future drain issues, saving yourself from ever having to repeat the unclogging process.
Beginner Tip: A common mistake is buying a strainer that is too small for the drain opening. Before heading to the store, use a tape measure to check the diameter of your drain hole. Most standard bathroom sinks require a strainer between 2.5 and 3 inches wide. If the strainer is too small, it will slip into the pipe and cause a blockage itself, so always double-check your measurement first.
Pro Tip: To keep your pipes smelling fresh and flowing smoothly, pour a half-cup of baking soda followed by a half-cup of white vinegar down the drain once a month. Let the mixture fizz for 15 minutes before flushing it with a kettle of boiling water. This quick, natural maintenance keeps grease from building up on the pipe walls.