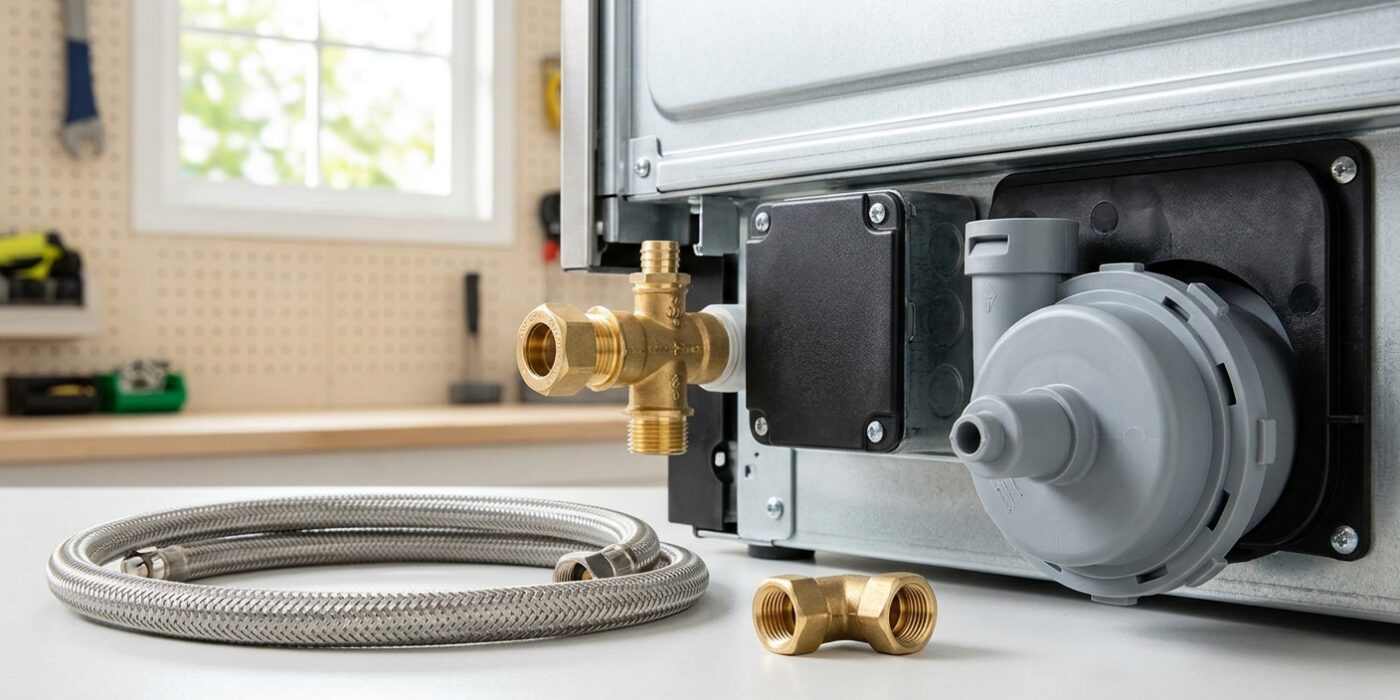
Project Shopping List
Hooking up a dishwasher – water supply, drain connection, and power – is a solid intermediate project that follows a logical sequence. The electrical is simple (a dedicated 15- or 20-amp circuit), the water supply is standard compression fittings, and the drain connection goes either to the garbage disposal or directly to the sink drain. Plan for 3–4 hours including the electrical rough-in if you’re doing it from scratch.
This guide covers a standard under-counter installation where the electrical circuit and drain connection point already exist, which is the most common home replacement or new dishwasher installation scenario. If there’s no electrical circuit to the dishwasher location at all, that’s a separate project.
What You’ll Need
Tools
- Drill and 1-1/8 inch hole saw (for drilling cabinet side wall access)
- Adjustable wrench and channel-lock pliers
- Screwdrivers (Phillips and flathead)
- Voltage tester
- Level
- Flashlight
Materials
- Dishwasher installation kit – includes 6-foot braided supply line (3/8-inch compression), 90-degree elbow fitting, and drain hose clamps
- Strain relief connector (if hardwiring)
- Wire nuts
- Teflon tape
Step 1: Turn Off Power and Water
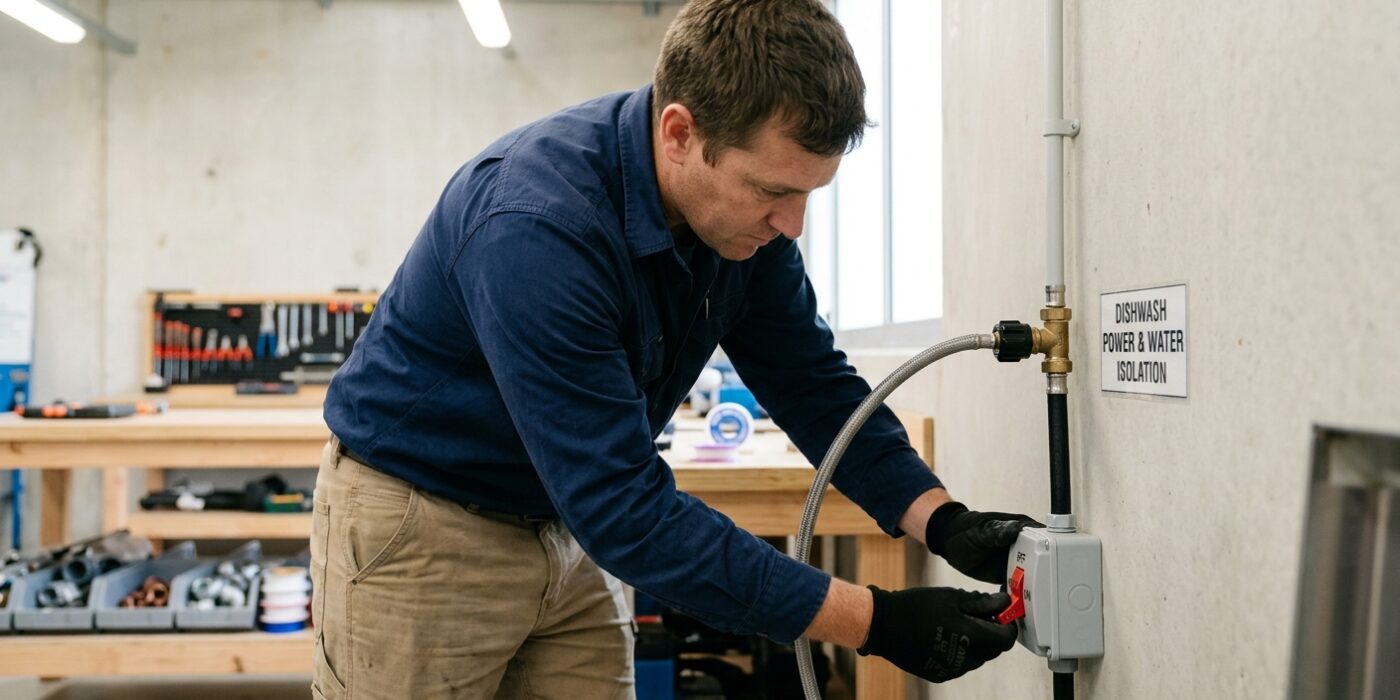
Before you begin any plumbing or electrical work, safety is your top priority. Your dishwasher relies on two major utilities, and both must be completely disabled to prevent injury.
First, locate your home’s electrical service panel – usually a gray metal box in the garage, basement, or hallway. Find the breaker labeled “Dishwasher” and flip the switch to the “OFF” position. To be absolutely sure the power is dead, use a non-contact voltage tester at the dishwasher’s junction box. Simply hold the tip of the tester against the wires; if it doesn’t beep or light up, it is safe to touch.
Next, move to the cabinet under your kitchen sink. Look for the hot water supply line – usually a thin pipe with a small oval valve handle. Turn this handle clockwise until it stops to cut off the water. Since dishwashers only use hot water, shutting this valve prevents a watery mess when you disconnect the supply line.
Beginner Tip: A common mistake is assuming the dishwasher is off just because you flipped a switch on the wall. Always verify with a voltage tester; some older homes have complicated wiring where the wall switch doesn’t actually kill power to the unit’s base.
Pro Tip: Place a small piece of painter’s tape over the circuit breaker switch after you flip it off. This acts as a visual “lockout” so a well-meaning family member doesn’t accidentally flip the power back on while you are working under the sink.
Step 2: Connect the Water Supply
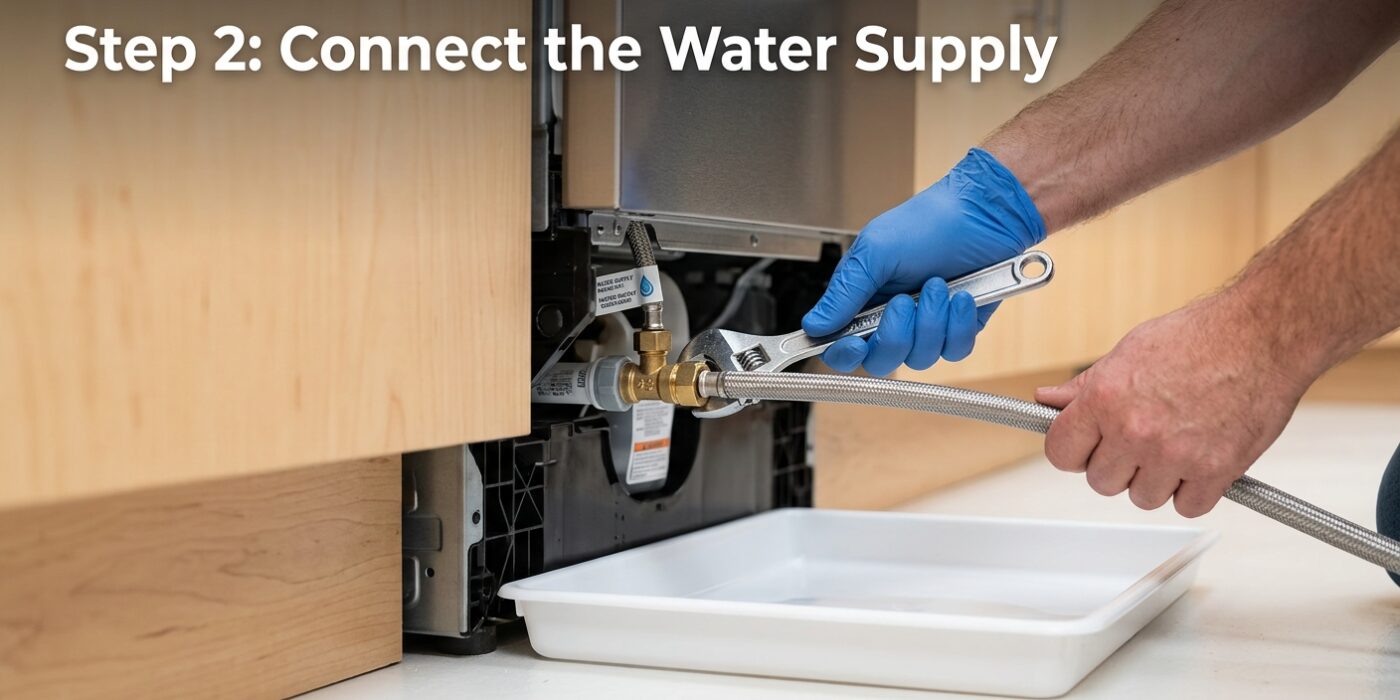
Now it is time to give your dishwasher the water it needs to clean your dishes. Locate the water inlet valve, typically found behind the bottom access panel at the front of your unit. To ensure a leak-proof connection, wrap a small piece of Teflon tape (plumber’s tape) clockwise around the threads of your 90-degree brass elbow fitting. This tape fills the tiny gaps in the threads to create a watertight seal. Screw the elbow into the inlet valve by hand until it is snug, then use an adjustable wrench to give it an extra quarter-turn to tighten it securely; do not overtighten, as you could crack the valve housing.
Next, take your flexible dishwasher supply hose and attach one end to the elbow you just installed. Route the other end through the hole you drilled in the side wall of your sink cabinet. Connect this end to the hot water shut-off valve located under your kitchen sink. Using hot water is essential because it helps dissolve grease and sanitizes your dishes far more effectively than cold water ever could.
Beginner Tip: A common mistake is forgetting to use the Teflon tape or using too much. Apply about three layers of tape in the direction the fitting screws on. If you wrap it counter-clockwise, the tape will unravel and bunch up as you tighten the fitting, which will almost certainly cause a drip later.
Pro Tip: Before you finalize all your connections, place a folded old towel or a shallow baking tray directly under the inlet valve. This catches the small amount of water that inevitably spills when you first turn the water supply back on, saving your cabinet floor from potential water damage.
Step 3: Route the Drain Hose
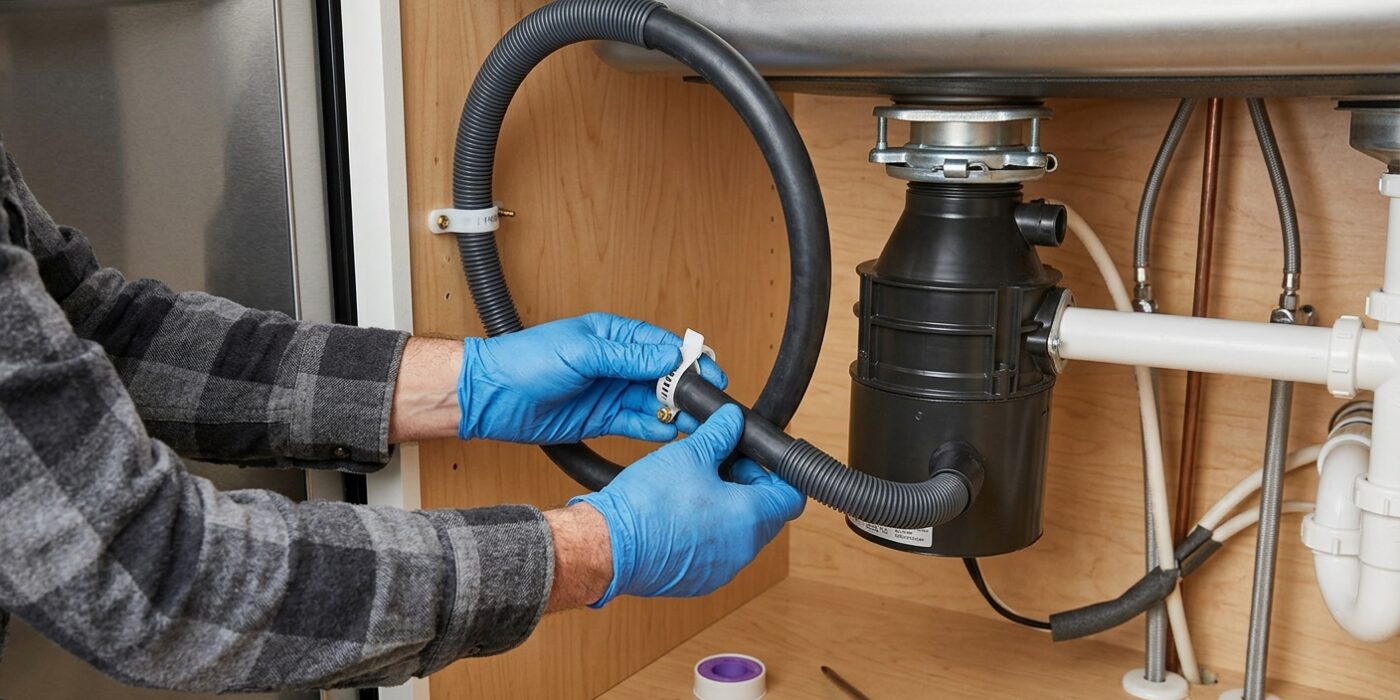
Now that your dishwasher is in place, it is time to connect the drain hose. This hose carries dirty water out of your machine and into your home’s plumbing. The most important rule here is to create a “high loop.” You must route the hose upward so that it reaches as high as possible – ideally touching the underside of your countertop – before it heads back down to connect to your sink’s drain or garbage disposal. This gravity-defying arch prevents dirty sink water from flowing backward into your clean dishwasher.
Use a sturdy zip tie or a mounting clip to secure the hose firmly to the underside of the cabinet or countertop at this highest point. Once secured, connect the other end to the dishwasher inlet nipple on your disposal or the wye fitting on your sink tailpiece. Tighten the provided hose clamps with a screwdriver until they are snug; they should be tight enough that the hose cannot twist, but avoid overtightening, which can crack the plastic fittings.
Beginner Tip: If you are connecting to a brand-new garbage disposal, remember to check for a small plastic plug inside the dishwasher inlet nipple. If that plug is still in place, your dishwasher will not drain at all. Use a hammer and a long screwdriver to gently tap it out before attaching your hose.
Pro Tip: Before tightening your clamps, run a little bit of dish soap or water around the connection point on the disposal or pipe. This acts as a lubricant, allowing the stiff rubber hose to slide over the fitting much more easily.
Step 4: Make the Electrical Connection
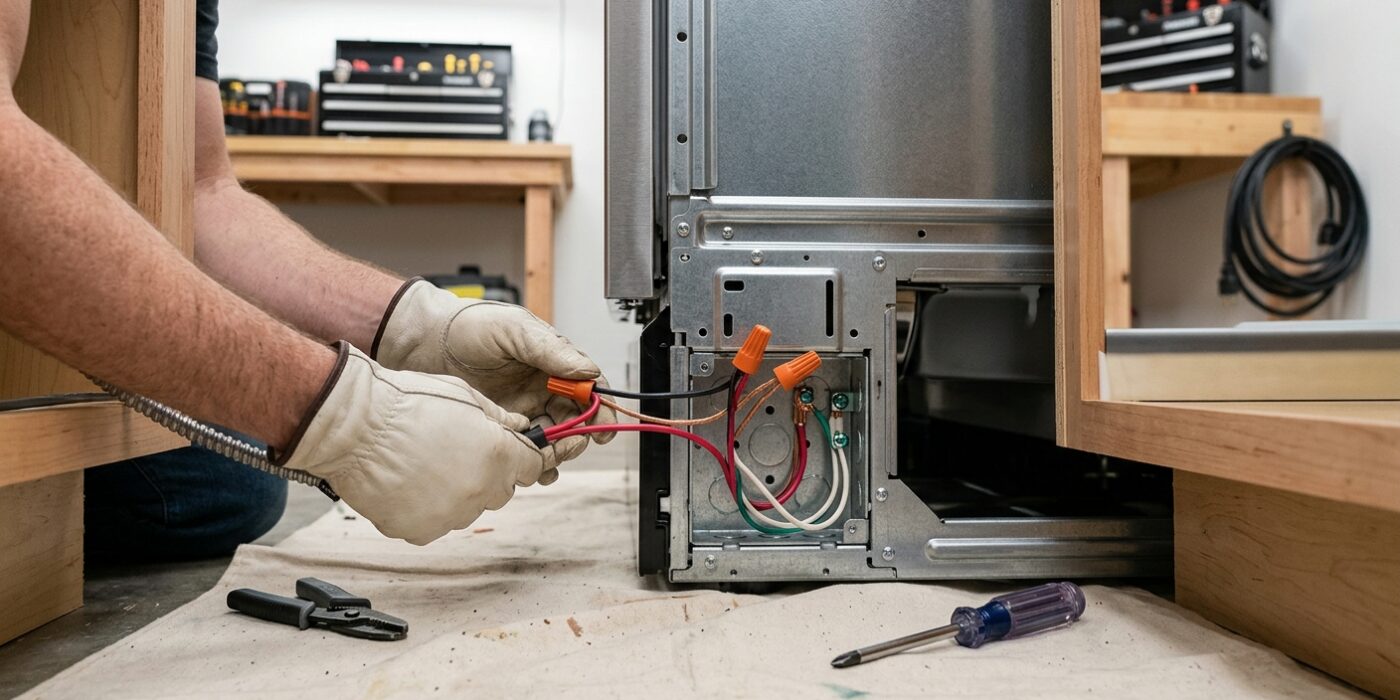
Now it is time to give your dishwasher its “heartbeat” by connecting the electricity. Located on the front underside of the unit is a small metal junction box. Start by unscrewing the cover plate and setting the screws aside in a safe spot. You will see three wire colors waiting for you: black (hot), white (neutral), and a green or bare copper wire (ground).
If using a power cord, slide the cable through the strain relief connector until about one inch of the outer casing is inside the box. Strip the ends of your wires about 1/2 inch to expose the metal. Twist the matching wires together – black to black, white to white, and ground to ground – and twist a wire nut firmly onto each pair. Give each wire a gentle tug to ensure they are secure; they should not slide out. Finally, tighten the screws on the strain relief so the cord cannot be yanked loose, tuck the wires neatly into the box, and screw the cover plate back on.
Beginner Tip: Never rely on electrical tape alone to hold wires together. The wire nut is the mechanical device that locks the connection in place, so ensure the nut is tightened clockwise until you feel it grab the wires securely.
Pro Tip: When connecting the wires, hold the two ends parallel and twist them together with pliers before applying the wire nut. This “pre-twisting” ensures a much stronger, more reliable electrical connection that won’t vibrate loose over time.
Step 5: Slide In and Level the Dishwasher
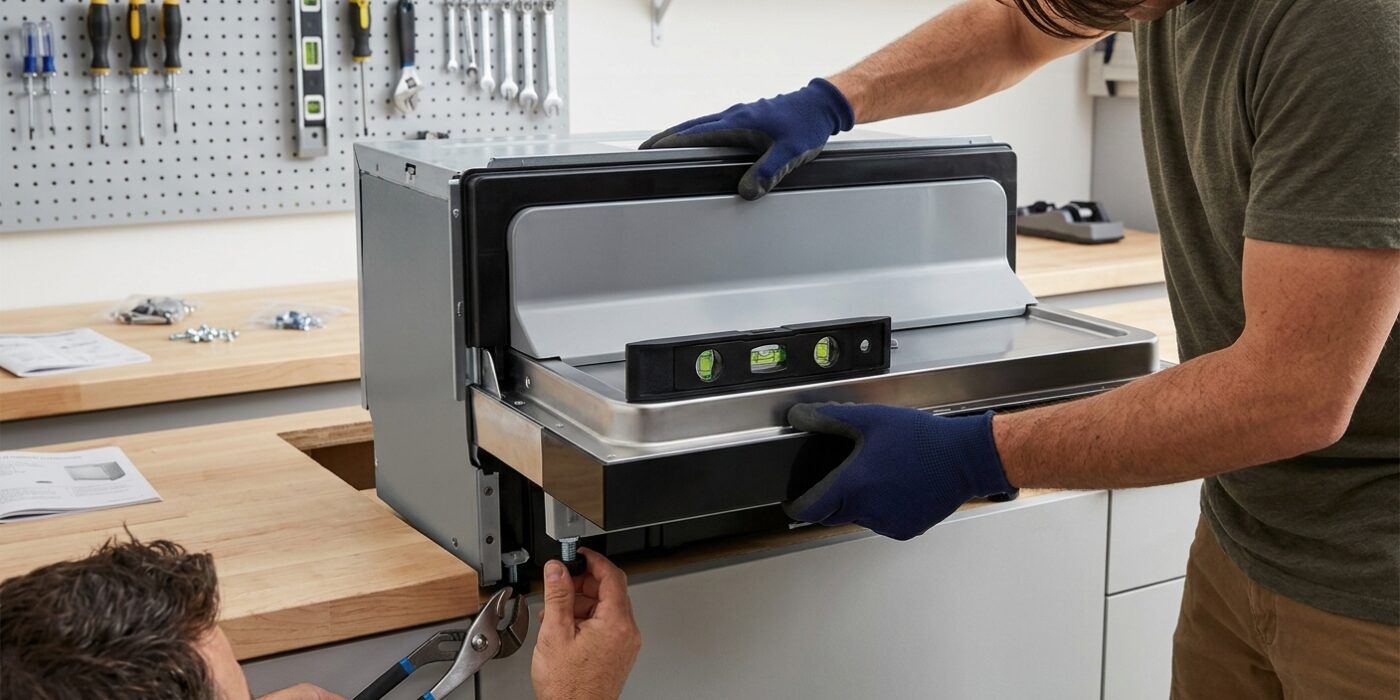
Now comes the satisfying part: tucking your dishwasher into its new home. Gently slide the unit into the cabinet space, but pause halfway to ensure your water supply line, drain hose, and power cable are not being crushed or kinked against the back wall. These lines need a clear path to prevent leaks or drainage issues later. Once the unit is in position, place a carpenter’s level on the front edge and the side rack to check for plumb. You want the machine perfectly level so it runs quietly and drains efficiently. Use an adjustable wrench to twist the front legs until the unit is stable. If you find the door is rubbing against the cabinet or seems tilted, adjust the rear leg – usually controlled by a screw near the front bottom of the unit – to lift or lower that side until the door swings open freely without resistance.
Beginner Tip: The most common mistake is forgetting to check for “pinching.” Before pushing the dishwasher all the way back, reach behind or underneath to confirm the hoses have enough slack to lay flat. A crimped drain hose is the number one cause of “drain error” codes in new installations.
Pro Tip: If your dishwasher feels wobbly even after leveling, try this trick: place a thin piece of plywood or a rigid shim under the leveling legs. This provides a solid base that won’t shift over time, ensuring your dishwasher stays whisper-quiet for years to come.
Step 6: Test Before Finishing
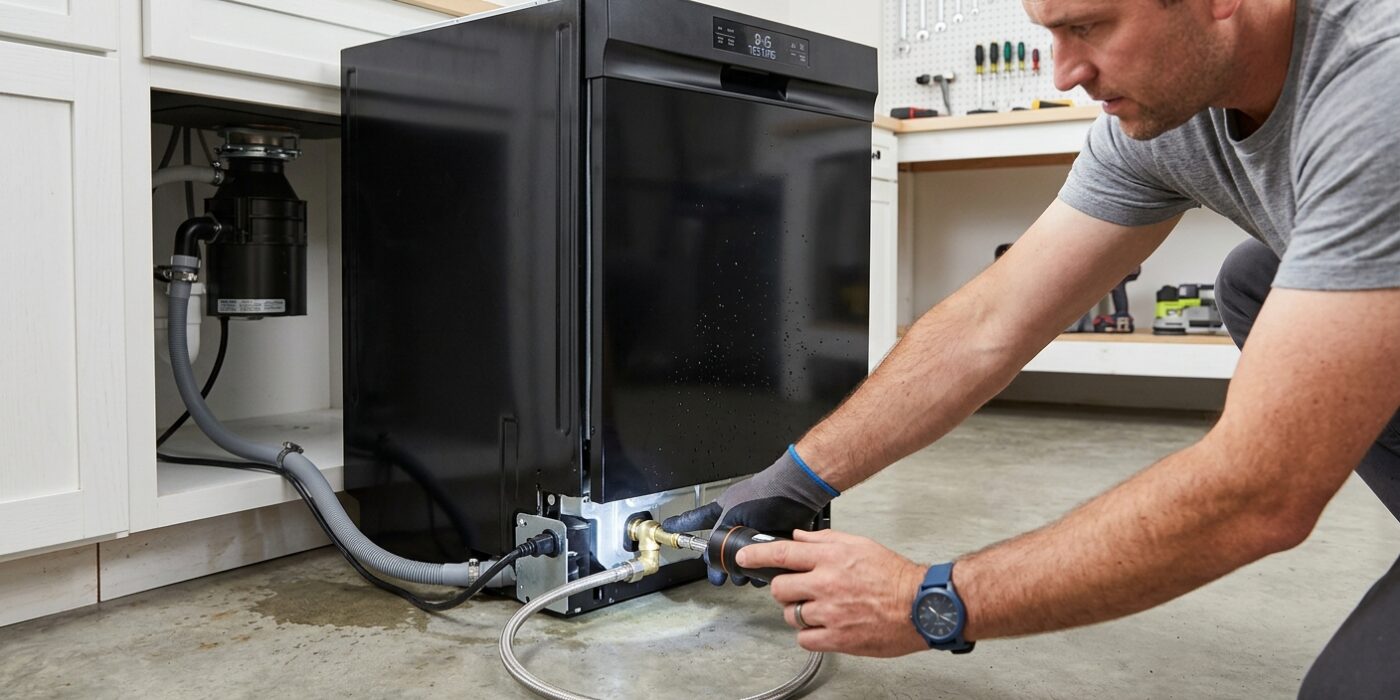
Before you seal everything up, it is time to ensure your hard work is watertight. Turn your water supply valve back on and flip the circuit breaker to restore power. Select the shortest possible wash cycle – often labeled as “Rinse” or “Quick Wash” – and start the machine. As the dishwasher runs, use a flashlight to inspect every connection point. Look specifically at the water supply line where it meets the dishwasher, and check the drain hose connection at your garbage disposal or sink tailpiece. If you see any moisture or “weeping” at these joints, give the nut an extra quarter-turn with your wrench until it is snug. Do not overtighten, as you could crack the fittings. Finally, ensure the unit sits flush against your cabinets; if it sticks out or the door rubs, use a wrench to adjust the leveling legs on the bottom of the unit until everything is perfectly aligned.
Beginner Tip: A common mistake is forgetting to place a dry paper towel under your connections before starting the test. If a connection is leaking, the paper towel will show even the smallest damp spots immediately, making it much easier to identify exactly where the drip is coming from before it pools on your floor.
Pro Tip: Before starting your first full cycle, run the hot water at your kitchen sink for about 30 seconds. This clears the cold water out of the pipes, ensuring your dishwasher fills with hot water right from the start, which helps the detergent dissolve properly and cleans your dishes more effectively.