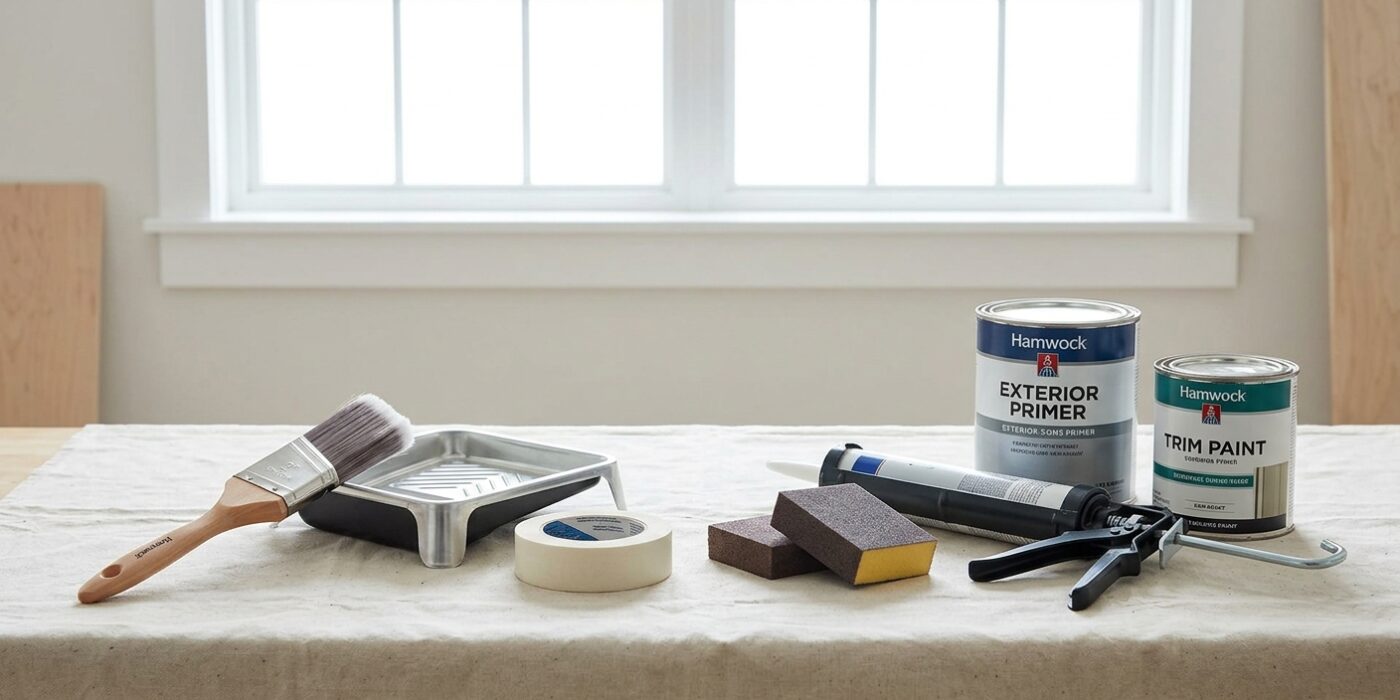
Project Shopping List
Exterior trim and window casings are among the most paint-punished surfaces on a house – they face full sun, temperature swings, moisture, and ice. Paint on exterior trim fails 3–5 years faster than on siding because it’s thinner and more exposed. Repainting trim correctly, starting with proper prep, doubles the time between repaints and gives the house a sharp, clean edge that frames the siding and windows professionally.
This guide covers the complete exterior trim painting process: scraping failed paint, sanding, priming bare wood, and applying a durable finish coat. It applies to wood window casings, corner boards, fascia, rake boards, and door casings.
What You’ll Need
Tools
- Paint scraper (pull-type and push-type)
- Heat gun or infrared paint remover (for heavy build-up)
- Random orbital sander and 80-grit, 120-grit sandpaper
- 2-inch and 3-inch angled sash brush
- Caulking gun
- Putty knife
- Ladder
Materials
- Oil-based primer (for bare wood) or 100% acrylic primer
- Exterior acrylic latex paint (100% acrylic, satin or semi-gloss sheen)
- Exterior wood filler or epoxy wood filler (for rot, checks, holes)
- Paintable exterior caulk (polyurethane or siliconized acrylic)
- 80- and 120-grit sandpaper
Step 1: Assess the Existing Trim Condition
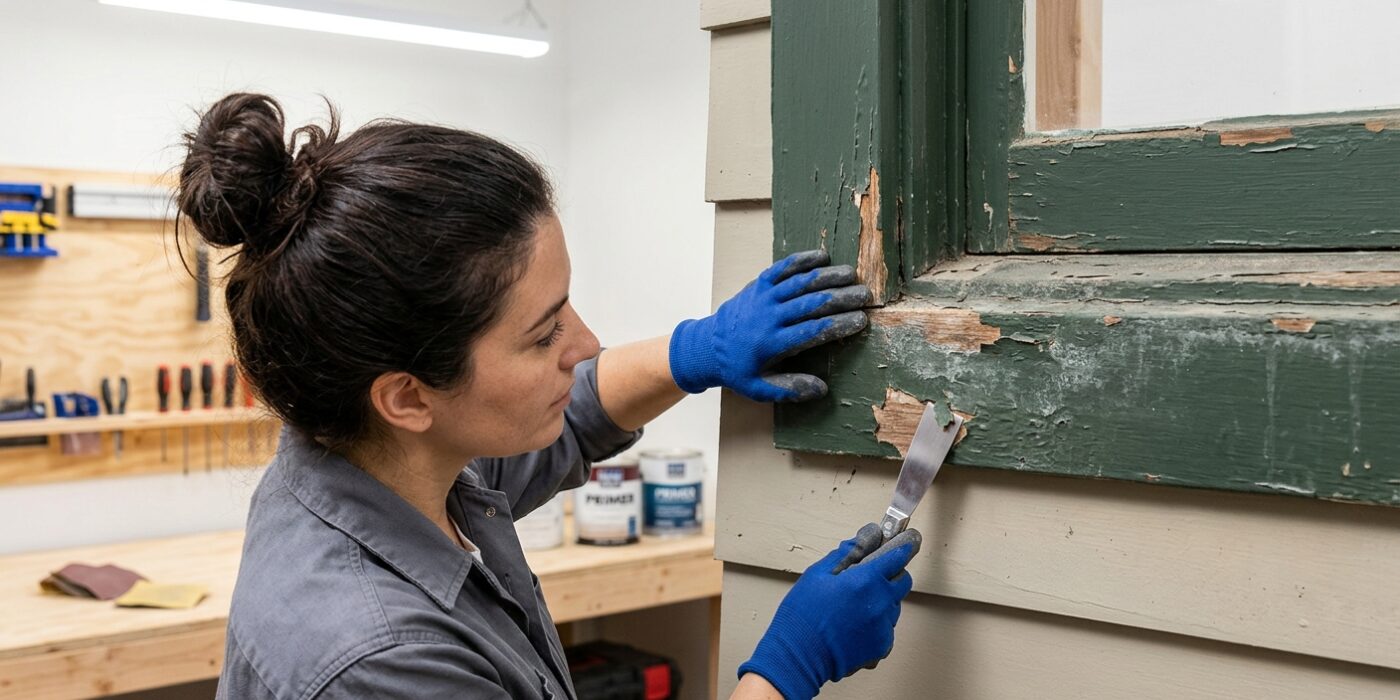
Before you purchase any paint, you need to conduct a thorough health check on your trim. Think of this as a diagnostic exam for your home. Grab a flathead screwdriver or an awl and walk around your house. Press the metal tip firmly into the wood, specifically focusing on the bottom edges of window sills and horizontal surfaces where rainwater likes to pool. If the tool sinks into the wood as easily as it would into a soft sponge, you have found wood rot. This is crucial because painting over rotten, damp wood traps moisture inside, causing the decay to spread rapidly behind your fresh coat of paint. You must address this damage first by either replacing the board or using a wood epoxy filler to restore structural integrity.
Beginner Tip: Don’t just look at the trim from a distance. The most significant rot often hides on the underside of window sills or behind thick layers of old, peeling paint. Get up close, use a ladder if necessary, and actually touch the material to ensure it is firm and solid.
Pro Tip: If you are unsure if the wood is truly rotten or just soft from being damp, let the area dry out completely for a few sunny days before testing it again. If the wood feels firm after it dries, you may just need to clean and prep it; if it remains soft even when dry, the wood fibers have broken down and require repair.
Step 2: Scrape All Failing Paint
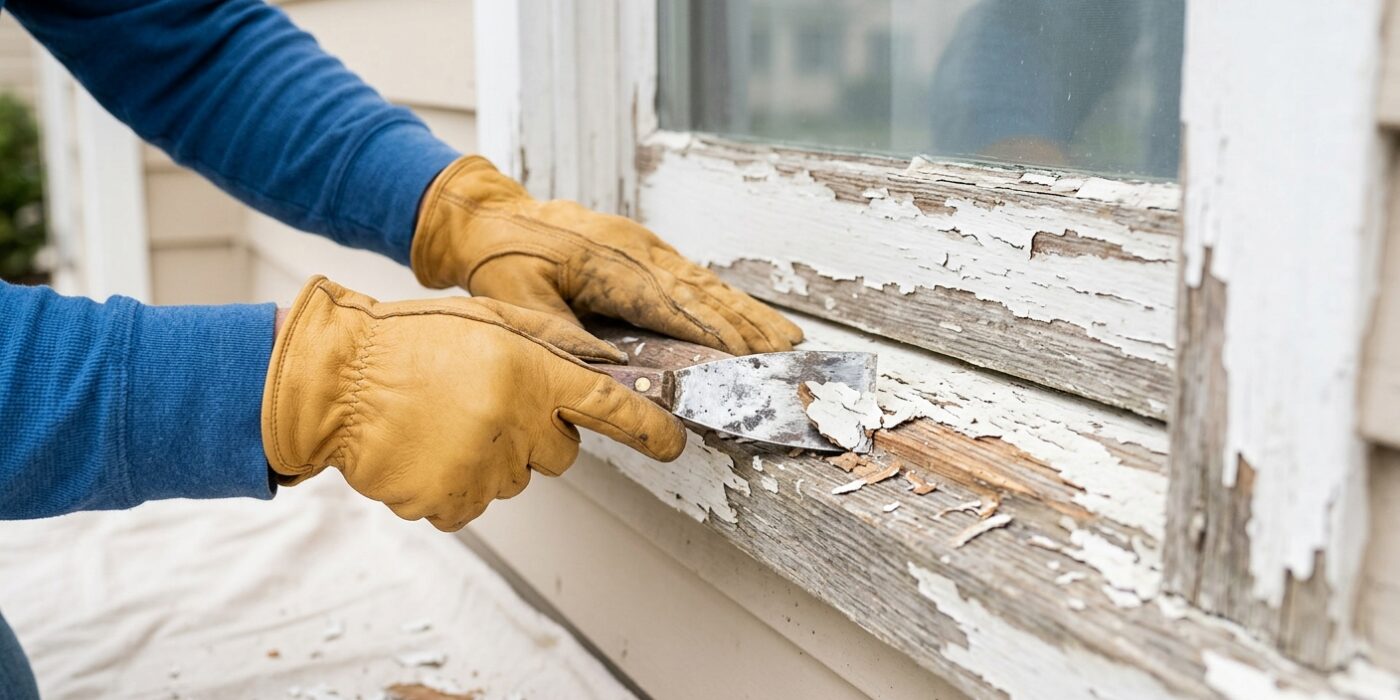
Before you even think about picking up a paintbrush, you must remove any paint that is peeling, bubbling, flaking, or cracking. Think of this as creating a smooth, healthy foundation; if you paint over loose debris, the new layer will simply peel away along with the old surface within a year or two. Start by holding your pull scraper at a 45-degree angle against flat surfaces, using firm, steady strokes to pull toward your body. For tight corners, switch to a push scraper to reach the debris trapped in the crevices. If you encounter stubborn, thick layers common on older homes, you may use a heat gun on a low setting, held about 4 inches away, to gently soften the paint before scraping. Always work until you reach a smooth edge where the remaining paint is firmly bonded to the wood.
Beginner Tip: Avoid digging the corners of your metal scraper into the wood. If you find yourself gouging the surface, you are likely using too much pressure or holding the tool at too steep an angle. A light touch and patience will save you from having to fill deep scratches with wood putty later.
Alternative Method: If you are nervous about using a heat gun, you can simply use a stiff-bristled wire brush. It is highly effective for loosening loose, flaky bits in hard-to-reach areas without the risk of damaging the wood or needing expensive equipment.
Pro Tip: After scraping, always run your hand over the edge where the old paint meets the bare wood. If you can feel a distinct ridge, use 80-grit sandpaper to “feather” that edge until it is perfectly smooth. This transition will be invisible once you apply your topcoat.
Step 3: Sand All Surfaces
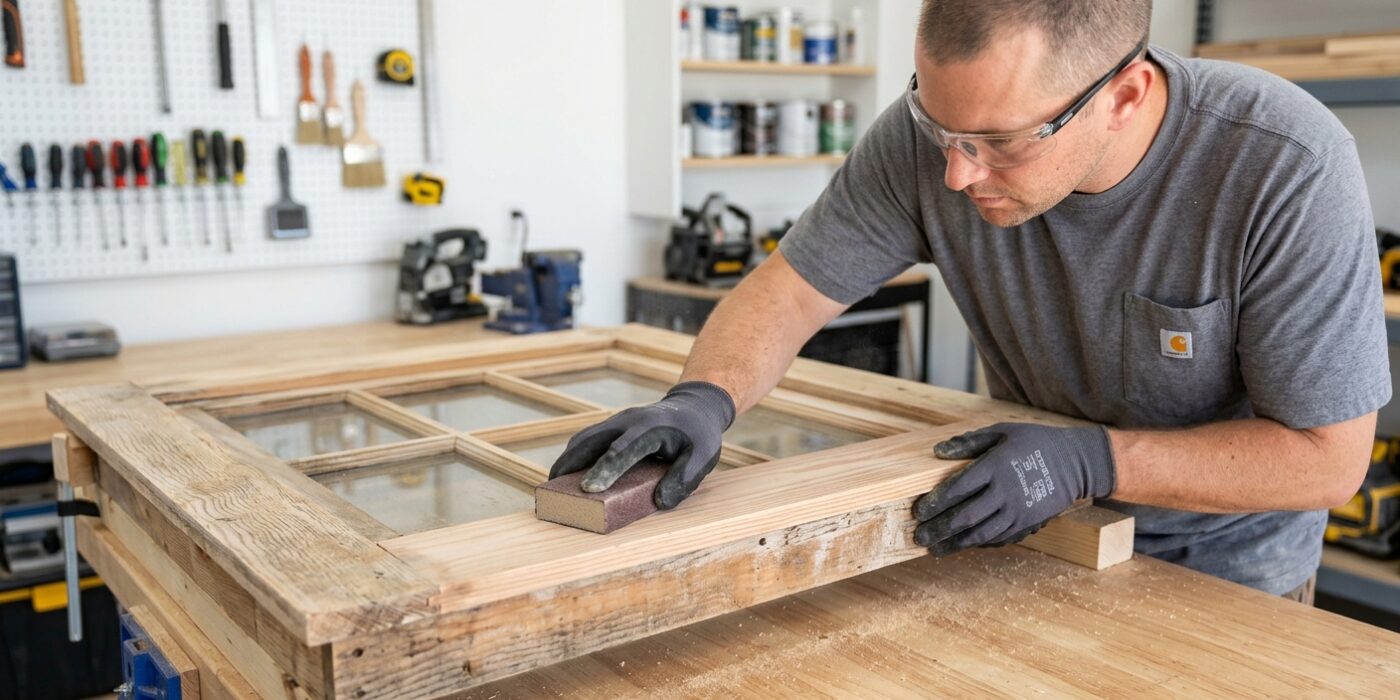
Now that your loose paint is gone, it is time to smooth everything out. Think of this step as creating a perfect canvas; if the surface is rough, the paint will show every imperfection. First, use 80-grit sandpaper on the edges where you scraped away paint. You want to feather these edges, which means sanding in a gentle, outward motion until the sharp “step” between the bare wood and the old paint feels smooth to the touch. Once those transitions are flush, switch to 120-grit sandpaper and lightly buff the entire surface of the trim, including the areas where the paint is still intact. This removes the glossy sheen and creates microscopic scratches that help the new primer and paint stick securely.
Beginner Tip: Avoid pressing too hard. If you push into the wood, you can create divots or gouges that are difficult to fix. Let the sandpaper do the work for you, and always move in the direction of the wood grain to prevent ugly, cross-grain scratches.
Alternative Method: If you find hand-sanding exhausting, you can purchase a sanding sponge. These are inexpensive foam blocks with sandpaper on the sides. They are much easier to grip than loose sheets of paper and conform naturally to the rounded edges of window casings.
Pro Tip: After sanding, do not just wipe the dust with your hand. Use a vacuum with a brush attachment to pull dust out of the crevices, then finish with a tack cloth or a slightly damp microfiber rag to ensure the surface is perfectly clean before painting.
Step 4: Fill Holes, Cracks, and Checks
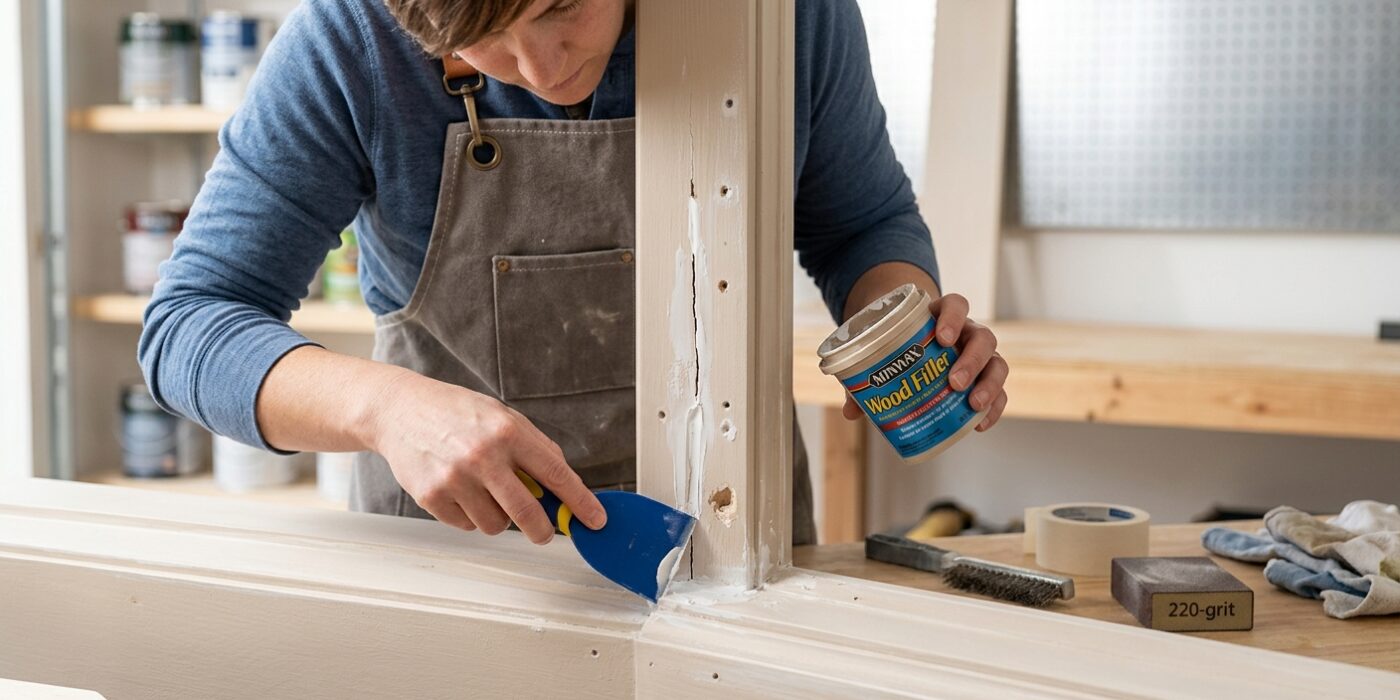
Before you pick up a paintbrush, you need to create a smooth, sealed surface. Start by inspecting your trim for nail holes, cracks, and wood checks (small splits along the grain). Use an exterior-rated wood filler to patch these imperfections. Simply press the filler into the hole with a small putty knife, slightly overfilling it because the material may shrink as it dries. For window sills, where water tends to collect, skip standard filler and use a wood epoxy. Unlike wood filler, epoxy is waterproof and won’t shrink, ensuring your repair lasts through rain and snow.
Once your patches are dry, sand them down until they are perfectly flush with the wood. Next, apply a bead of paintable exterior caulk to every seam where the trim meets your siding or window frames. Hold your caulk gun at a 45-degree angle and pull it steadily along the joint to create a clean line. This step is the most critical part of the project because it acts as a barrier, preventing water from seeping behind your trim and causing rot.
Beginner Tip: A common mistake is over-caulking. Don’t worry about filling the gap completely in one thick glob. It is much easier to apply a thin, consistent bead and smooth it down with a damp finger than it is to clean up a giant, messy mound of excess caulk.
Pro Tip: When using caulk, keep a small cup of water and a few paper towels nearby. Dipping your finger in the water before smoothing the caulk prevents it from sticking to your skin, giving you a professional-looking, seamless finish every time.
Step 5: Prime All Bare Wood
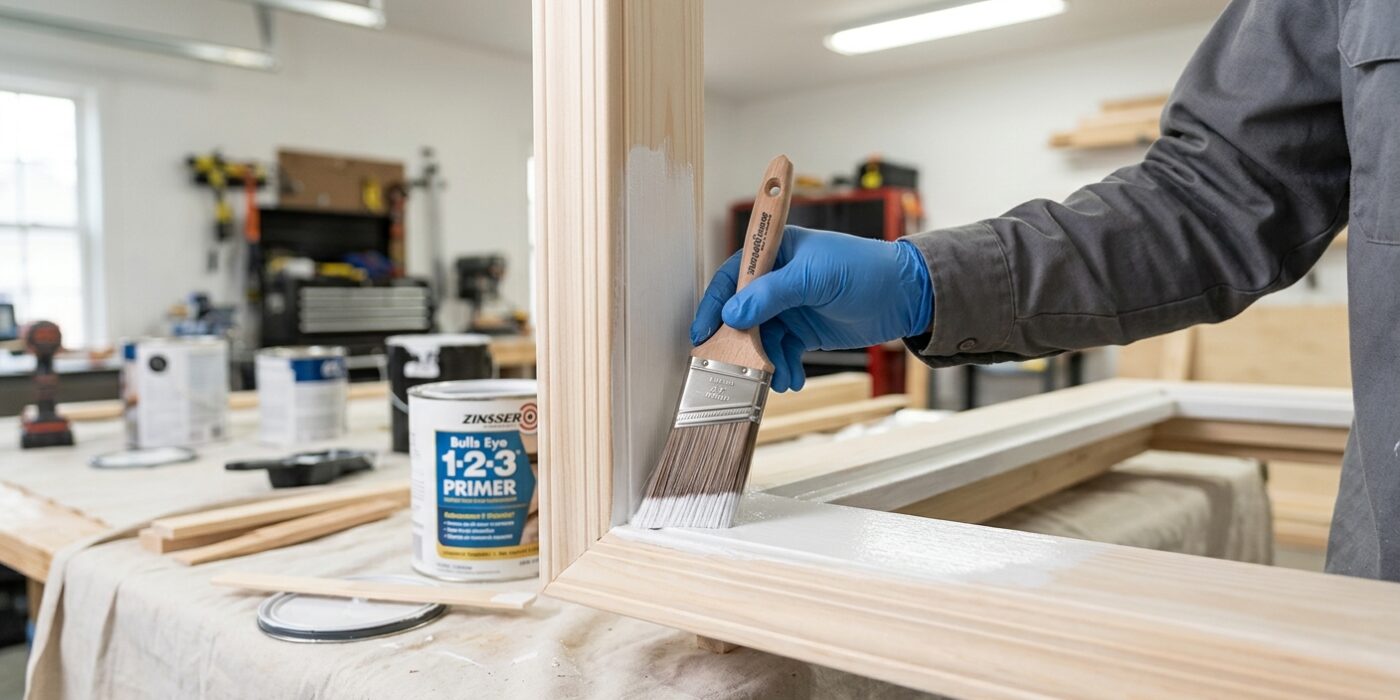
If your scraping or sanding has revealed raw, light-colored wood, you must prime those spots before painting. Think of primer as the “glue” that binds your topcoat to the house; paint applied directly to bare wood will peel, crack, or bubble within a single season. Using a small, high-quality angled brush, apply your oil-based primer generously to these exposed areas. Work the liquid deep into the wood grain by using short, firm strokes. Pay special attention to window sills, specifically the underside edge known as the “drip edge.” This is where rainwater collects, so coating this area thoroughly acts as your first line of defense against rot and moisture damage.
Beginner Tip: Avoid the urge to over-brush your primer. Once you have applied a nice, even coat over the bare spot, leave it alone. If you keep brushing over drying primer, it will become gummy and uneven, which will make your final paint job look lumpy rather than smooth.
Pro Tip: If you are priming a large area, keep a damp rag in your back pocket. If you accidentally get a drip or a smear of primer on the glass or the siding you aren’t painting, wipe it away immediately. Oil-based primer is much harder to remove once it fully cures, so cleaning up mistakes while they are wet saves you significant time and frustration later.
Step 6: Apply Finish Coats
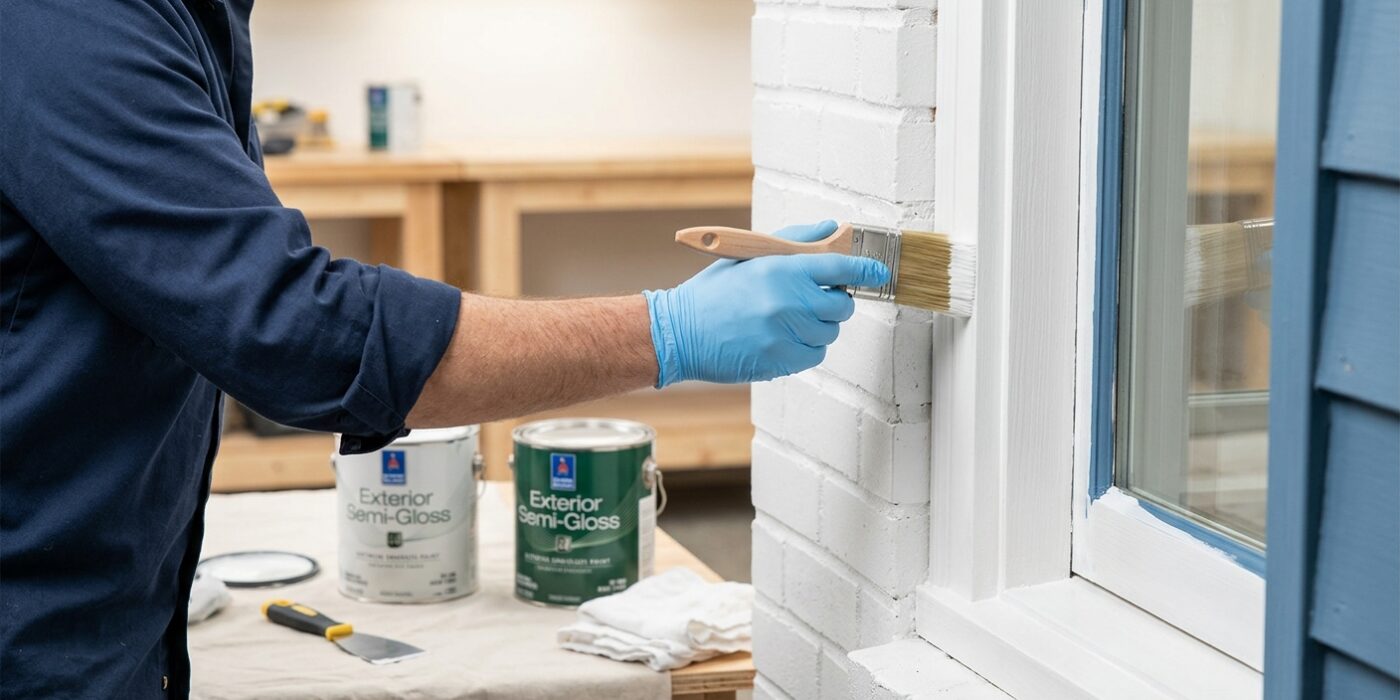
Now it is time for the transformation! Use a high-quality 100% acrylic exterior paint in a satin or semi-gloss finish. These sheens are excellent for trim because they create a hard, moisture-resistant surface that stays cleaner for longer. Start by “cutting in” – using your 2-inch angled sash brush to carefully paint the edges where the trim meets the siding and the window glass. When painting against the glass, overlap onto it by about 1/16 of an inch. This creates a tiny, invisible seal that prevents water from wicking behind the glass and causing rot. Once the edges are defined, use smooth, long strokes to fill in the flat surfaces. Apply at least two coats, waiting a full 24 hours between them to ensure a durable, professional-looking finish.
Beginner Tip: Avoid the urge to over-brush. Once you have applied a section of paint, leave it alone. If you continue to poke and prod at paint that has already started to dry, you will create unsightly brush marks and a textured, gummy surface that is very difficult to fix later.
Alternative Method: If you are nervous about using a brush, you can use a small 4-inch microfiber roller for the flat, wide faces of your window casings. This covers large areas quickly and prevents uneven brush strokes, though you will still need the brush to “cut in” the tight corners and edges.
Pro Tip: Never paint in direct, baking sunlight. Heat makes the paint dry too quickly, which ruins the finish and prevents the paint from bonding properly. Always follow the shade around your house as the day progresses to keep your working surface cool and manageable.