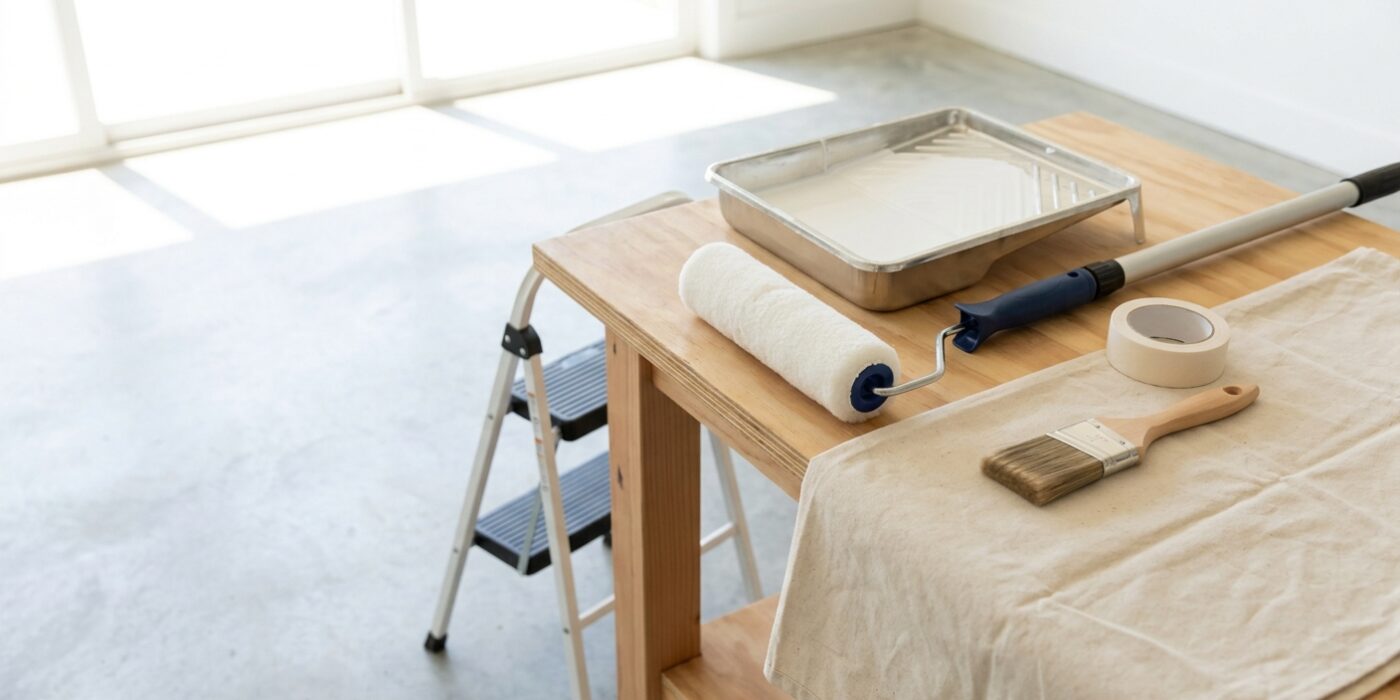
Project Shopping List
Popcorn ceilings – also called acoustic or cottage cheese ceilings – were installed in millions of homes from the 1950s through the 1990s. They’re dated, they collect dust and cobwebs, and they make rooms look smaller. But removing them isn’t always the right call. Sometimes a fresh coat of paint is the better move, and sometimes removal is the only real solution.
This guide covers both paths: when to paint your popcorn ceiling versus when to remove it, how to do each job correctly, and the safety steps you must take before you touch a ceiling from before 1980.
What You’ll Need
For Painting
- 3/4-inch or 1-inch nap roller cover (thick nap reaches into texture valleys)
- Extension pole (at least 4 feet)
- Pump garden sprayer or brush for wet application
- Flat or ultra-flat ceiling paint
- Drop cloths and plastic sheeting – cover everything
For Removal
- Garden pump sprayer
- 6-inch drywall knife or wide ceiling scraper
- Plastic sheeting and painter’s tape
- Joint compound and 10-inch taping knife
- Asbestos test kit (required for pre-1980 ceilings) or professional asbestos abatement if positive
- Respirator rated for dust (N95 minimum)
Step-by-Step Instructions
Step 1: Test for Asbestos First
If your home was built before 1980, stop everything and test before you scrape or even disturb the texture. Asbestos was commonly added to popcorn texture as a fire retardant, and once it’s airborne, it’s a serious health hazard. Buy a DIY asbestos test kit (under $40), collect a small sample according to the directions, and mail it to the lab. Results come back in a few days. If the test is positive, you need professional abatement – this isn’t a DIY job. If negative, proceed freely.
Step 2: Decide – Paint or Remove?
Paint the ceiling when: the texture is intact and firmly adhered, you’re on a tight budget, or the room above has living space (removal makes a mess that can damage the ceiling below in multi-story homes). Remove when: you’re already remodeling, the texture is falling off in chunks, or you want a smooth ceiling for a high-end finish. One important caveat: once you paint a popcorn ceiling, the texture absorbs paint and becomes much harder to remove later – the wet scraping method won’t work as well on painted texture.
Step 3 (Paint Path): Use a Thick-Nap Roller and Don’t Over-Roll
A standard 3/8-inch nap roller will knock off chunks of texture; you need a 3/4-inch or 1-inch nap to reach into the valleys without flattening the peaks. Load the roller heavily and apply with very light pressure – let the nap do the work. Roll in one direction only (don’t back-roll) and don’t go over sections that have started to dry. Ceiling flat paint (not regular flat) is formulated to splatter less and hide imperfections better.
Step 4 (Paint Path): Two Coats Are Always Necessary
The texture absorbs paint aggressively. Plan for two full coats with drying time between them. On the second coat, you can lightly back-roll to even out coverage without damaging the now-painted texture. A spray application from a pump sprayer followed by a light roller back-roll gives the most even coverage and least texture disruption – professionals use this method on large ceilings.
Step 5 (Remove Path): Wet the Ceiling in Sections
The key to clean removal is moisture. Fill a pump garden sprayer with warm water and mist an 8-to-10-square-foot section until the texture is damp but not soaking – over-wetting can soak through and damage the drywall paper beneath. Wait 5 minutes for the water to penetrate the texture fully before scraping.
Step 6 (Remove Path): Scrape at a Shallow Angle
Hold the scraper nearly flat against the ceiling and push rather than pull. A shallow angle prevents you from digging into the drywall paper. Work in one direction across each wet section. The texture should come off in sheets with minimal resistance. If it’s fighting you, add more water and wait another 2 minutes. Change your plastic sheeting frequently – working over a pile of wet debris is slippery and dangerous on a ladder.
Step 7 (Remove Path): Repair the Ceiling Surface
Removal almost always damages the drywall paper in spots. Some areas may need skim coating with joint compound to achieve a smooth finish – feather the compound thin with a 10-inch knife and expect two to three coats with sanding between each. This step takes longer than the removal itself but is what makes the finished ceiling look smooth and professional.
Step 8: Prime Before Final Paint
Whether you’re painting over existing texture or skim-coating a freshly scraped ceiling, always prime before your topcoat. A PVA drywall primer (for freshly skimmed surfaces) or a bonding primer seals the surface and ensures even sheen in the topcoat. Skip priming and you’ll see flashing – dull spots where the paint soaked into raw compound differently than surrounding areas.
Pro Tips
- Cover light fixtures with plastic bags secured with rubber bands – popcorn debris and water get into everything during removal.
- For painting, add a small amount of water to ceiling paint (about 10%) to reduce splatter – it’s a professional trick that makes a huge difference.
- If you hit a section of ceiling that’s already been painted over (it won’t wet-scrape easily), use a carbide scraper and more water and work slowly – forcing it damages the drywall.
- Rent a drywall lift to skim coat large ceilings – working with your arms overhead for hours causes fatigue and leads to uneven work.
- Test your final patched and primed ceiling under a strong raking light before painting – this is your last chance to find low spots.
Frequently Asked Questions
How long does it take to remove a popcorn ceiling from a 12×12 room?
The scraping itself takes 2 to 3 hours for an average room. But skim coating, sanding, priming, and painting the newly smooth ceiling adds another full day of work. Budget a full weekend for one room.
Can I skim coat over popcorn texture instead of removing it?
Yes, and this is actually a great option when the texture is firmly bonded. Apply a coat of drywall joint compound over the texture with a wide knife, let it dry, sand, and repeat until the surface is smooth. It’s more work than painting but less mess than removal, and you get a smooth ceiling without the wet scraping step.
What if my ceiling is sagging or cracked after removal?
Small cracks (hairline) can be filled with joint compound and skim coated over. If you see sagging sections or cracks following drywall seams, the ceiling panels may have been over-wetted or may have pre-existing structural issues. Secure any loose panels with drywall screws before skim coating, and use mesh tape over cracks longer than a few inches.