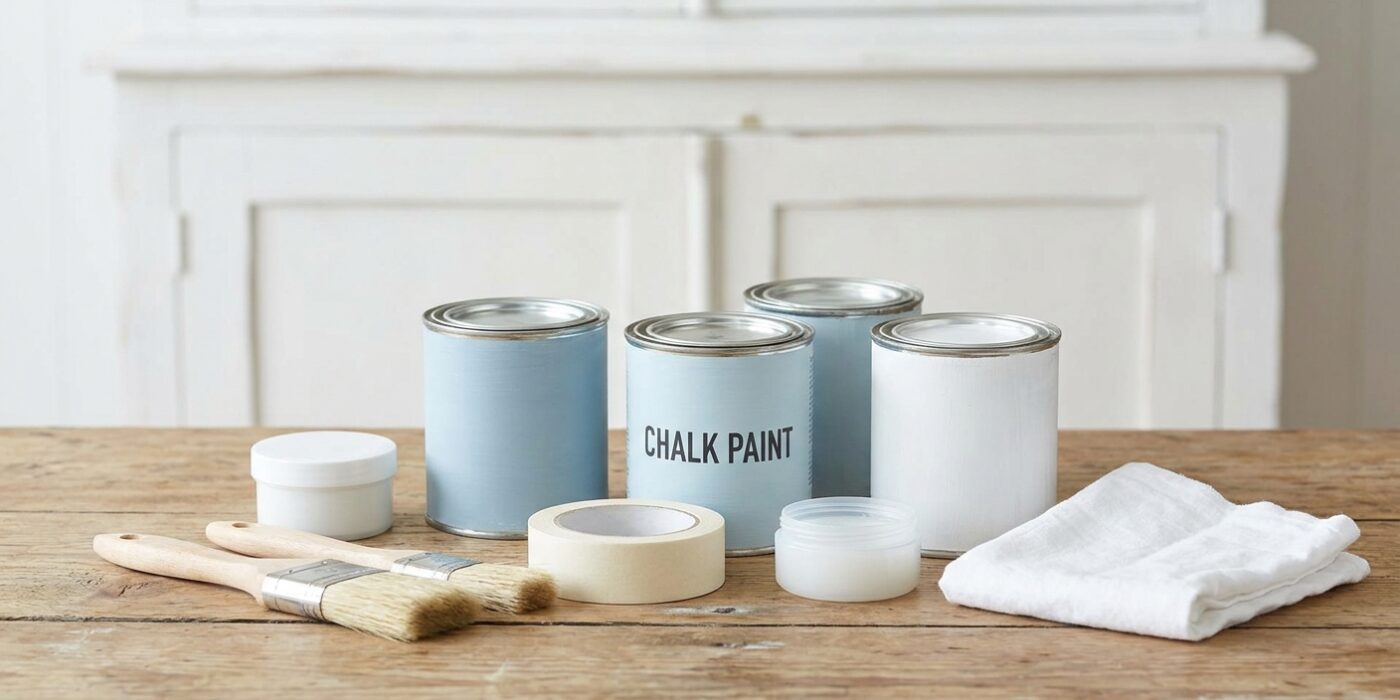
Project Shopping List
Chalk paint is the secret weapon for furniture makeovers. Unlike regular latex paint, it bonds to almost any clean surface without sanding or priming – wood, laminate, metal, wicker, even glass. The thick, chalky finish is forgiving of brush strokes, dries quickly, and creates a beautiful matte look that you can distress or leave crisp. A coat of wax or topcoat seals it and makes it durable enough for everyday use.
This guide walks you through a complete chalk paint furniture project from cleaning and painting through waxing and buffing, with tips on getting a smooth finish versus a deliberately distressed vintage look.
What You’ll Need
Tools
- Chalk paint brush (round, 1.5-inch or 2-inch with stiff, slightly splayed bristles) – or a quality chip brush
- Small foam roller for flat panels (optional, gives smoother finish)
- Lint-free rags or cheesecloth
- Fine steel wool (0000 grade) or 320-grit sanding sponge
- Wax brush or lint-free cloth for wax application
Materials
- Chalk paint (Annie Sloan, Rust-Oleum Chalked, or similar) – 1 quart covers most medium-sized pieces
- Clear furniture wax or chalk paint topcoat (polycrylic for higher durability)
- Dark wax (optional, for antiquing effect)
- TSP substitute or household degreaser for cleaning
- Drop cloth
Step-by-Step Instructions
Step 1: Clean the Piece Thoroughly
Chalk paint’s legendary adhesion is real, but only on clean surfaces. Grease, wax, silicone from furniture polish, and dirt all prevent adhesion. Mix TSP substitute in warm water and wipe down every surface – inside drawer fronts, legs, undersides of shelves. For pieces that have been polished repeatedly, a wipe-down with mineral spirits removes silicone wax buildup that TSP won’t cut. Let the piece dry fully before painting.
Step 2: Remove Hardware and Drawers
Take off all knobs, pulls, and hinges. Remove drawers and doors and paint them separately – you get better access and cleaner edges. Label drawer hardware with painter’s tape so you know which screw goes where. This takes 10 minutes and makes the whole job easier and neater.
Step 3: Stir the Paint – Don’t Shake It
Chalk paint separates in the can. Stir it thoroughly with a stir stick until the consistency is completely uniform – about 2 minutes of real stirring. Don’t thin it with water for your first coat; the thick consistency is part of what gives chalk paint its texture and excellent coverage. If you’re working on a hot day and the paint is dragging, add just 1 to 2 tablespoons of water per cup of paint.
Step 4: Apply the First Coat
Load your brush fully and apply with confident, overlapping strokes. Chalk paint is very forgiving – brushstrokes are part of the handmade aesthetic. If you want a smoother finish, work quickly and use a foam roller on flat panels, followed by a light brush over the wet surface to pop any bubbles. Don’t try to smooth it out too much while wet; chalk paint levels itself as it dries. One coat typically takes 20 to 30 minutes to feel dry to the touch.
Step 5: Lightly Sand Between Coats
Once the first coat is dry, run a 320-grit sanding sponge very lightly over the surface – you’re just knocking off any dust nibs and slightly raised grain, not removing paint. Wipe the dust off with a barely damp cloth. This light sanding is what separates a silky second coat from a rough, bumpy finish. Don’t skip it even though the paint looks fine – the difference is tactile and visible under light.
Step 6: Apply the Second Coat
Two coats are almost always sufficient with chalk paint – the pigment density is much higher than regular latex. Apply the second coat the same way as the first. If you’re going for a distressed look, now is the time to decide where the wear will happen: edges, raised details, and areas that would naturally wear over time (like the top of a drawer face). Let this coat dry completely – usually 1 to 2 hours.
Step 7: Optional Distressing
If you want a vintage or farmhouse look, use 100-grit sandpaper or the edge of a 220-grit sanding block on corners, edges, and any raised molding details. Sand through to the wood in these spots – the goal is to look like natural wear, not like you sanded it. Work carefully and check your progress frequently; it’s easy to over-distress. Wipe away all dust before waxing.
Step 8: Apply Clear Wax
Chalk paint without a topcoat is not durable – it will absorb spills and stain within days. Apply clear wax with a wax brush or lint-free cloth, working it into the surface in small circular sections. You don’t need much – a thin coat is better than a heavy one. Let it dry to a haze (about 10 to 15 minutes per section), then buff to a sheen with a clean cloth. This is the step that makes your paint job durable and gives it that beautiful soft sheen chalk paint is known for.
Step 9: Optional Dark Wax for Depth
Apply dark wax over the clear wax (while it’s still slightly tacky, or over a cured clear wax coat) by working it into recesses, carved details, and corners with a brush, then wiping it off the high spots with a cloth. Dark wax reads as age and shadow – it dramatically increases visual depth on pieces with carved or routed details. Less is more here; you can always add more but you can’t easily remove too much.
Pro Tips
- A dedicated chalk paint brush makes a noticeable difference – the stiff, dense bristles load more paint and leave a more consistent texture than cheap foam brushes.
- Wax takes 30 days to fully cure to maximum hardness. Treat the piece gently during this time and don’t put heavy objects on it.
- For high-use surfaces like table tops, use polycrylic instead of wax – it’s harder, more water-resistant, and won’t yellow like oil-based polyurethane over light colors.
- Chalk paint works on laminate furniture (IKEA pieces, particle board with laminate surfaces) – as long as the laminate is clean and not peeling, paint bonds well without sanding.
- If you get brush marks that bother you in the dry first coat, wet-sand with a 400-grit wet/dry paper before the second coat – works beautifully.
Frequently Asked Questions
Can I make my own chalk paint?
Yes. Mix 1 tablespoon of unsanded tile grout (white, from any hardware store) into 8 ounces of any flat latex paint. Stir very well and test on cardboard. It won’t be identical to commercial chalk paint but it performs well and costs a fraction of the price – great for large pieces or when you want a custom color.
How durable is chalk paint on furniture?
With proper wax or polycrylic topcoat, chalk painted furniture holds up well for everyday use. The wax needs to be reapplied every year or two on heavily used pieces. It’s not as hard as oil-based paint or conversion varnish, but for most furniture purposes it’s completely adequate.
What do I do if the paint is streaky or looks thin after two coats?
Some pigments (especially bright reds and yellows) have inherently poor coverage. Try a third coat – chalk paint applies fast and dries fast, so a third coat is not a major time commitment. If coverage is still uneven, try adding a small amount of universal tint in a similar color to boost pigment density.